Wide open apertures are on trend at the moment. The look, once discovered can be addictive and for a while, it might seem you have the “magic sauce”. In the World Cup, there are a lot of fan closeups with Sony G-master primes wide open, the background only a smeared hint, but totally unnatural looking.
There are advantages to this I guess, like the cleaning up of ugly backgrounds, the glow it adds and heroine the subject, but it does not tell a story, it does the opposite in fact. We live in Narcissistic times no doubt, everyone obsessed by their self image, their 15 seconds of fame, but I feel there is still room for some context, some grandeur.
This one subject only thing is small, limited, overly intimate, it is also lazy.
Most of the images that move me from the long history of photography have depth. Very few have an obvious termination point, let alone an exaggerated one. Deep depth of field is tougher to get right, it has more elements, there is more to go wrong, but isn’t that the challenge, the reward for effort?
Look at all early street photography, some National Geographic documentary work, even most portraits of the 1990’s or earlier and the super shallow depth thing is absent, but ironically with slow film and a reliance on prime lenses, shallow depth would have been easier and safer.
This is because depth is often better.
Depth is not the enemy, it is not a punishment, it is the making of many of the great images of our history. Without depth these would lack story, relevance and staying power.
Sam Abel, one of my favourite photographers of the last 50 years uses depth not only as a tool, but a necessity. He shoots back-to-front, with the background anchoring his foreground compositions. Without depth, he has no voice.
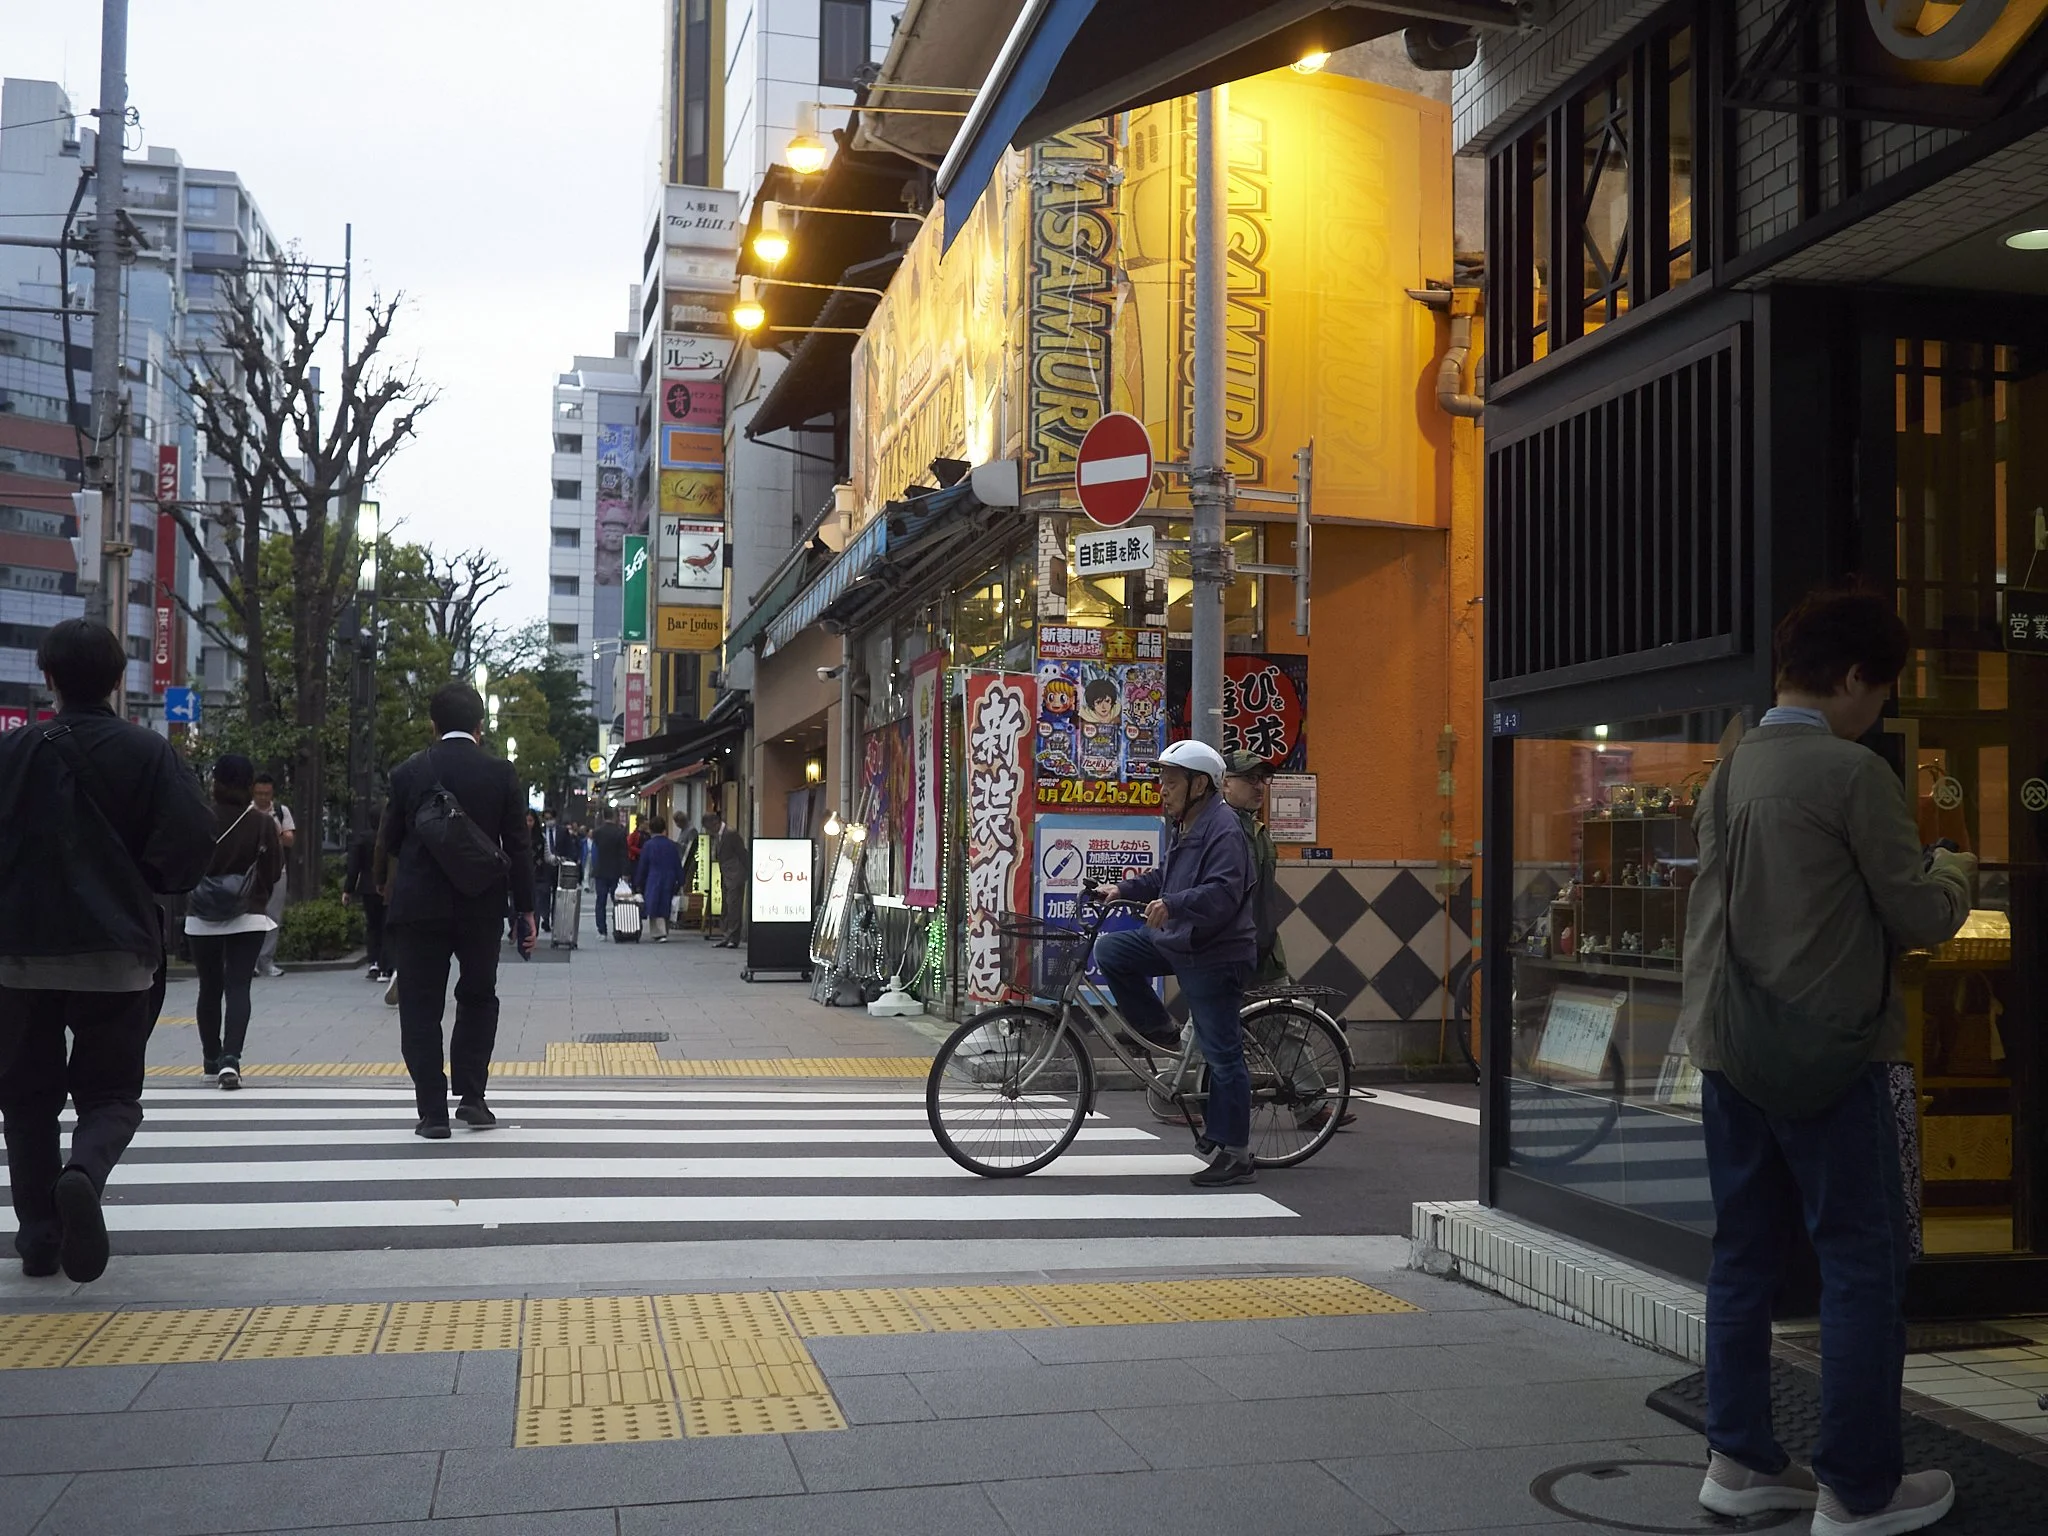
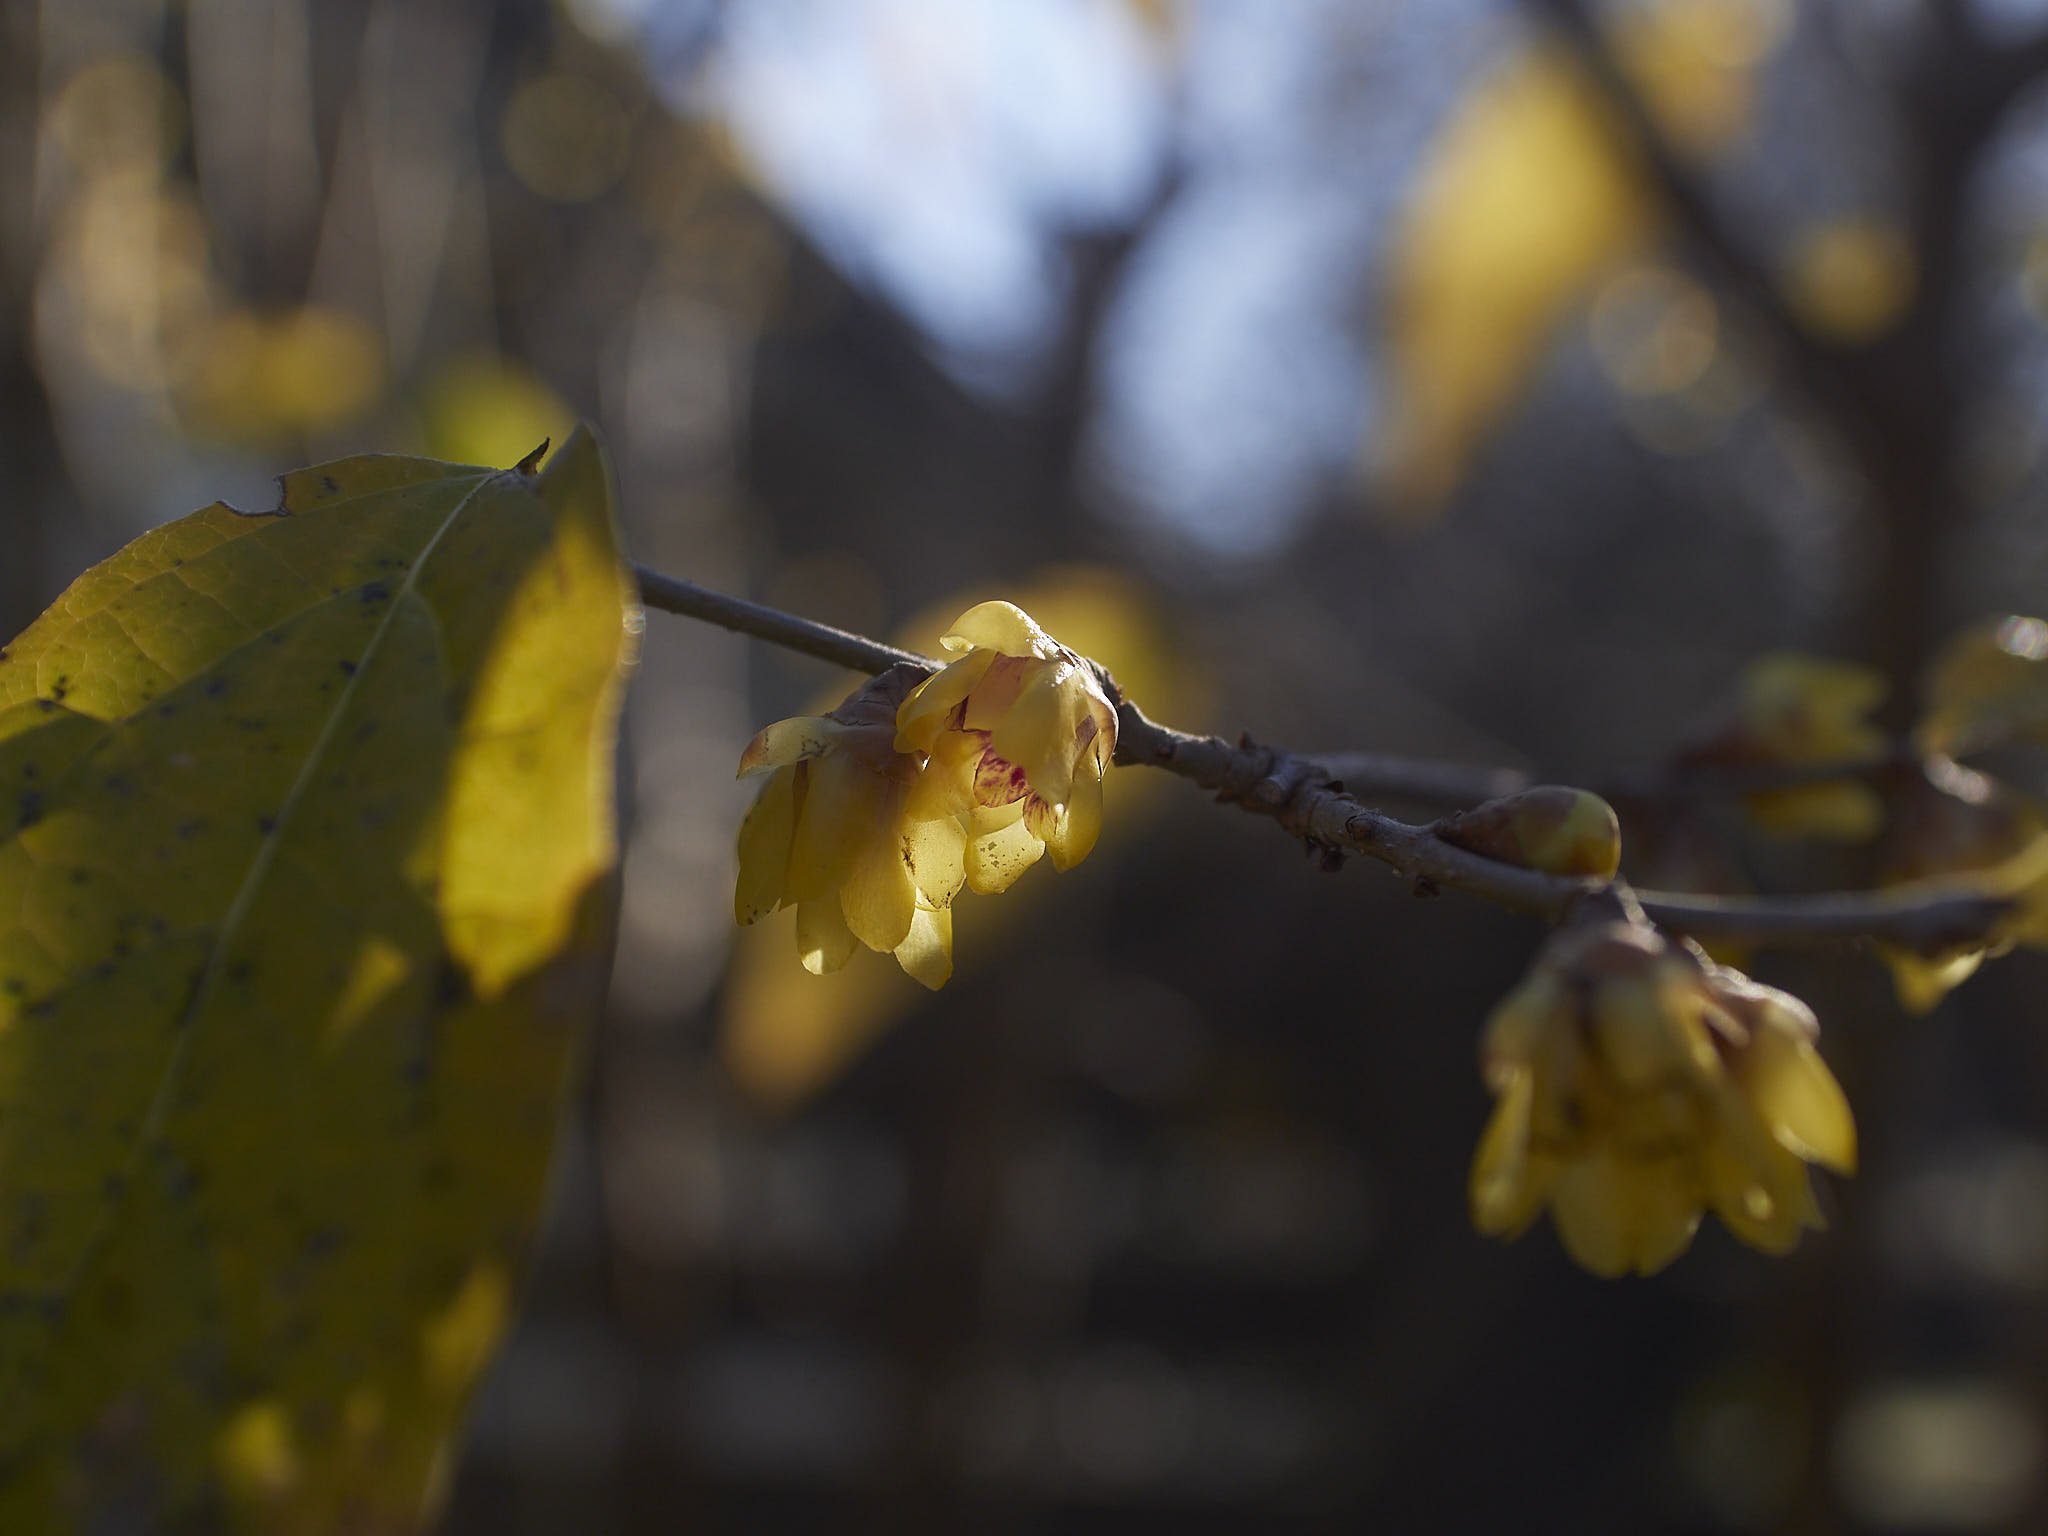
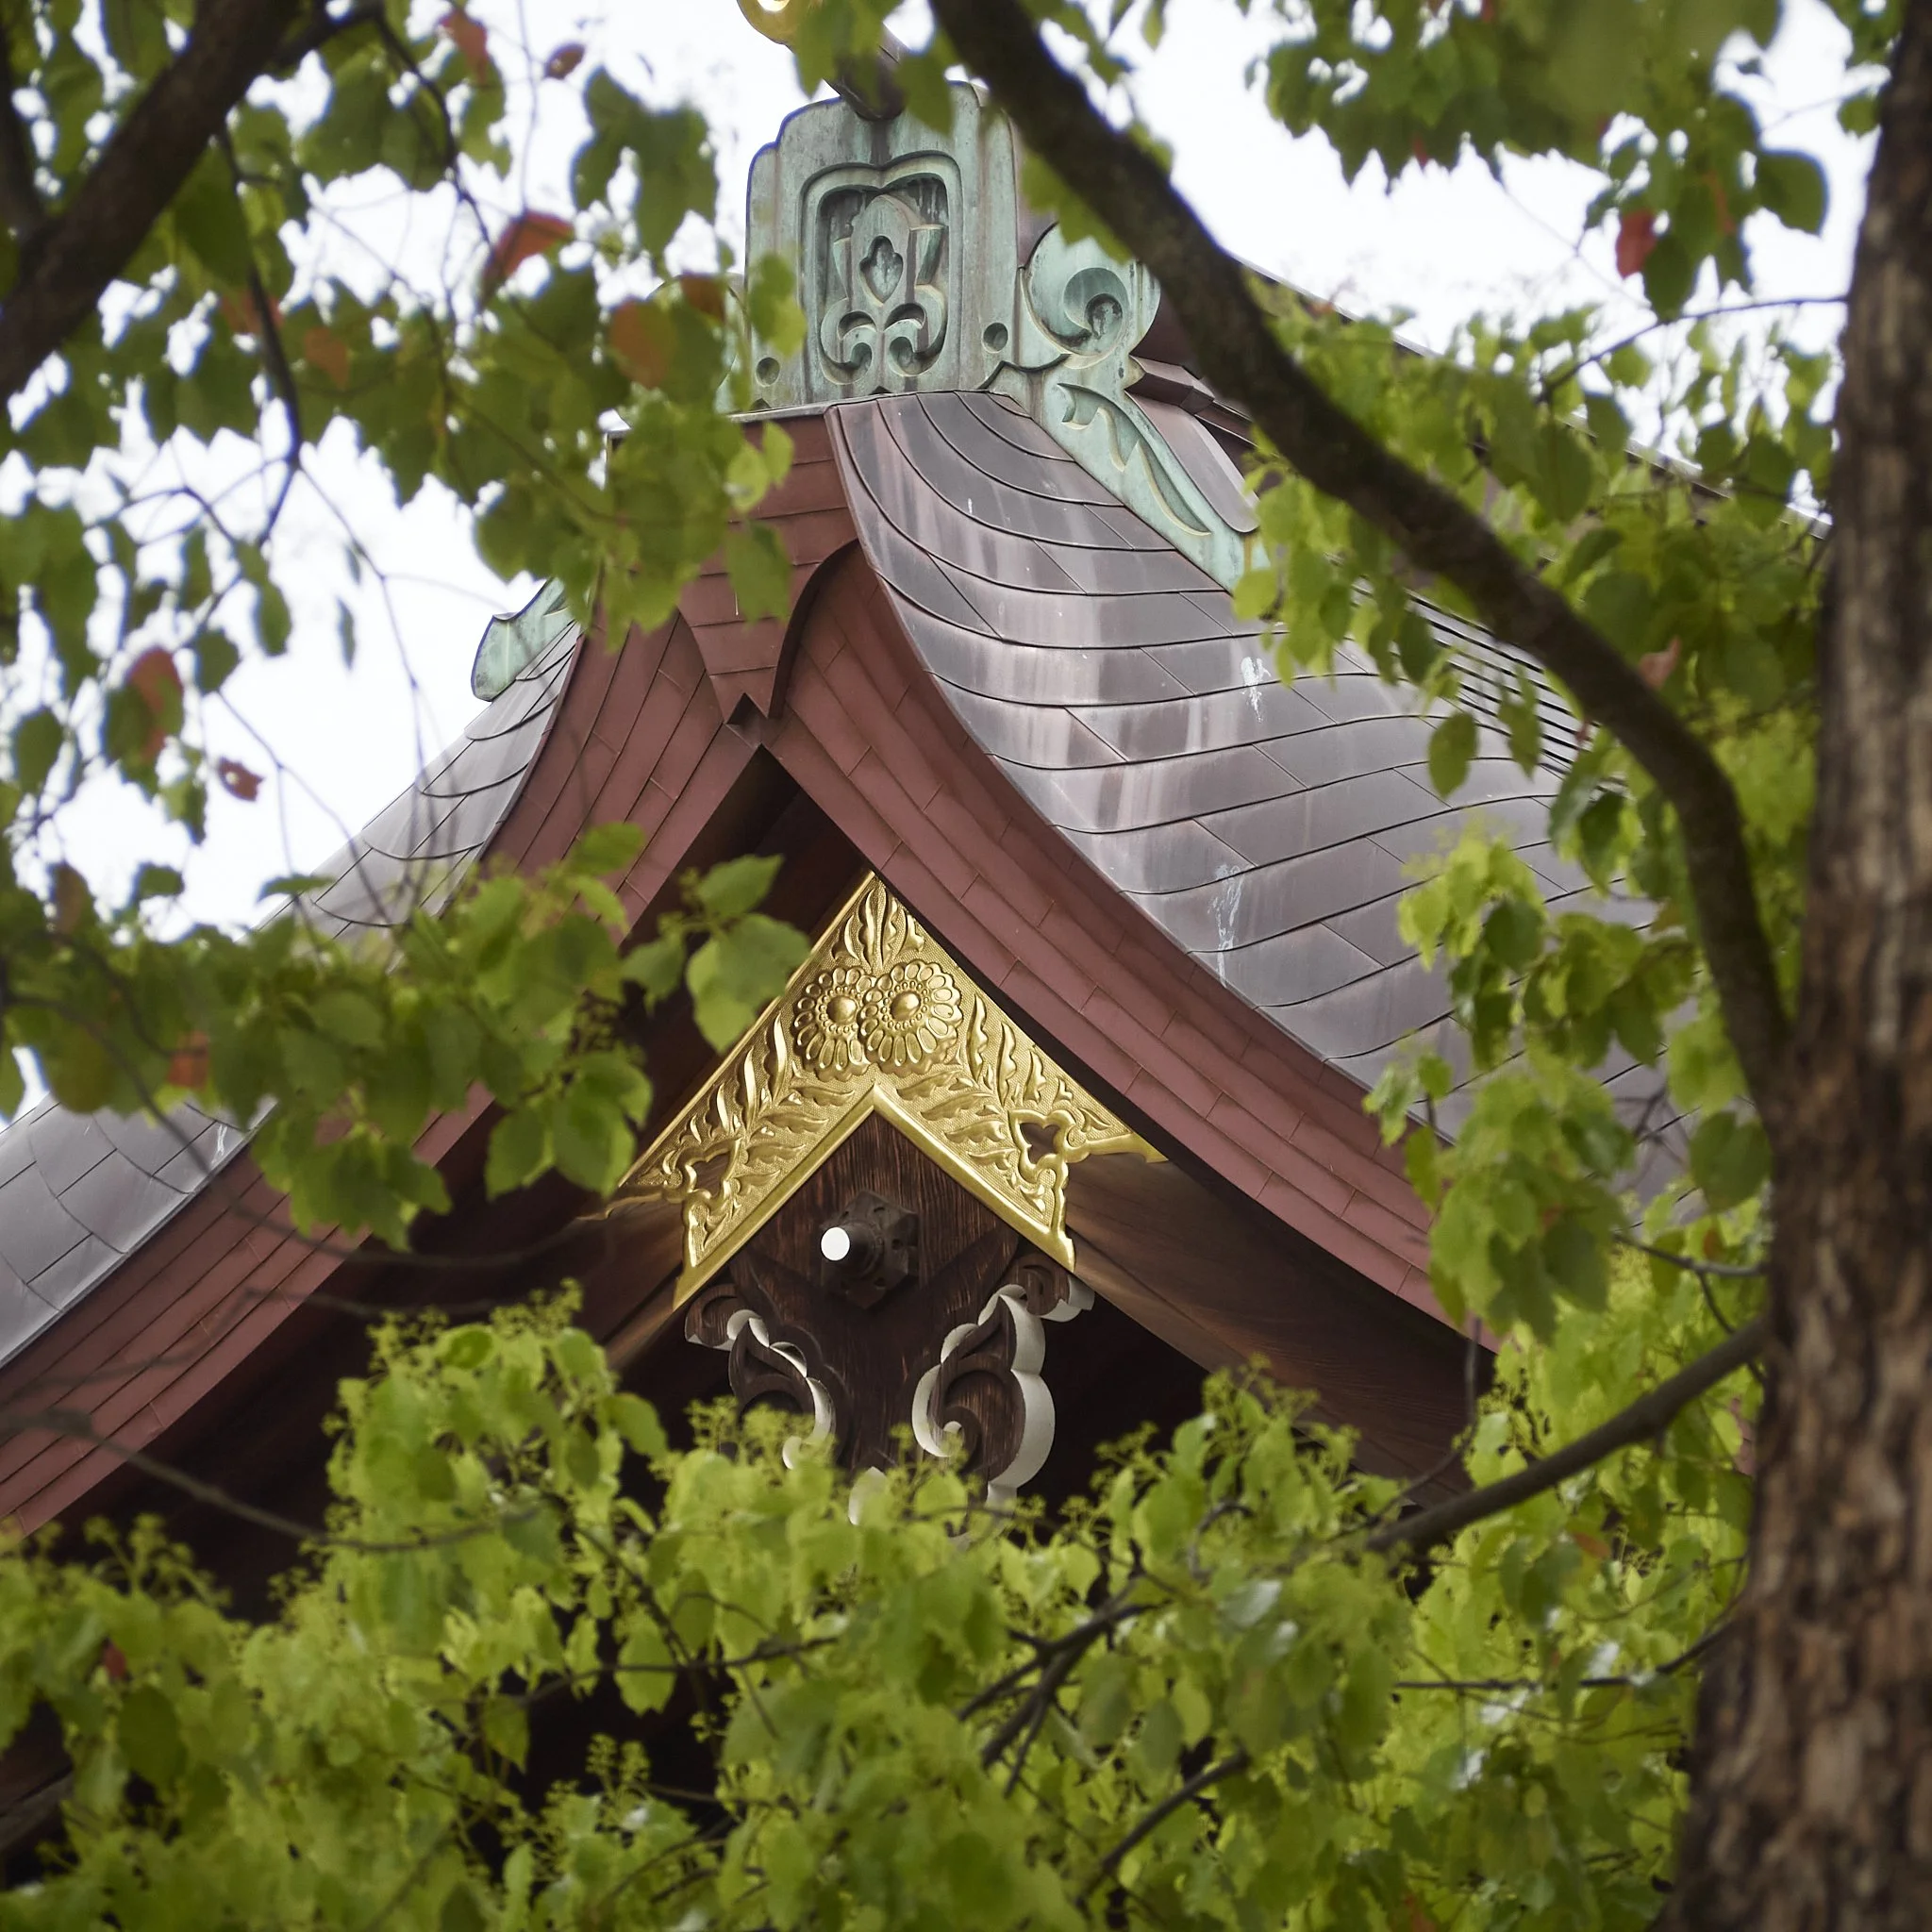
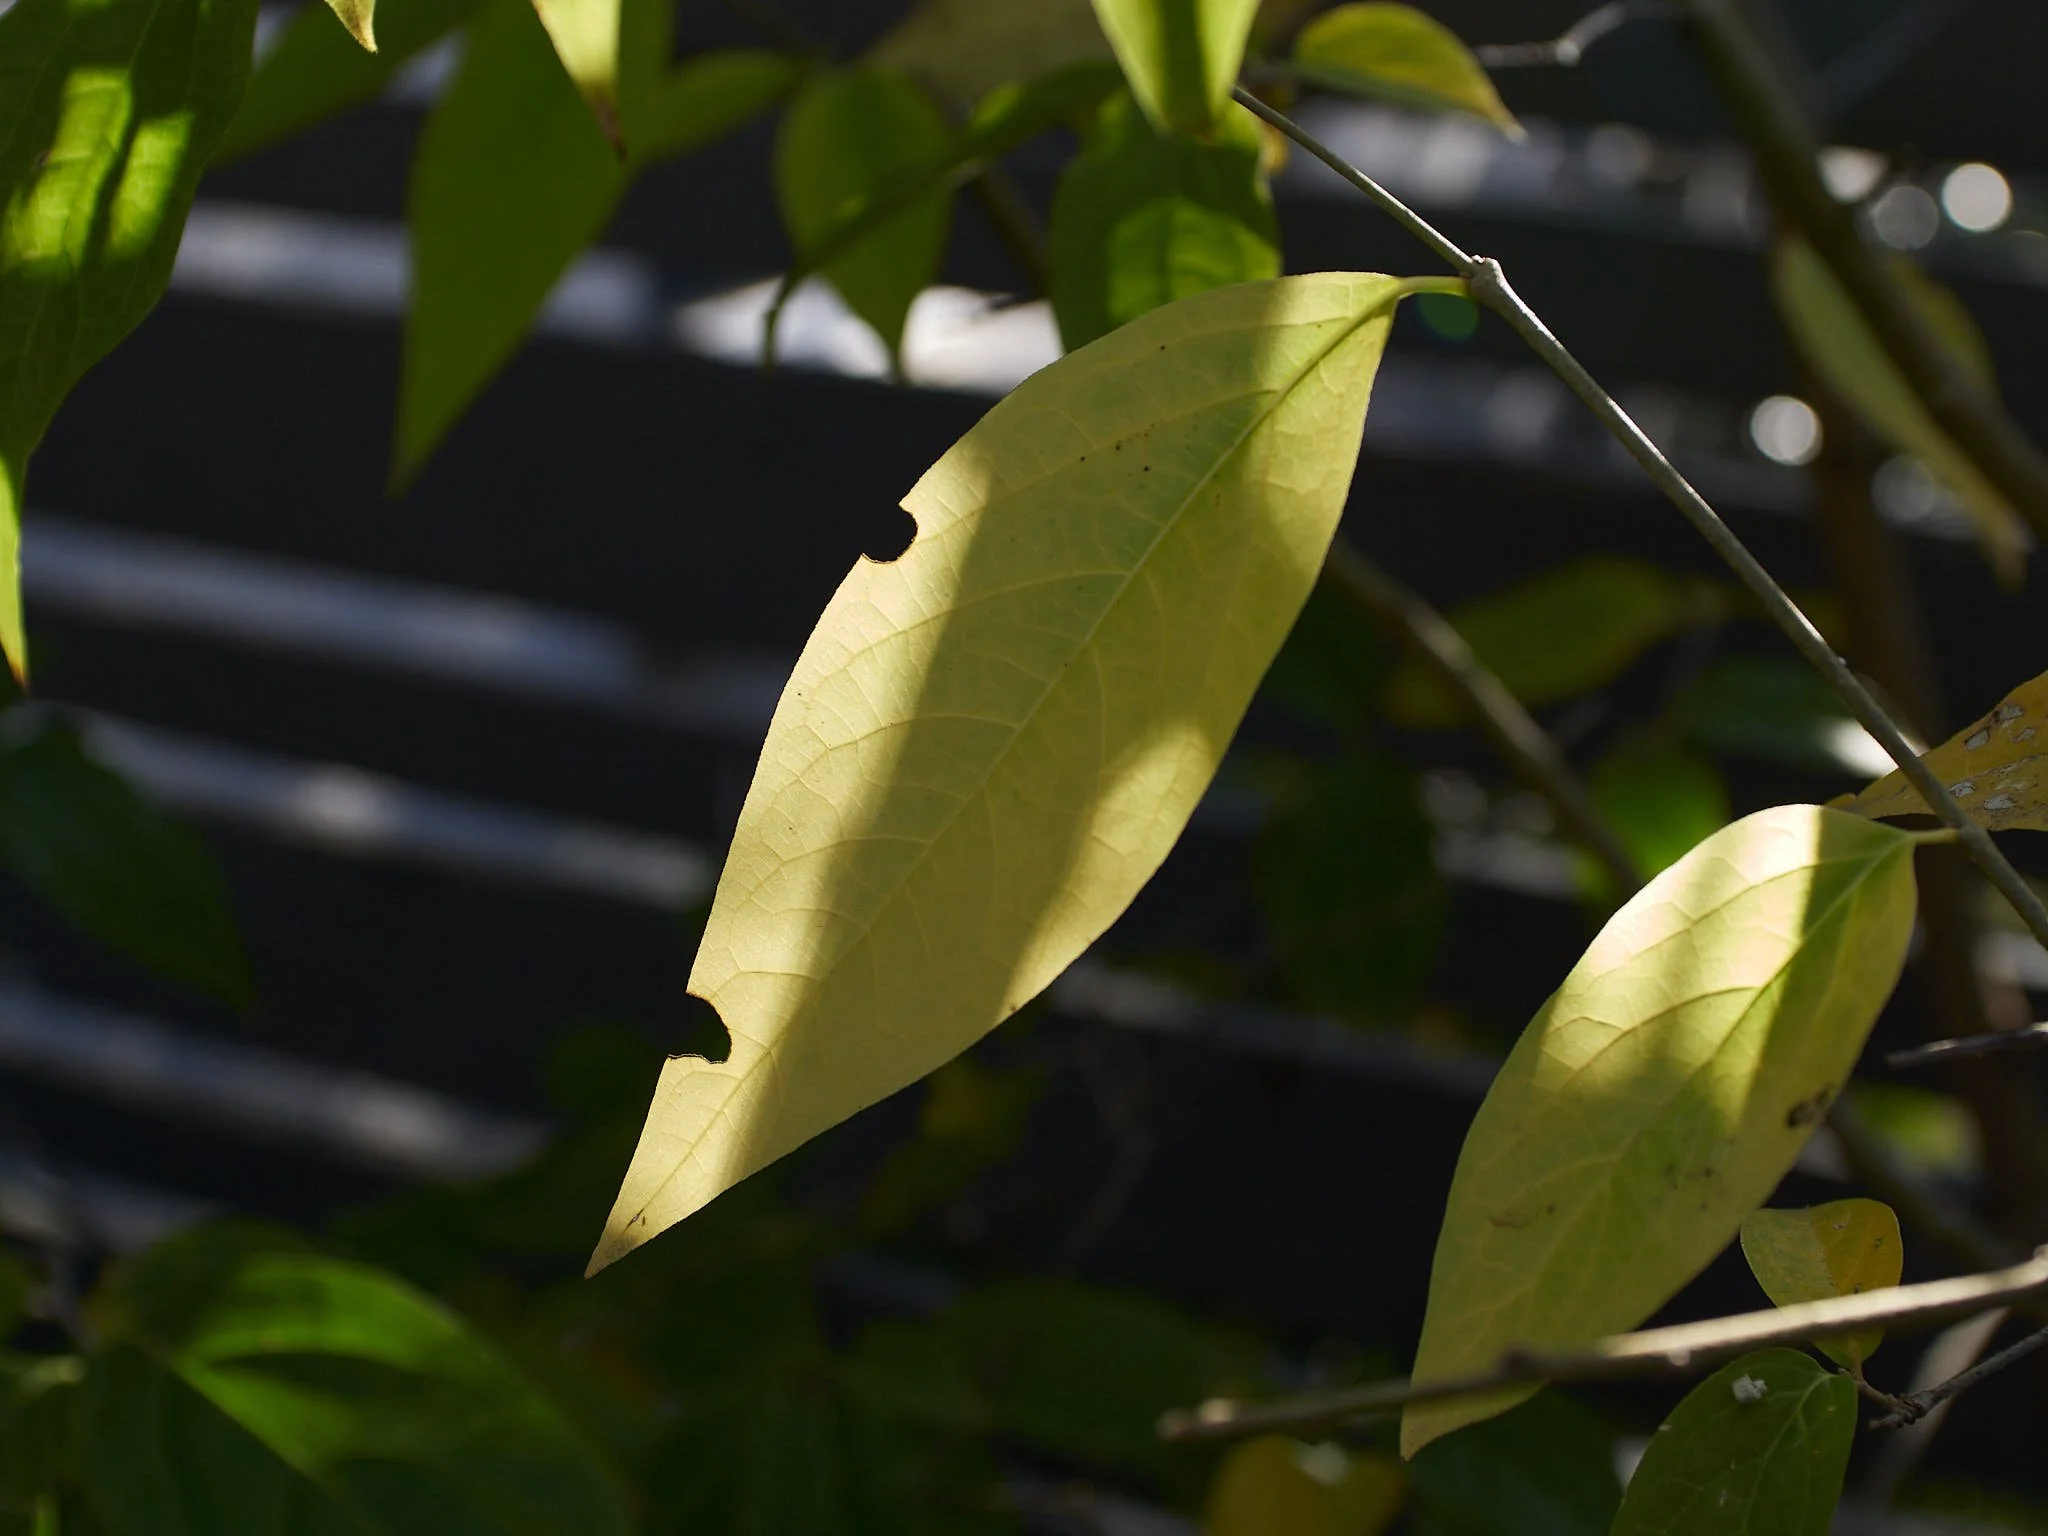
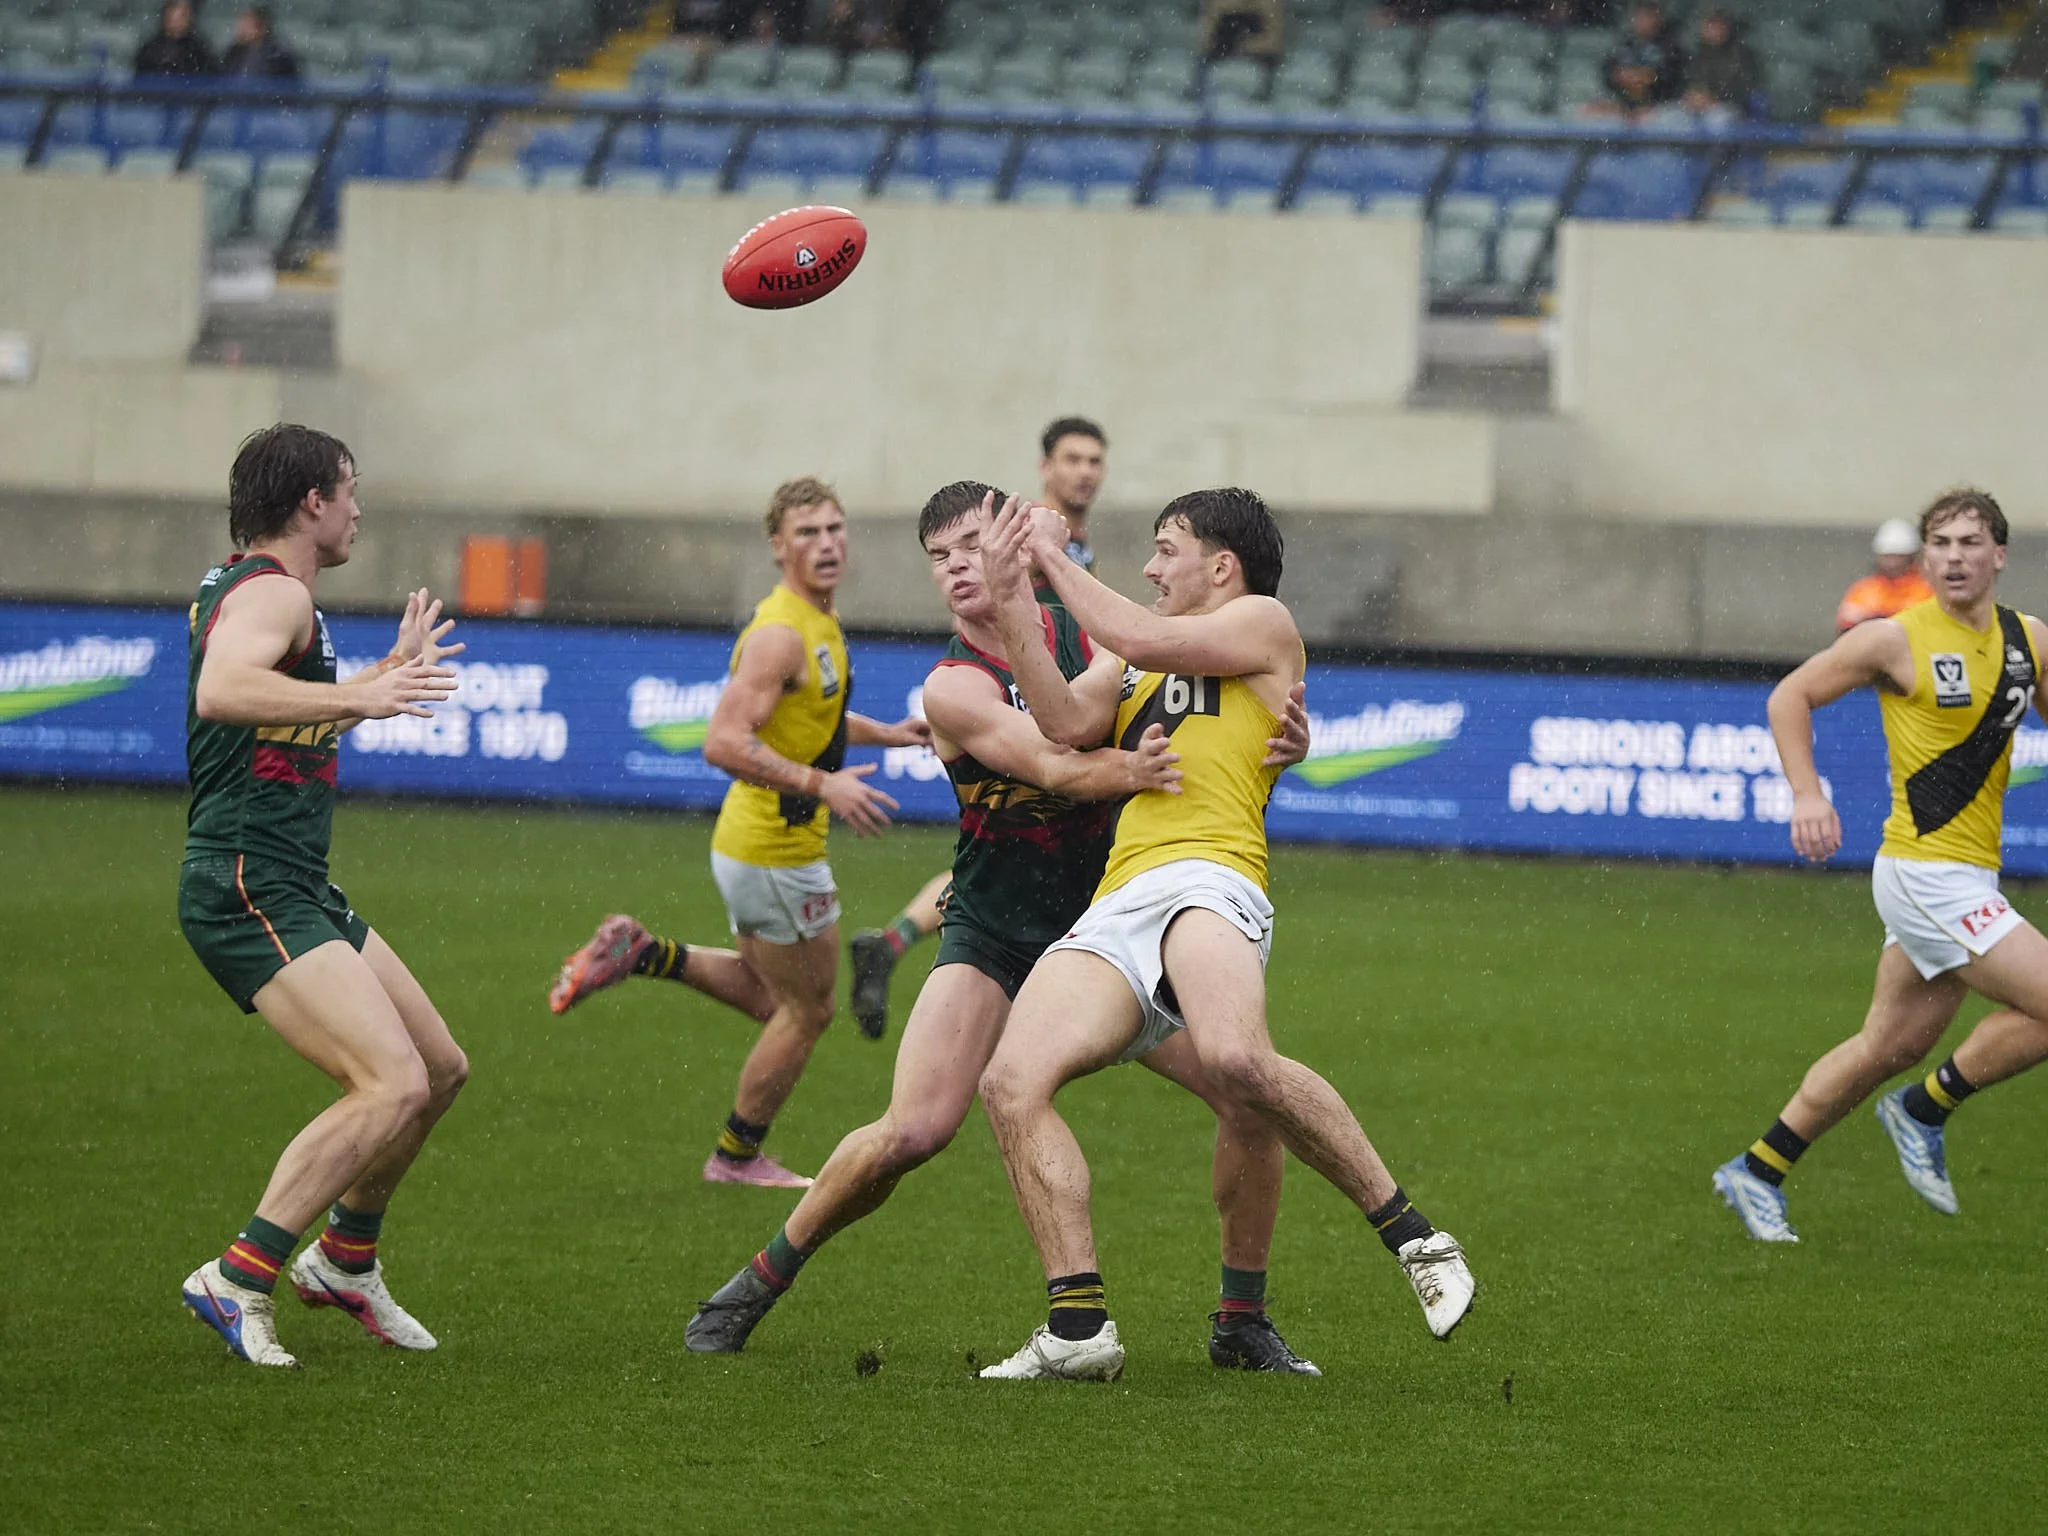
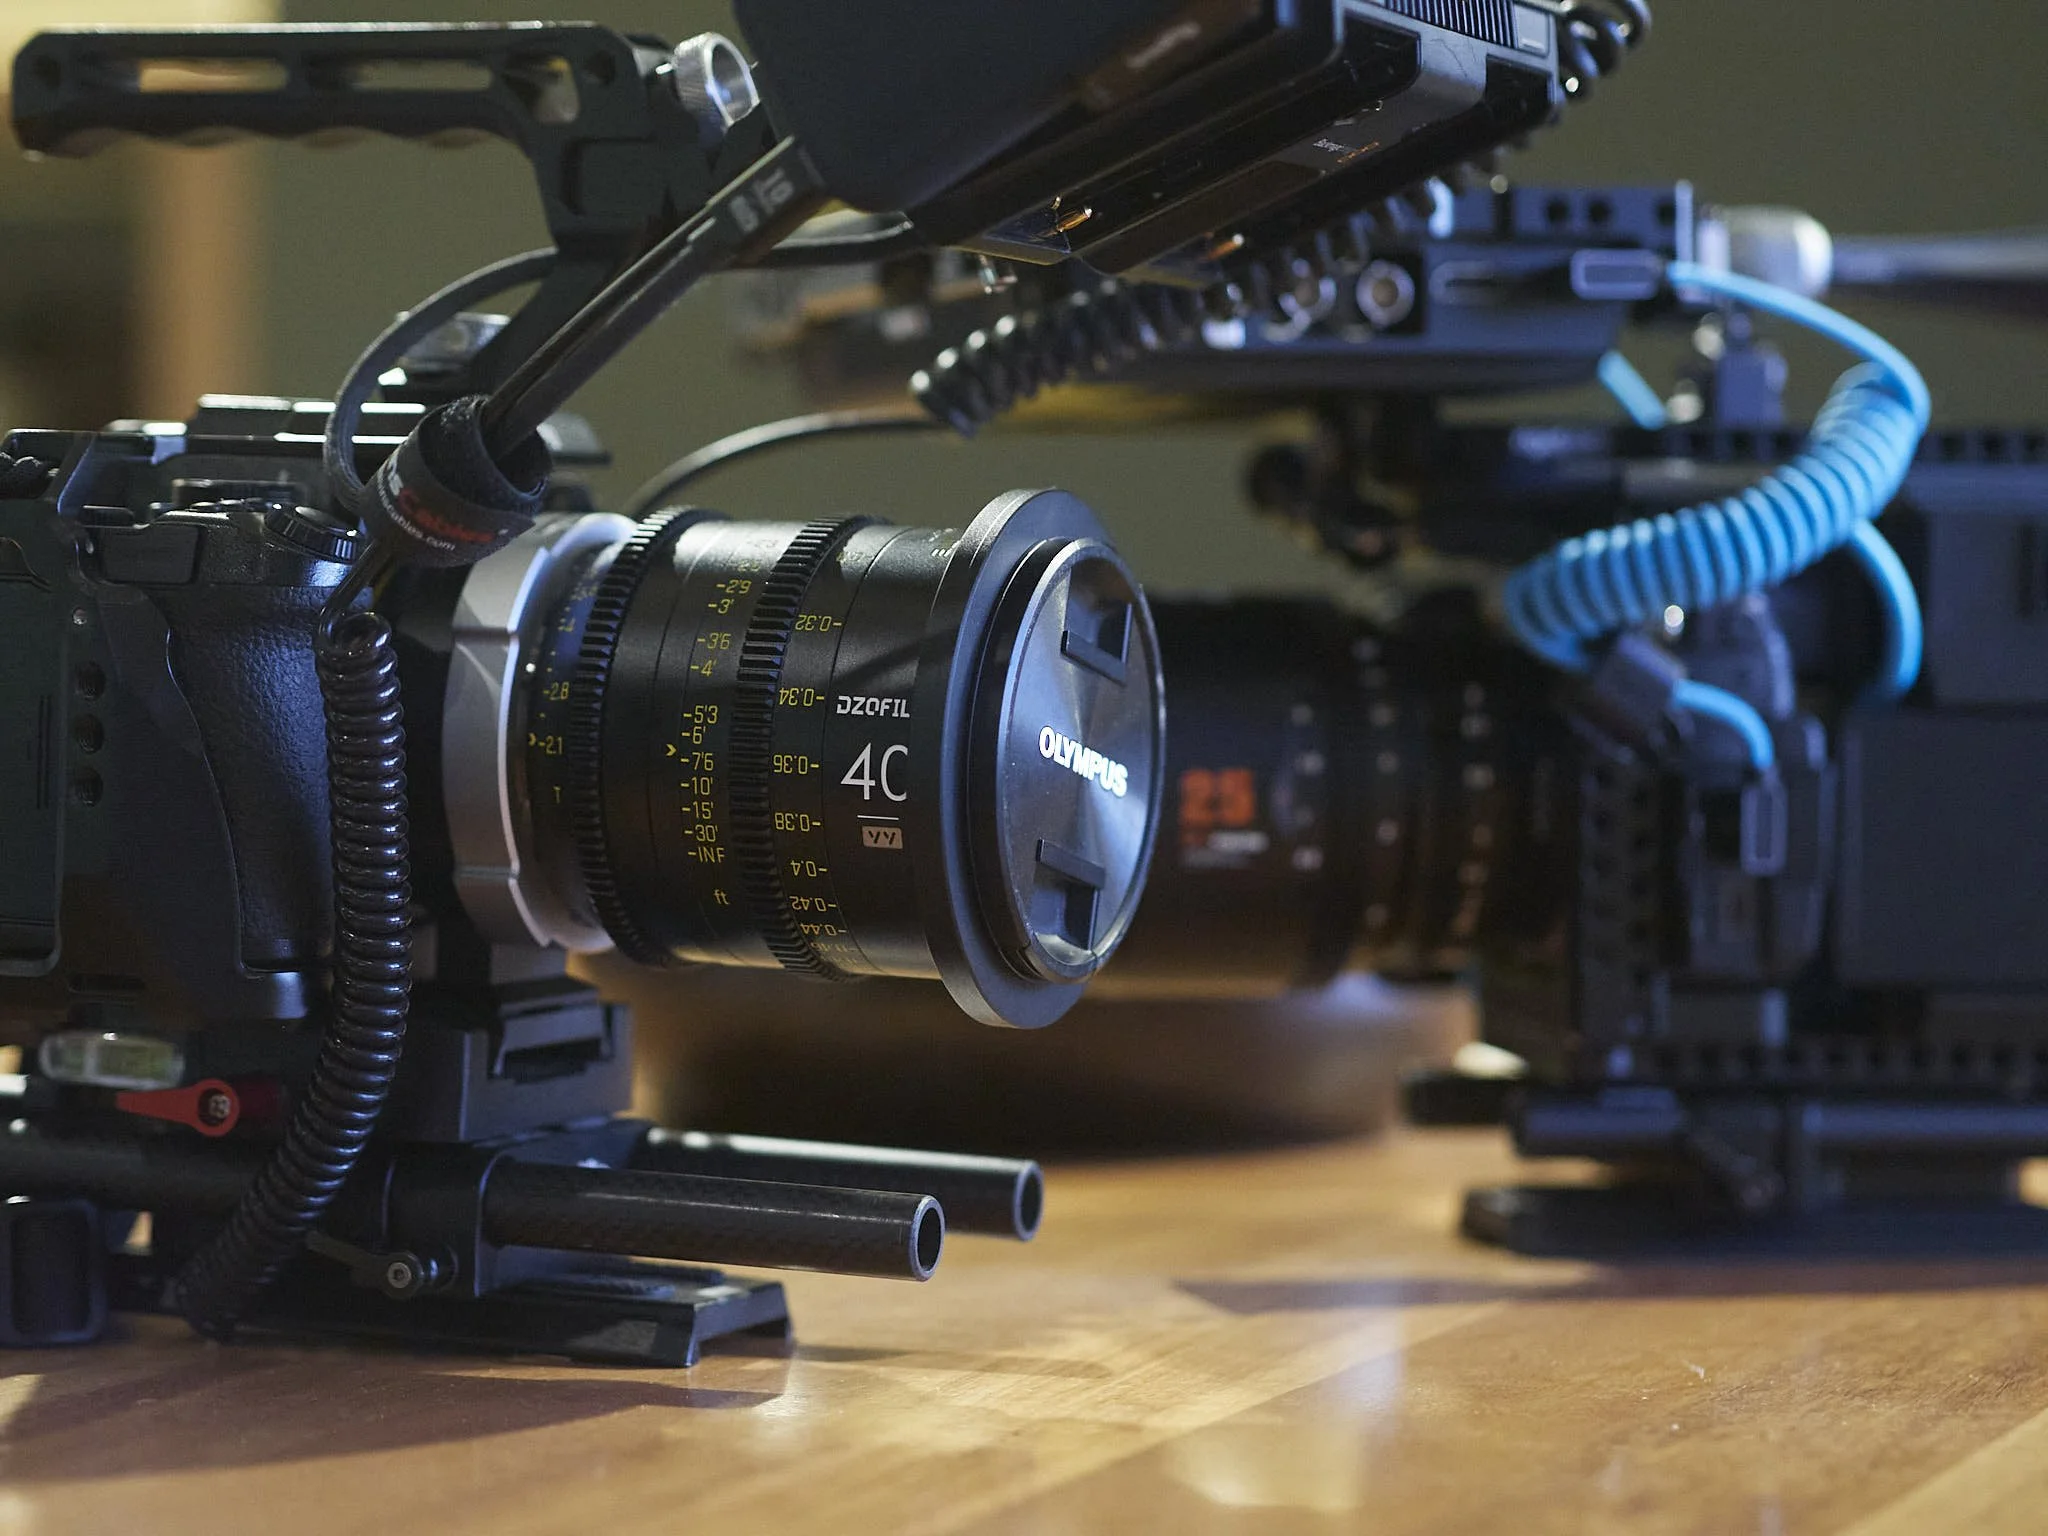
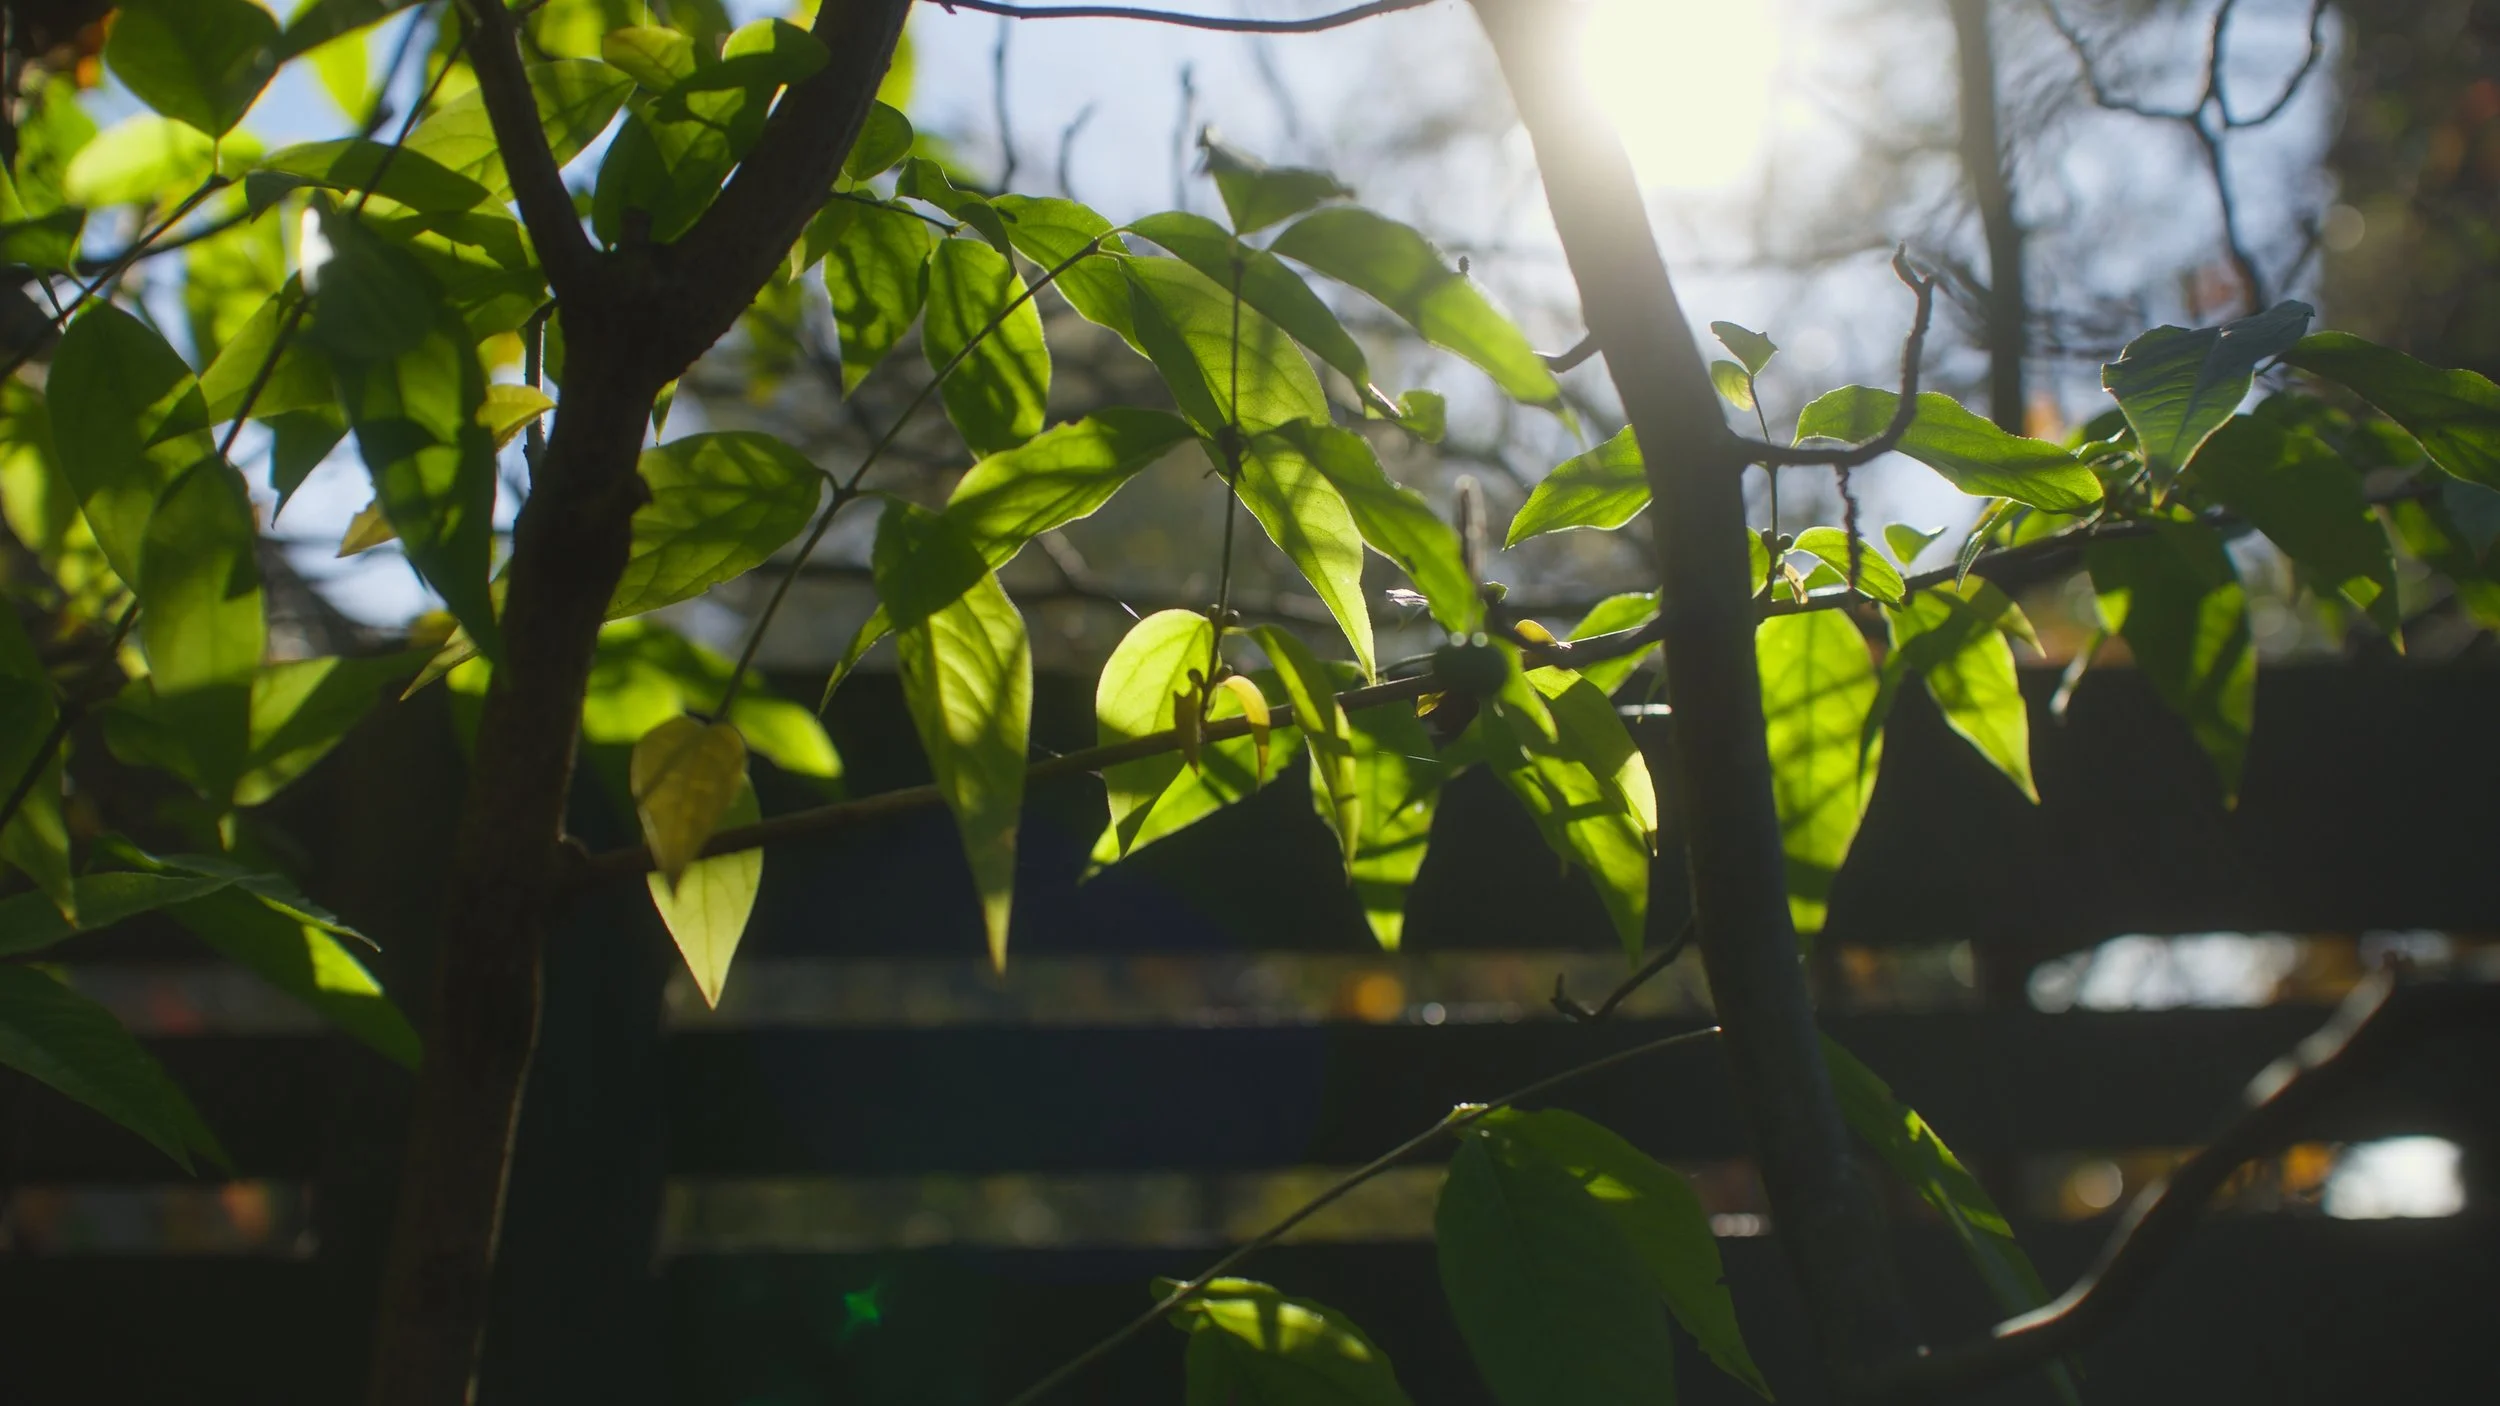
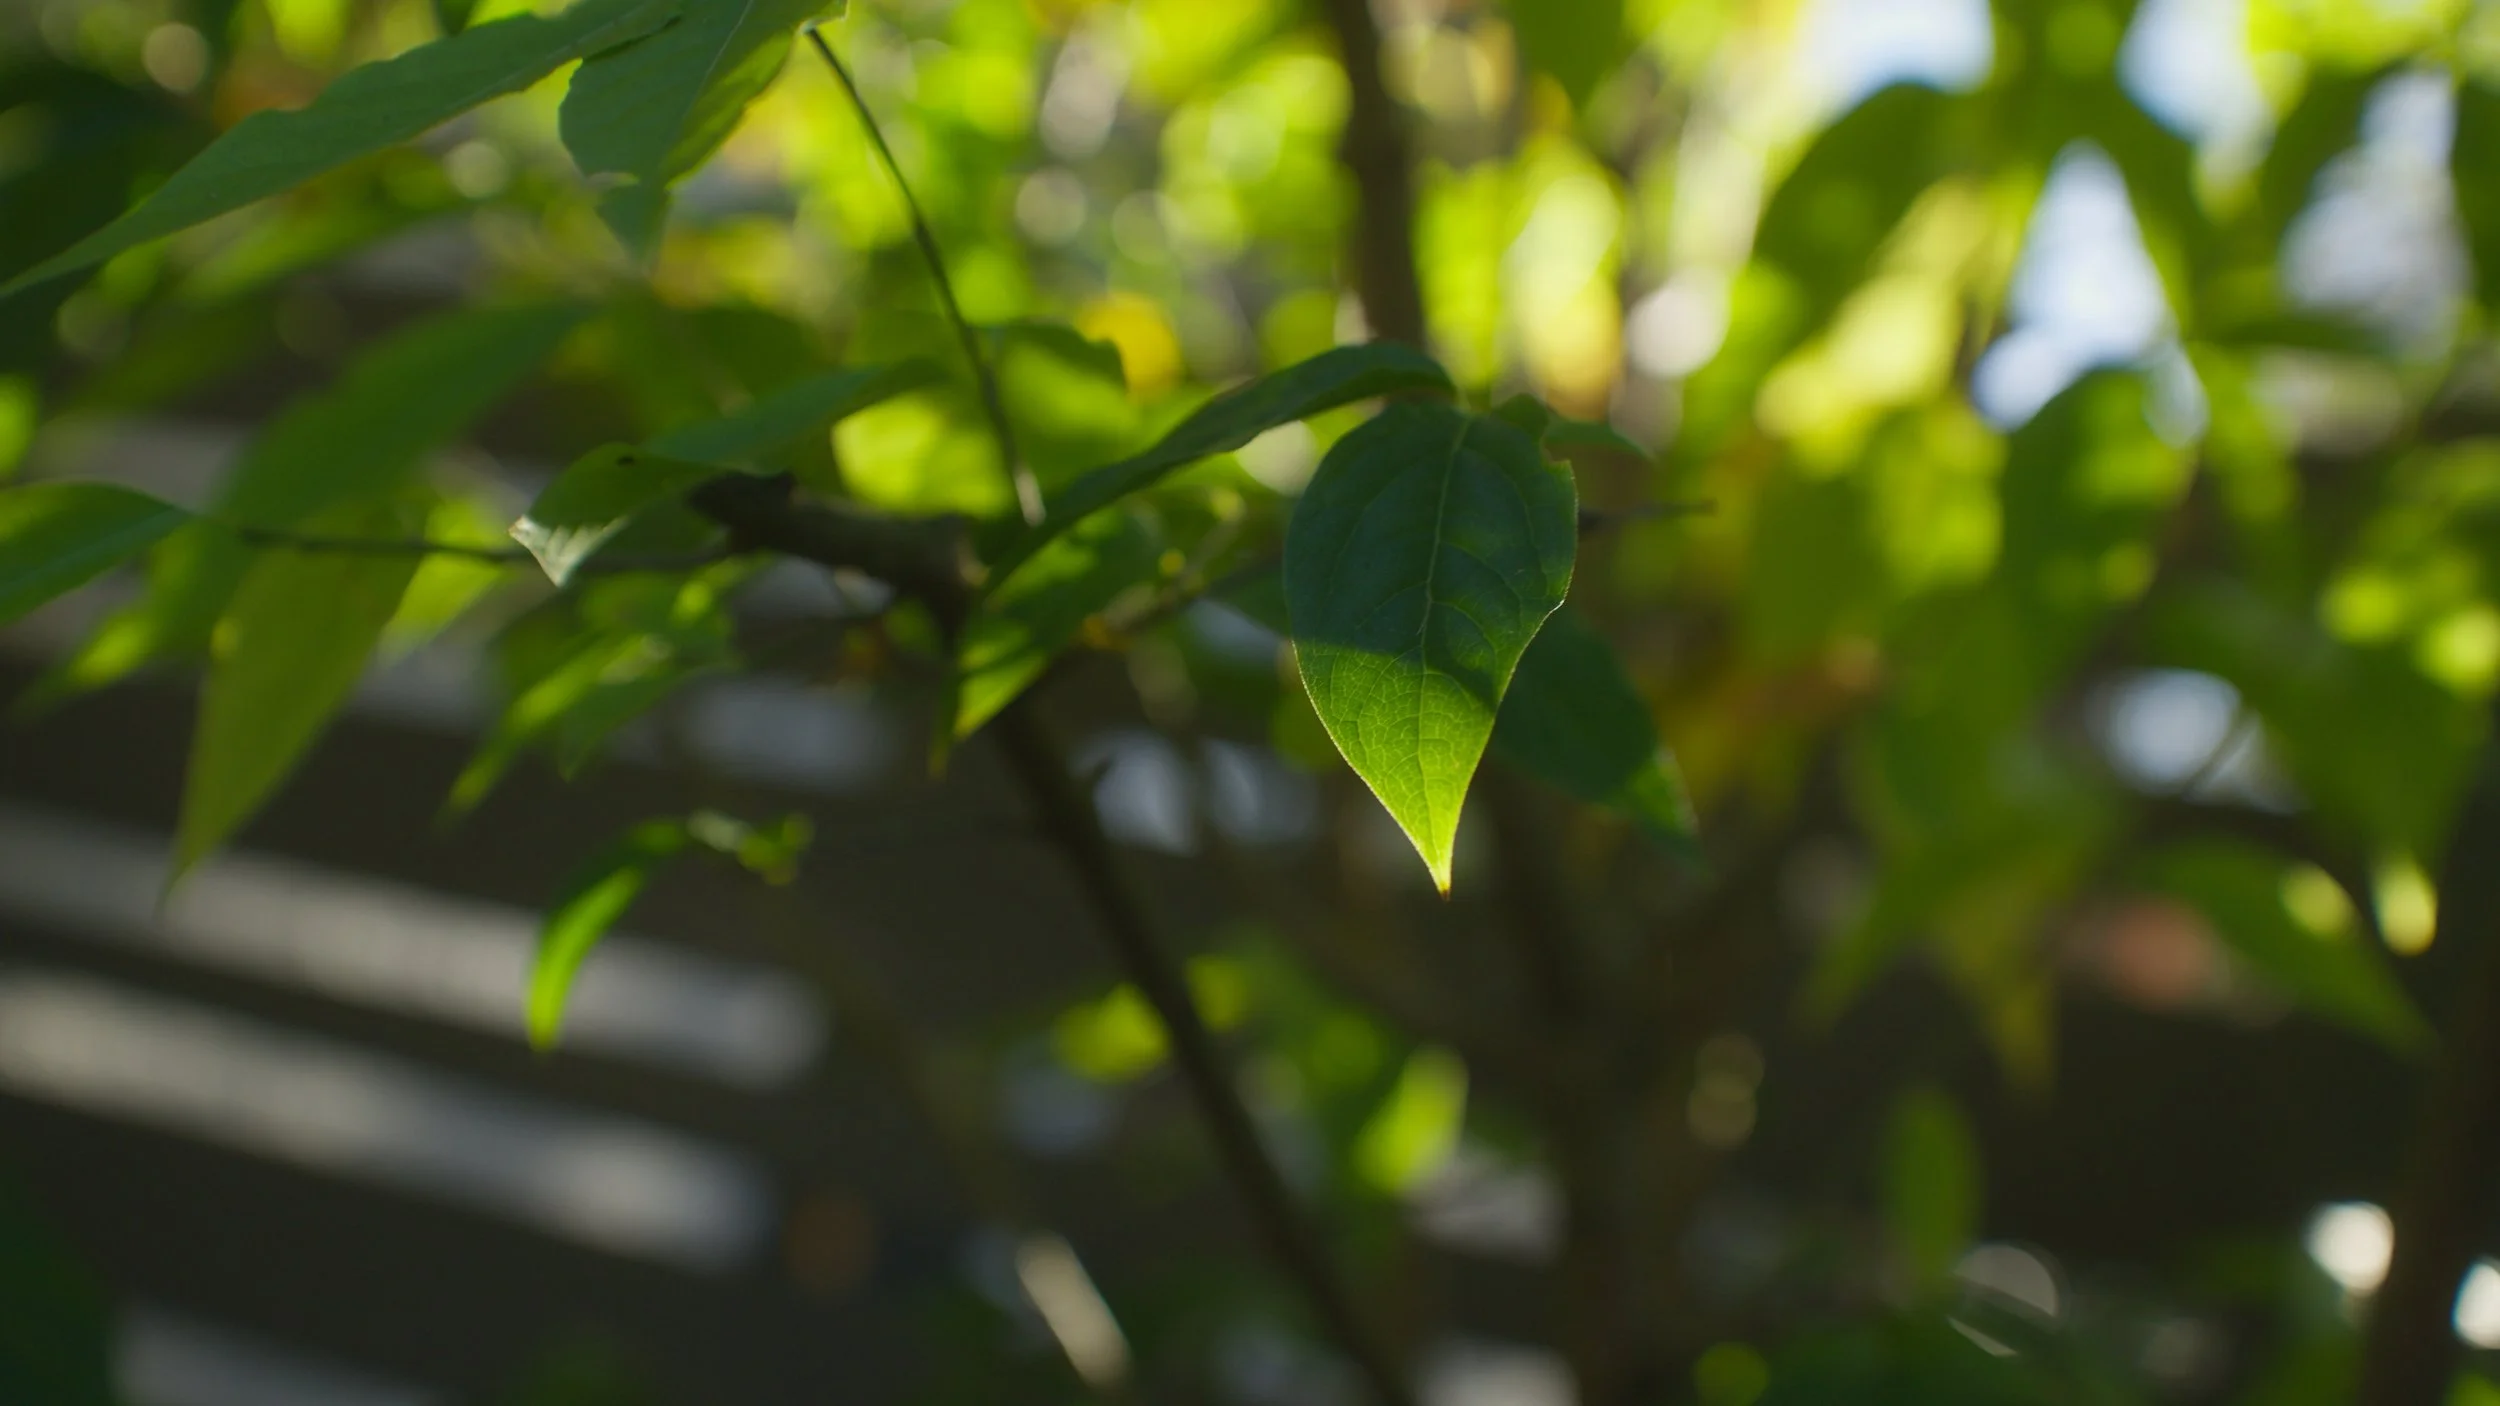
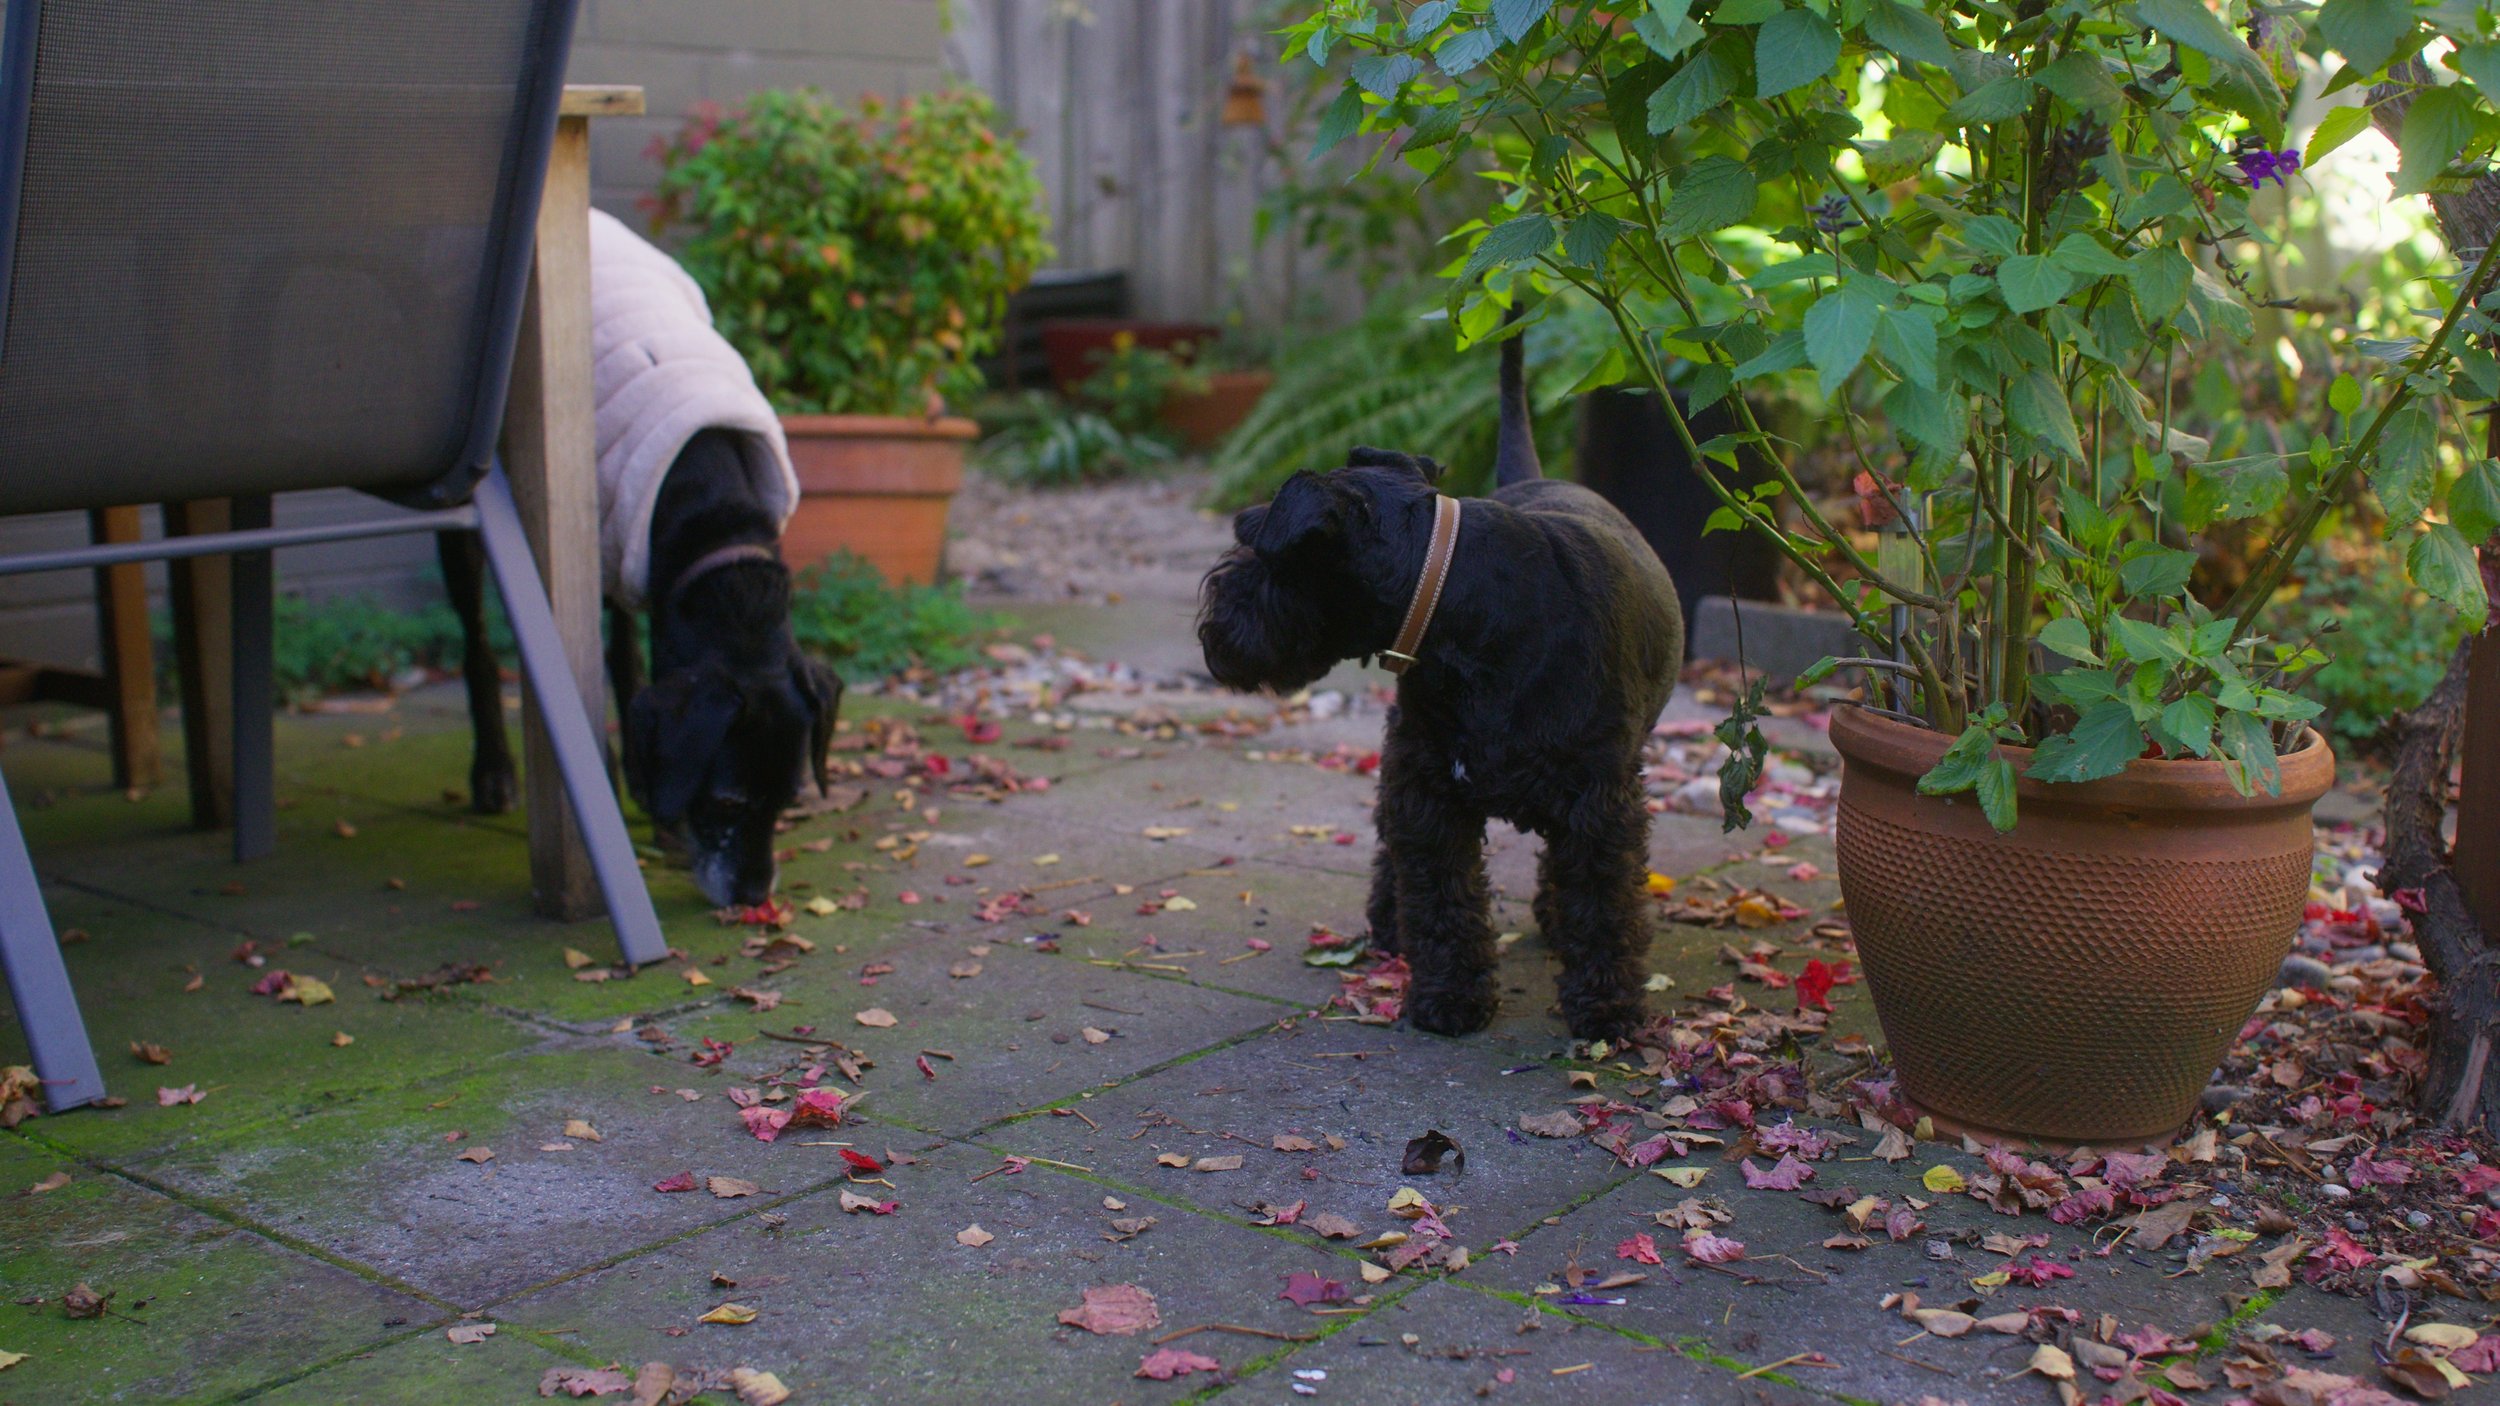
Even at f1.8, MFT format can render a natural looking image without calling attention to its in-out focus plane. You find yourself looking around the frame, it has depth in more ways than one. The modern trend is a sharp line of focus on the bike rider, everyone else blurred out. That does not appeal on any level.
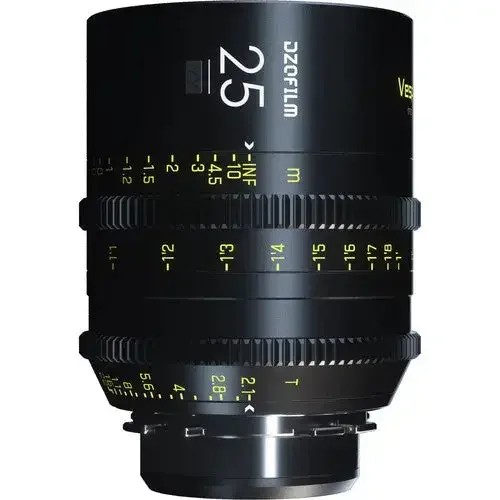
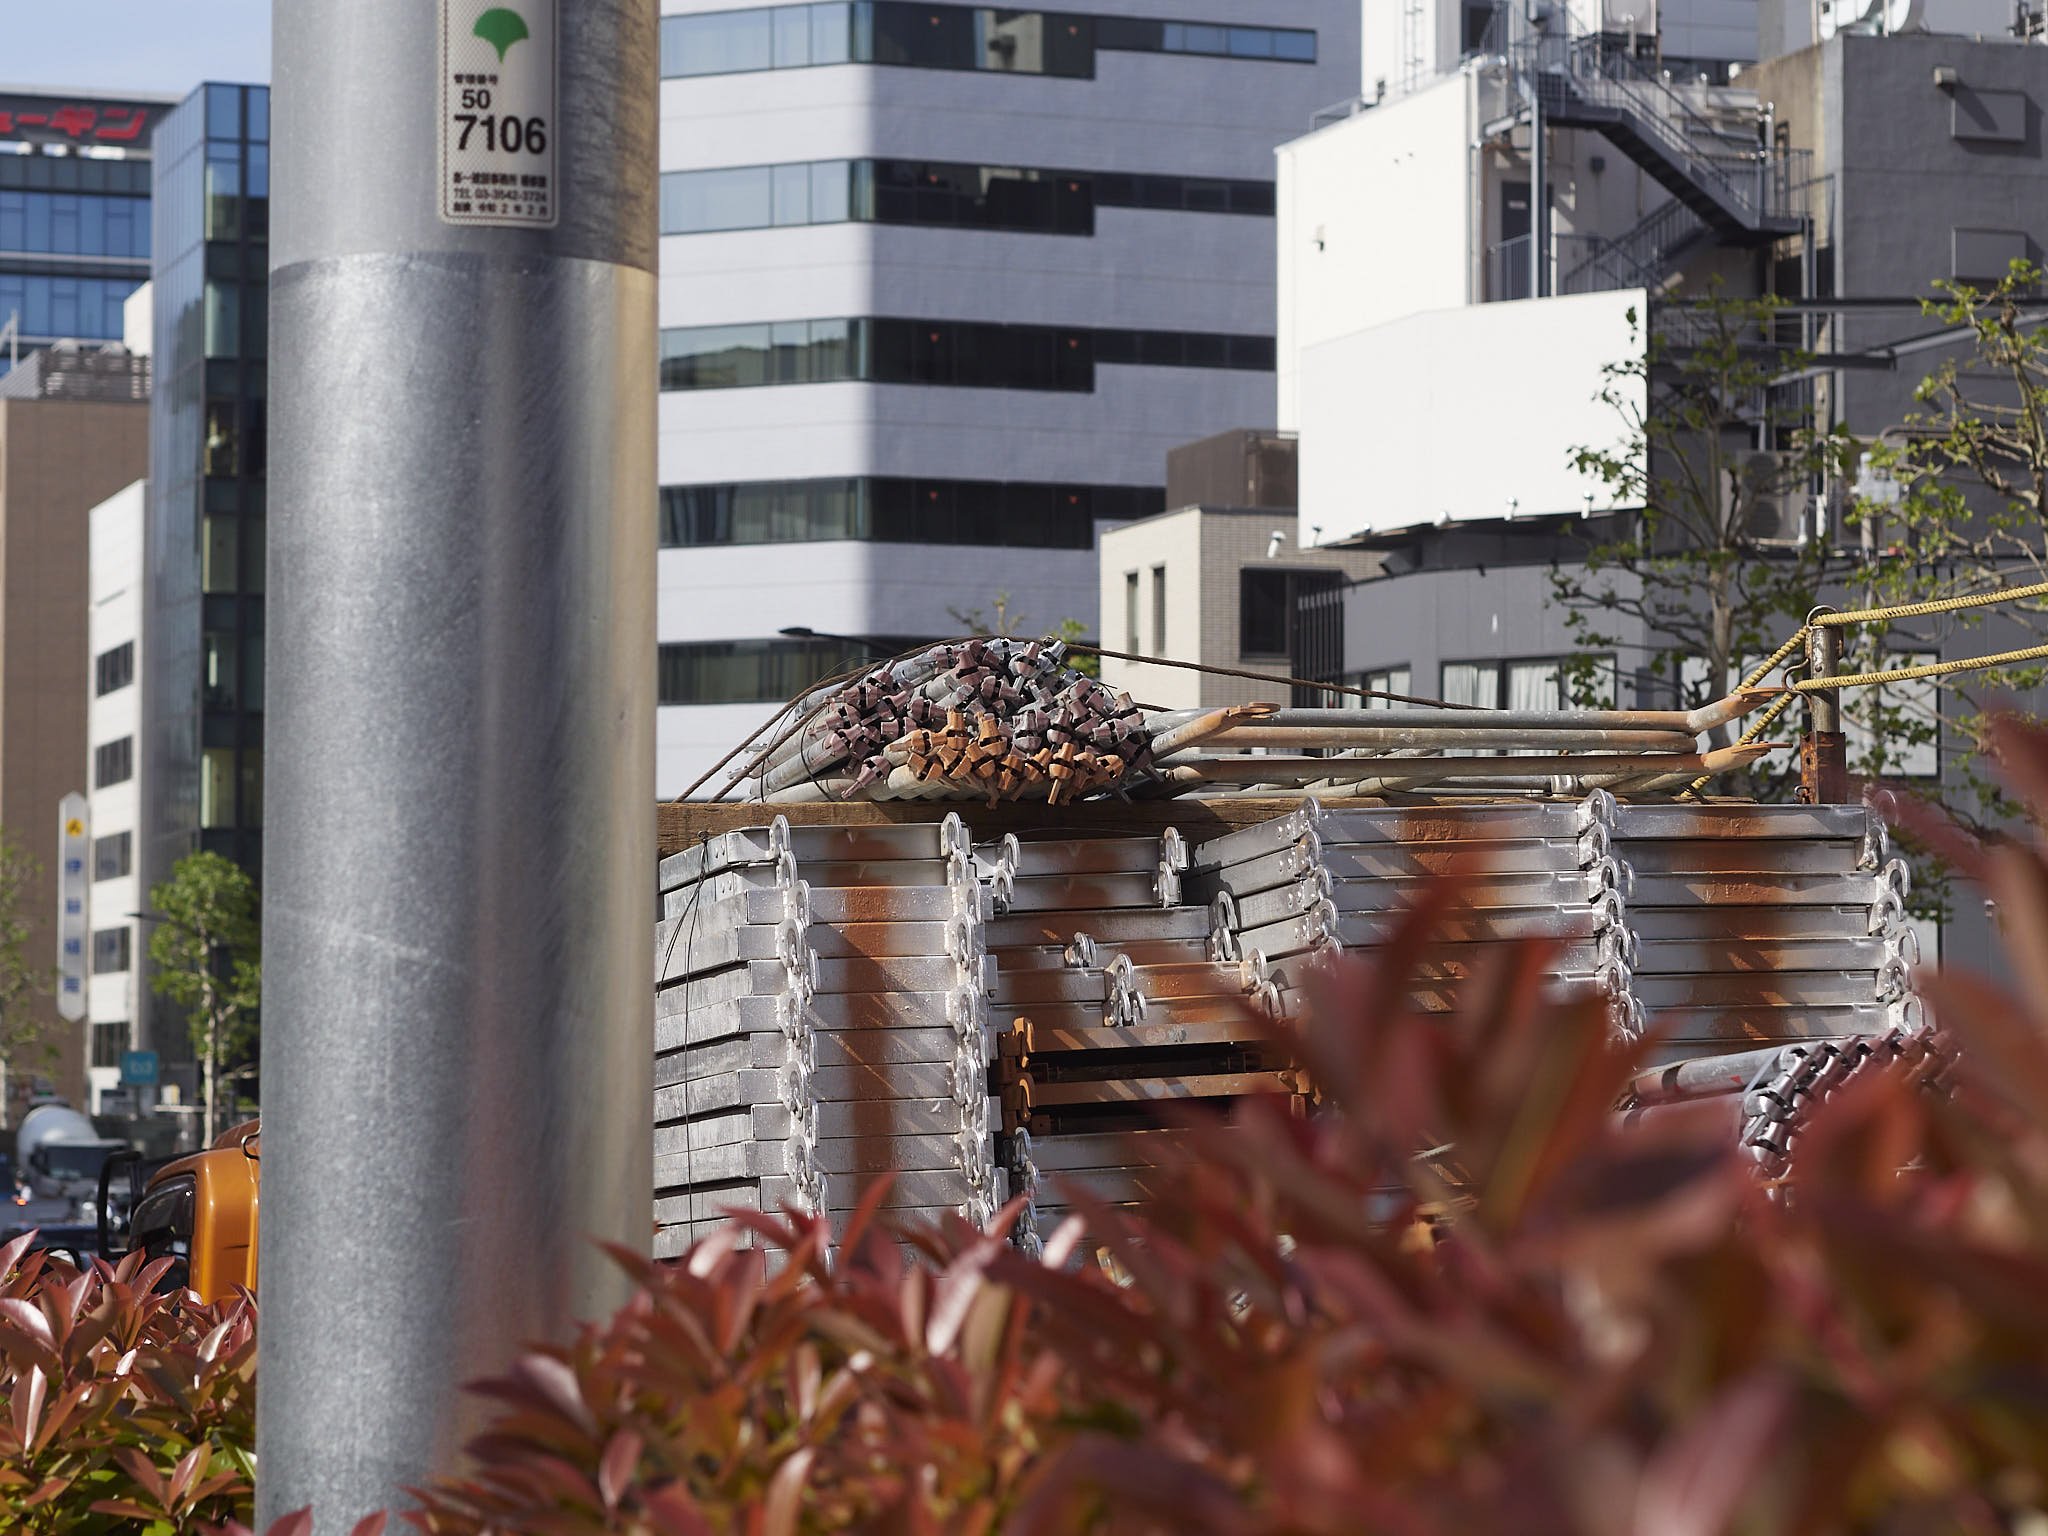
My main stills format, Micro Four Thirds has a secret. Deep depth of field is easier to find, it is always accessible, because the format adds over two stops more depth for its equivalent magnification to full frame. A 17mm lens sees like a 35mm, but with f5.6-6.7 depth at f2.8 or f2.8-3.4 at f1.8. Many see this as a negative, but I do not.
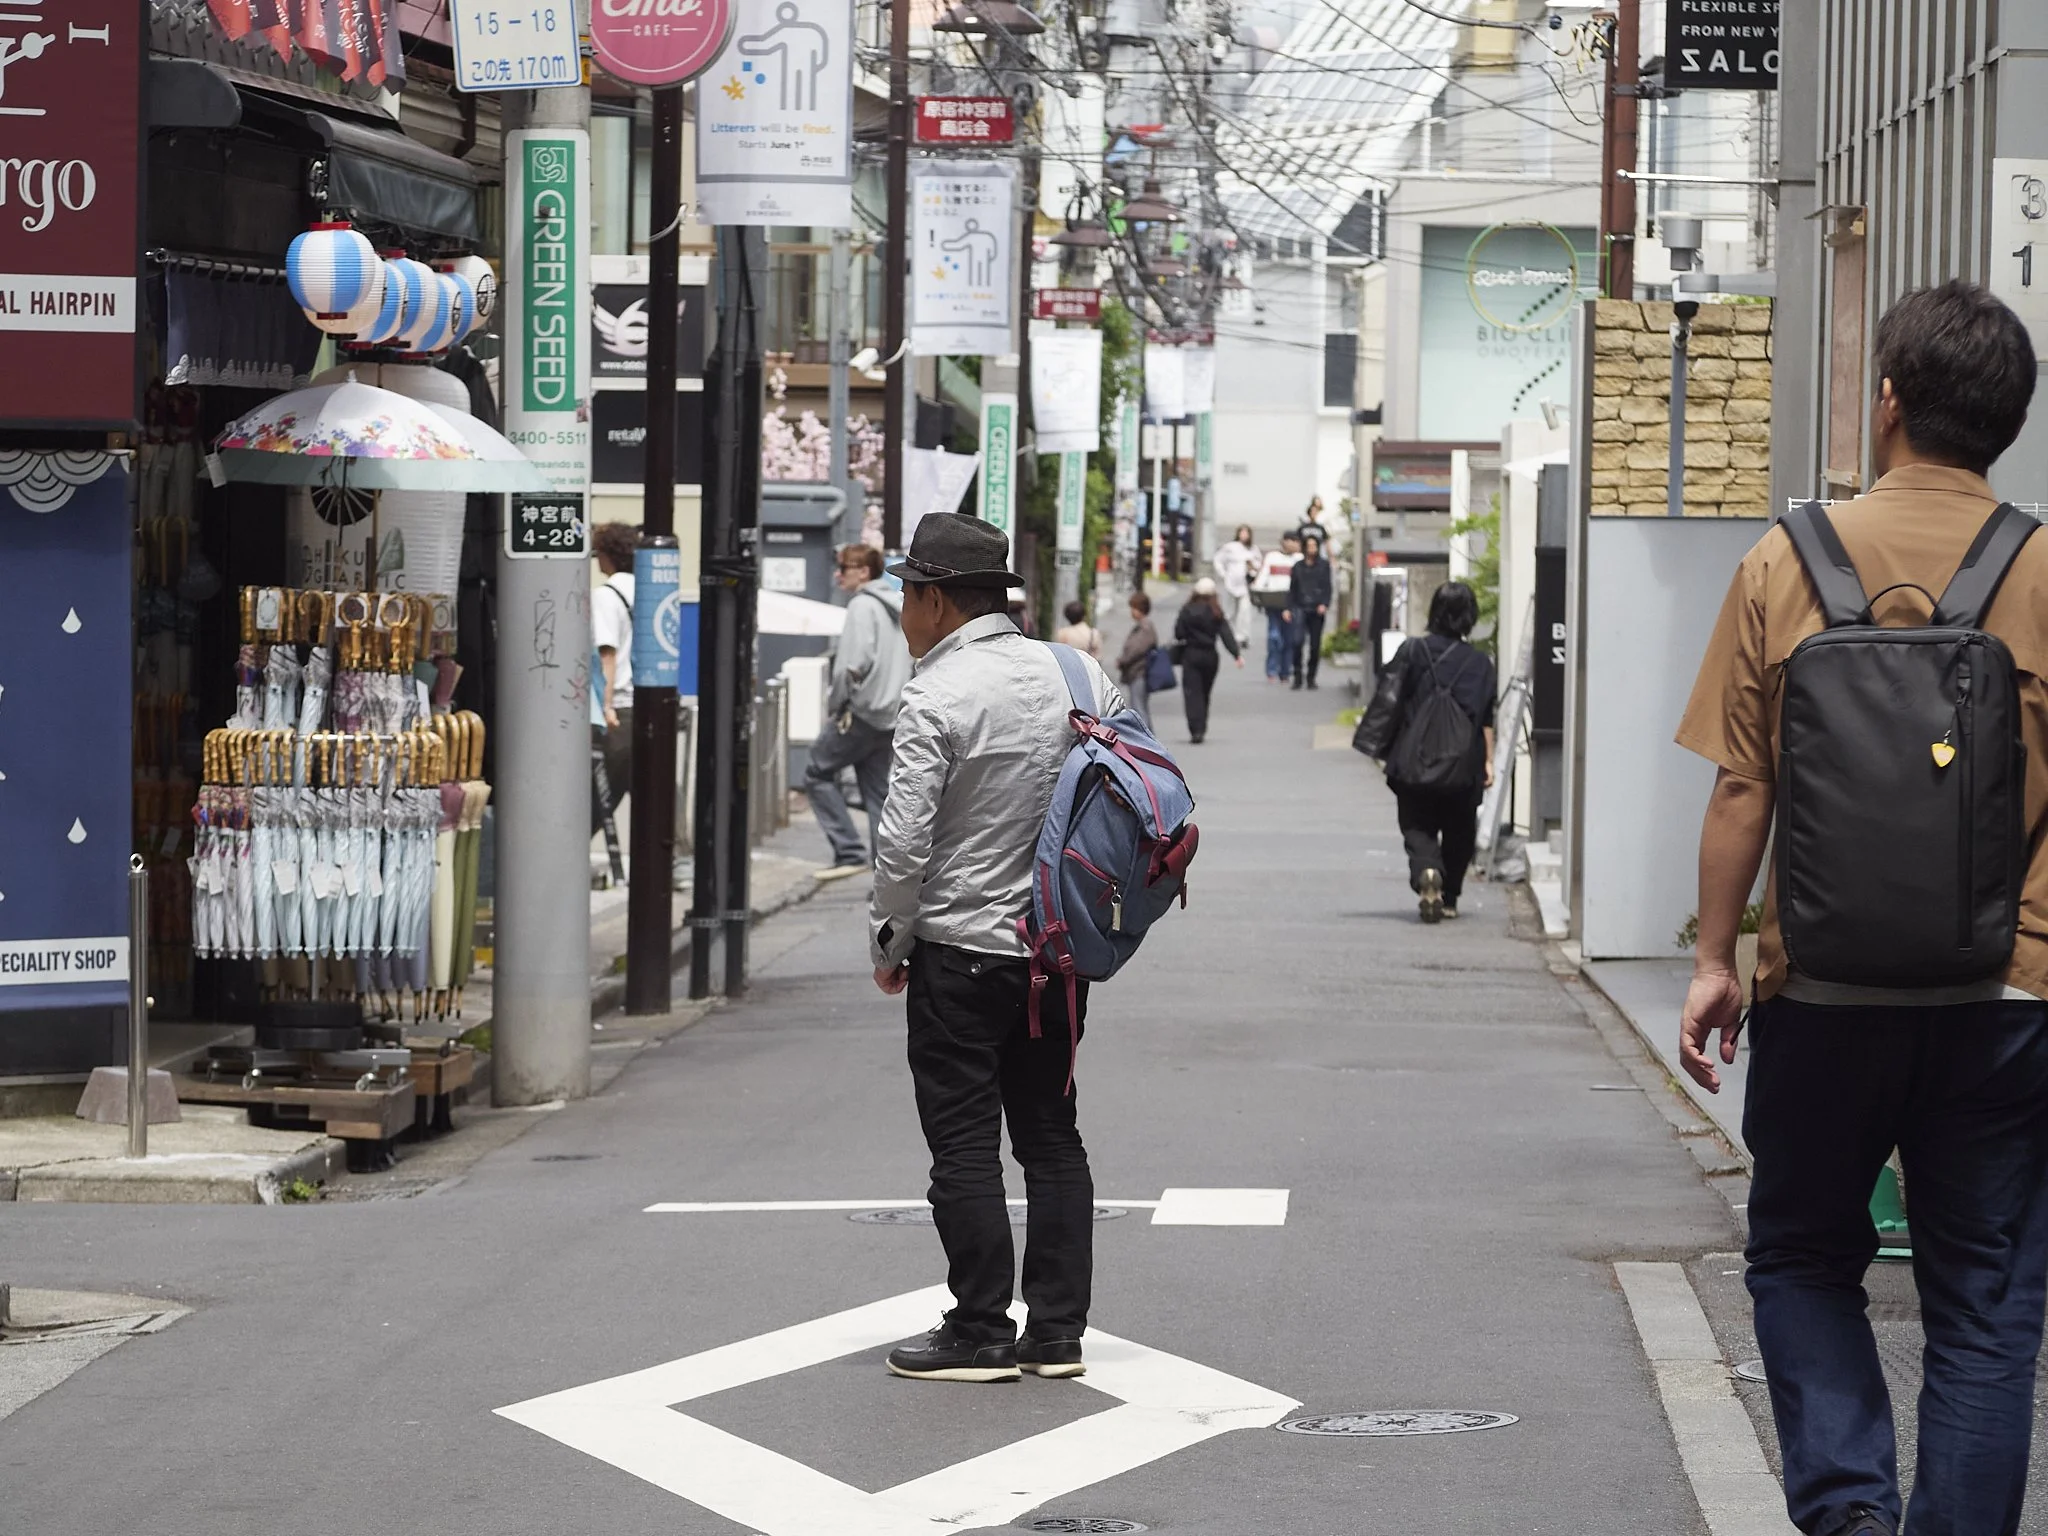
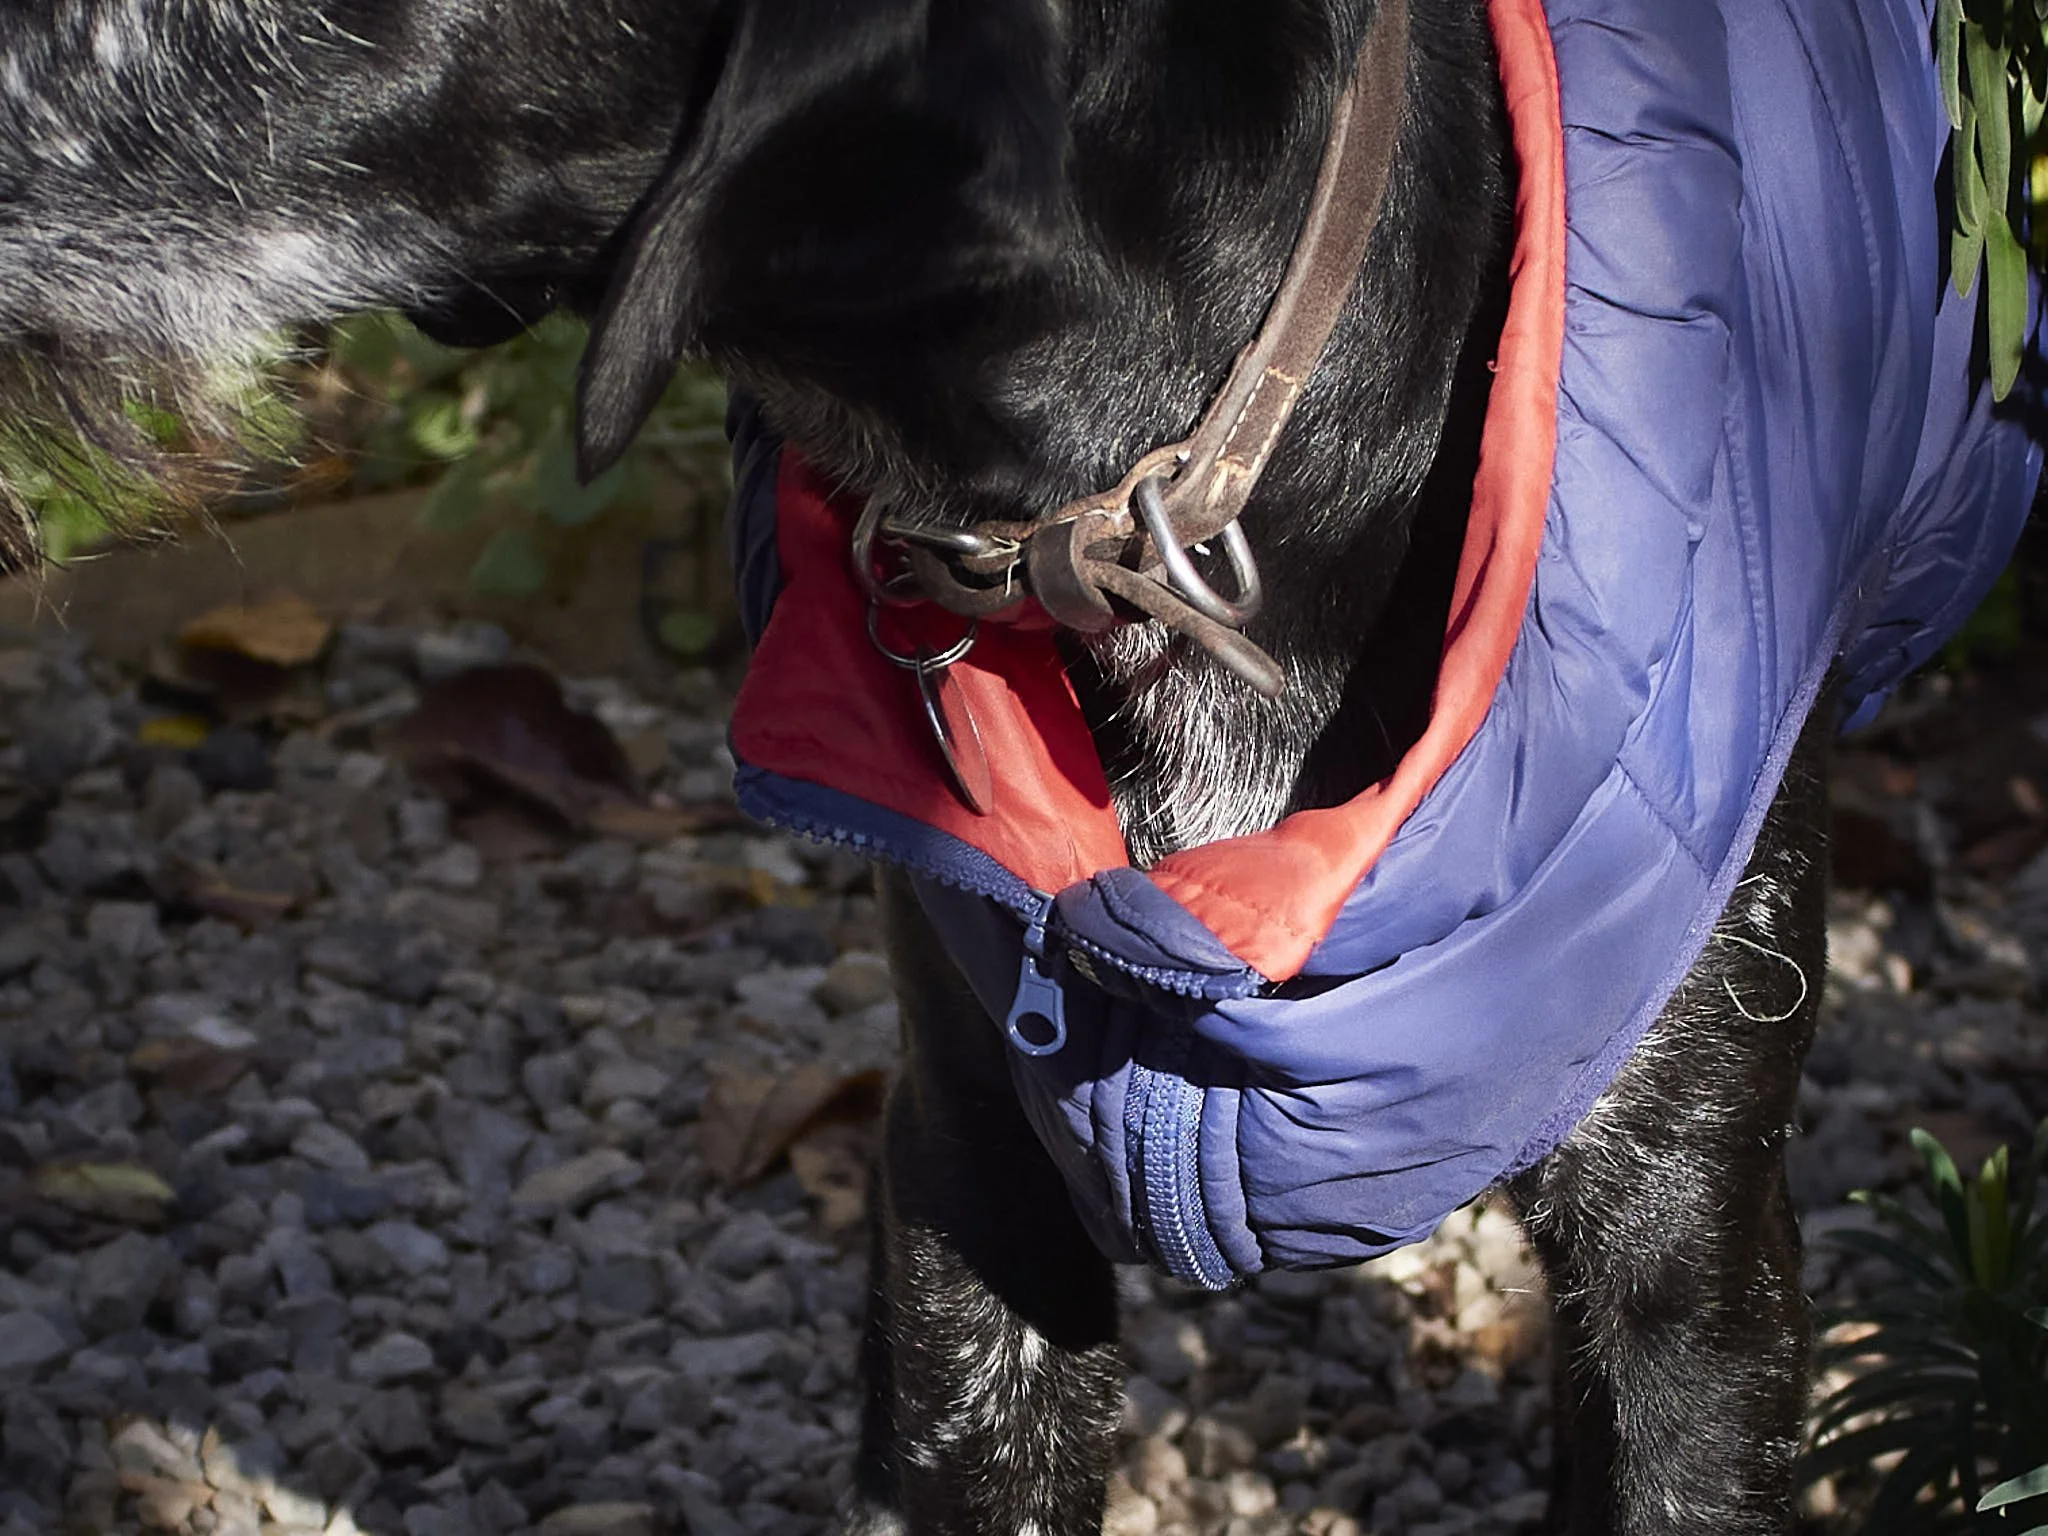
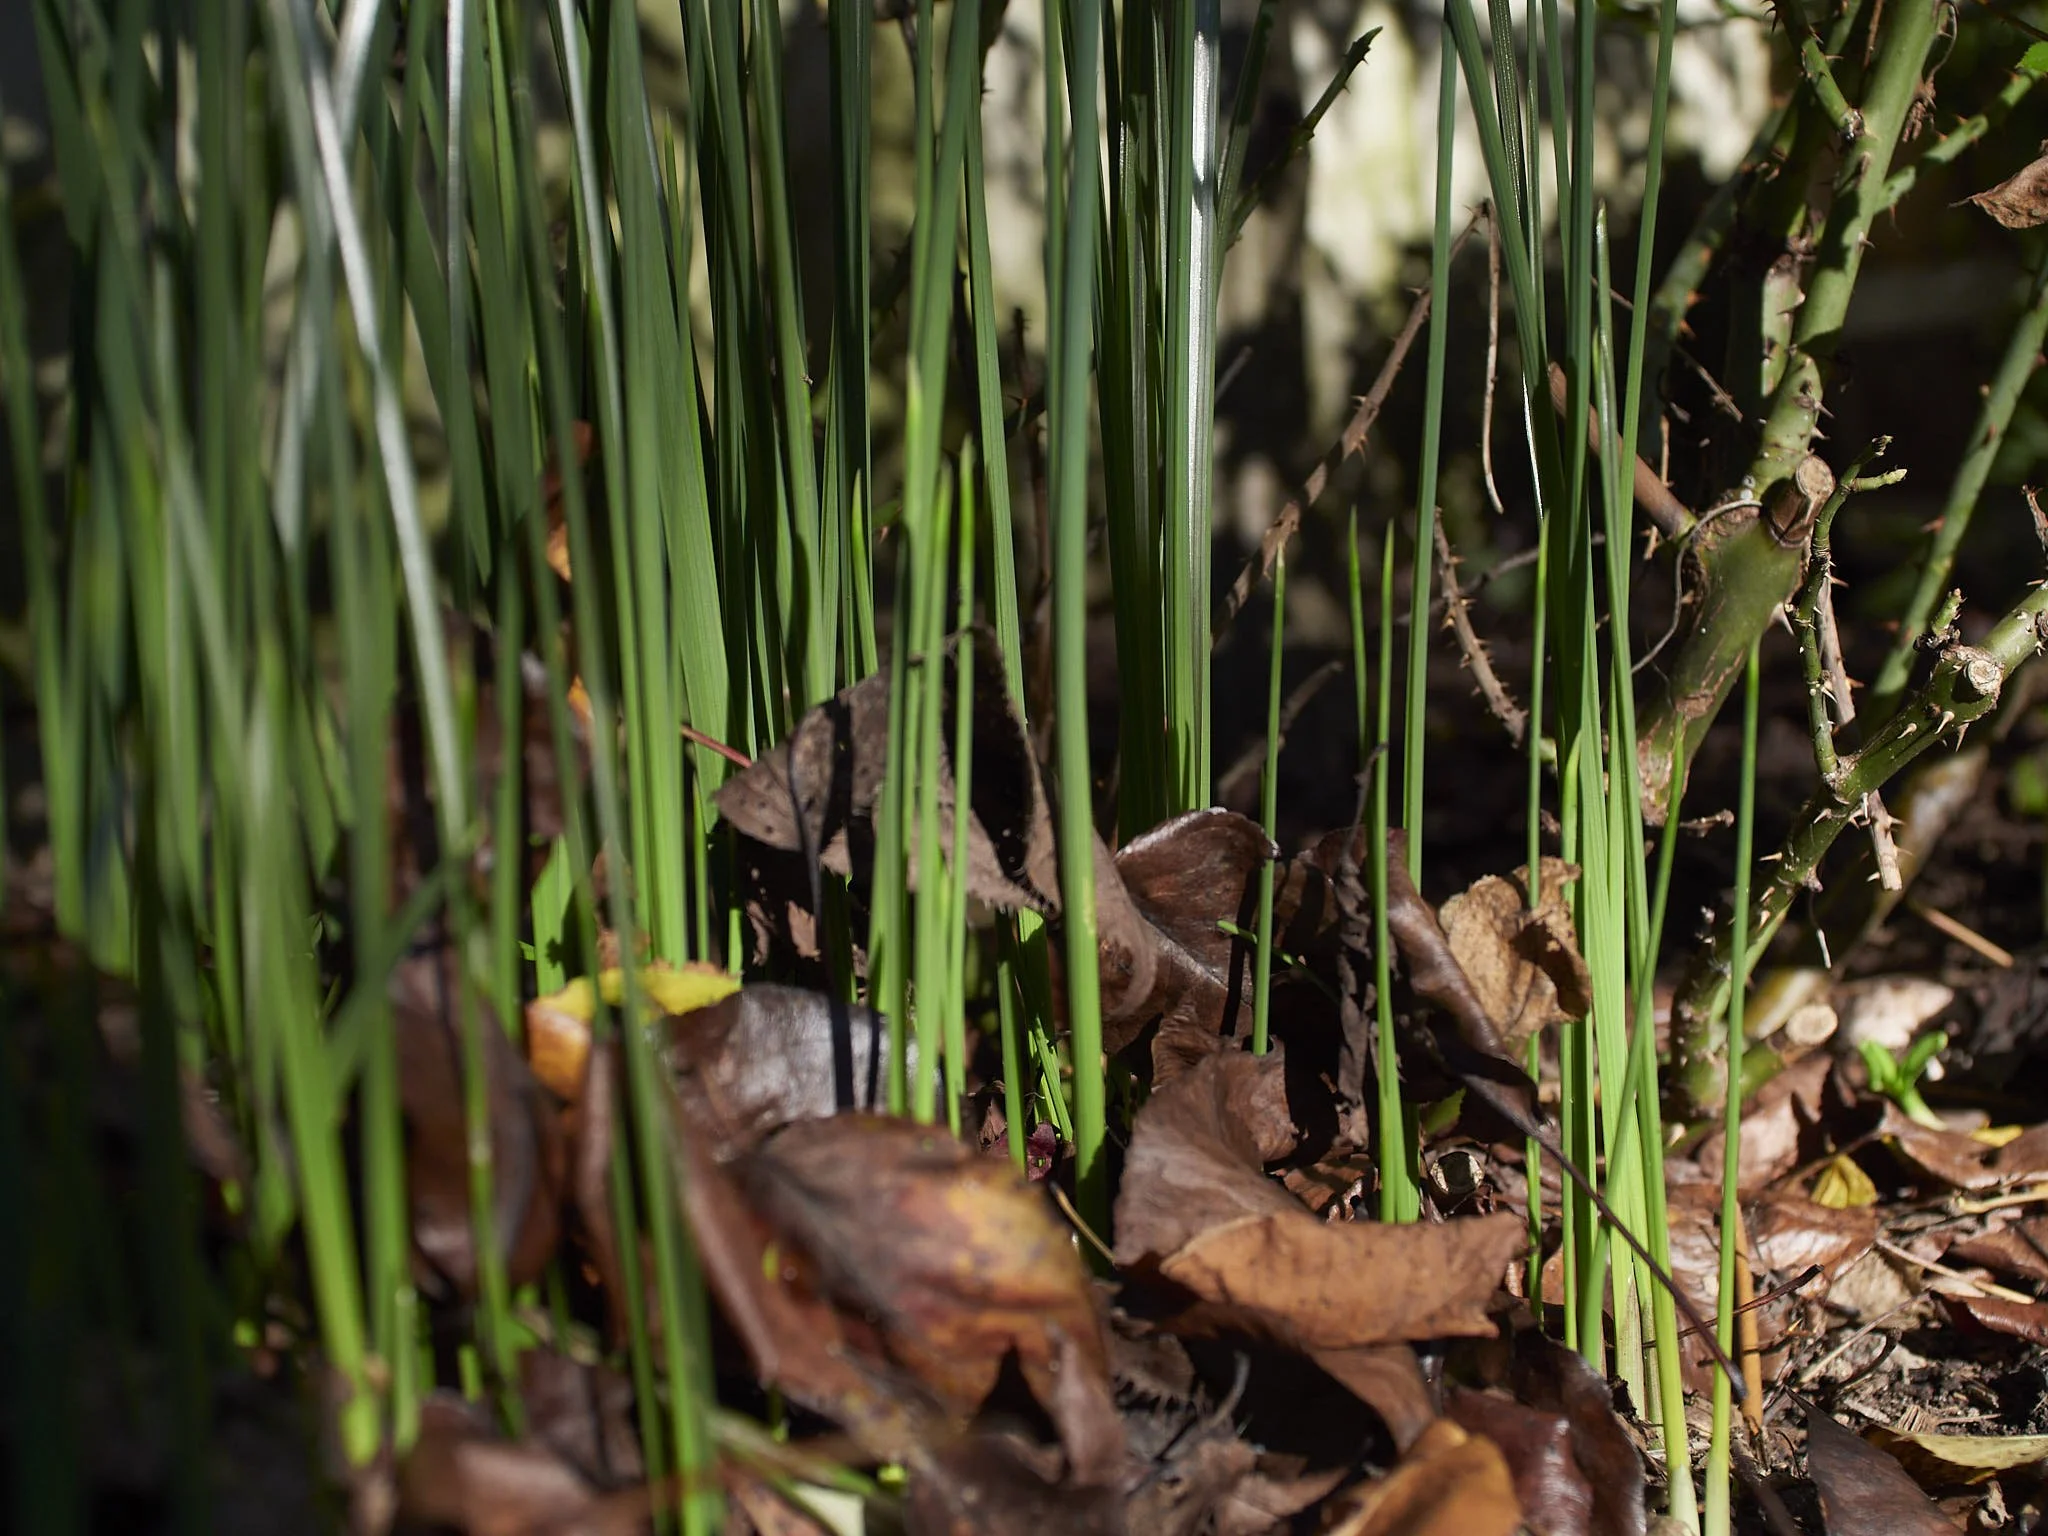
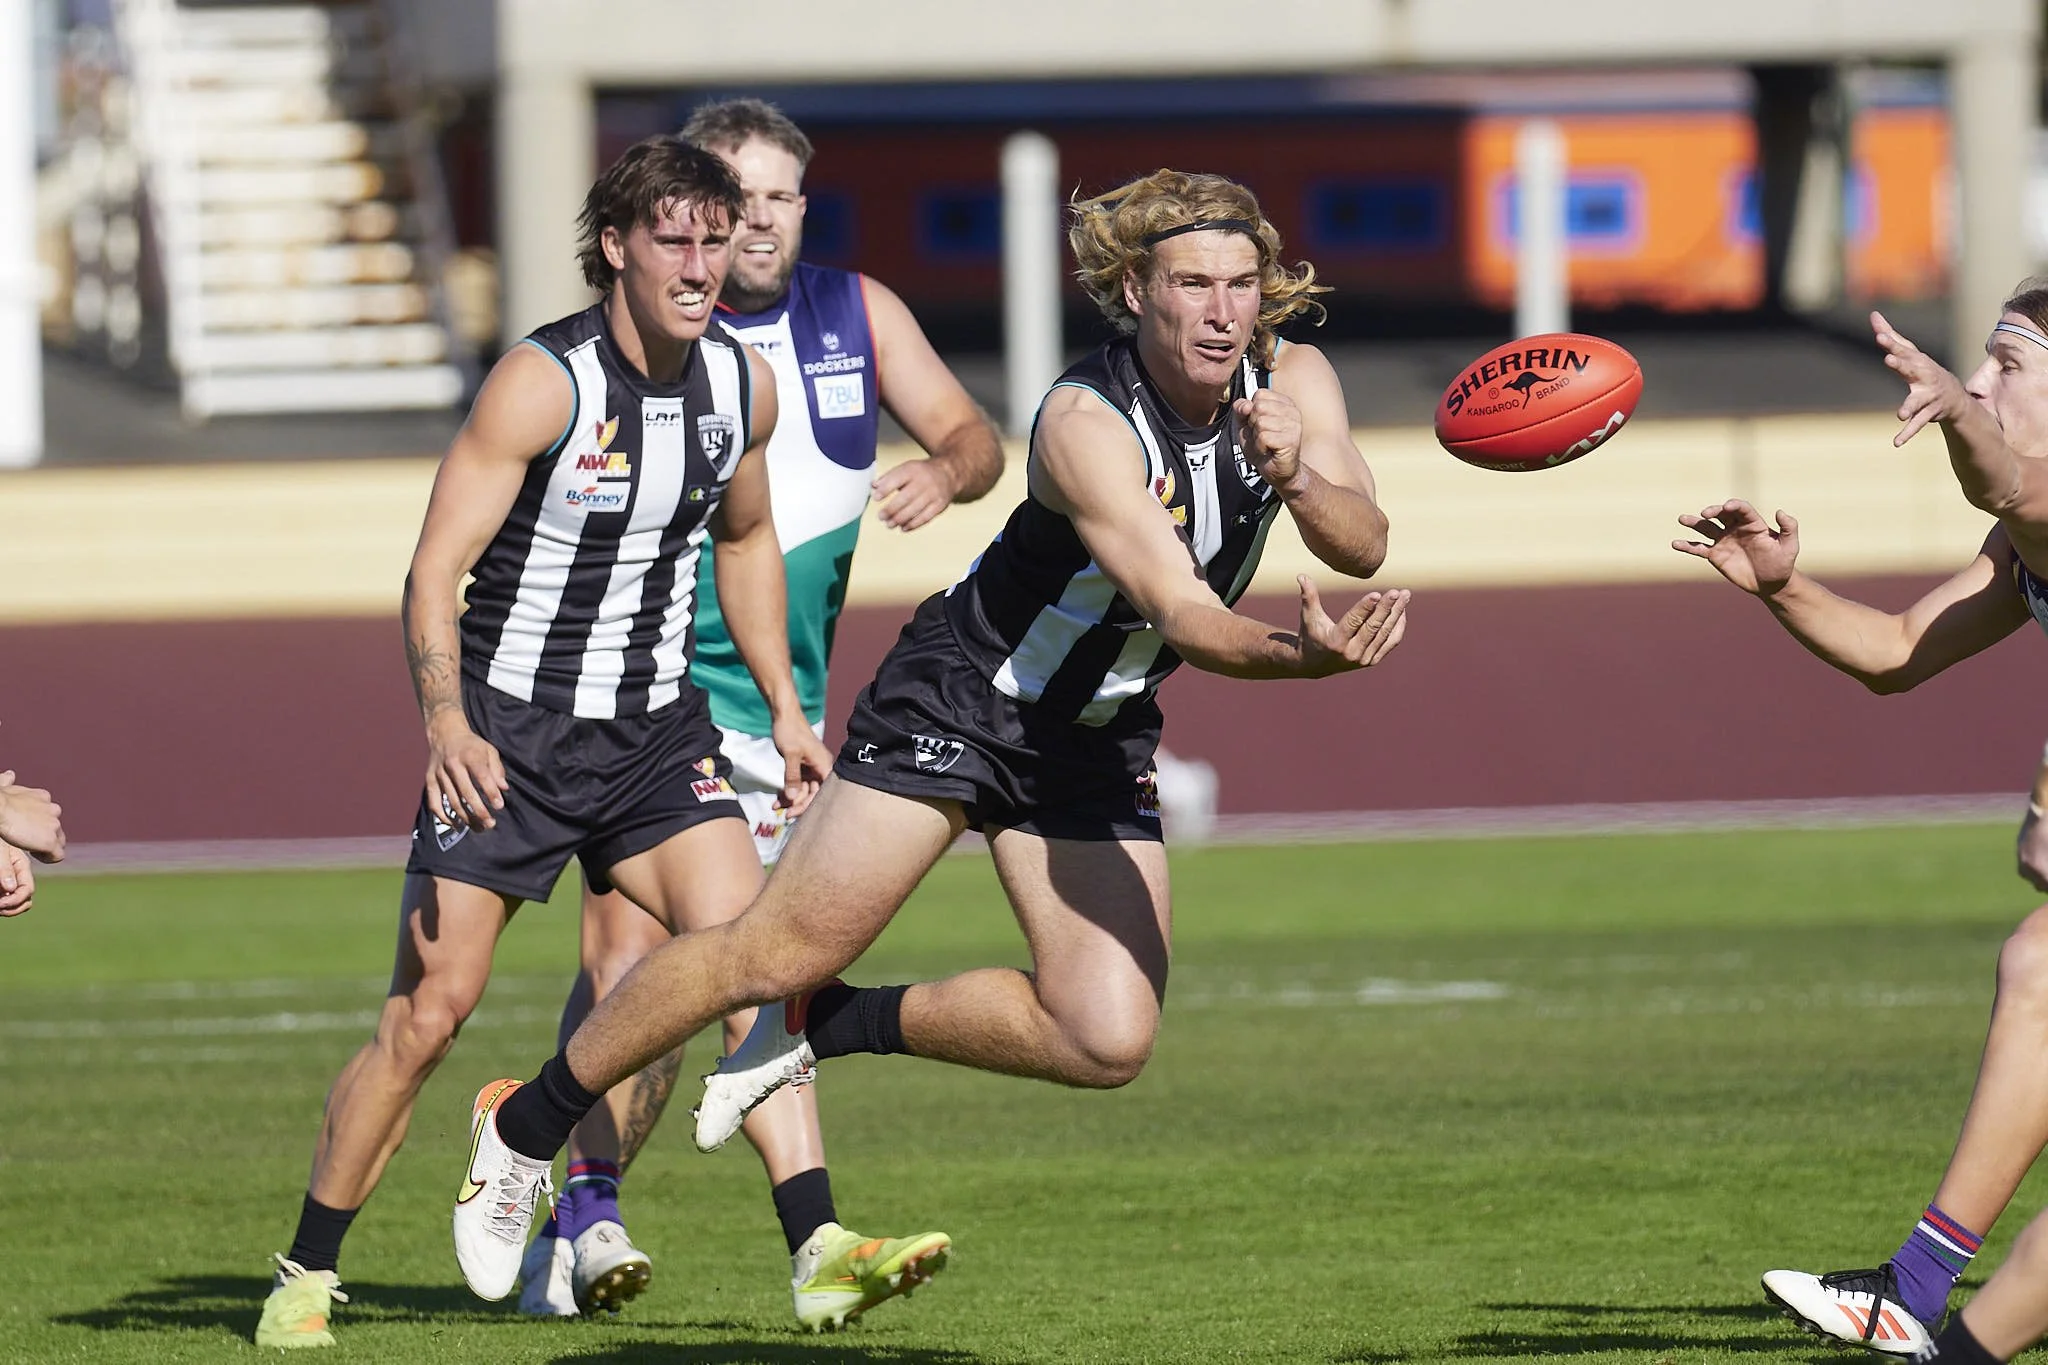
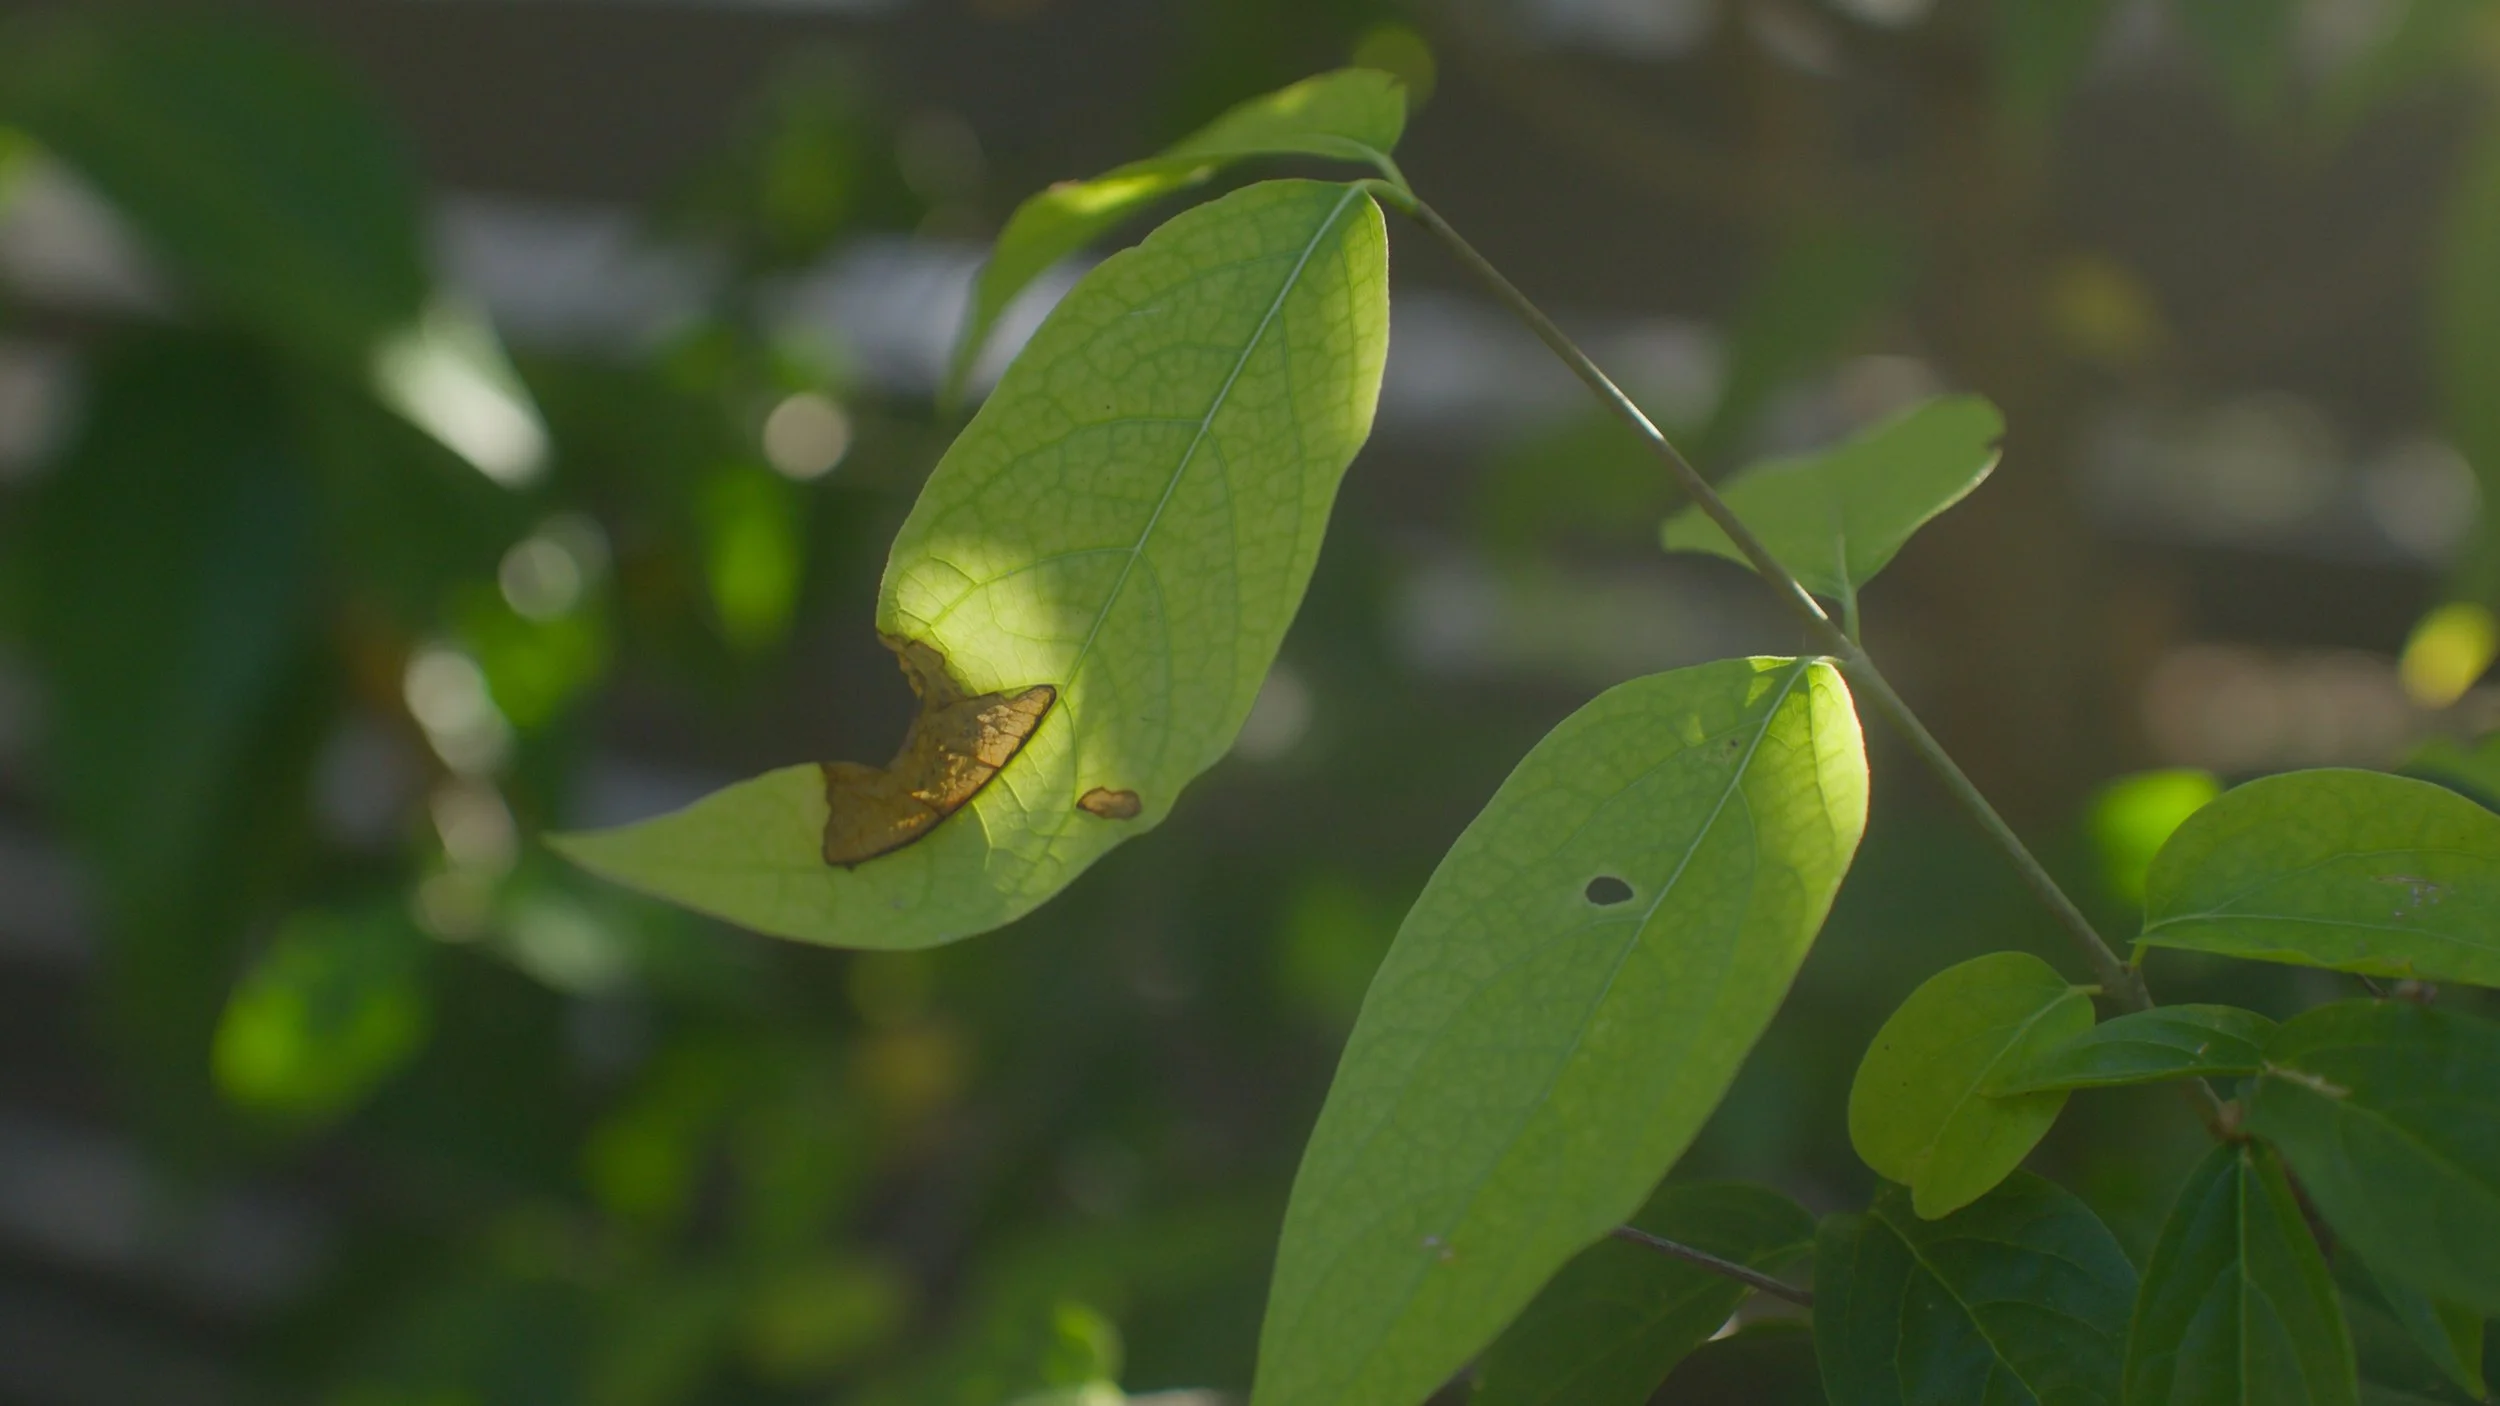
At f2.8, this image has some “snap” on the main subject, but he is still in context. This is story telling balance leaning on the shallow end, but it is a good and safe threshold.
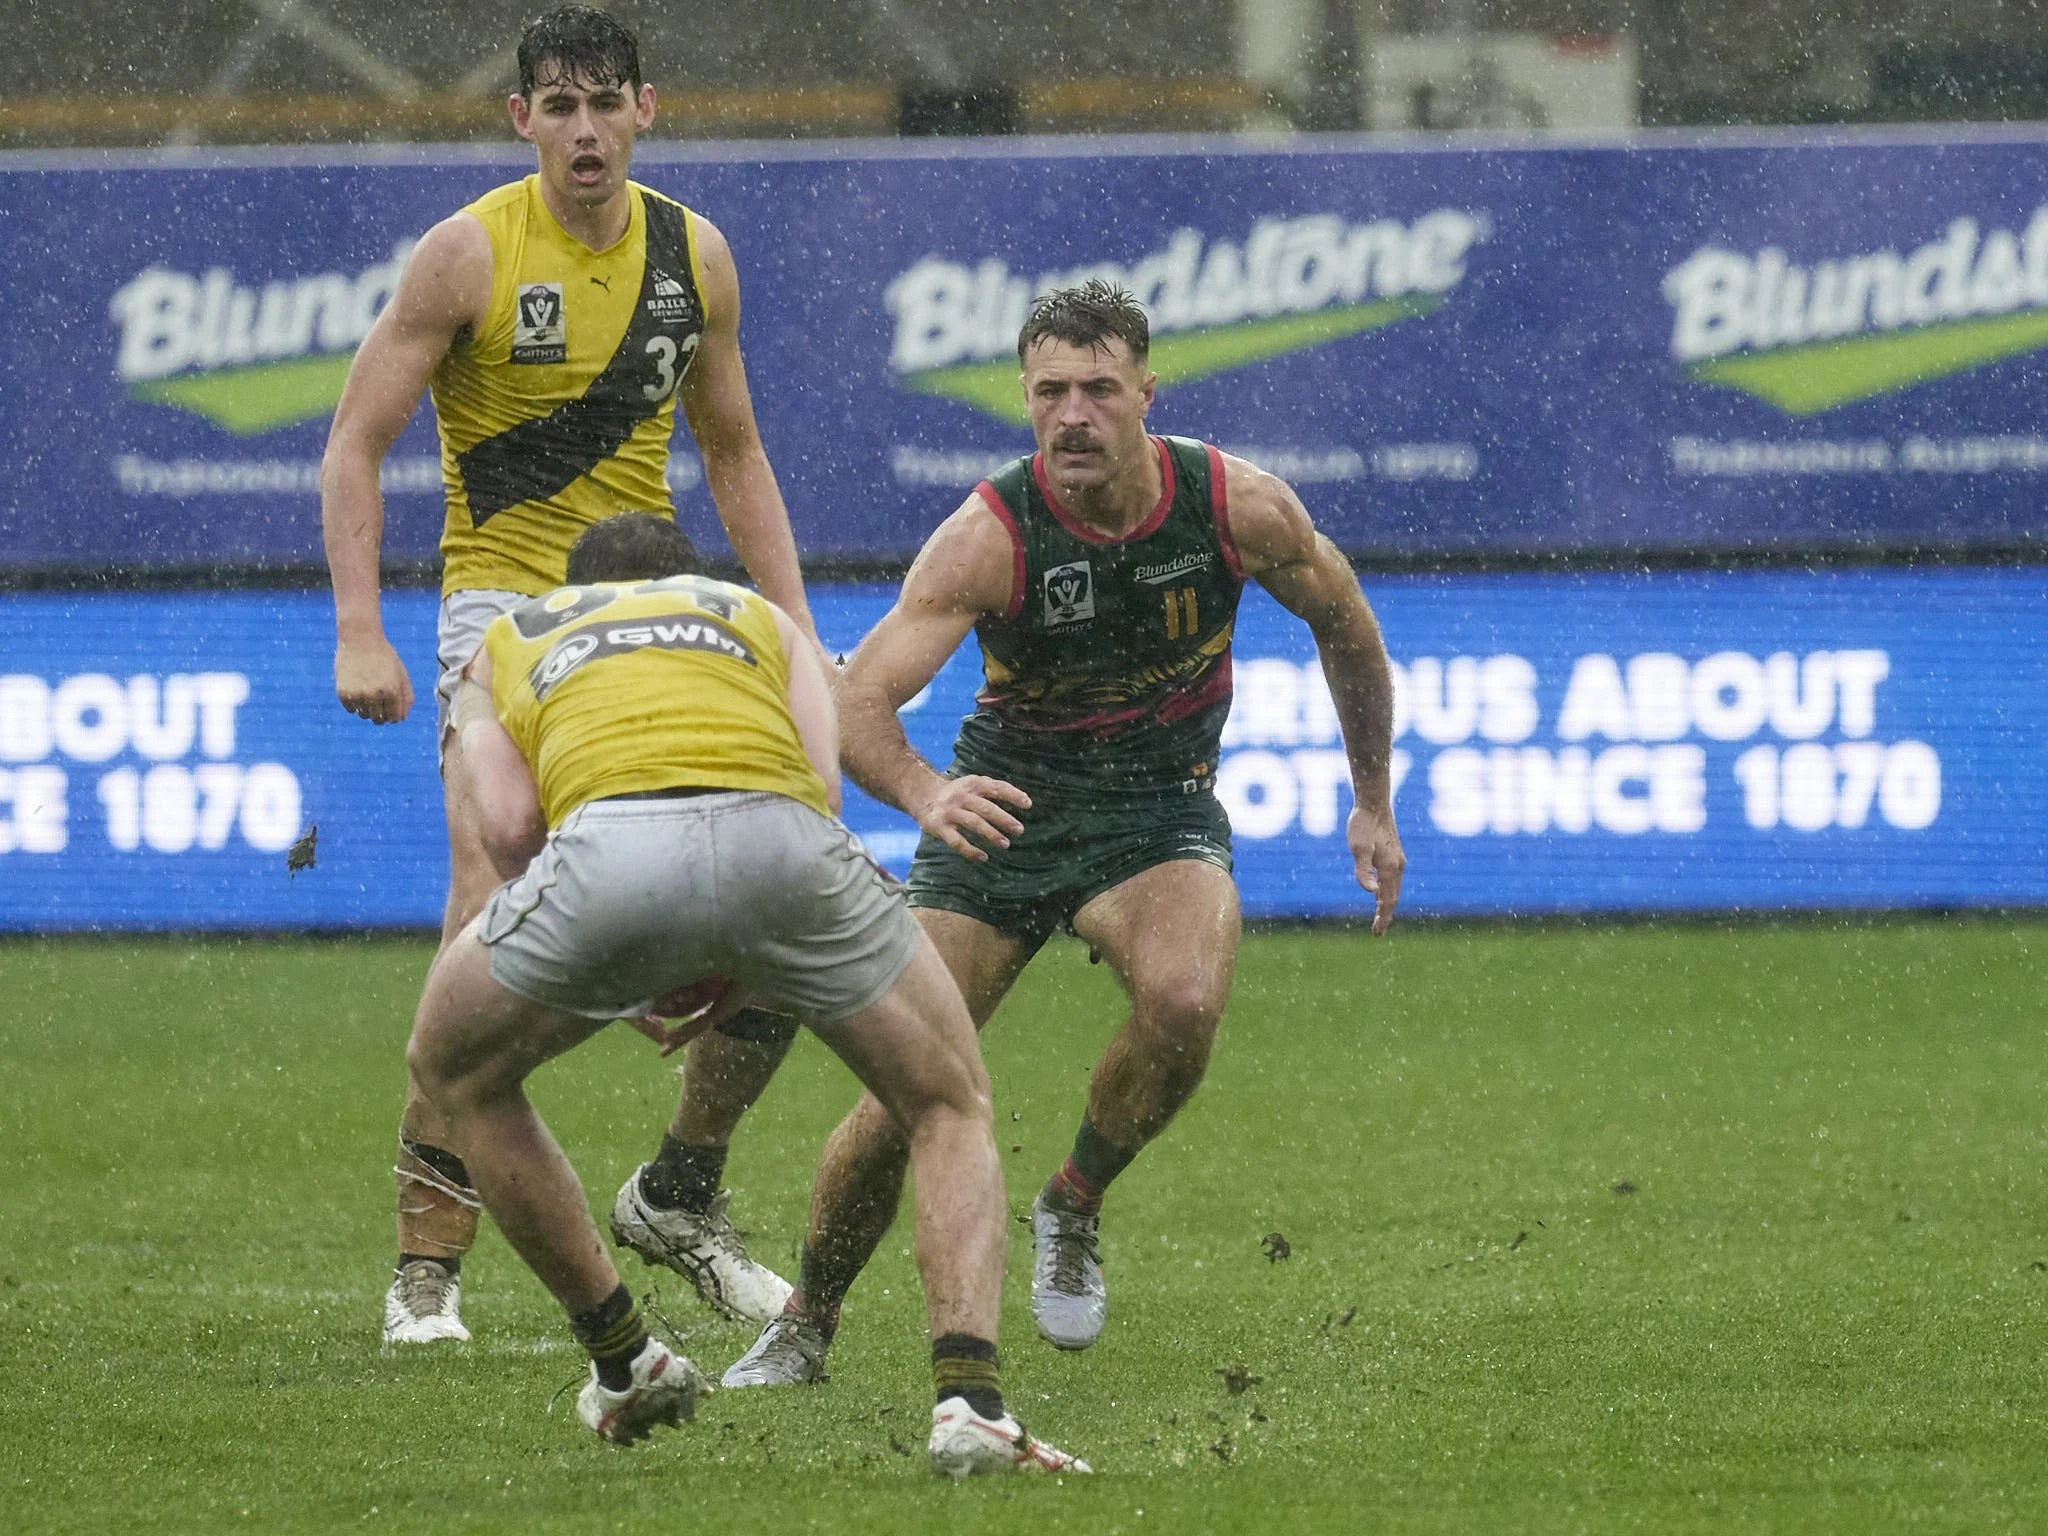
F4 in full frame would have made the focus point very important. In MFT, it is basically a landscape aperture.
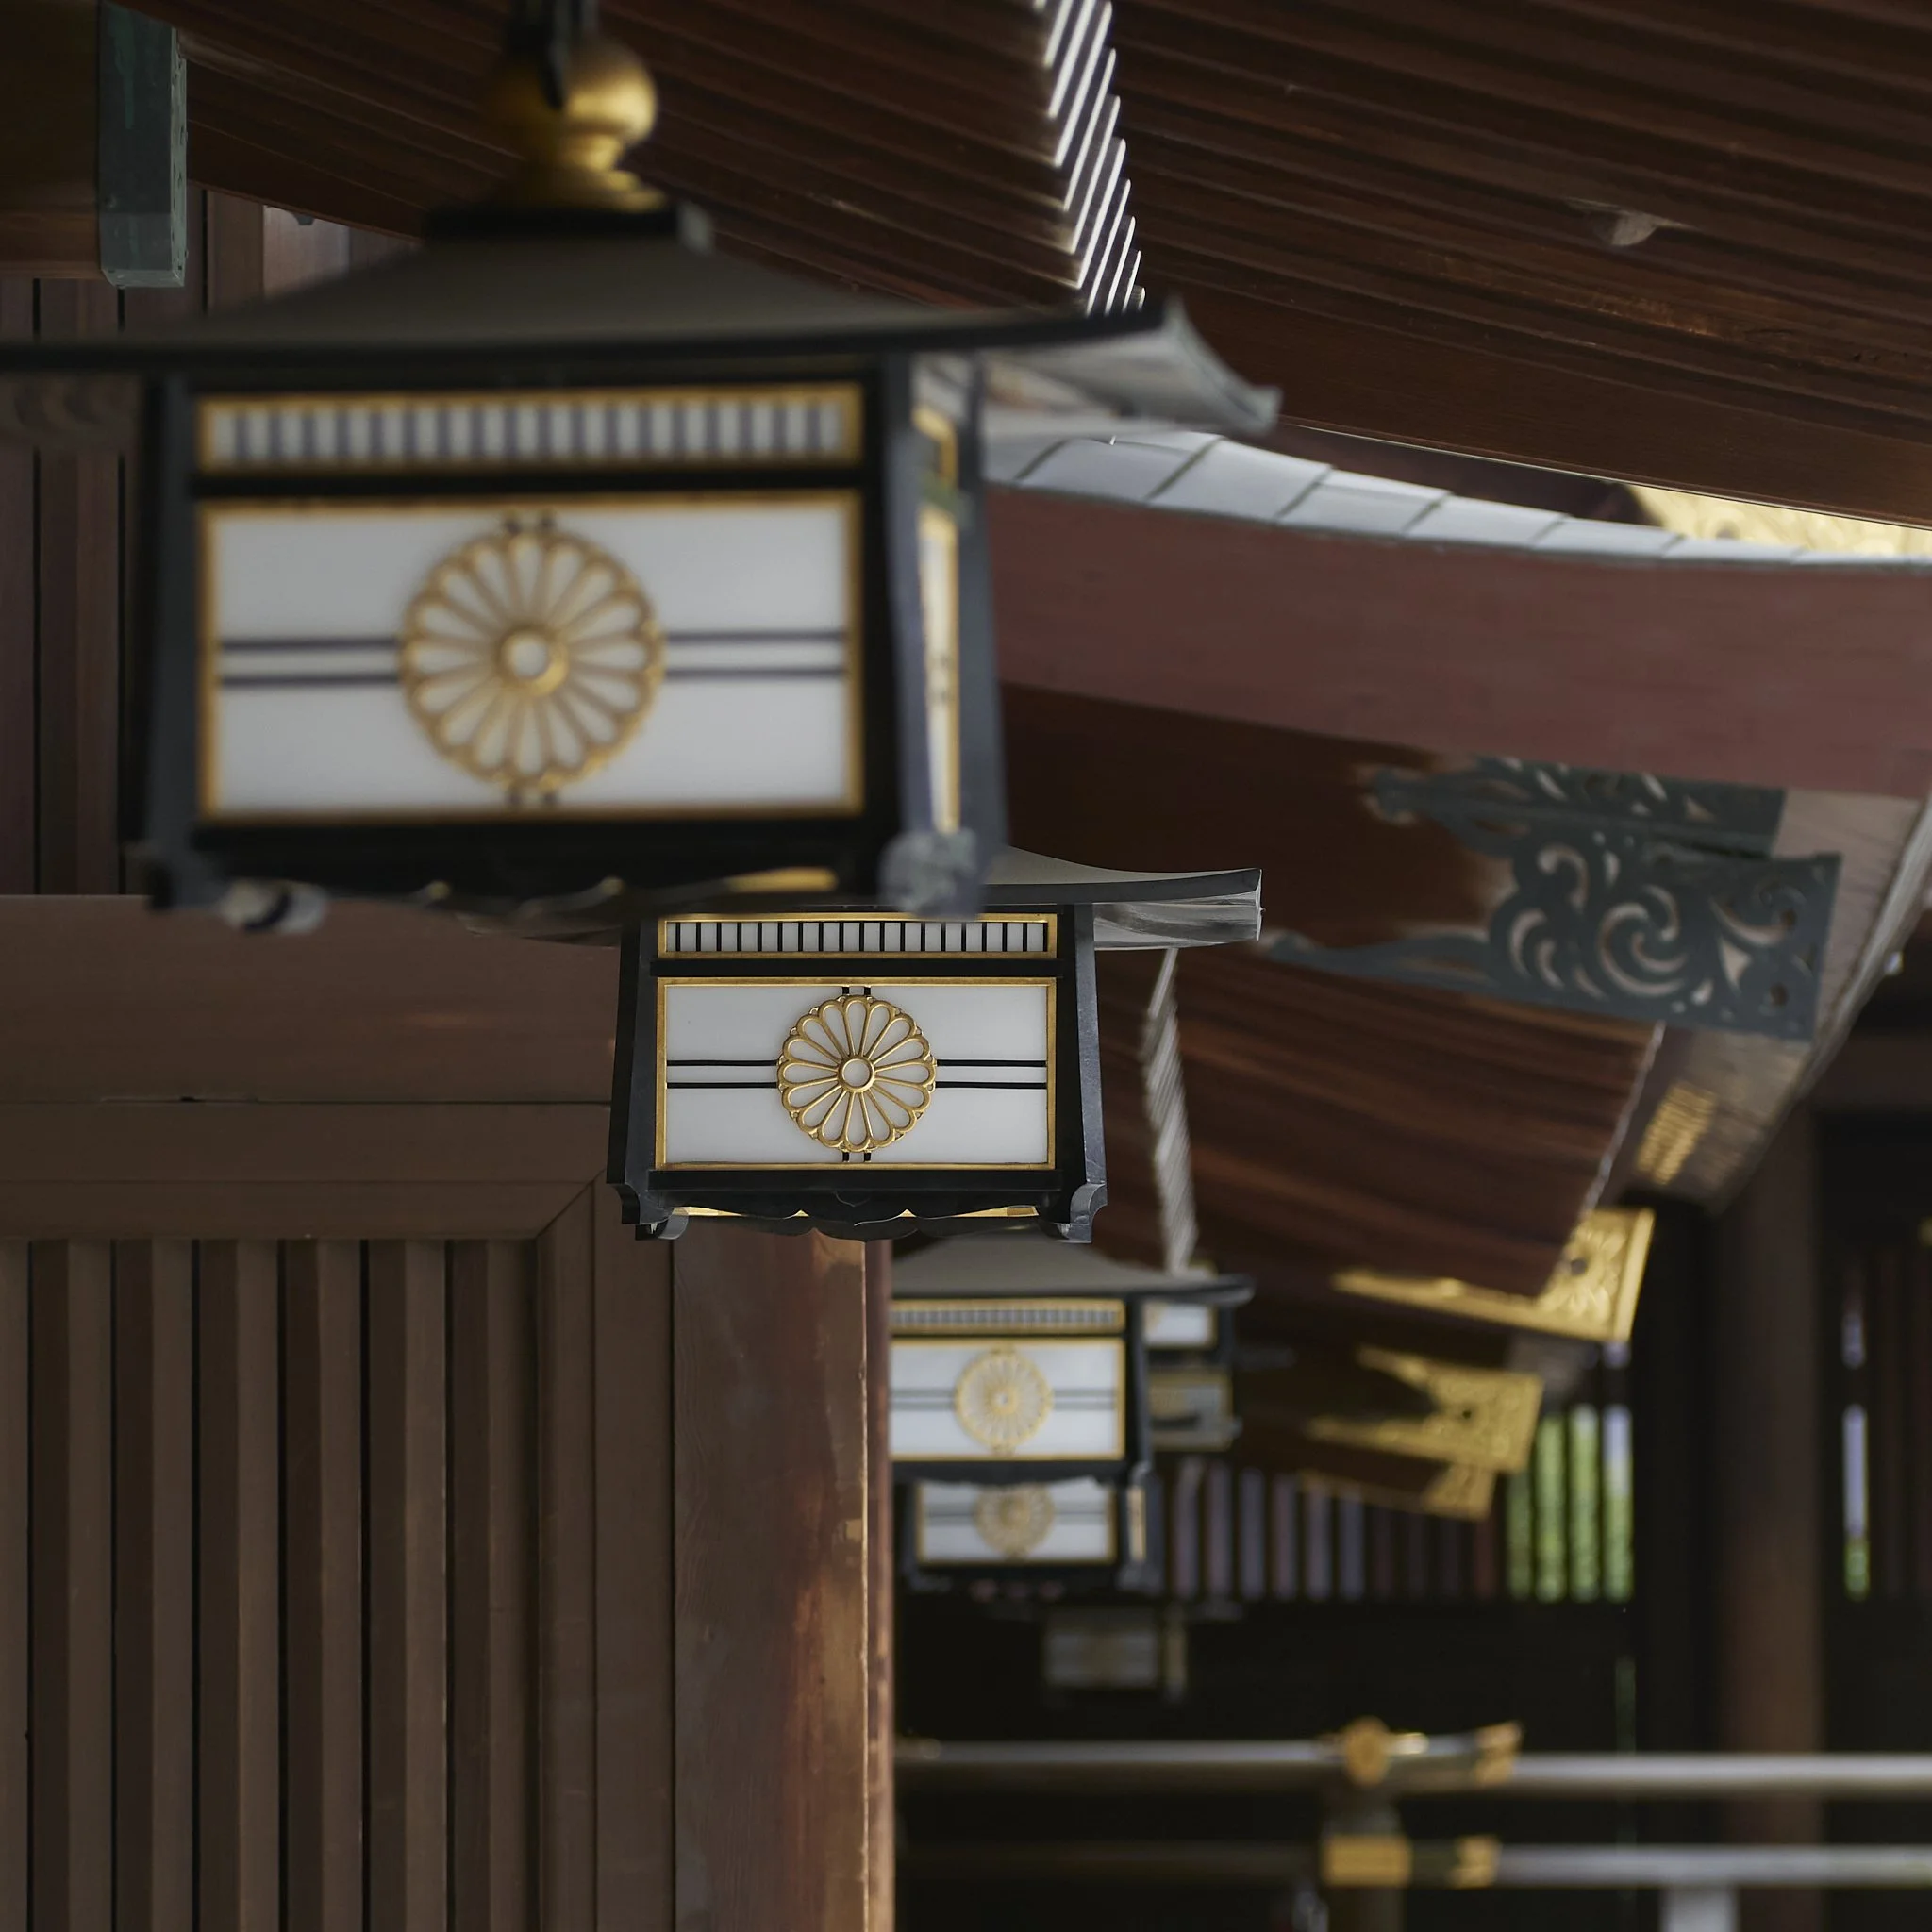
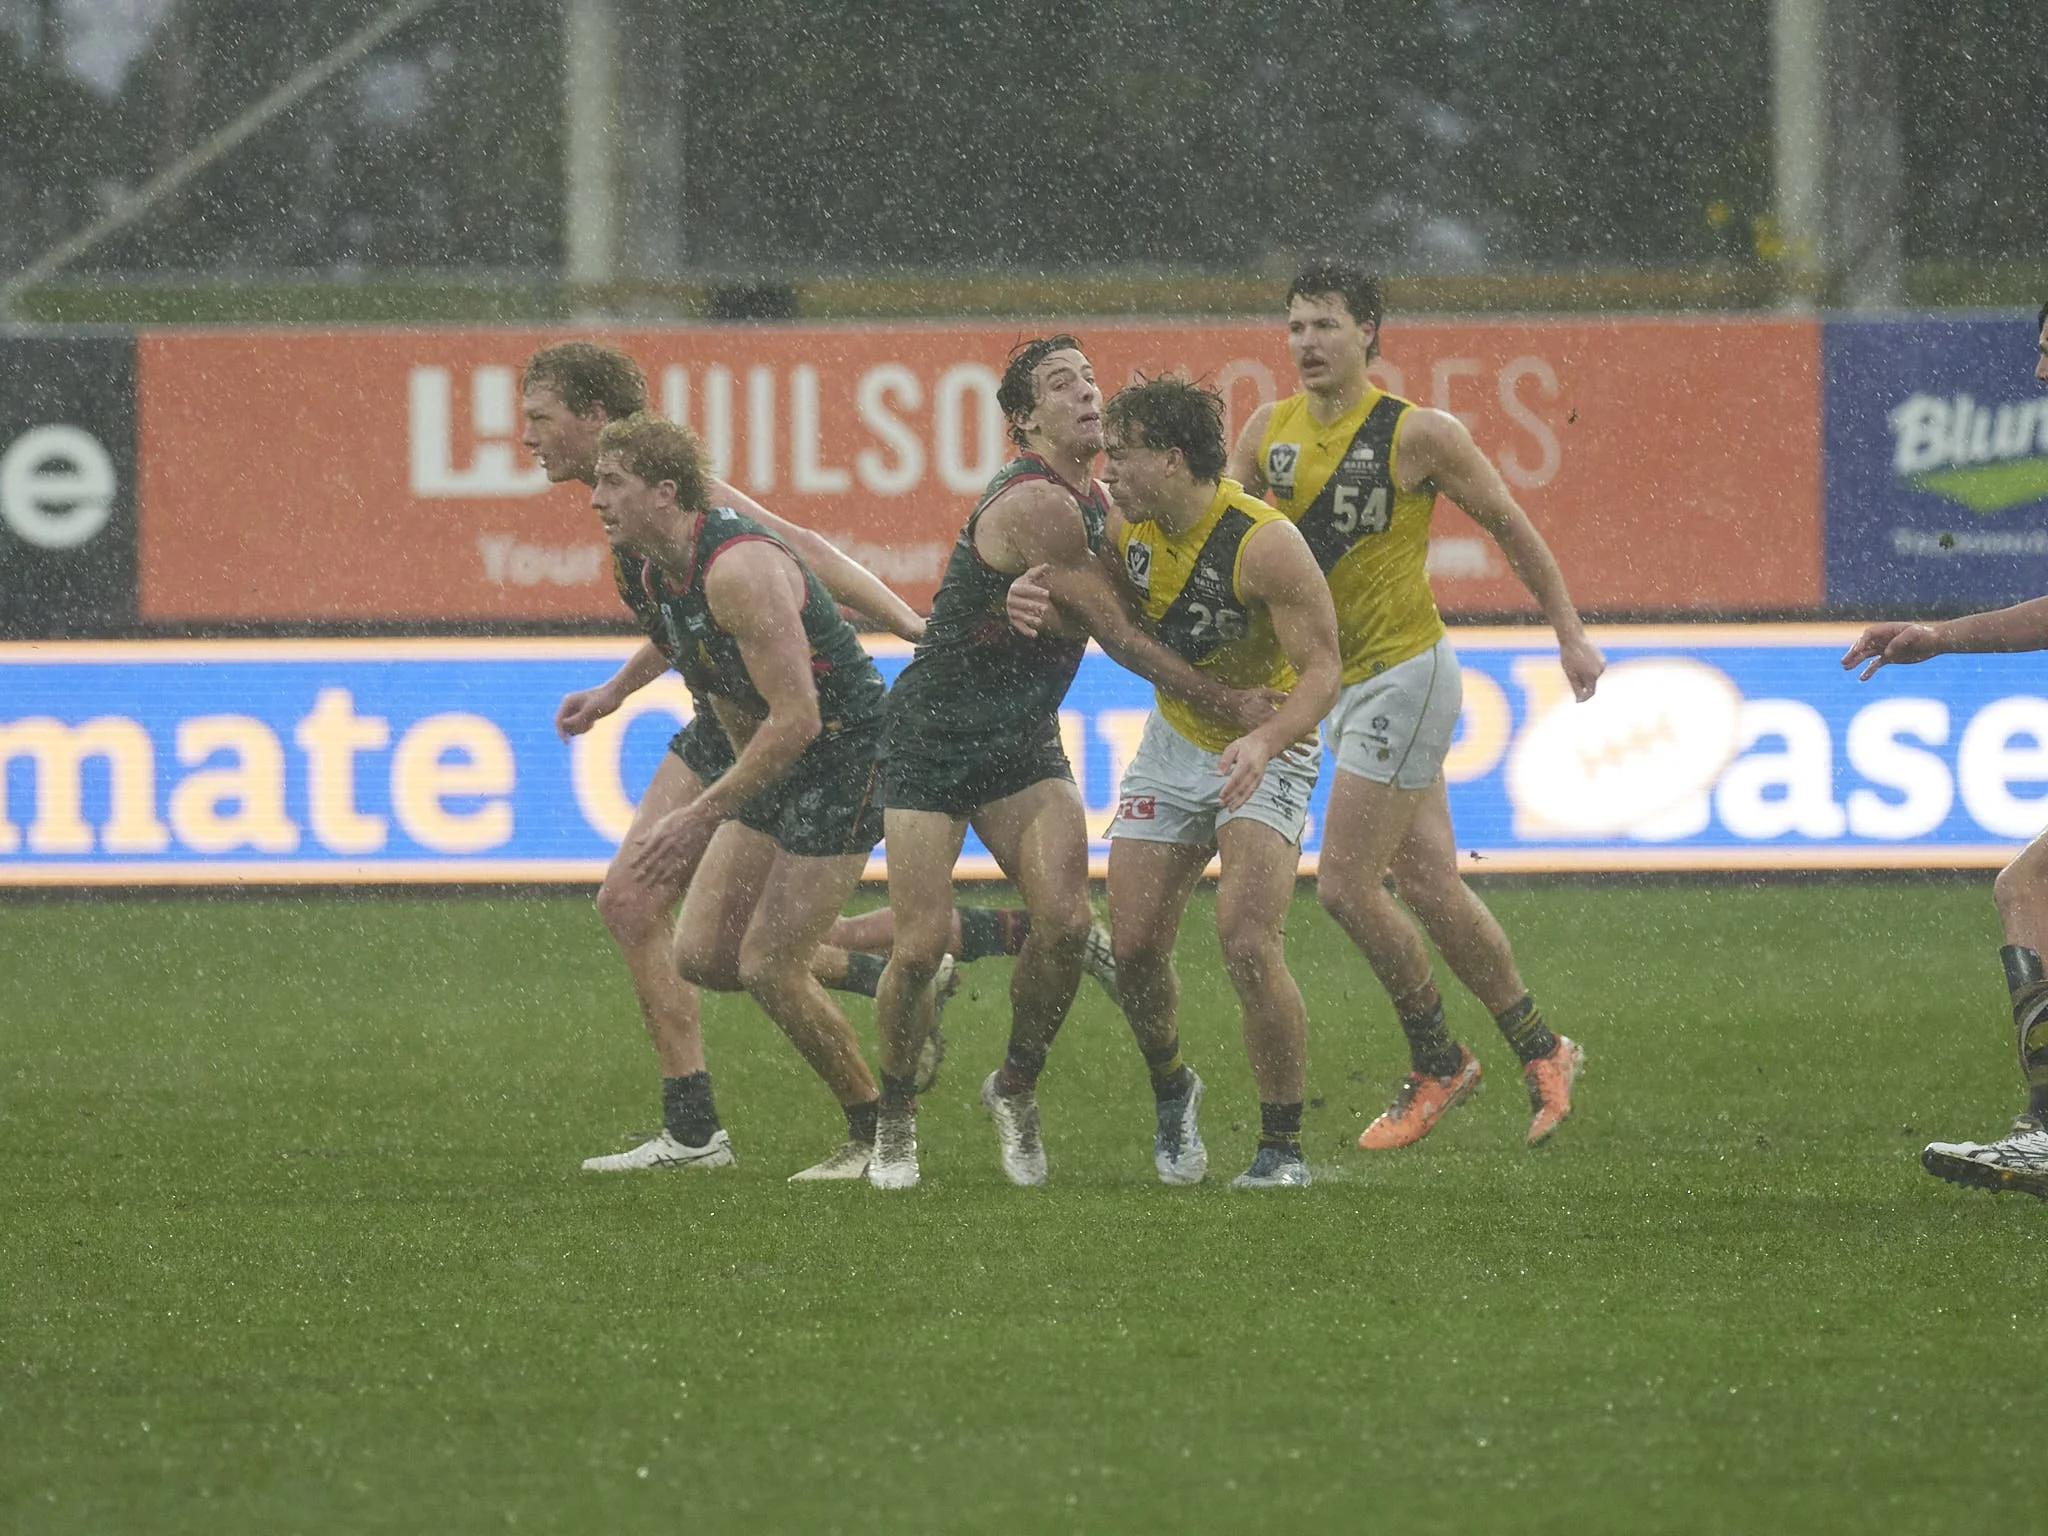
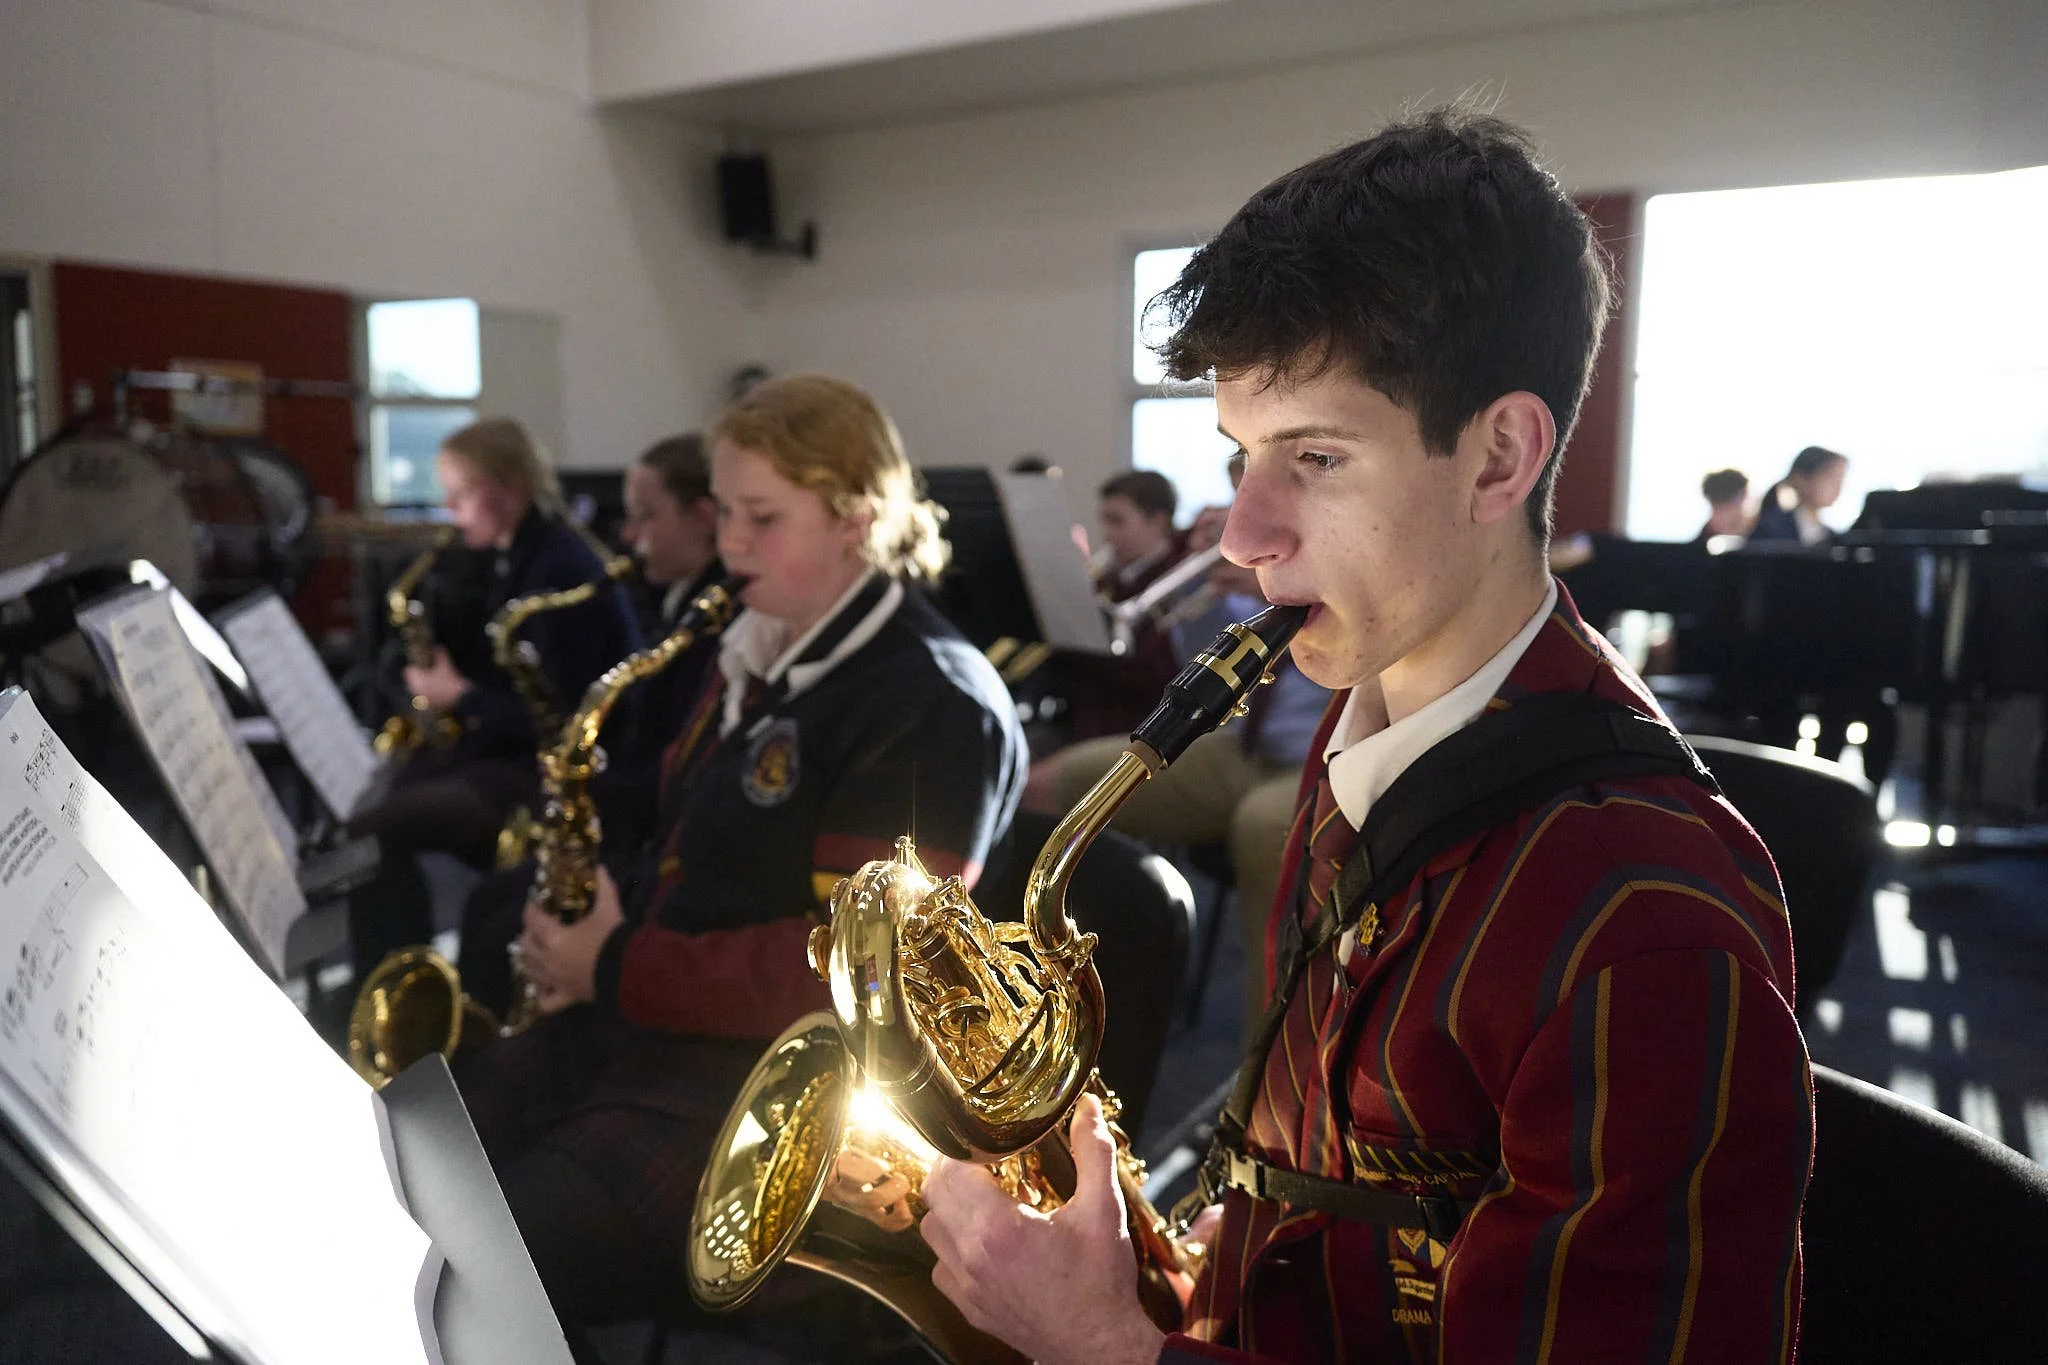
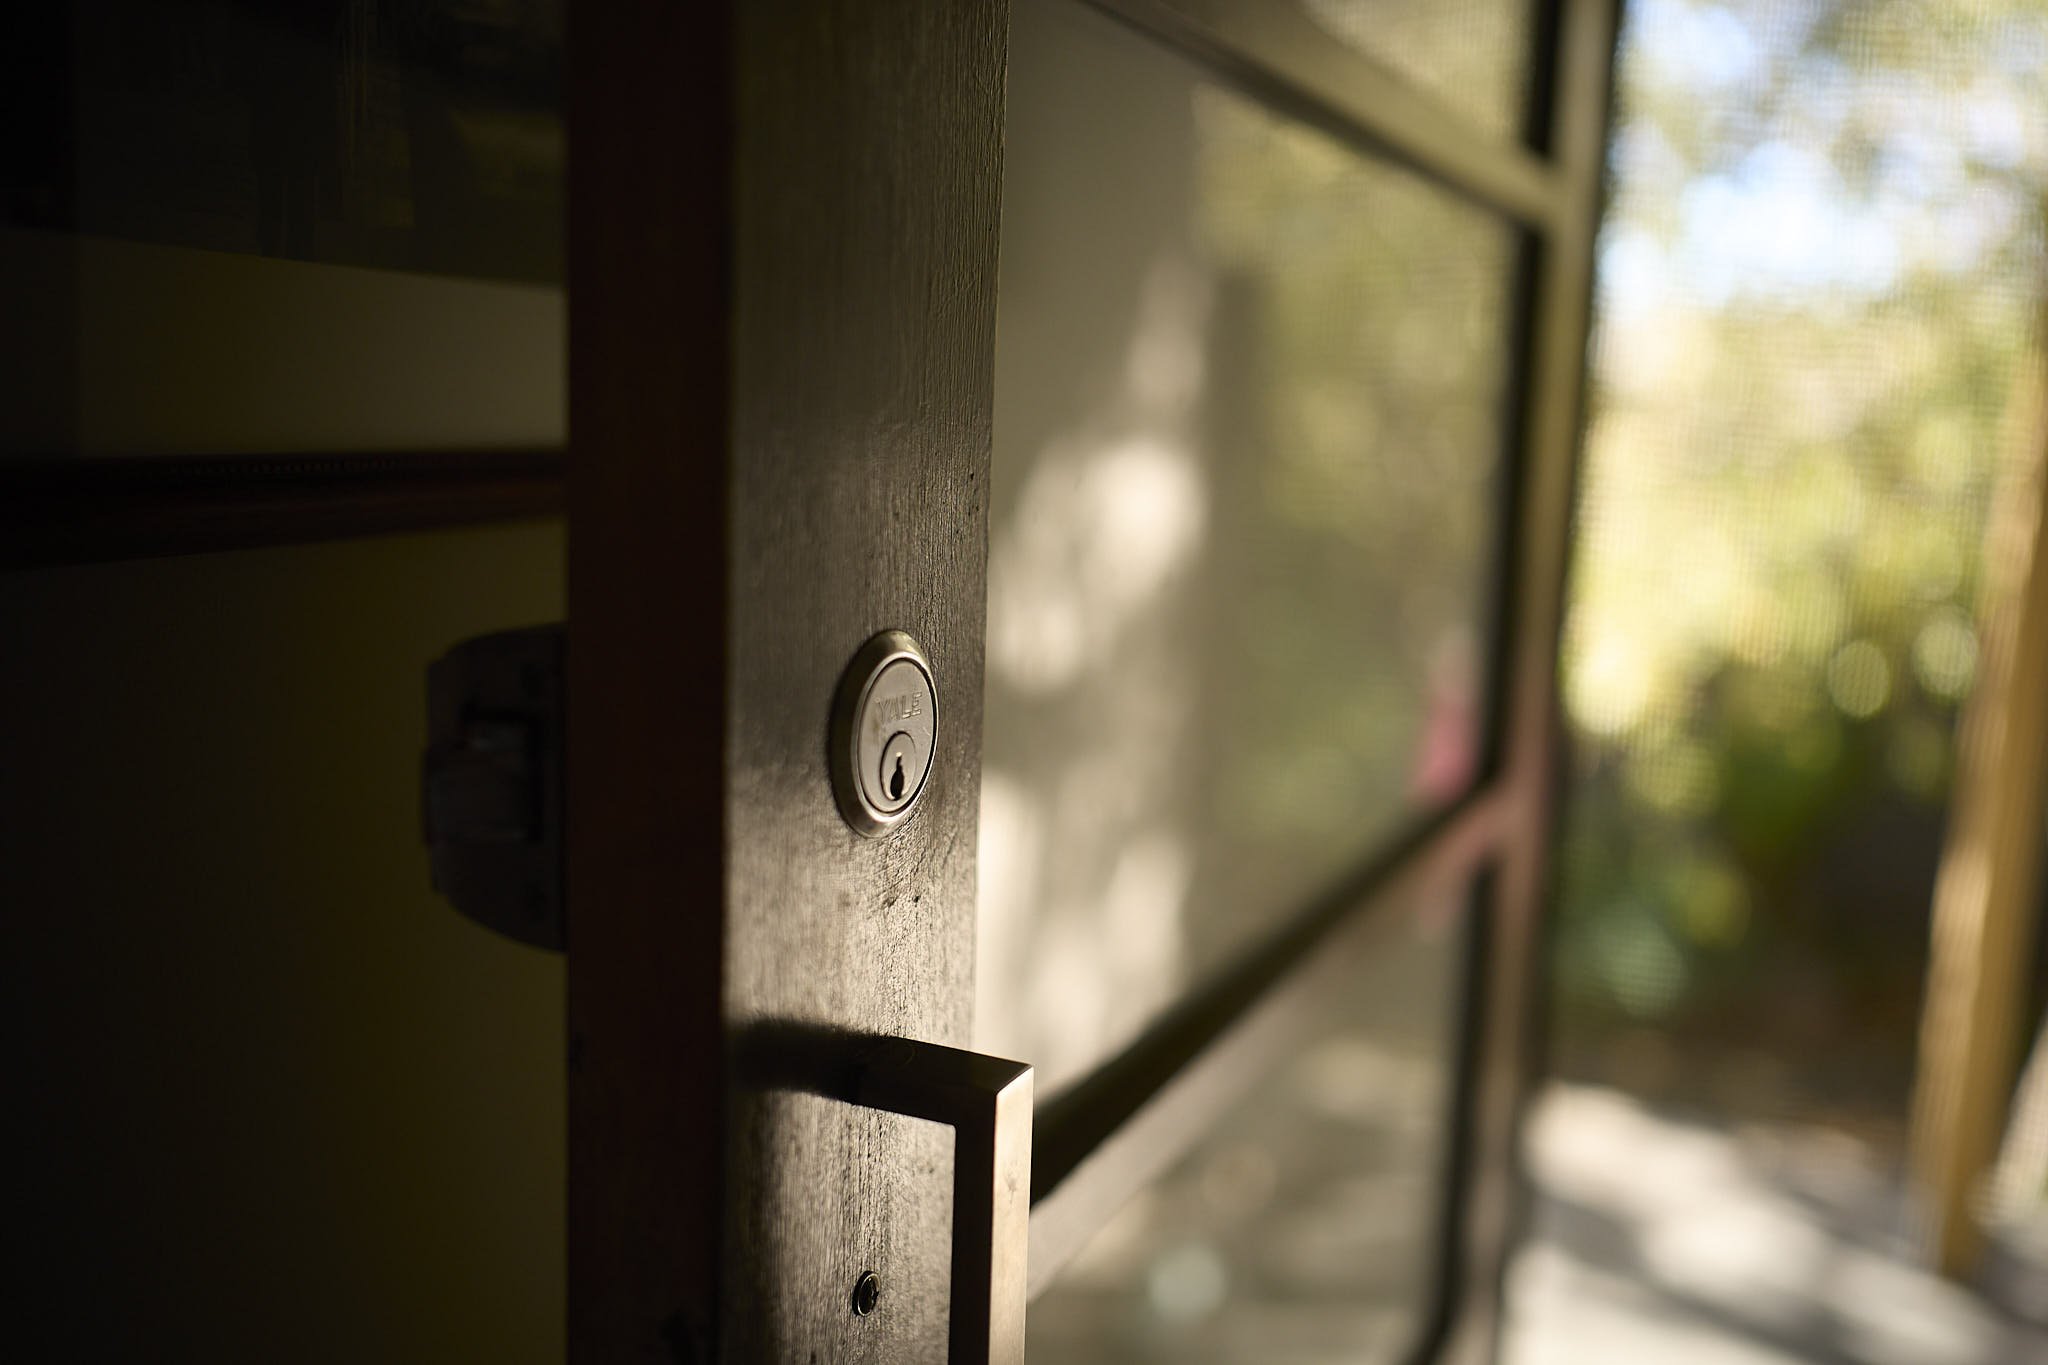
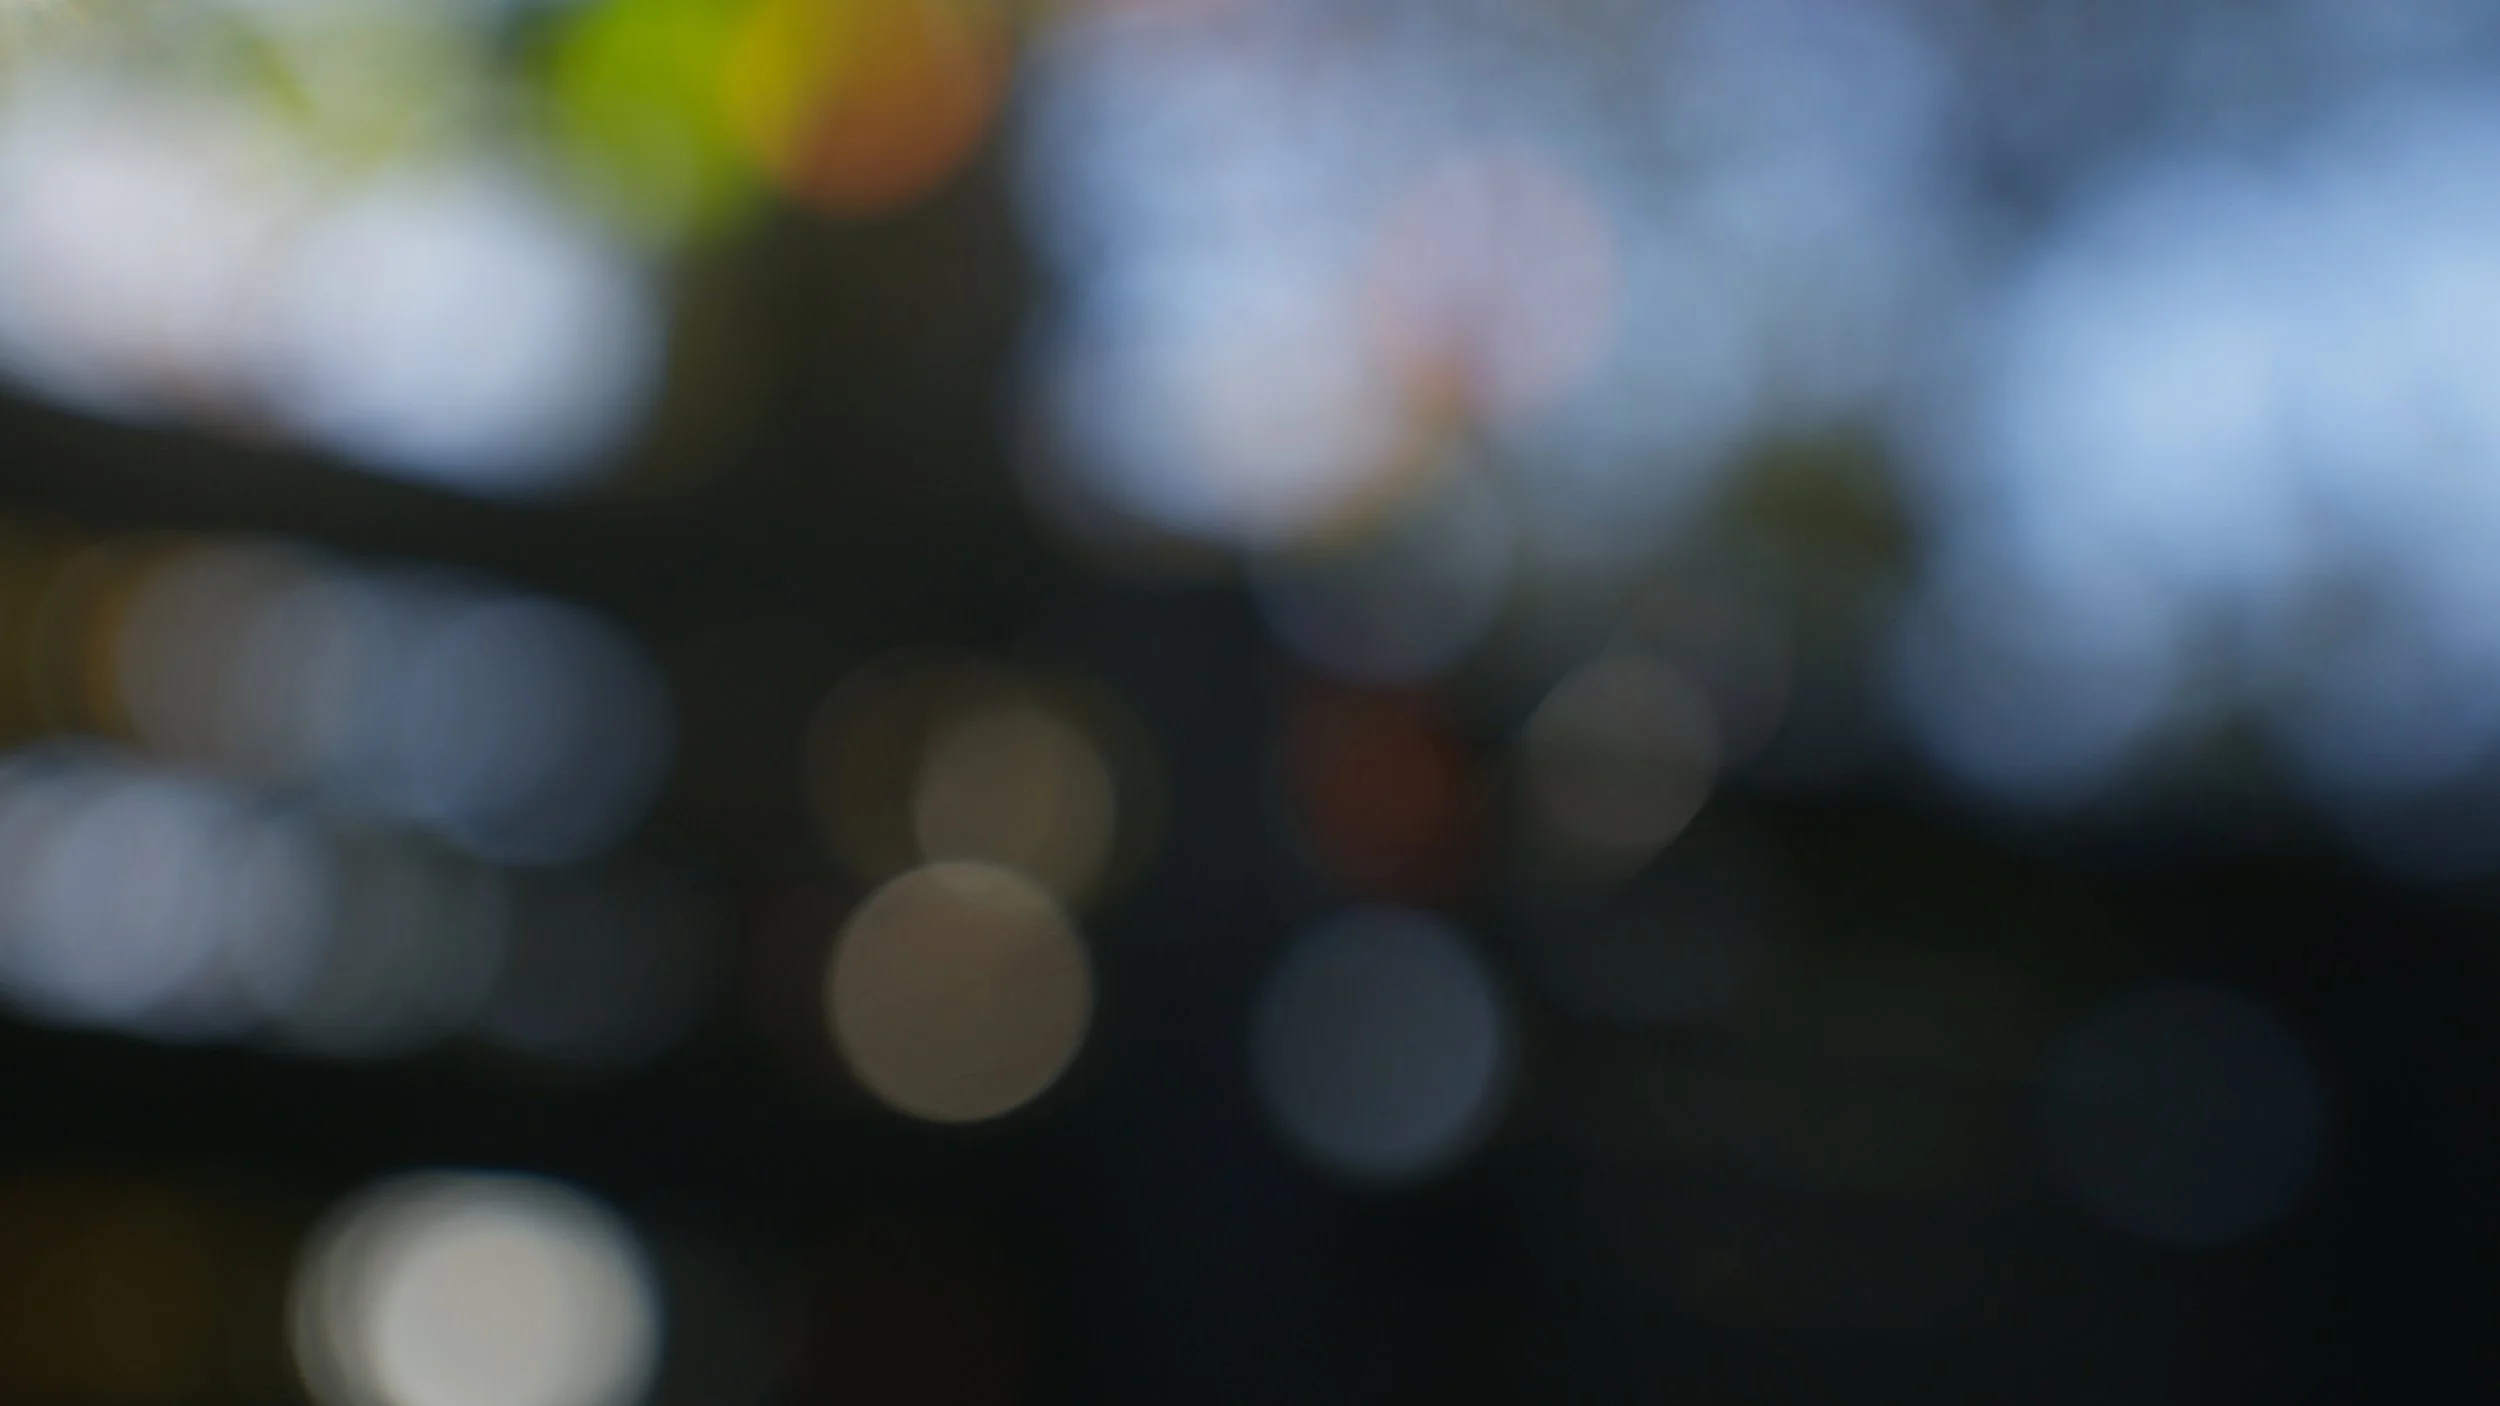
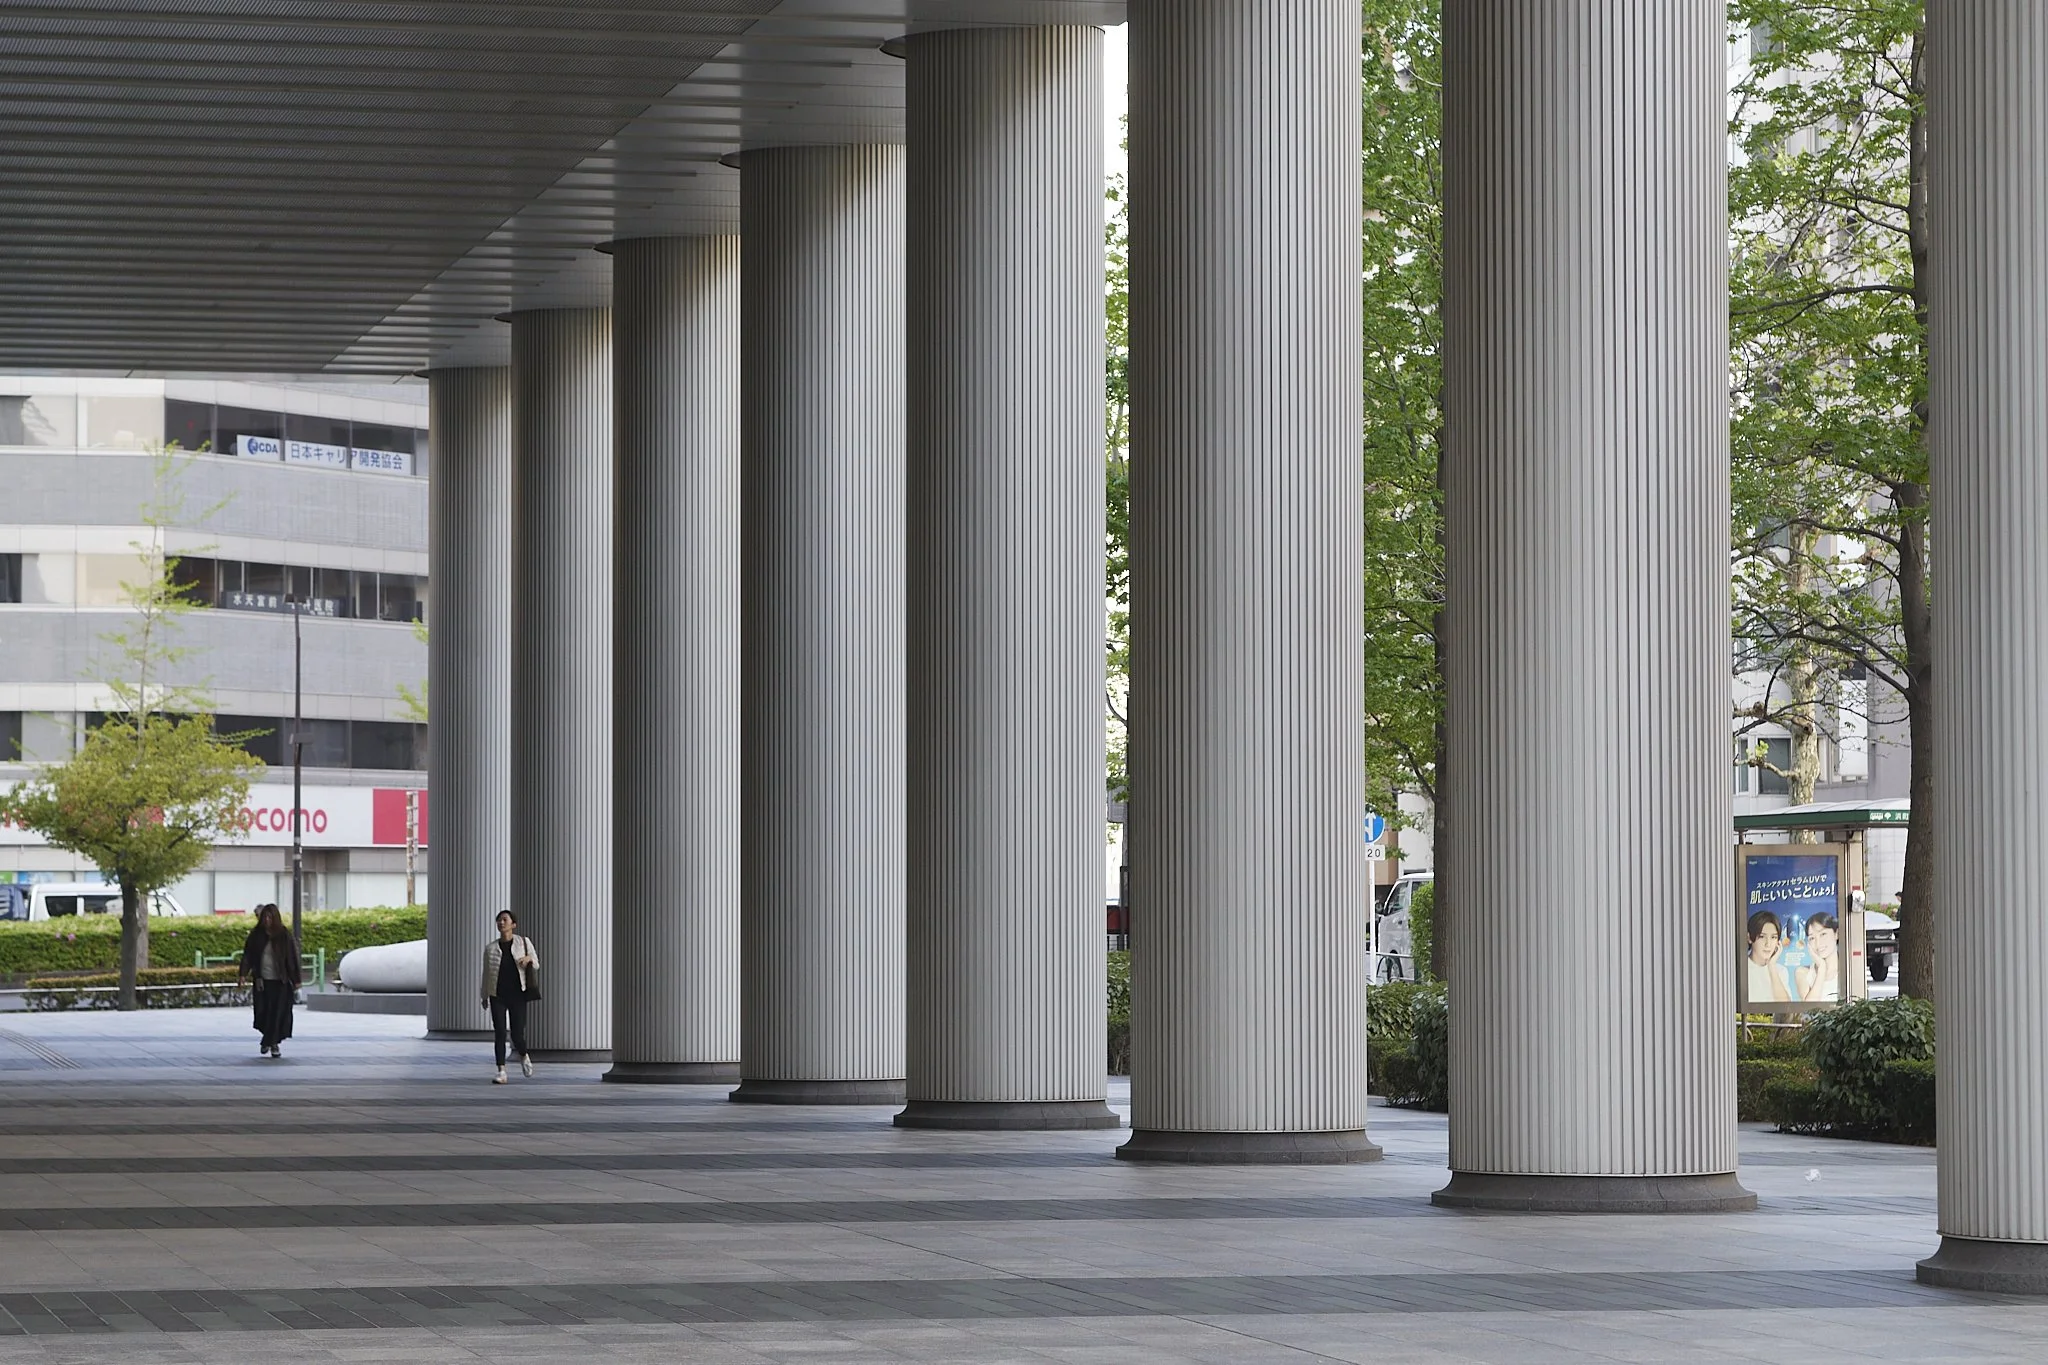
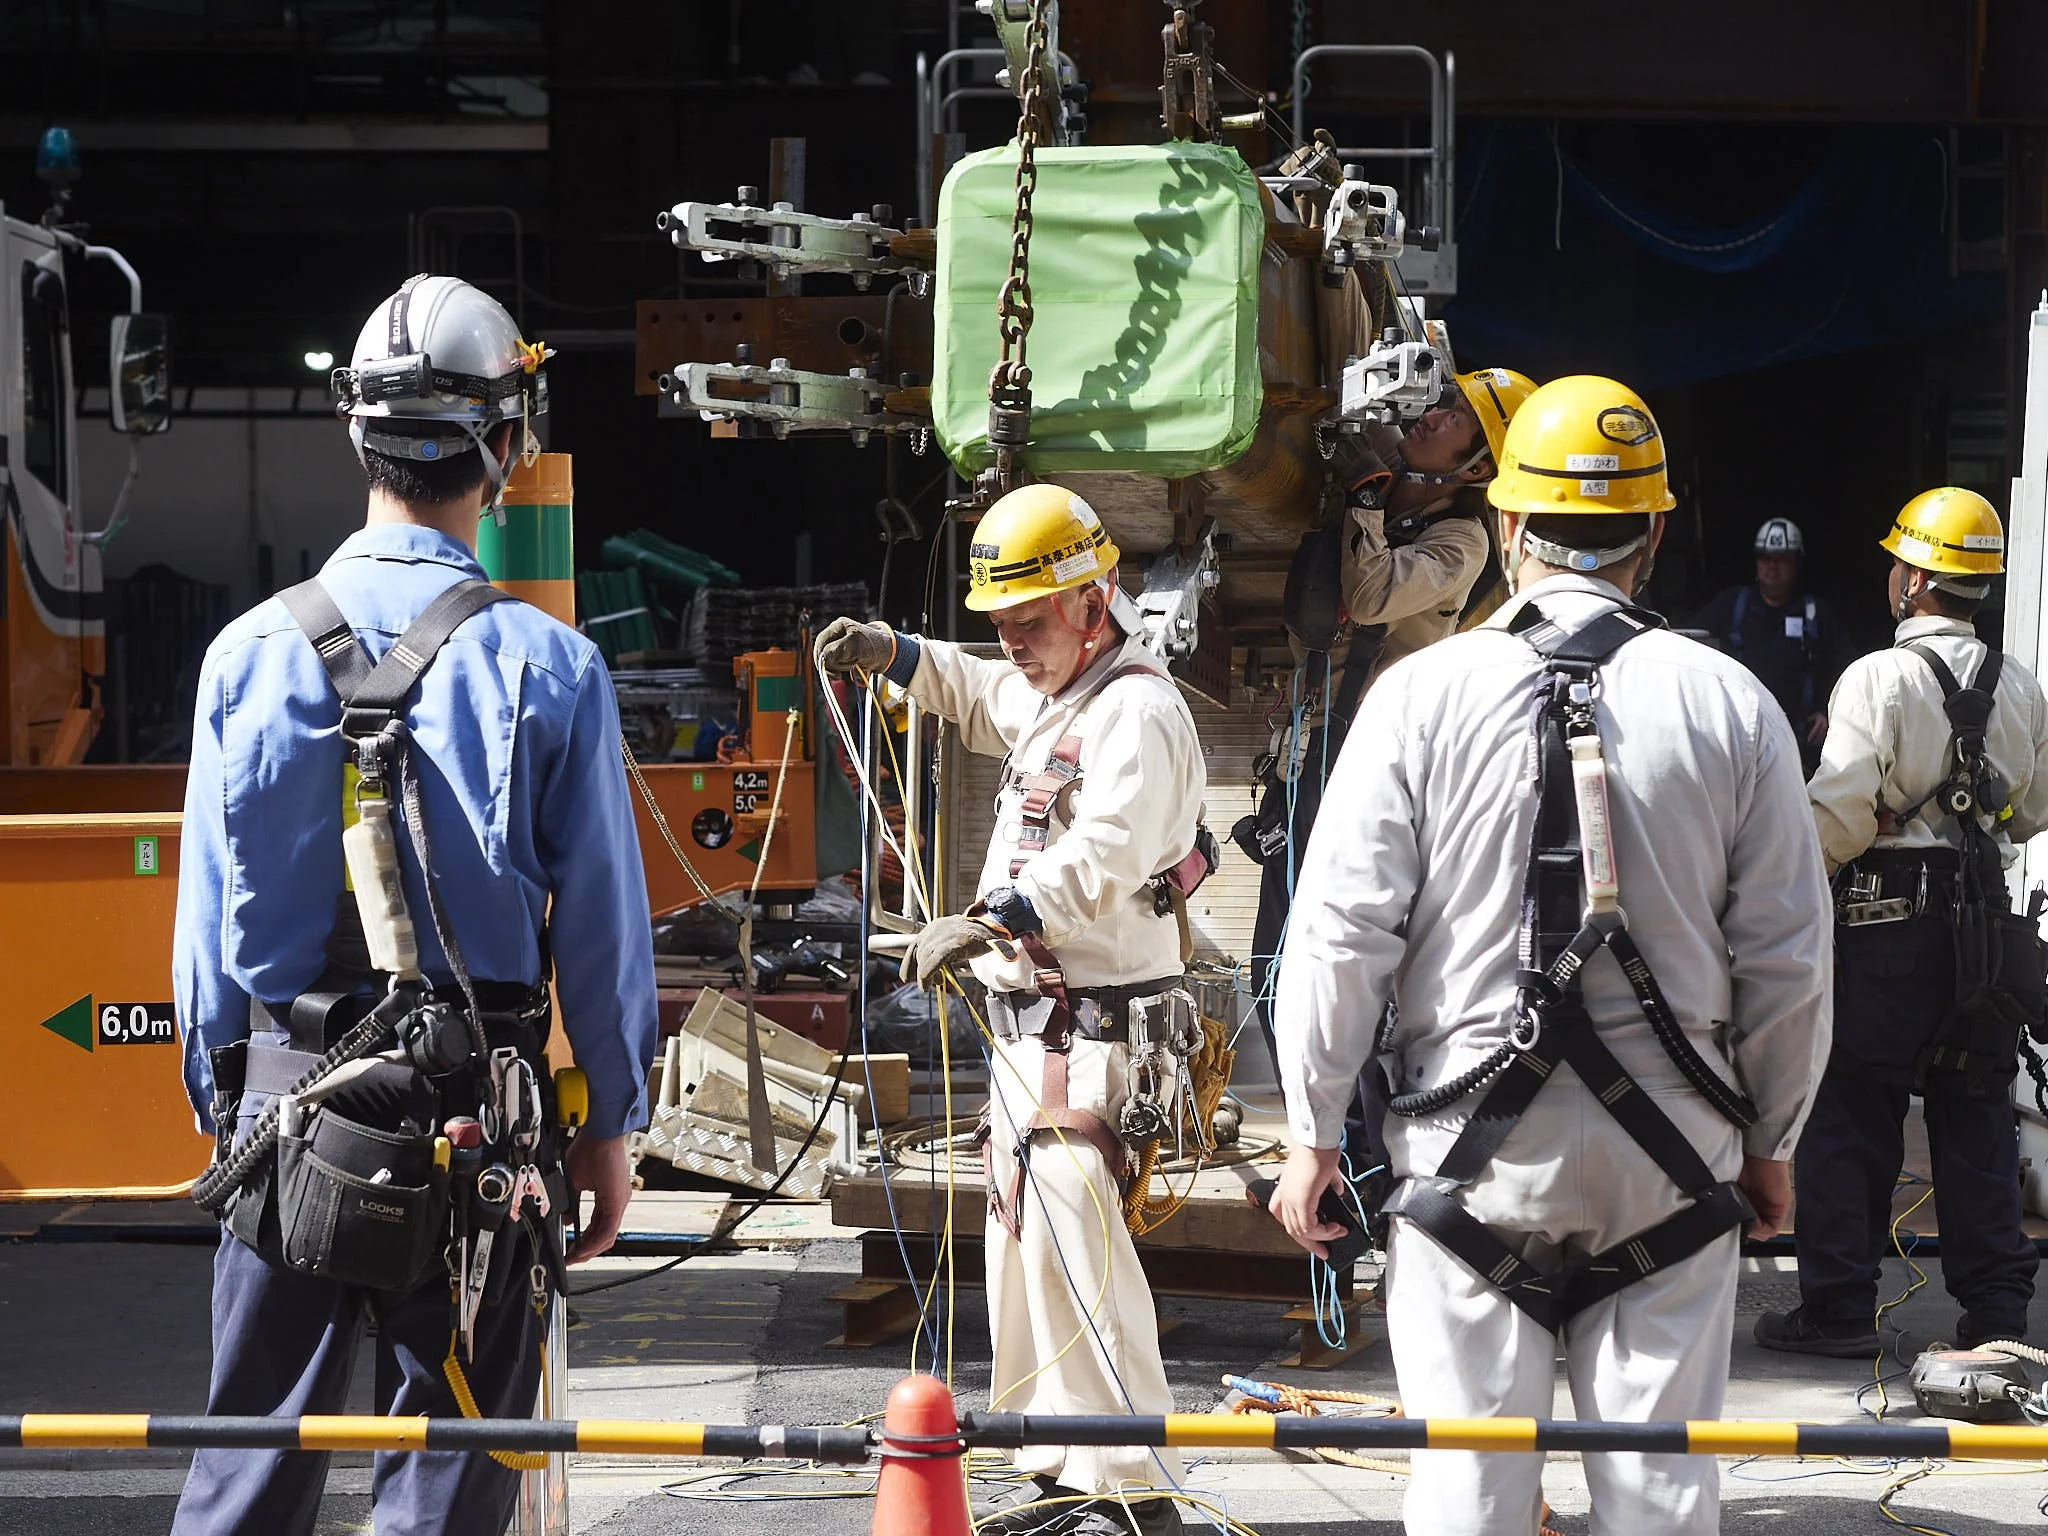
Taken at night at f2.8, I get the benefit of a faster shutter speed and Lowe ISO, but still manage the whole frame sharp. Shallower depth would have added nothing to this file.
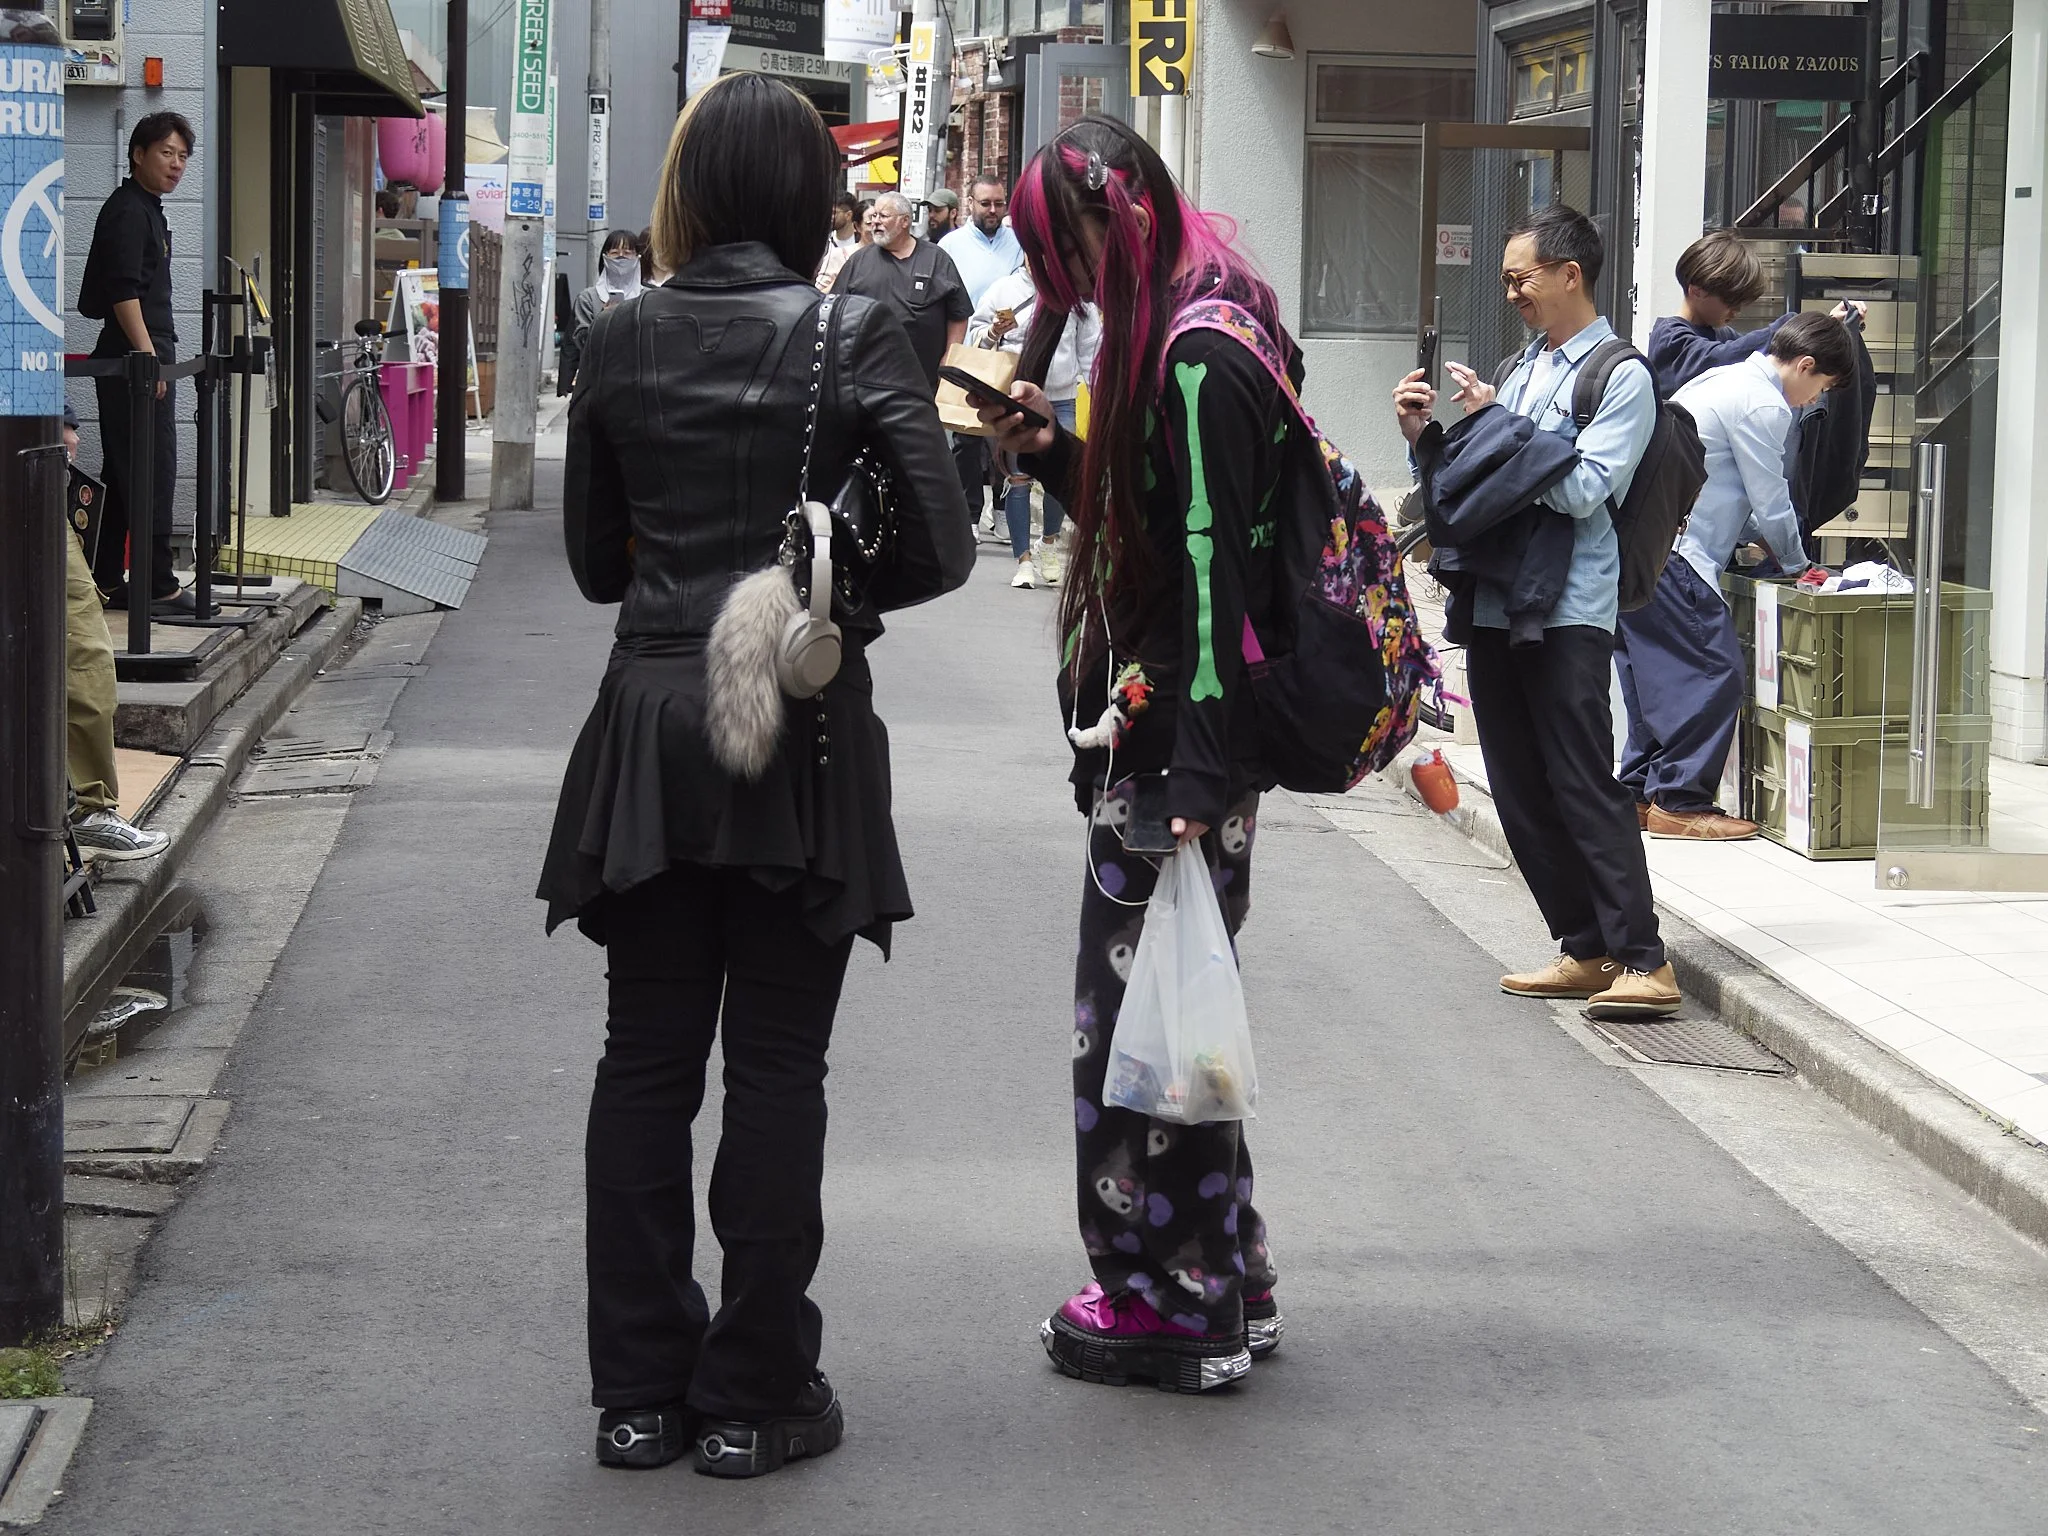
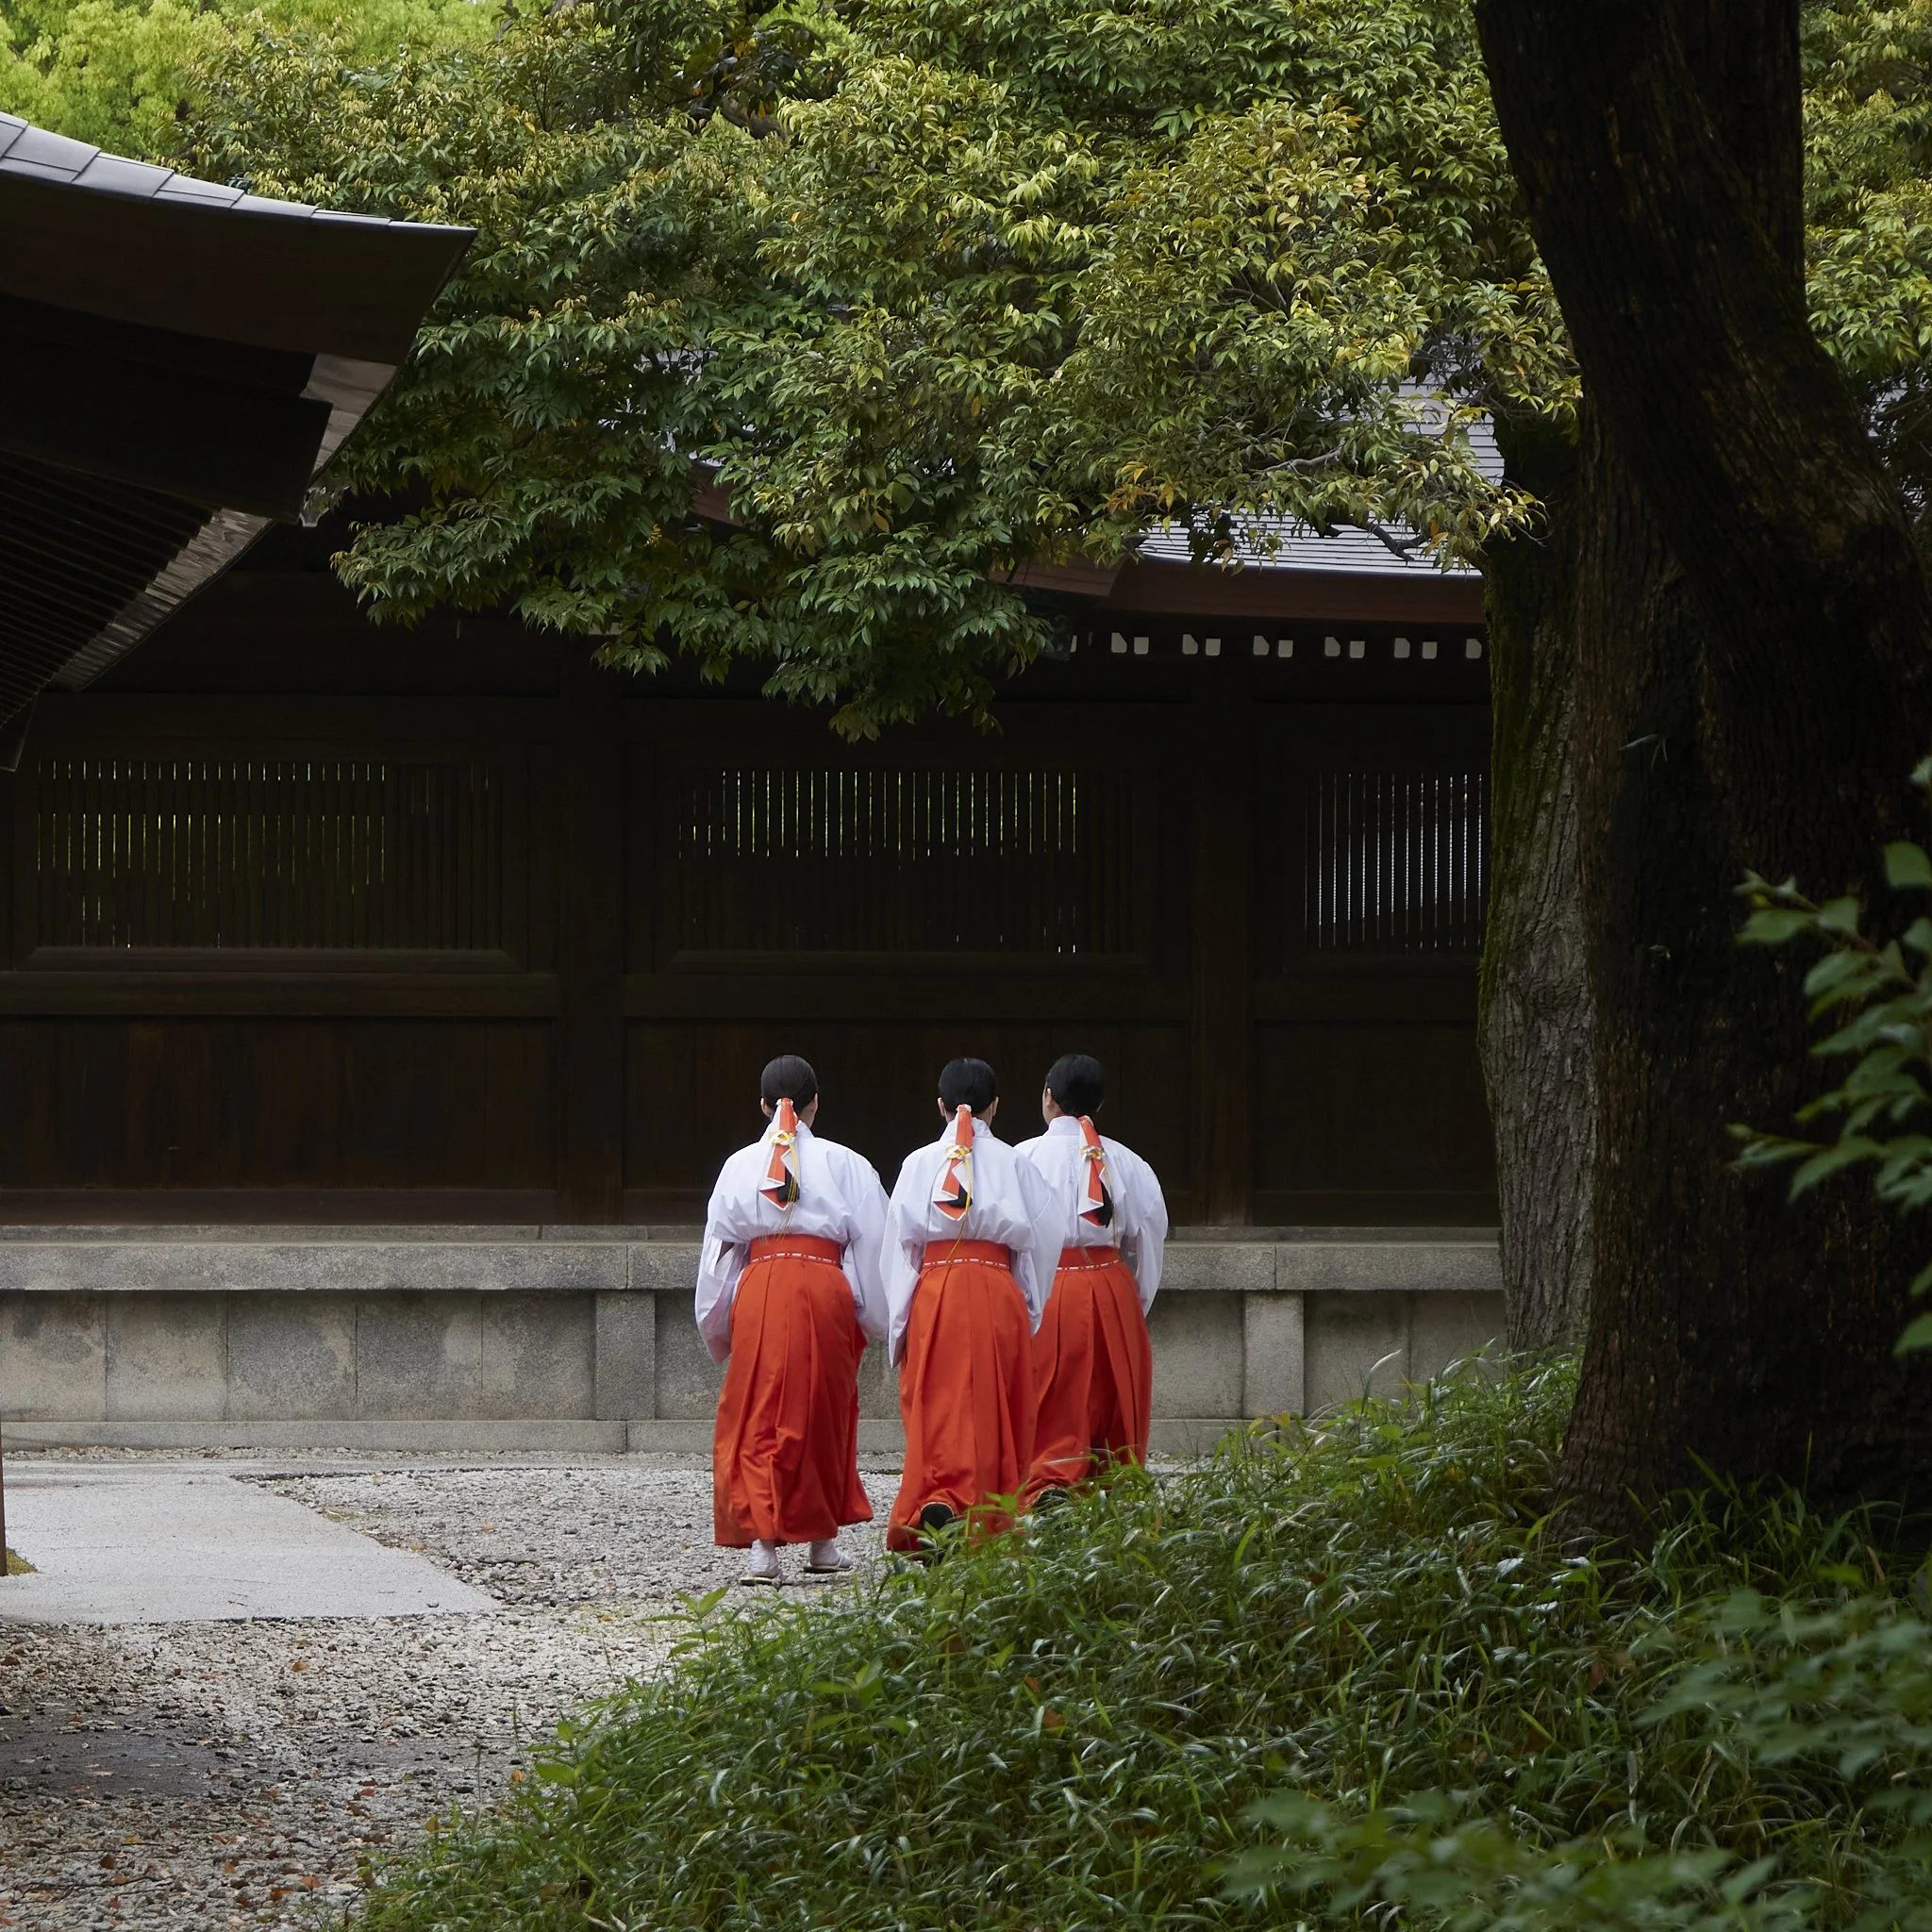
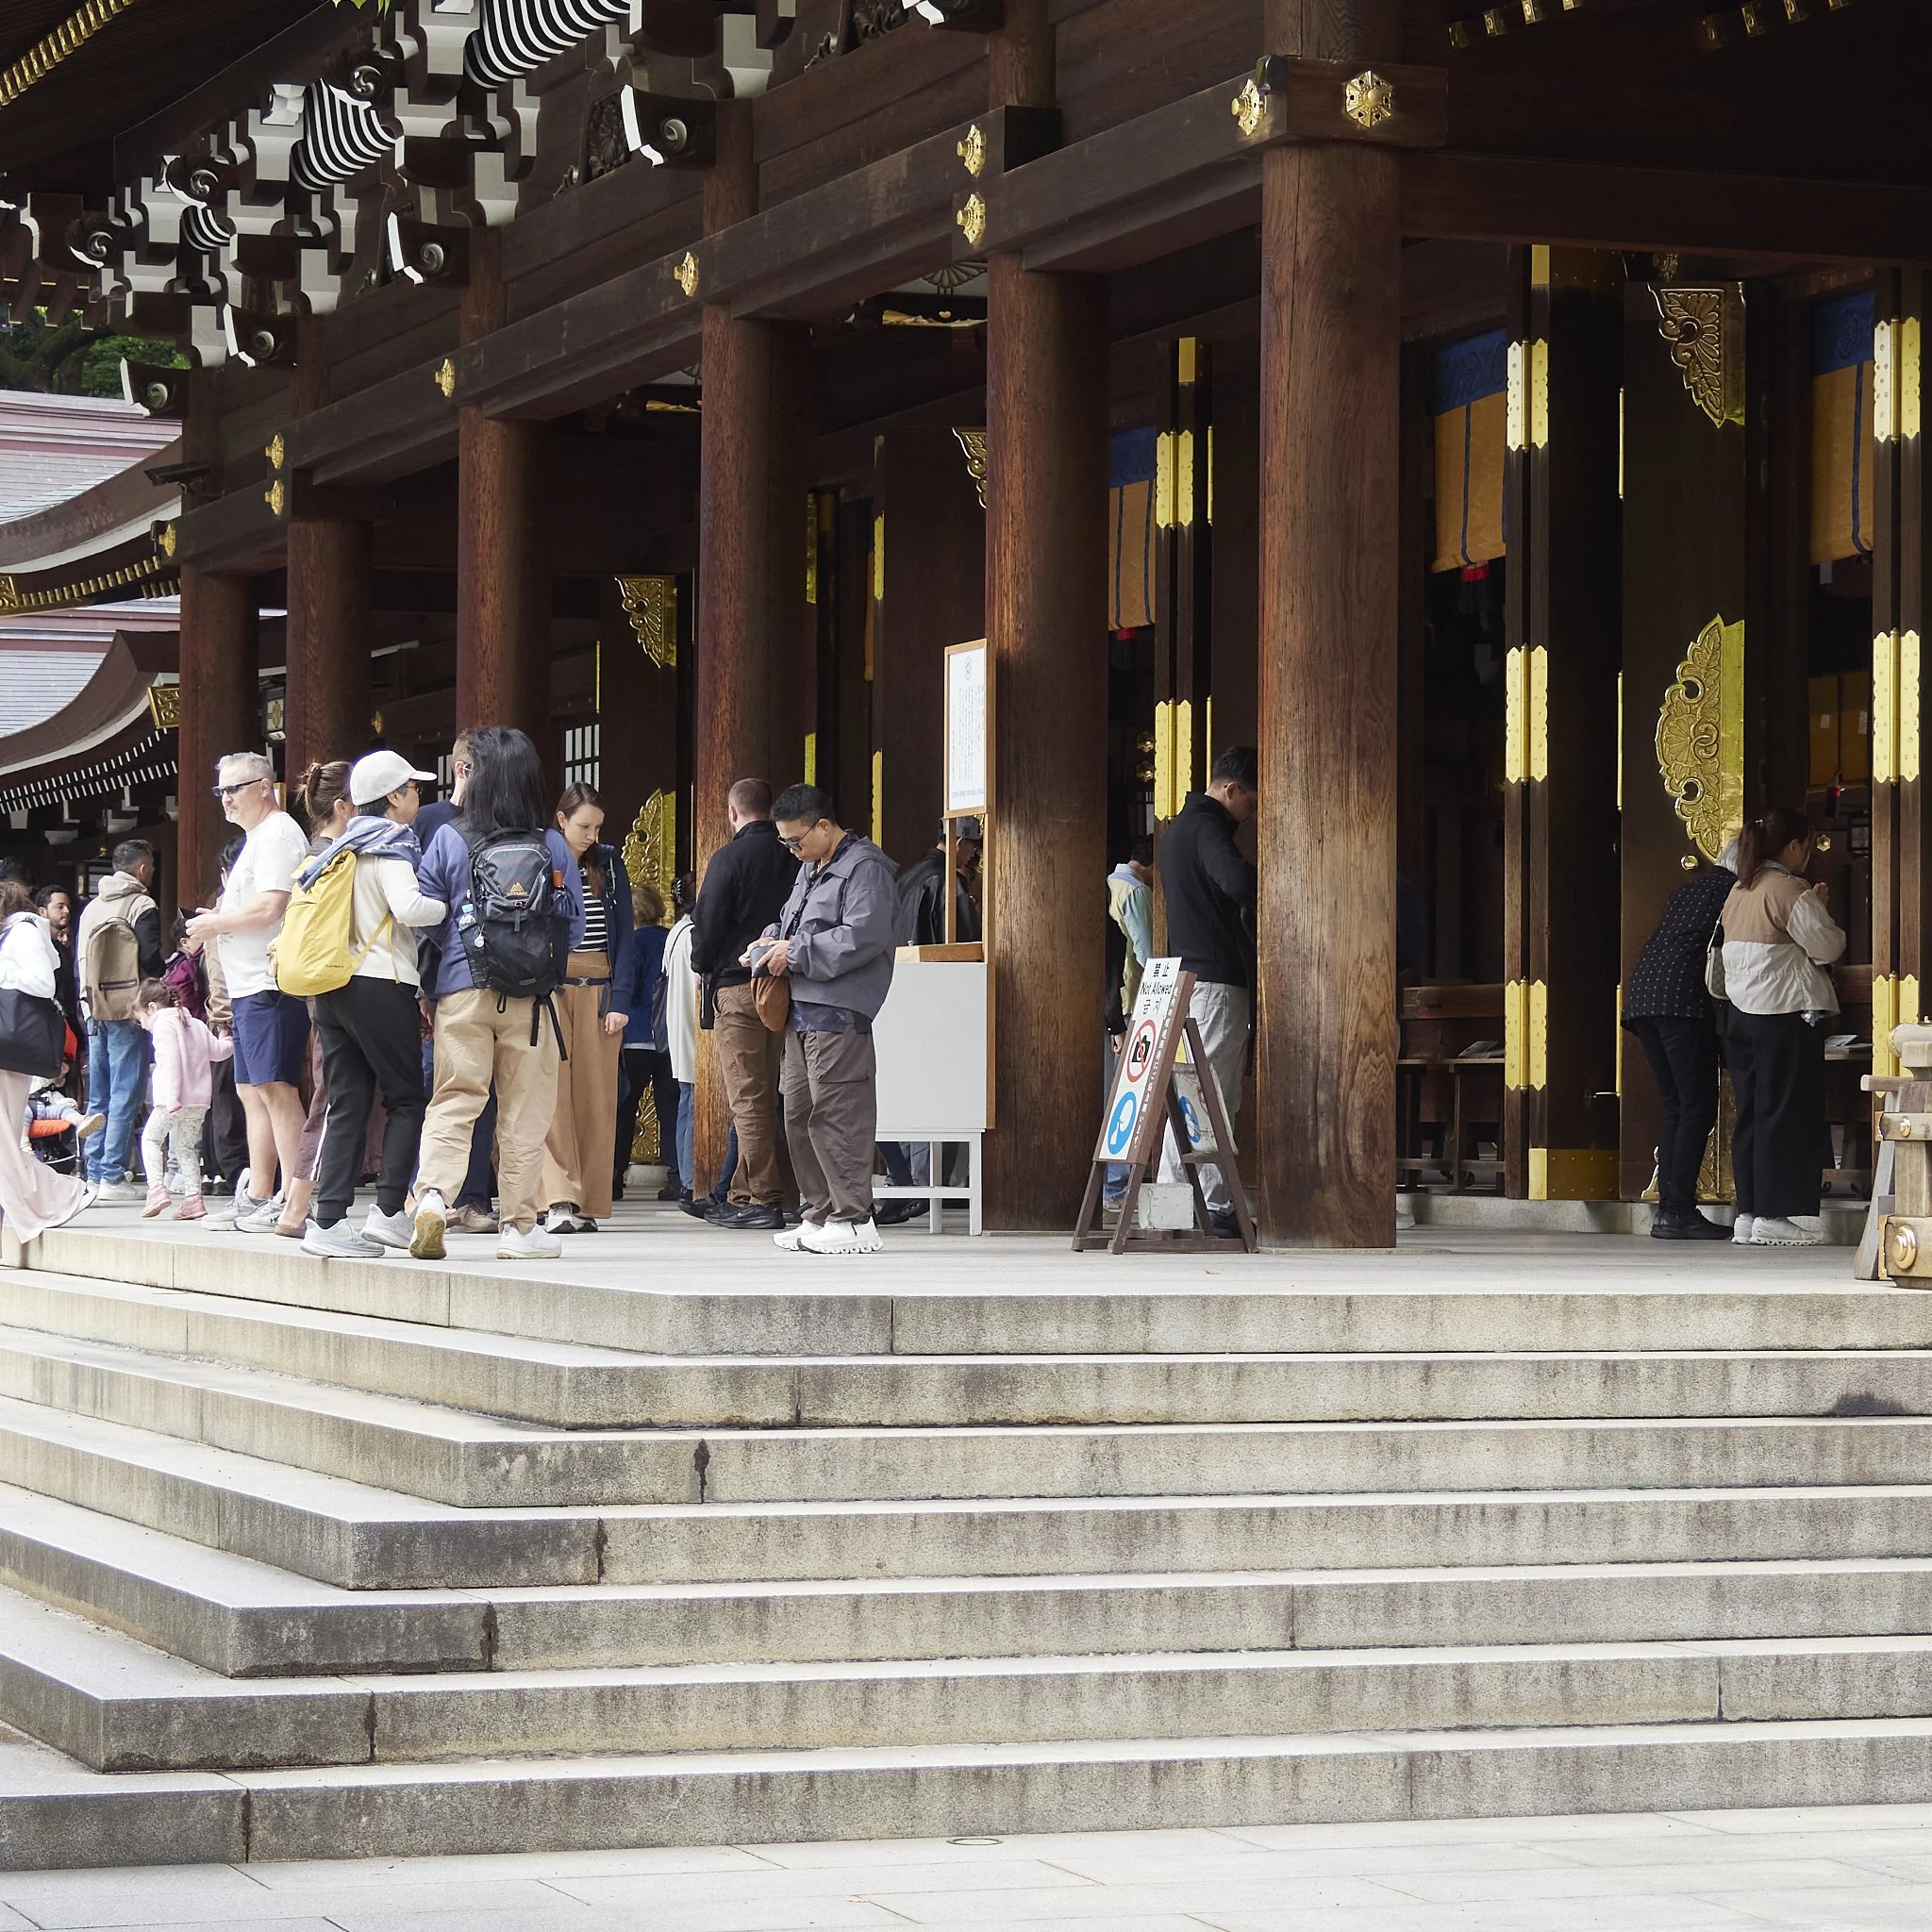
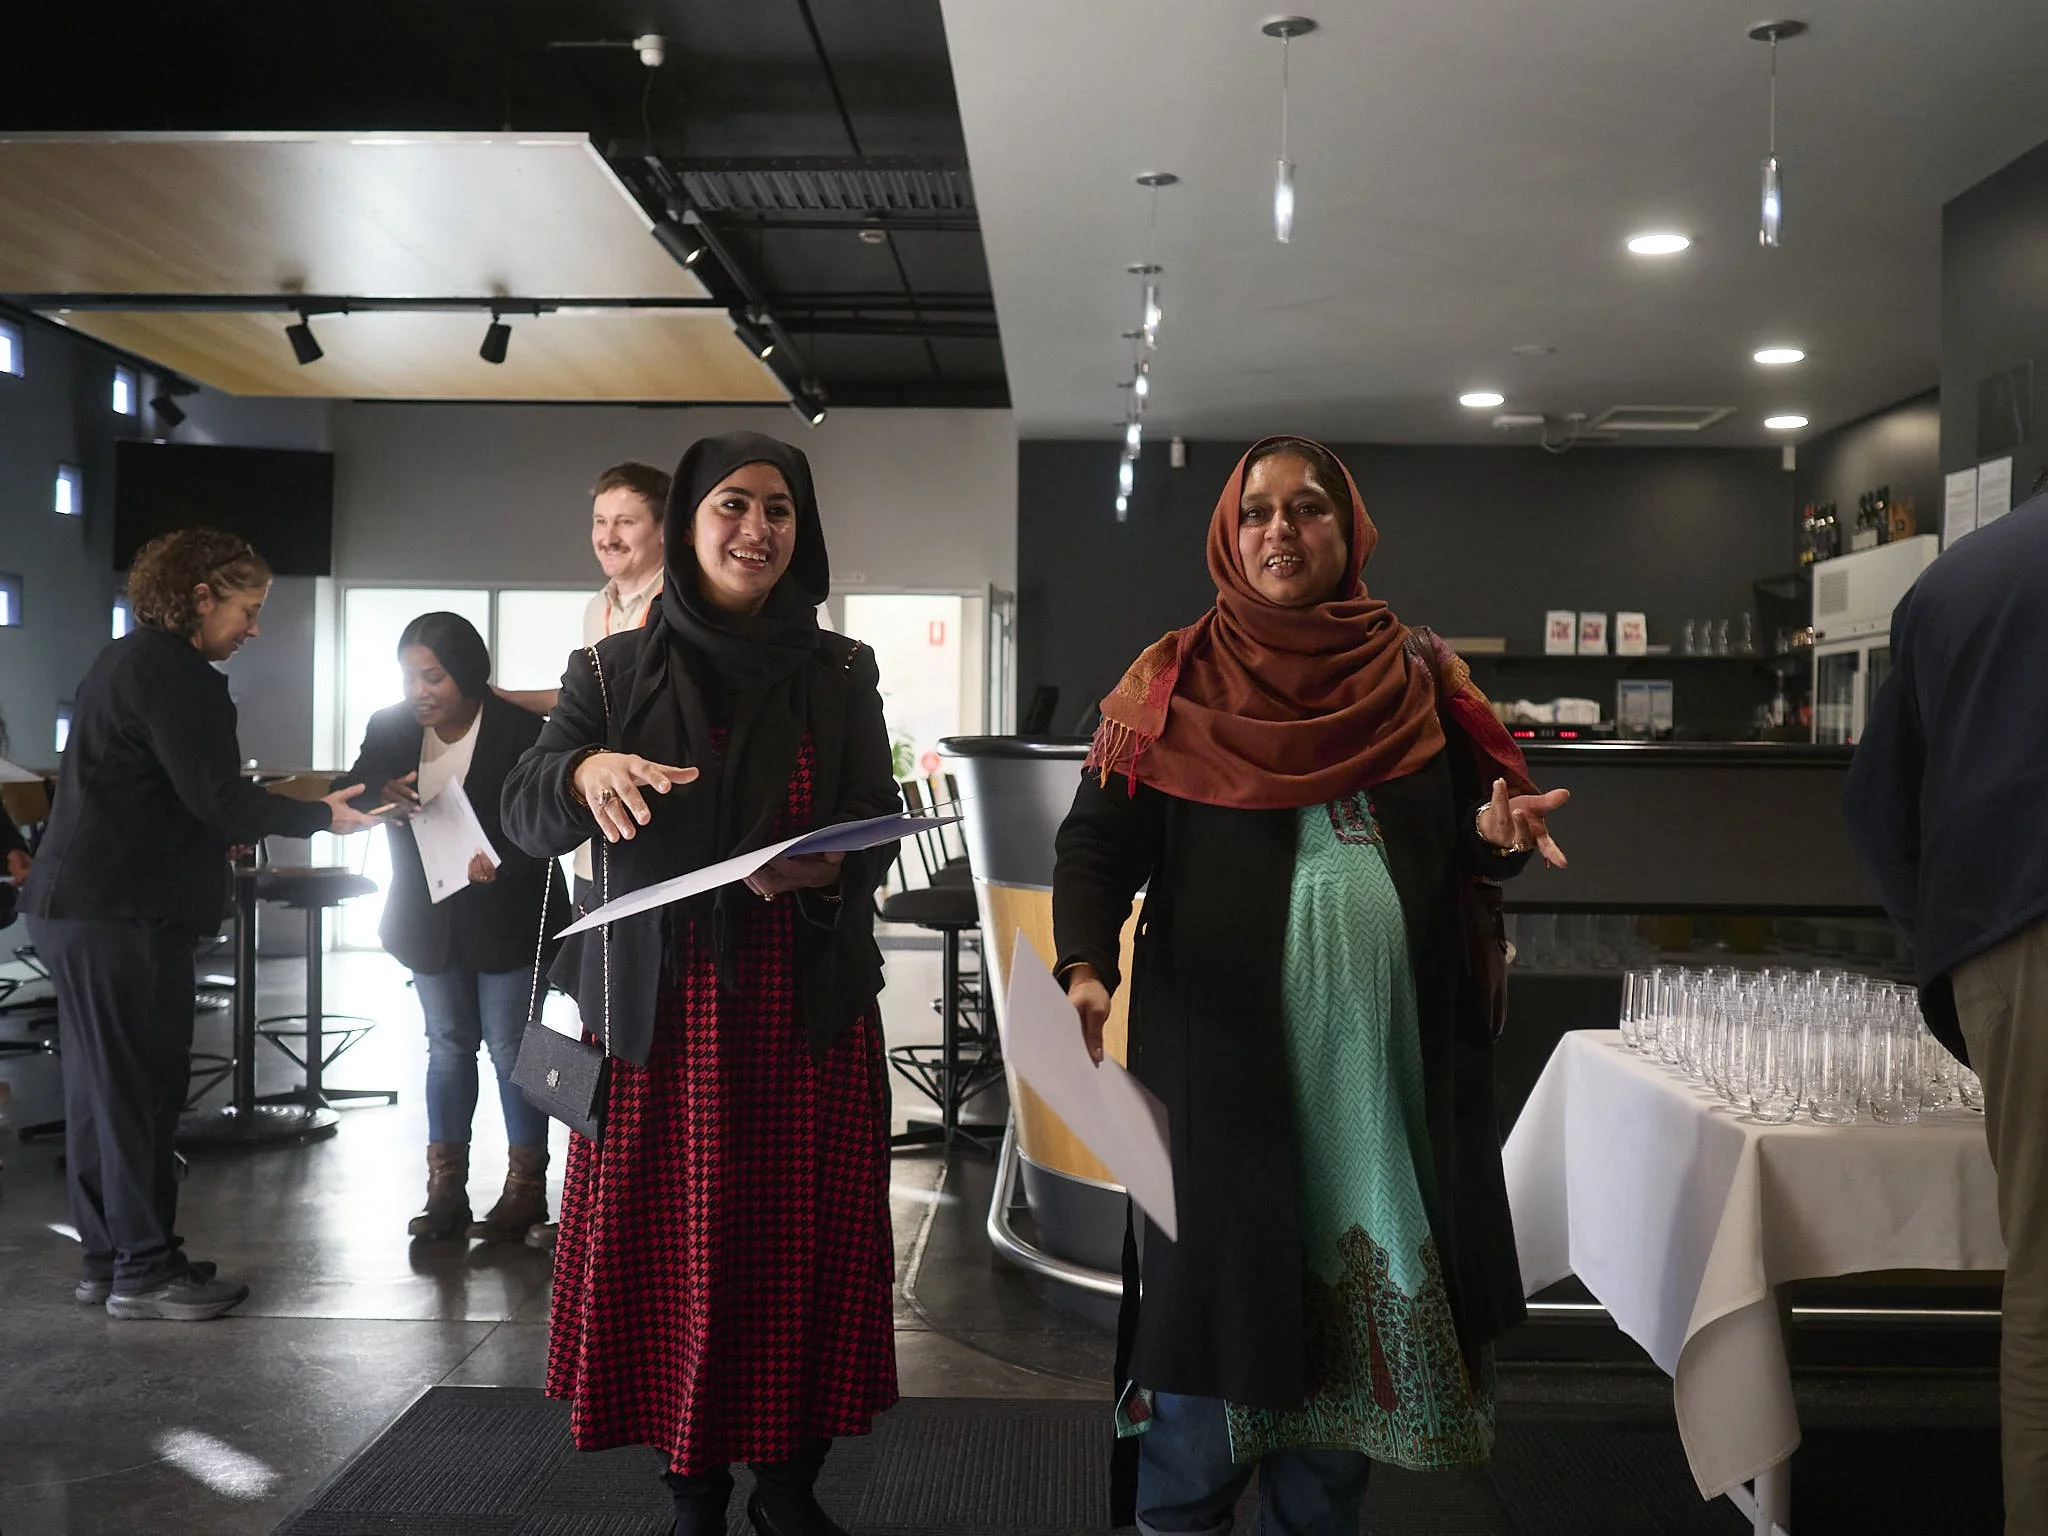
The two girls in front are the anchor for this image, but you find yourself drawn to other stories, even the mans turned head between theirs. I could have shot this at f1.8 on a full frame, but to what purpose?
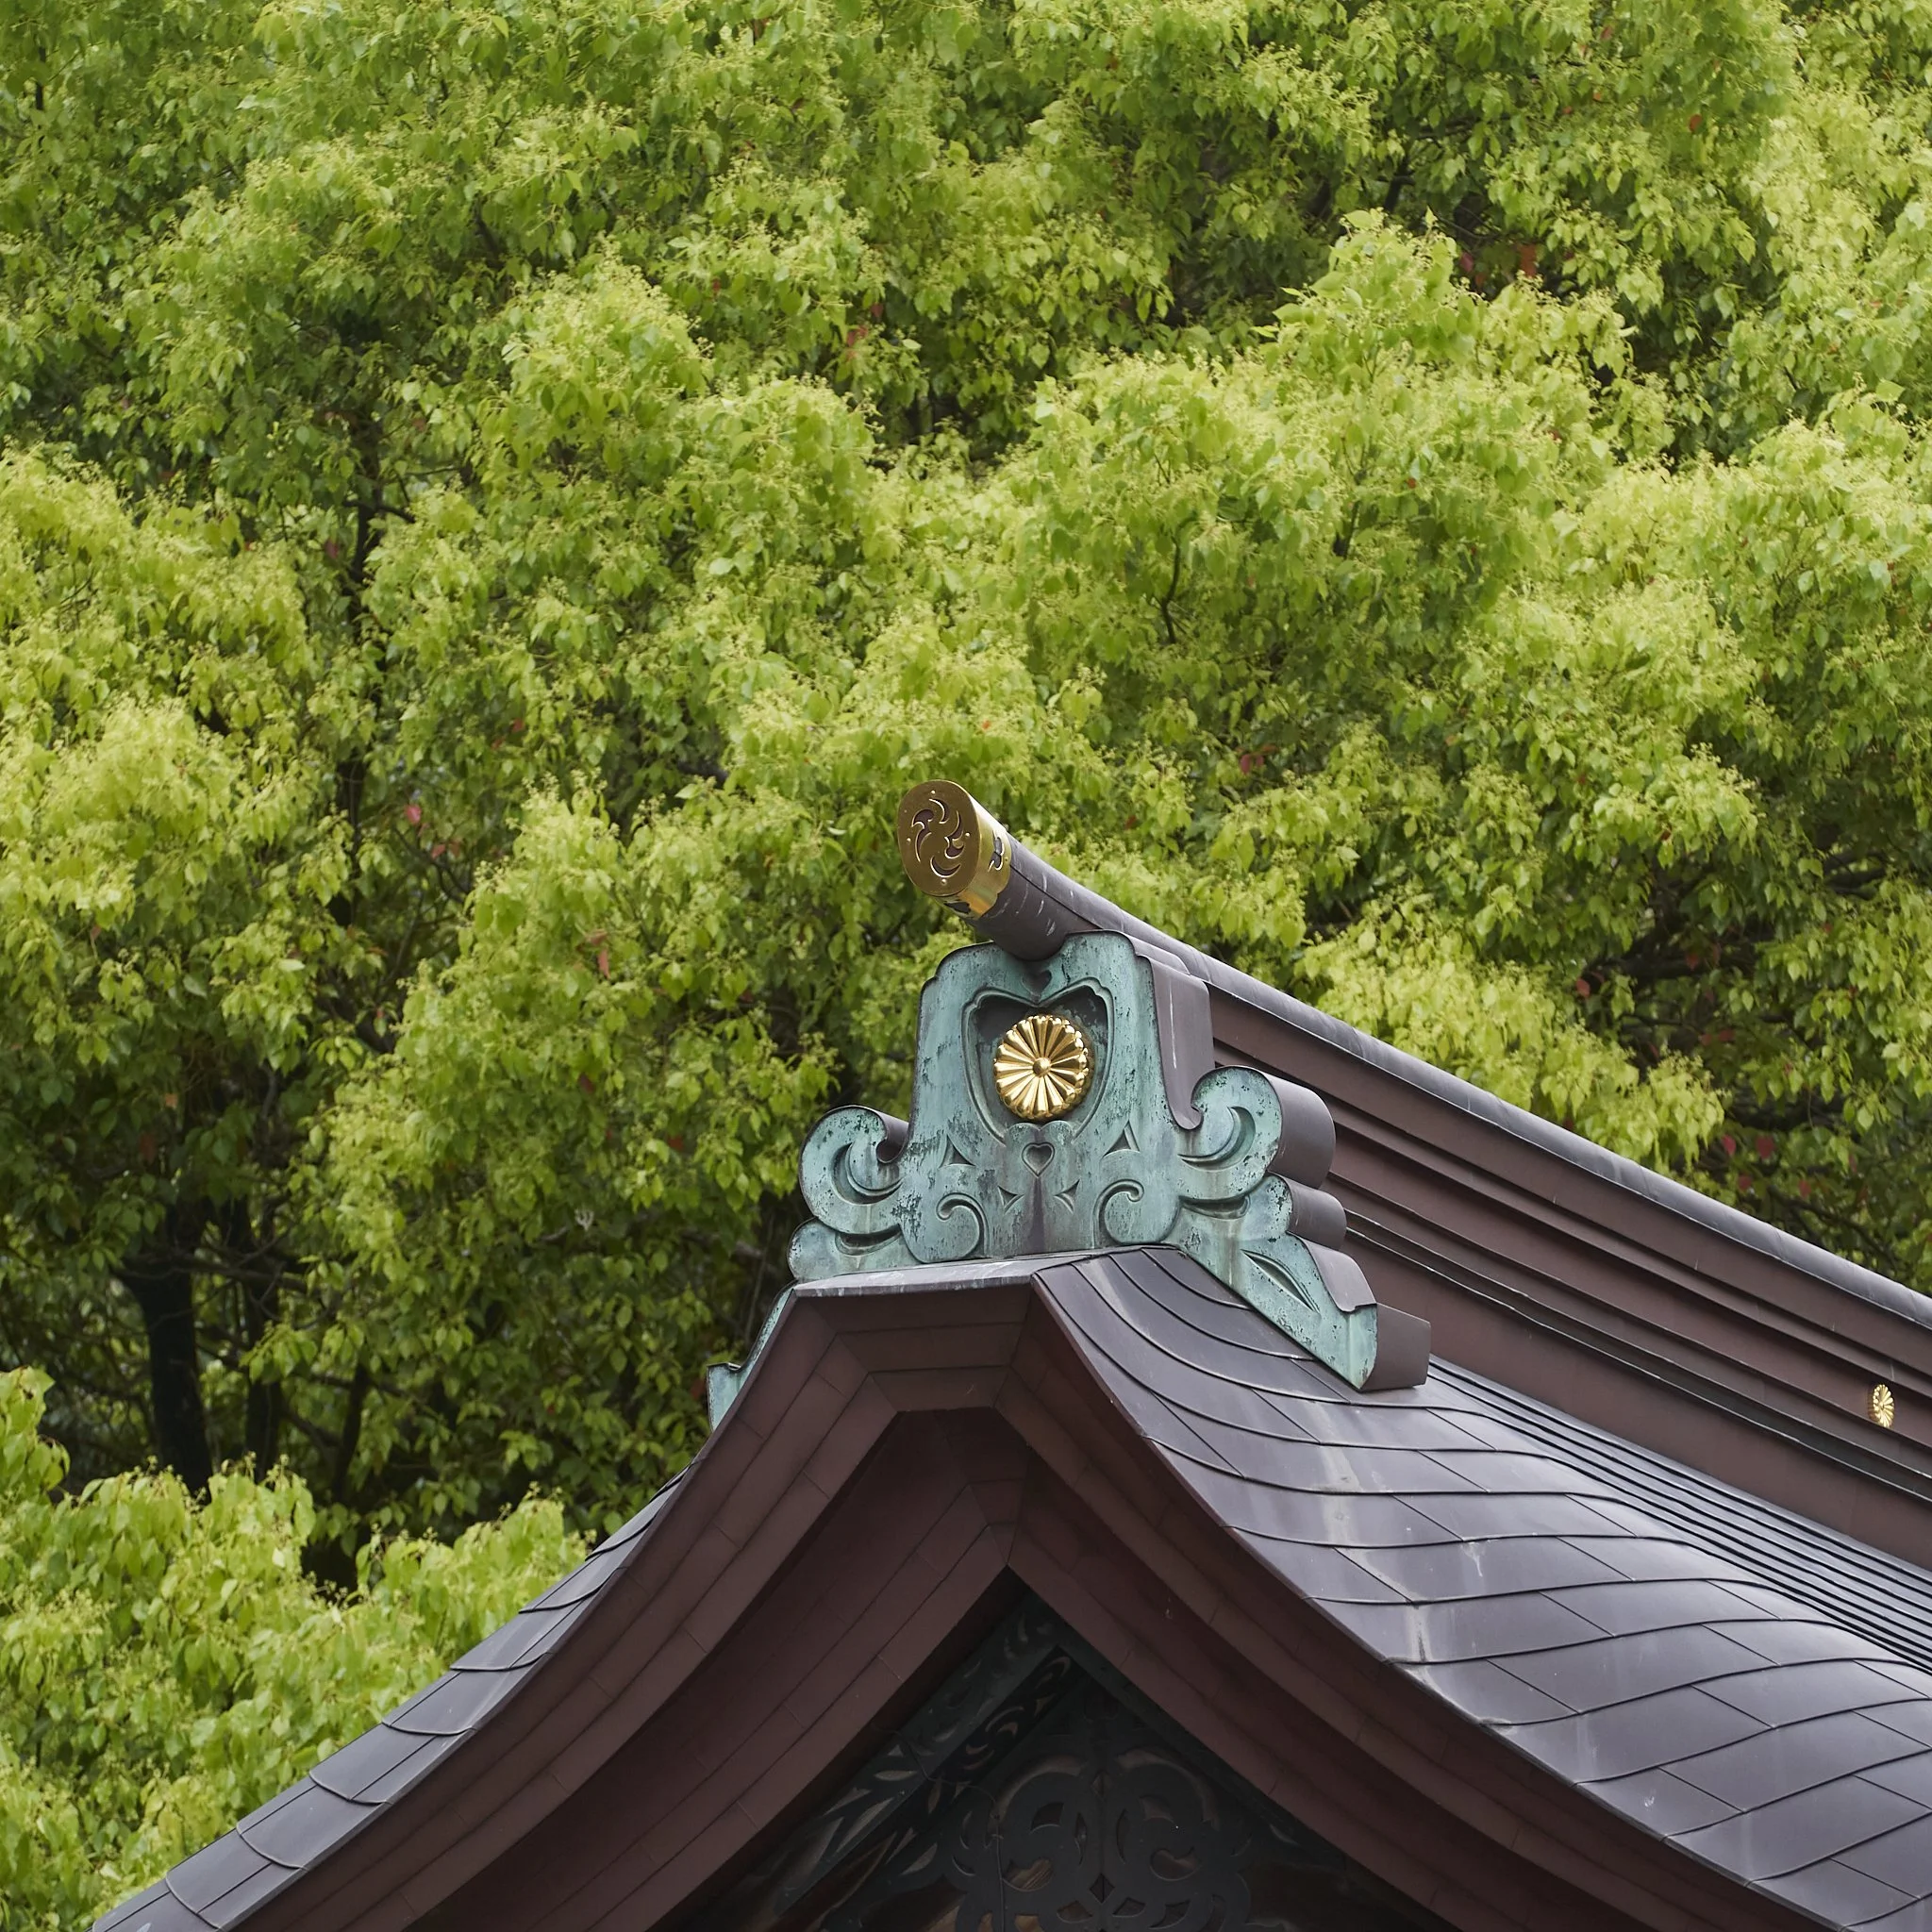
Many images only work with depth. I could have made the central man the only sharp element, but that would have felt like chasing an on trend gimmick, not capturing what was important.
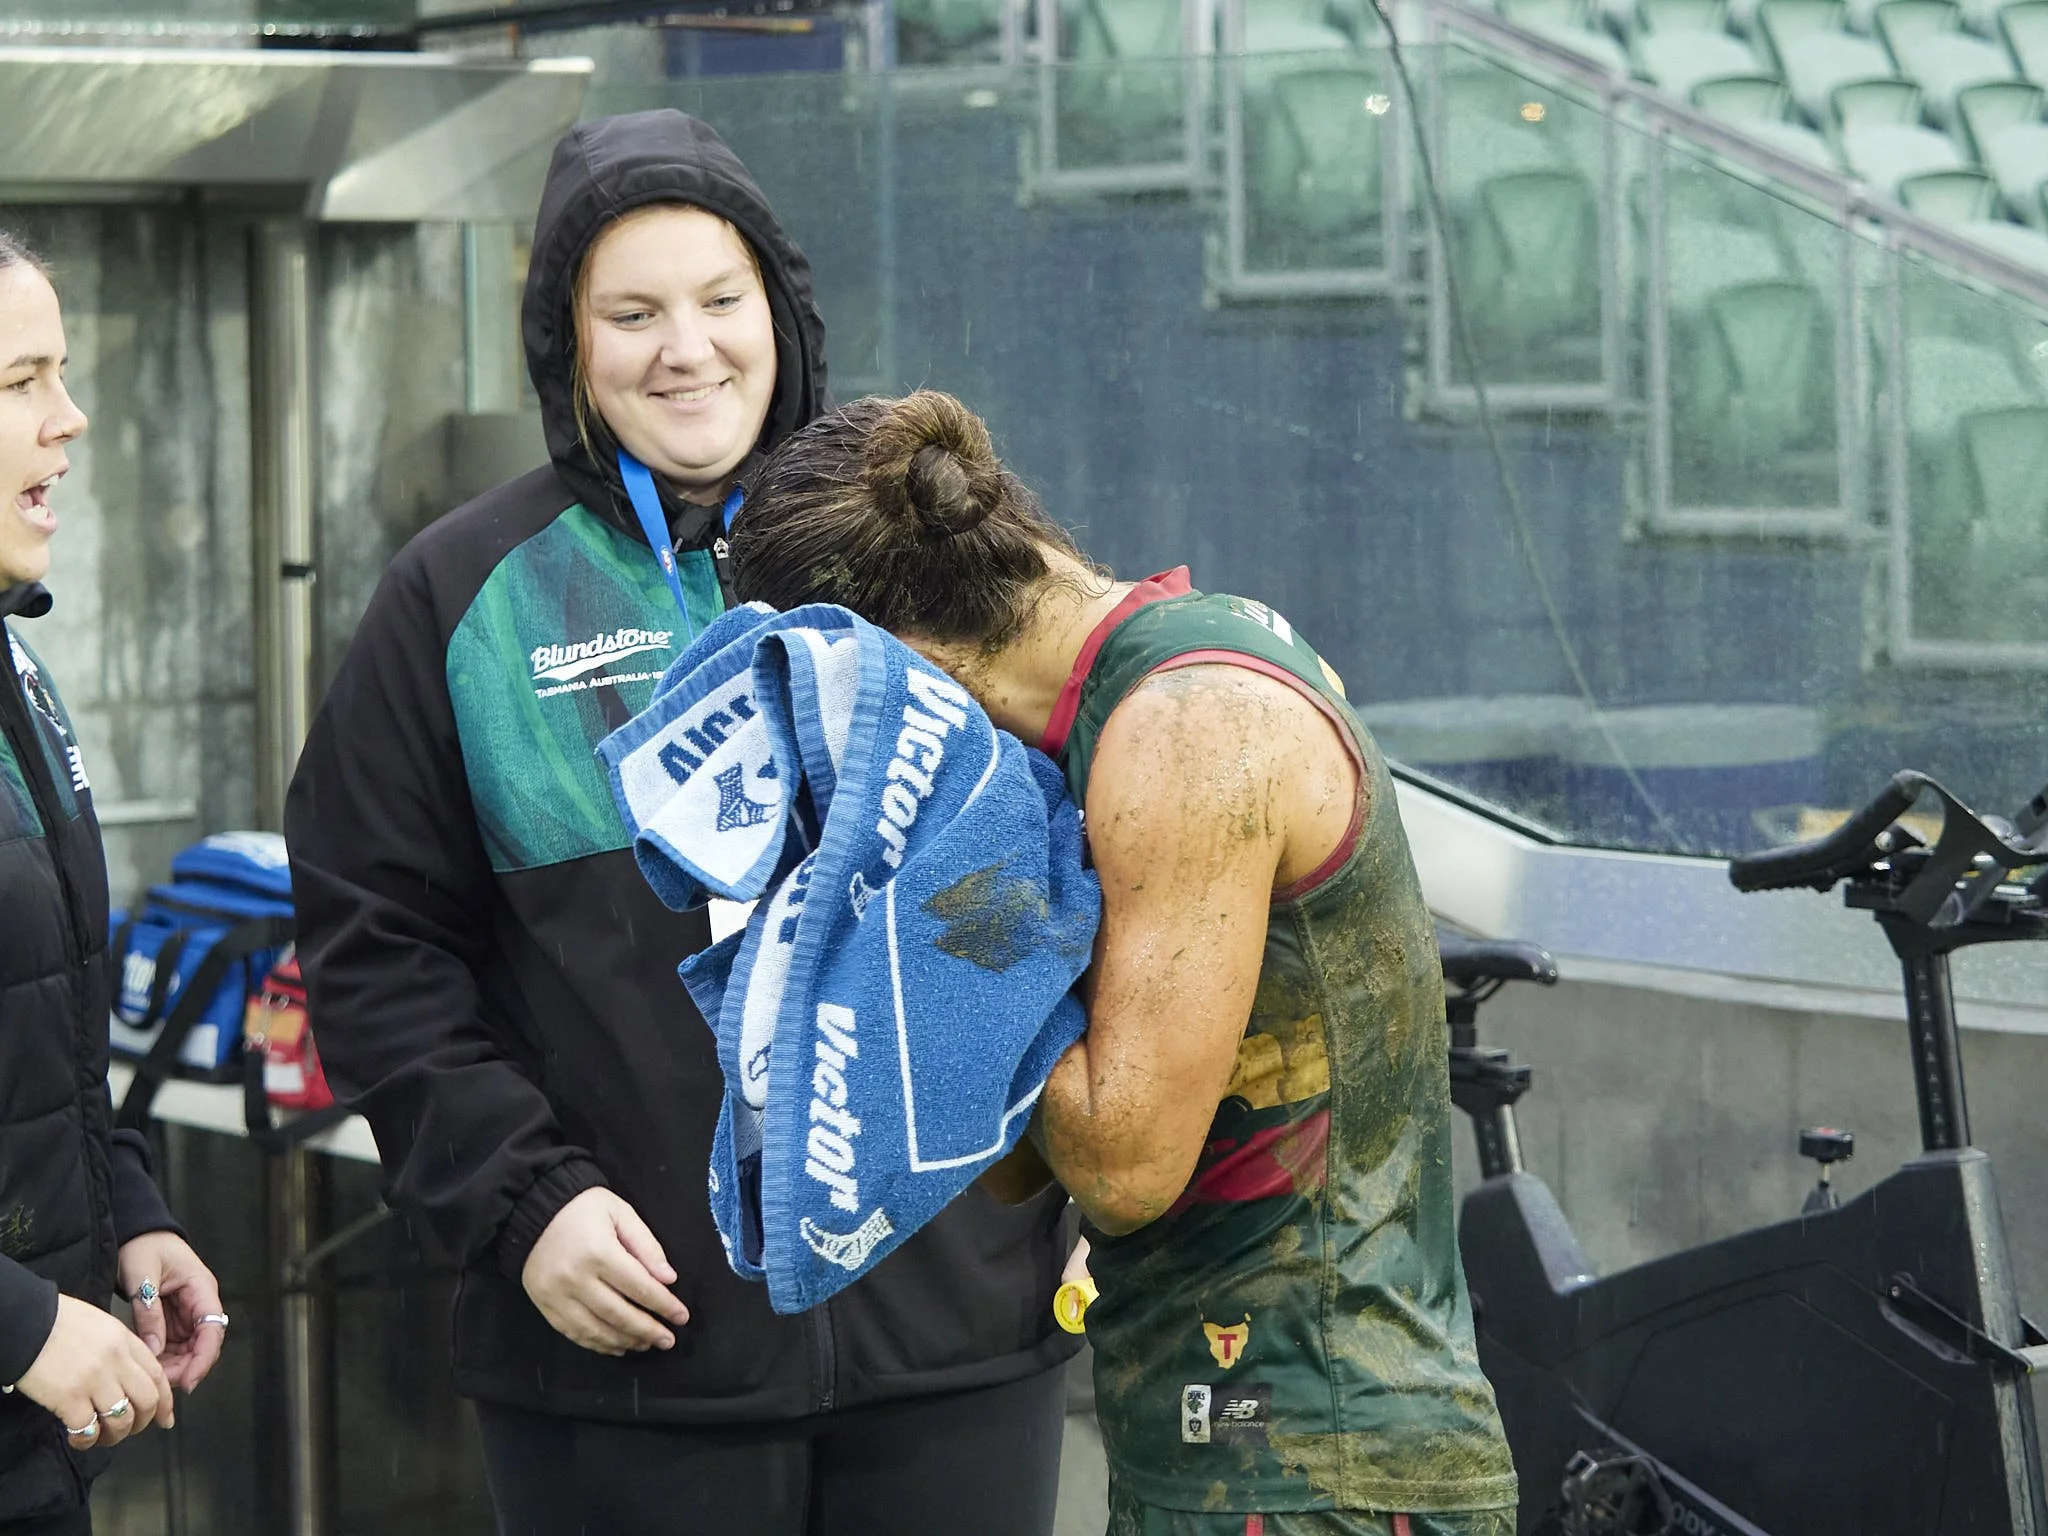
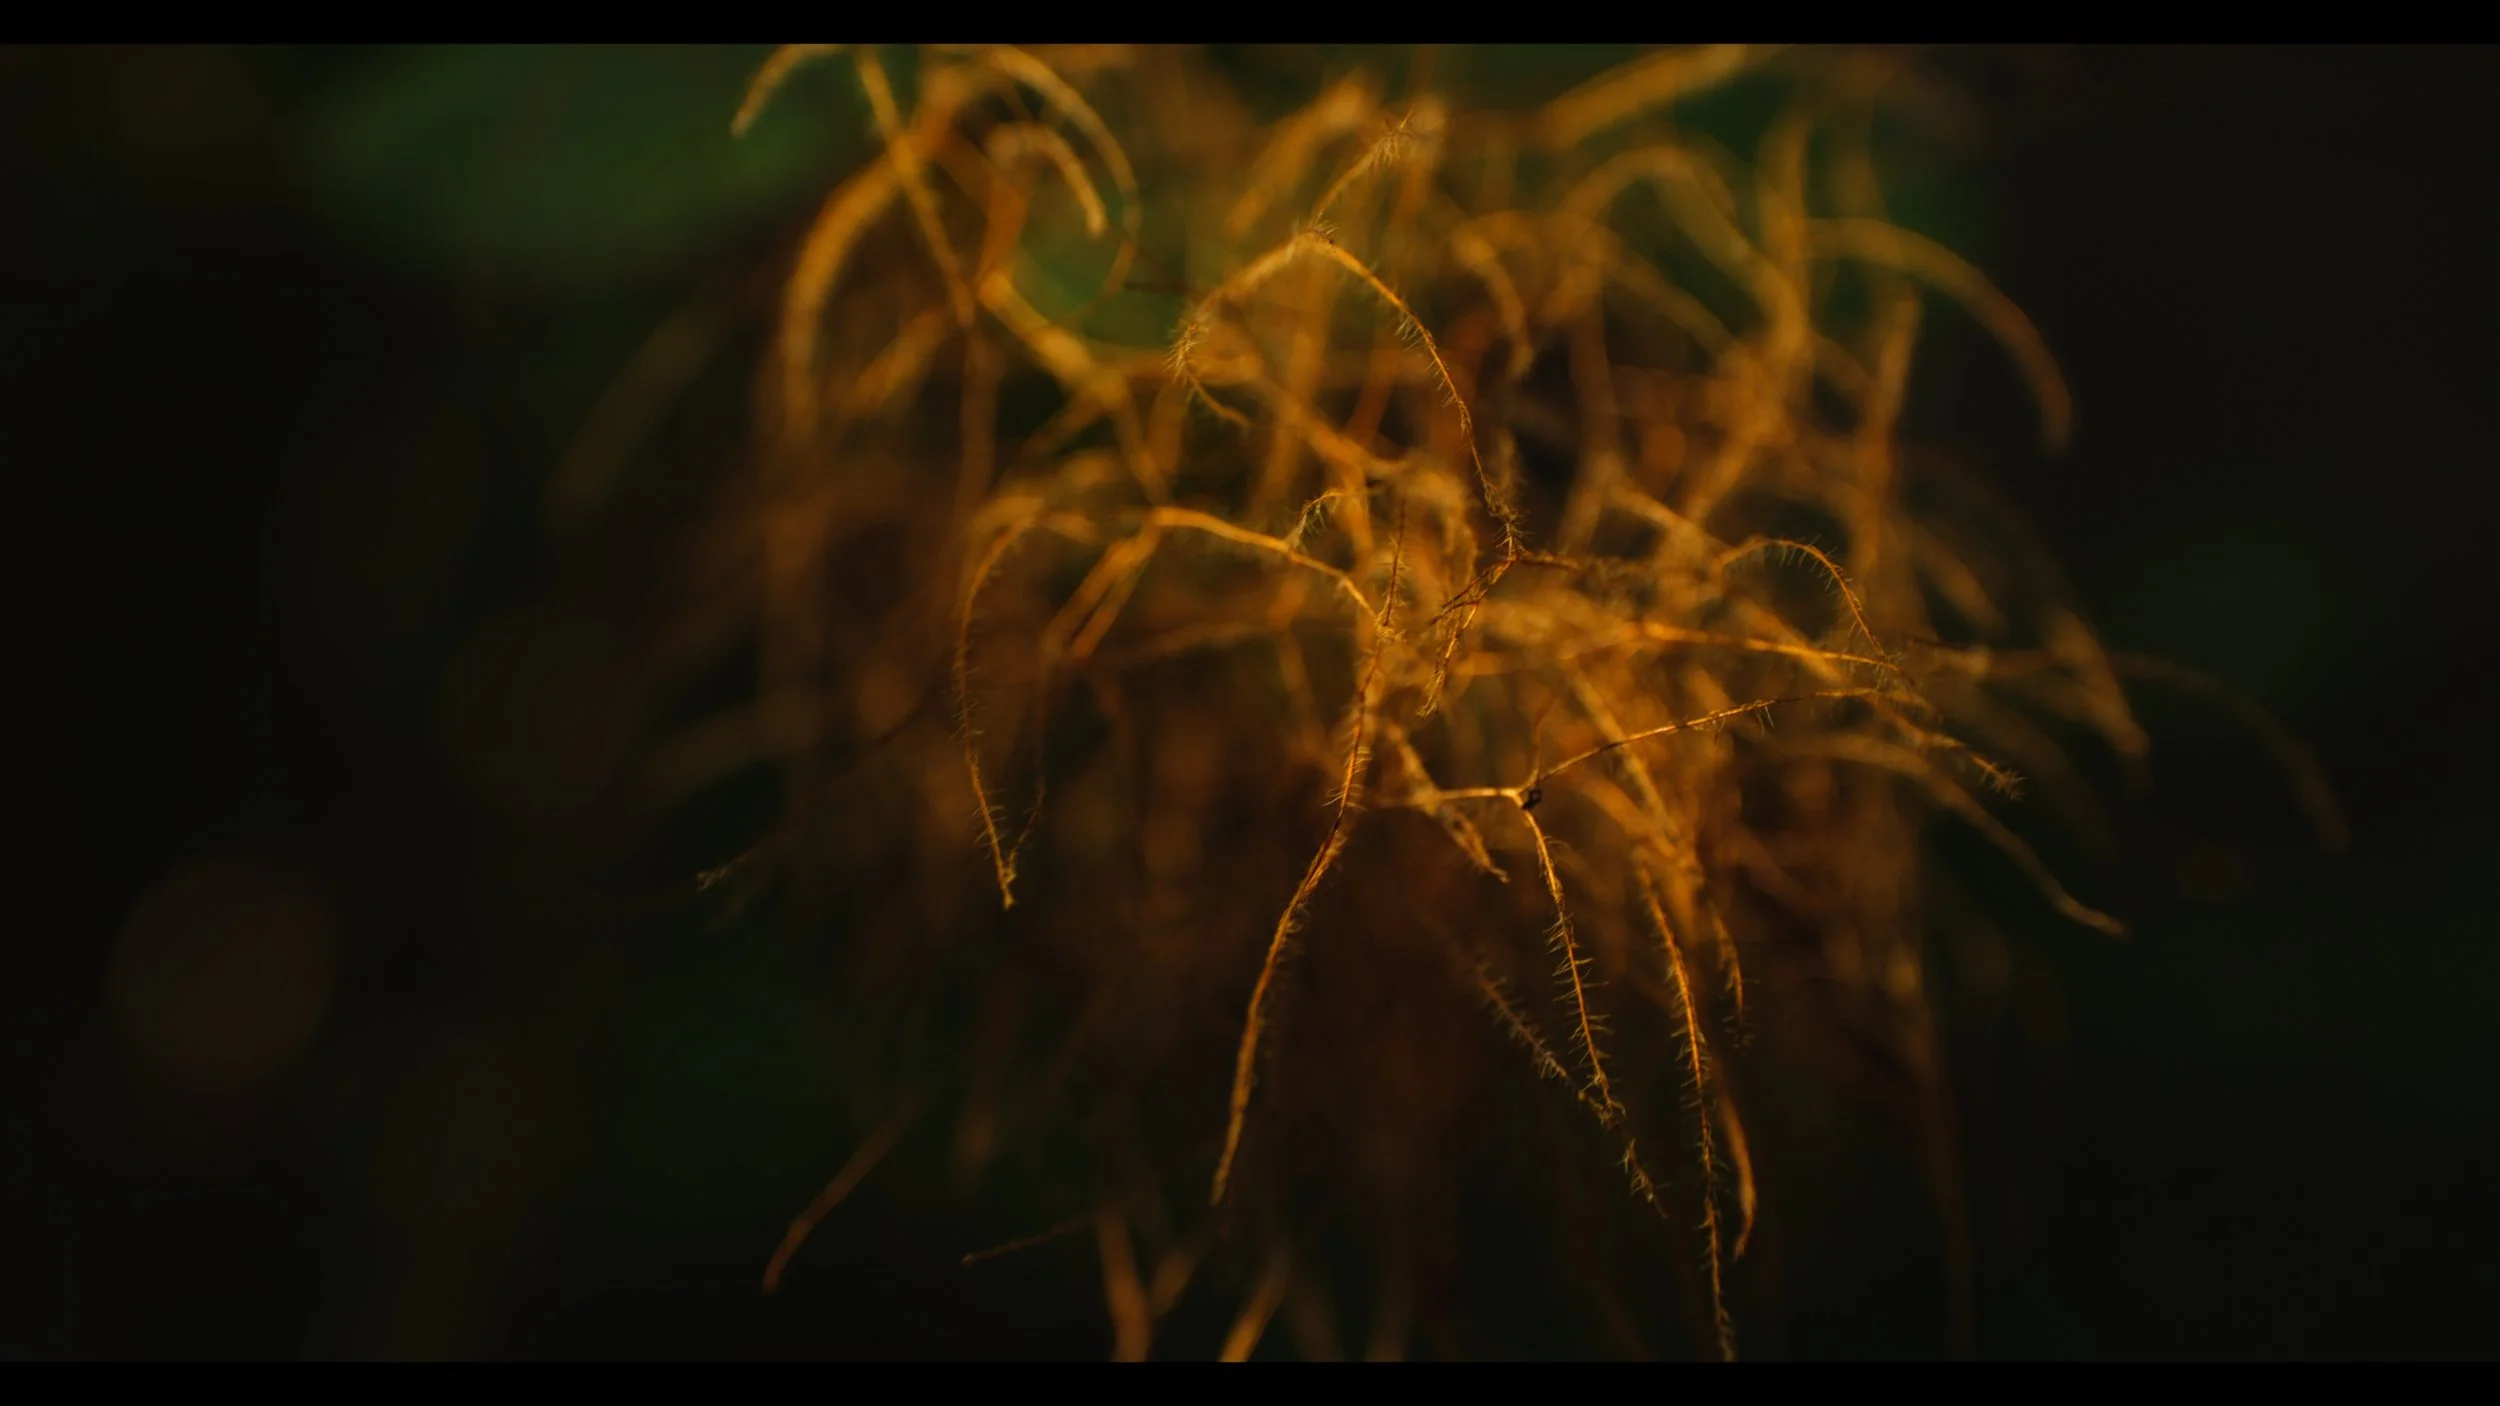
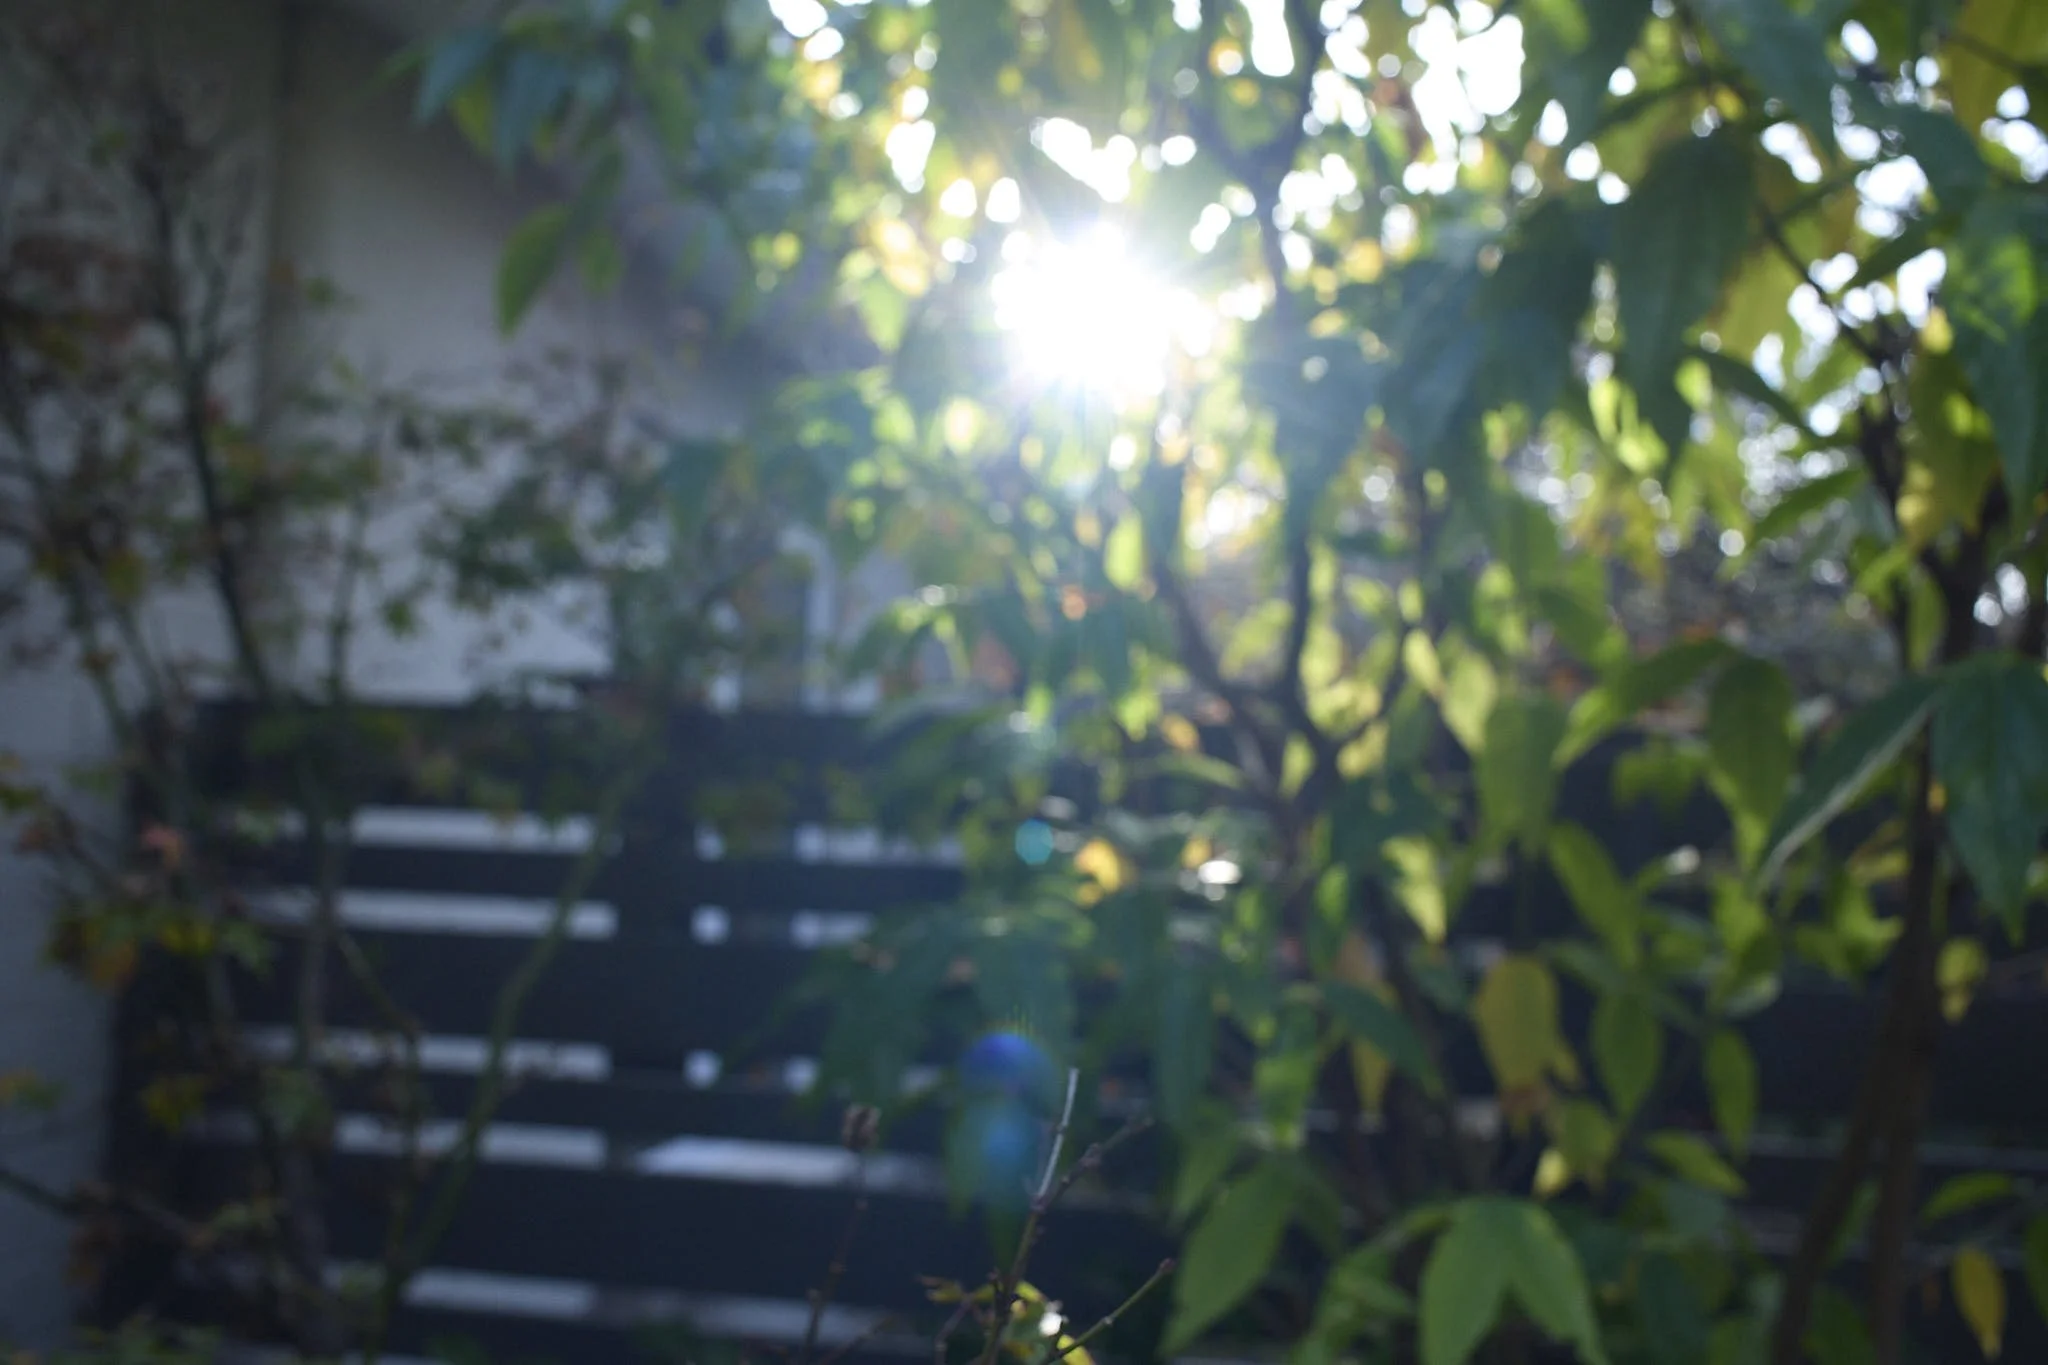
Personally, I am finding an obvious transition point less and less appealing. My 17mm Olympus lens is a favourite, because it almost always hides the transition point even at wider apertures.
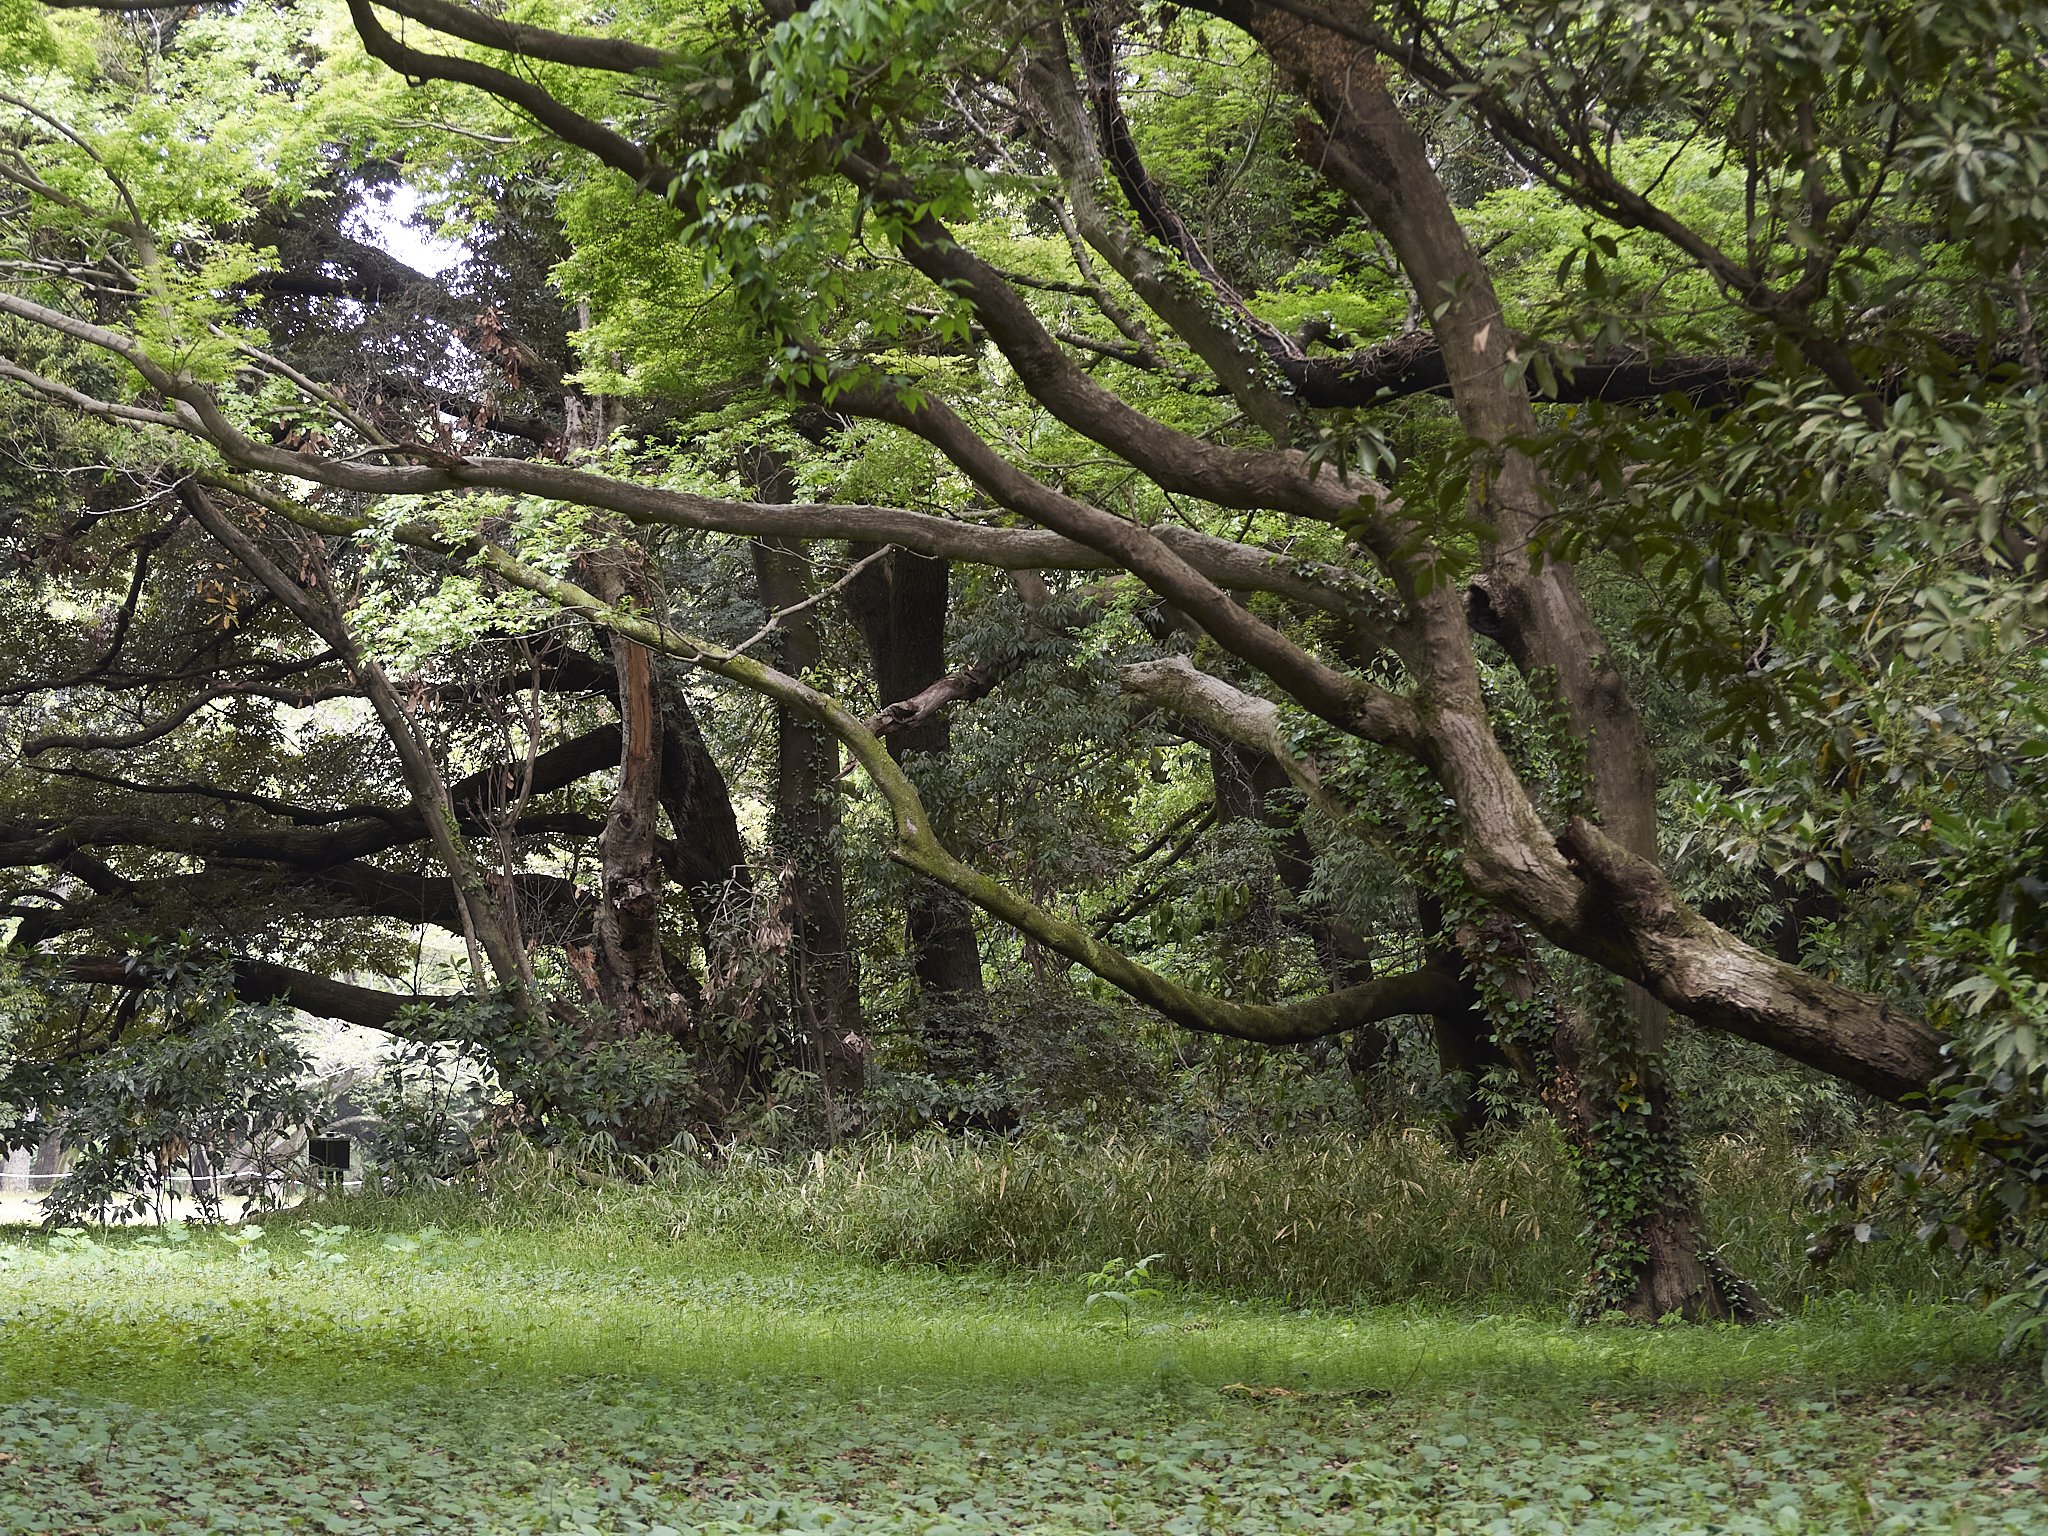
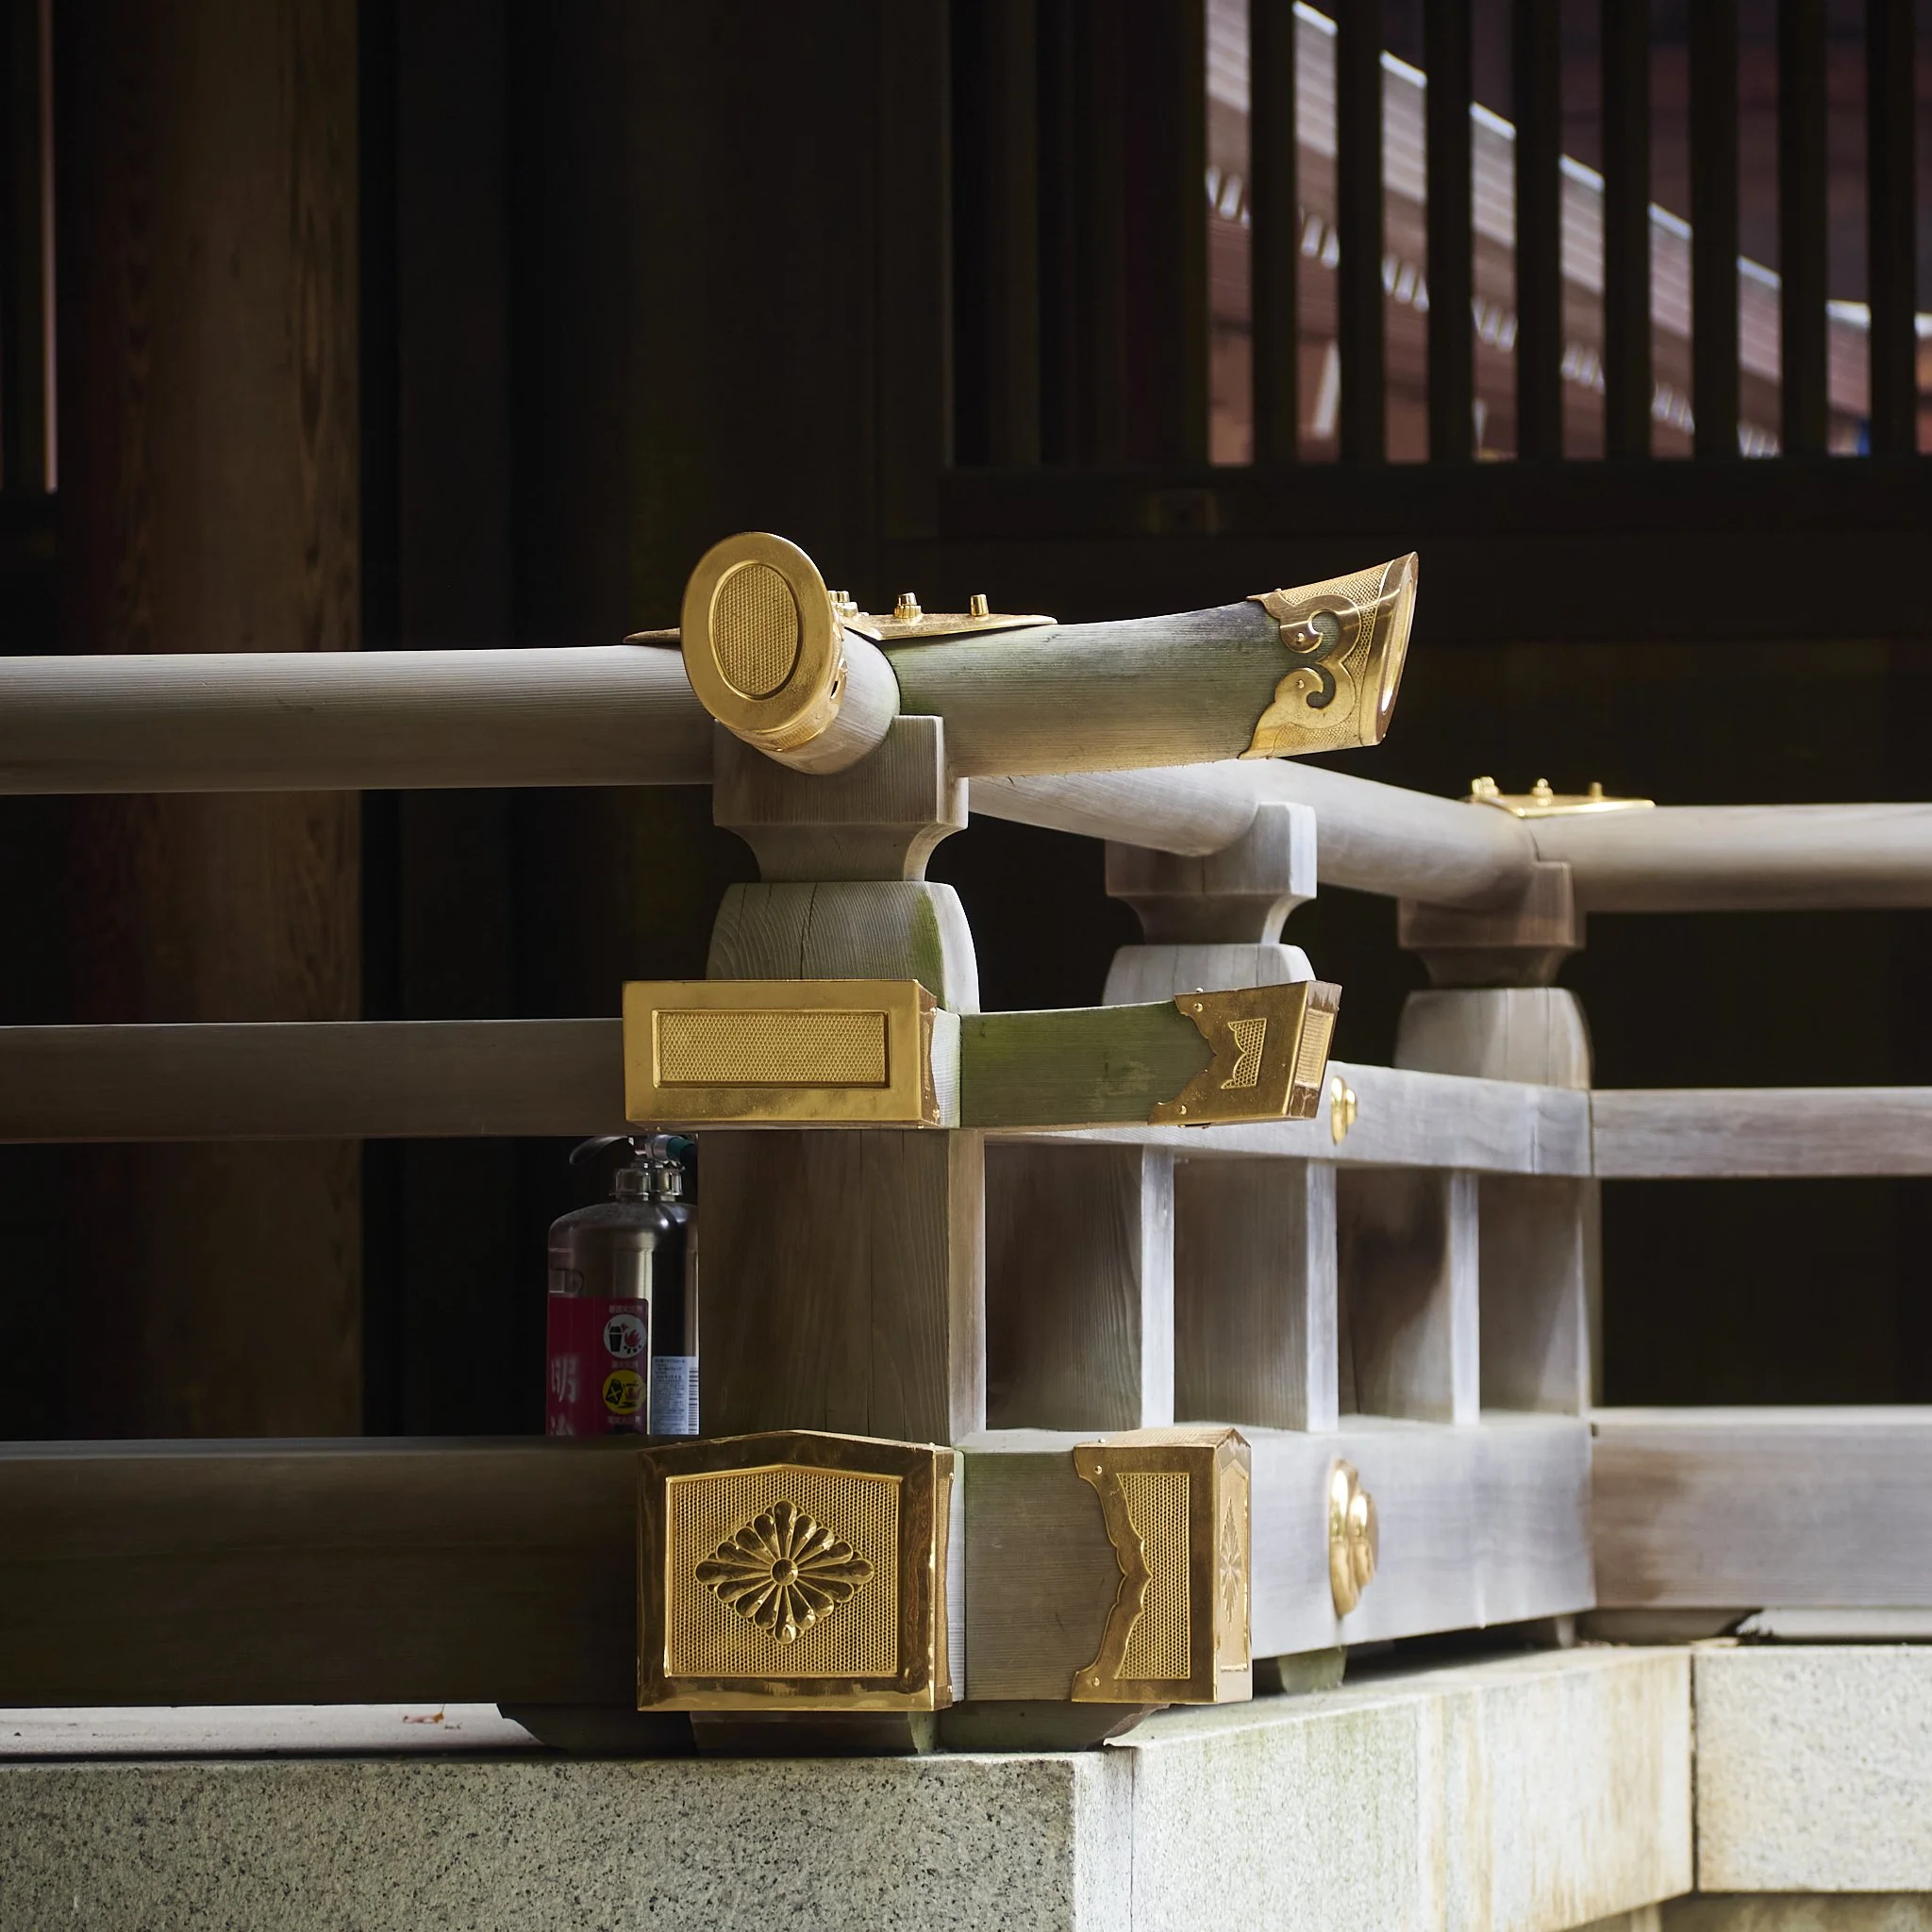
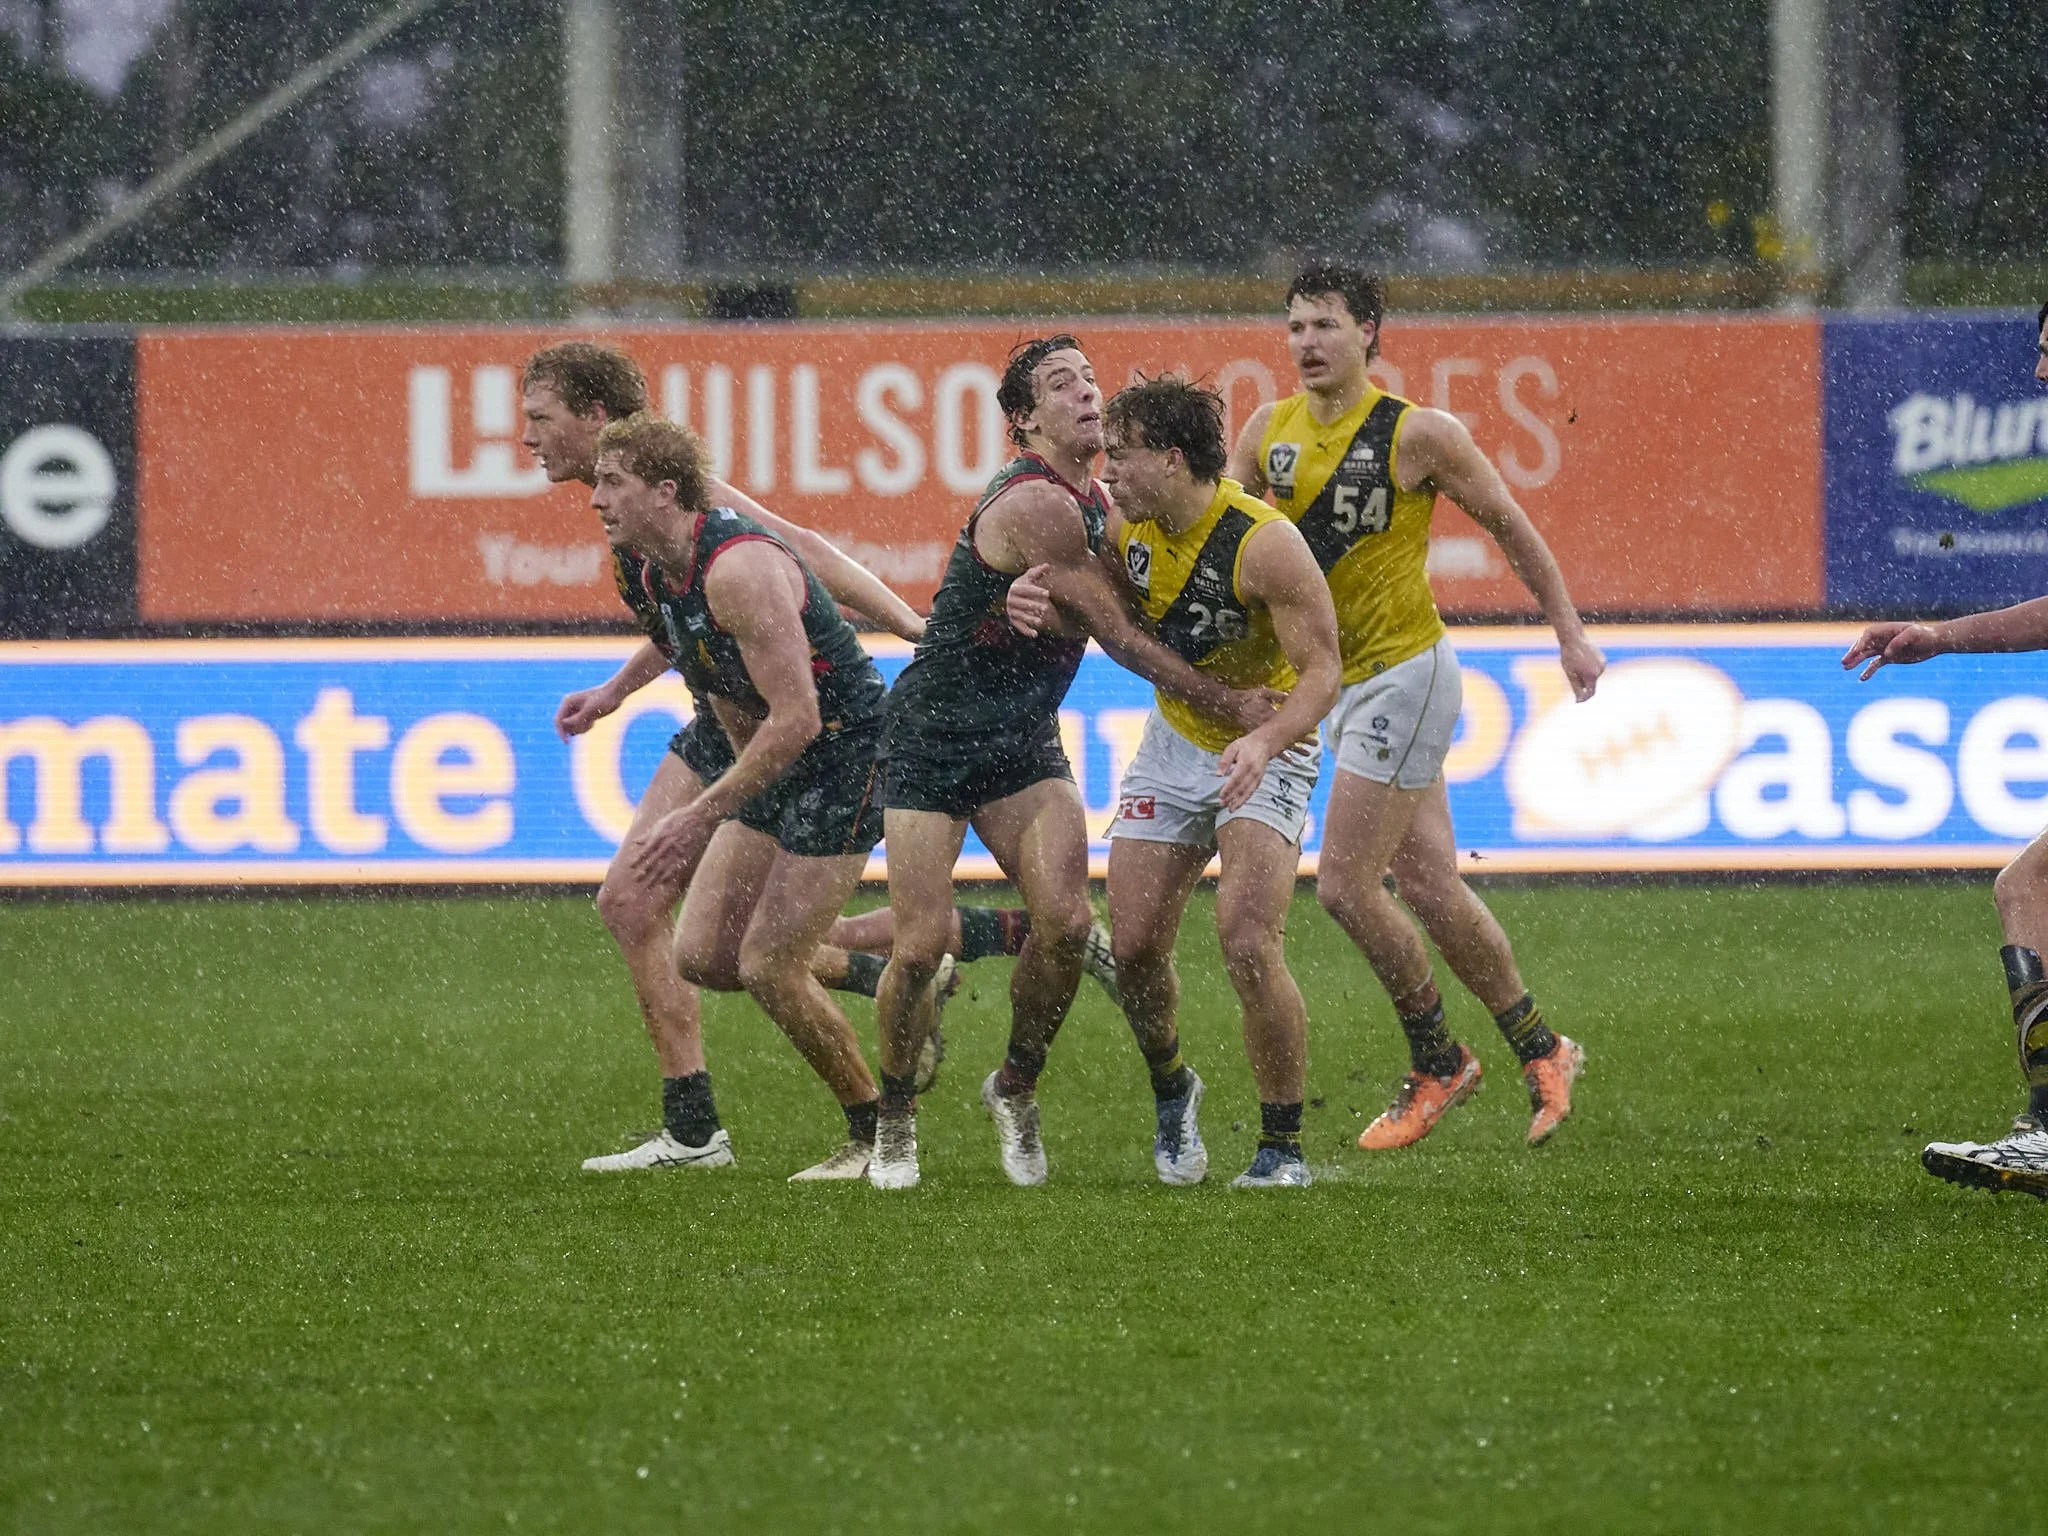
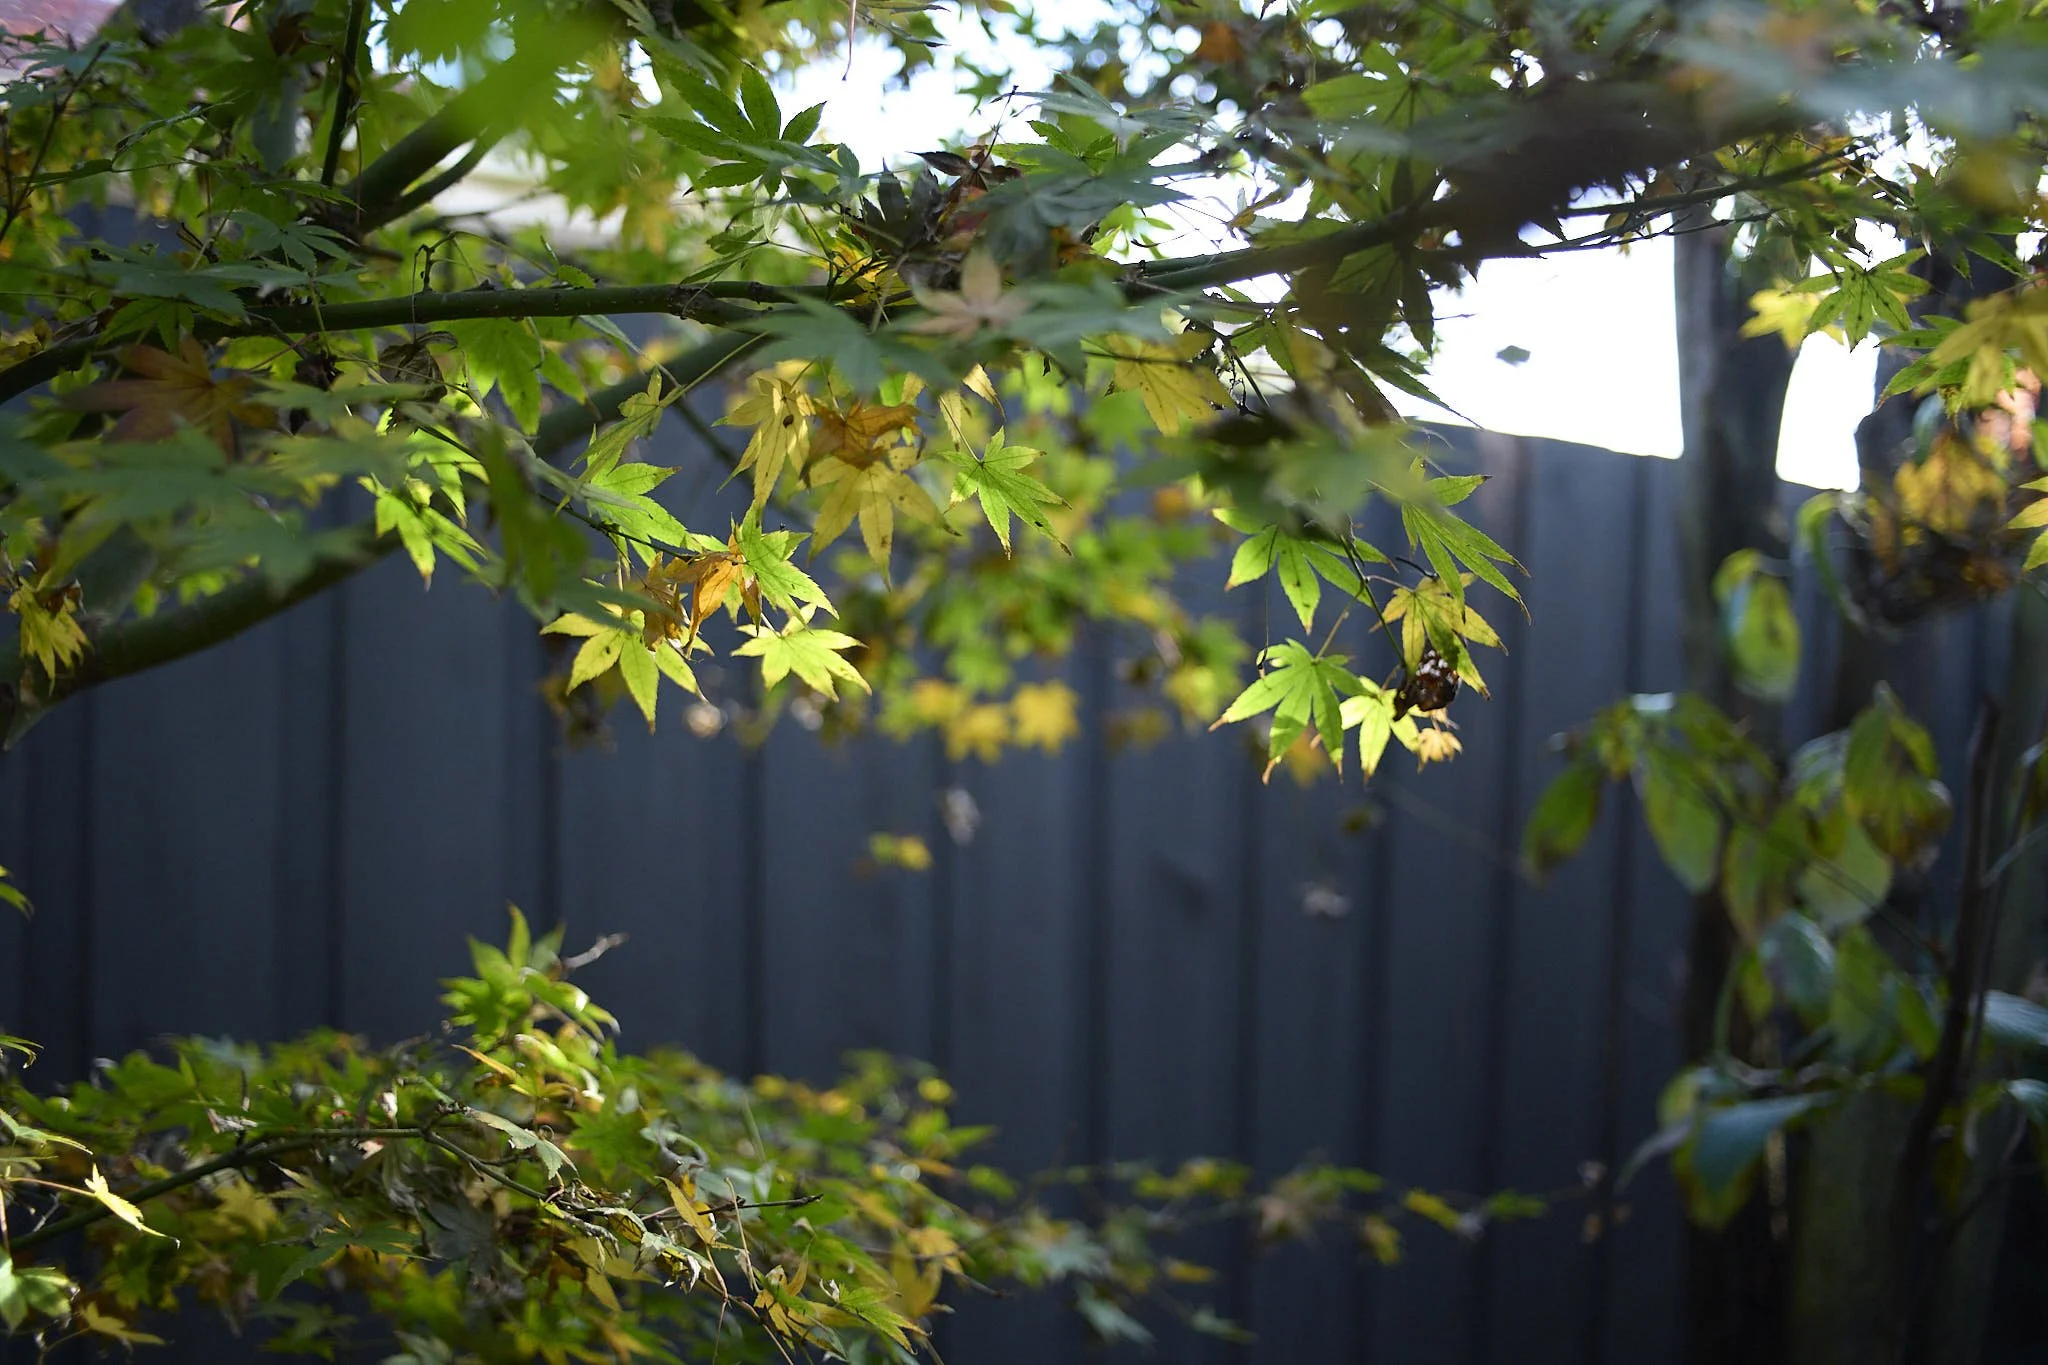
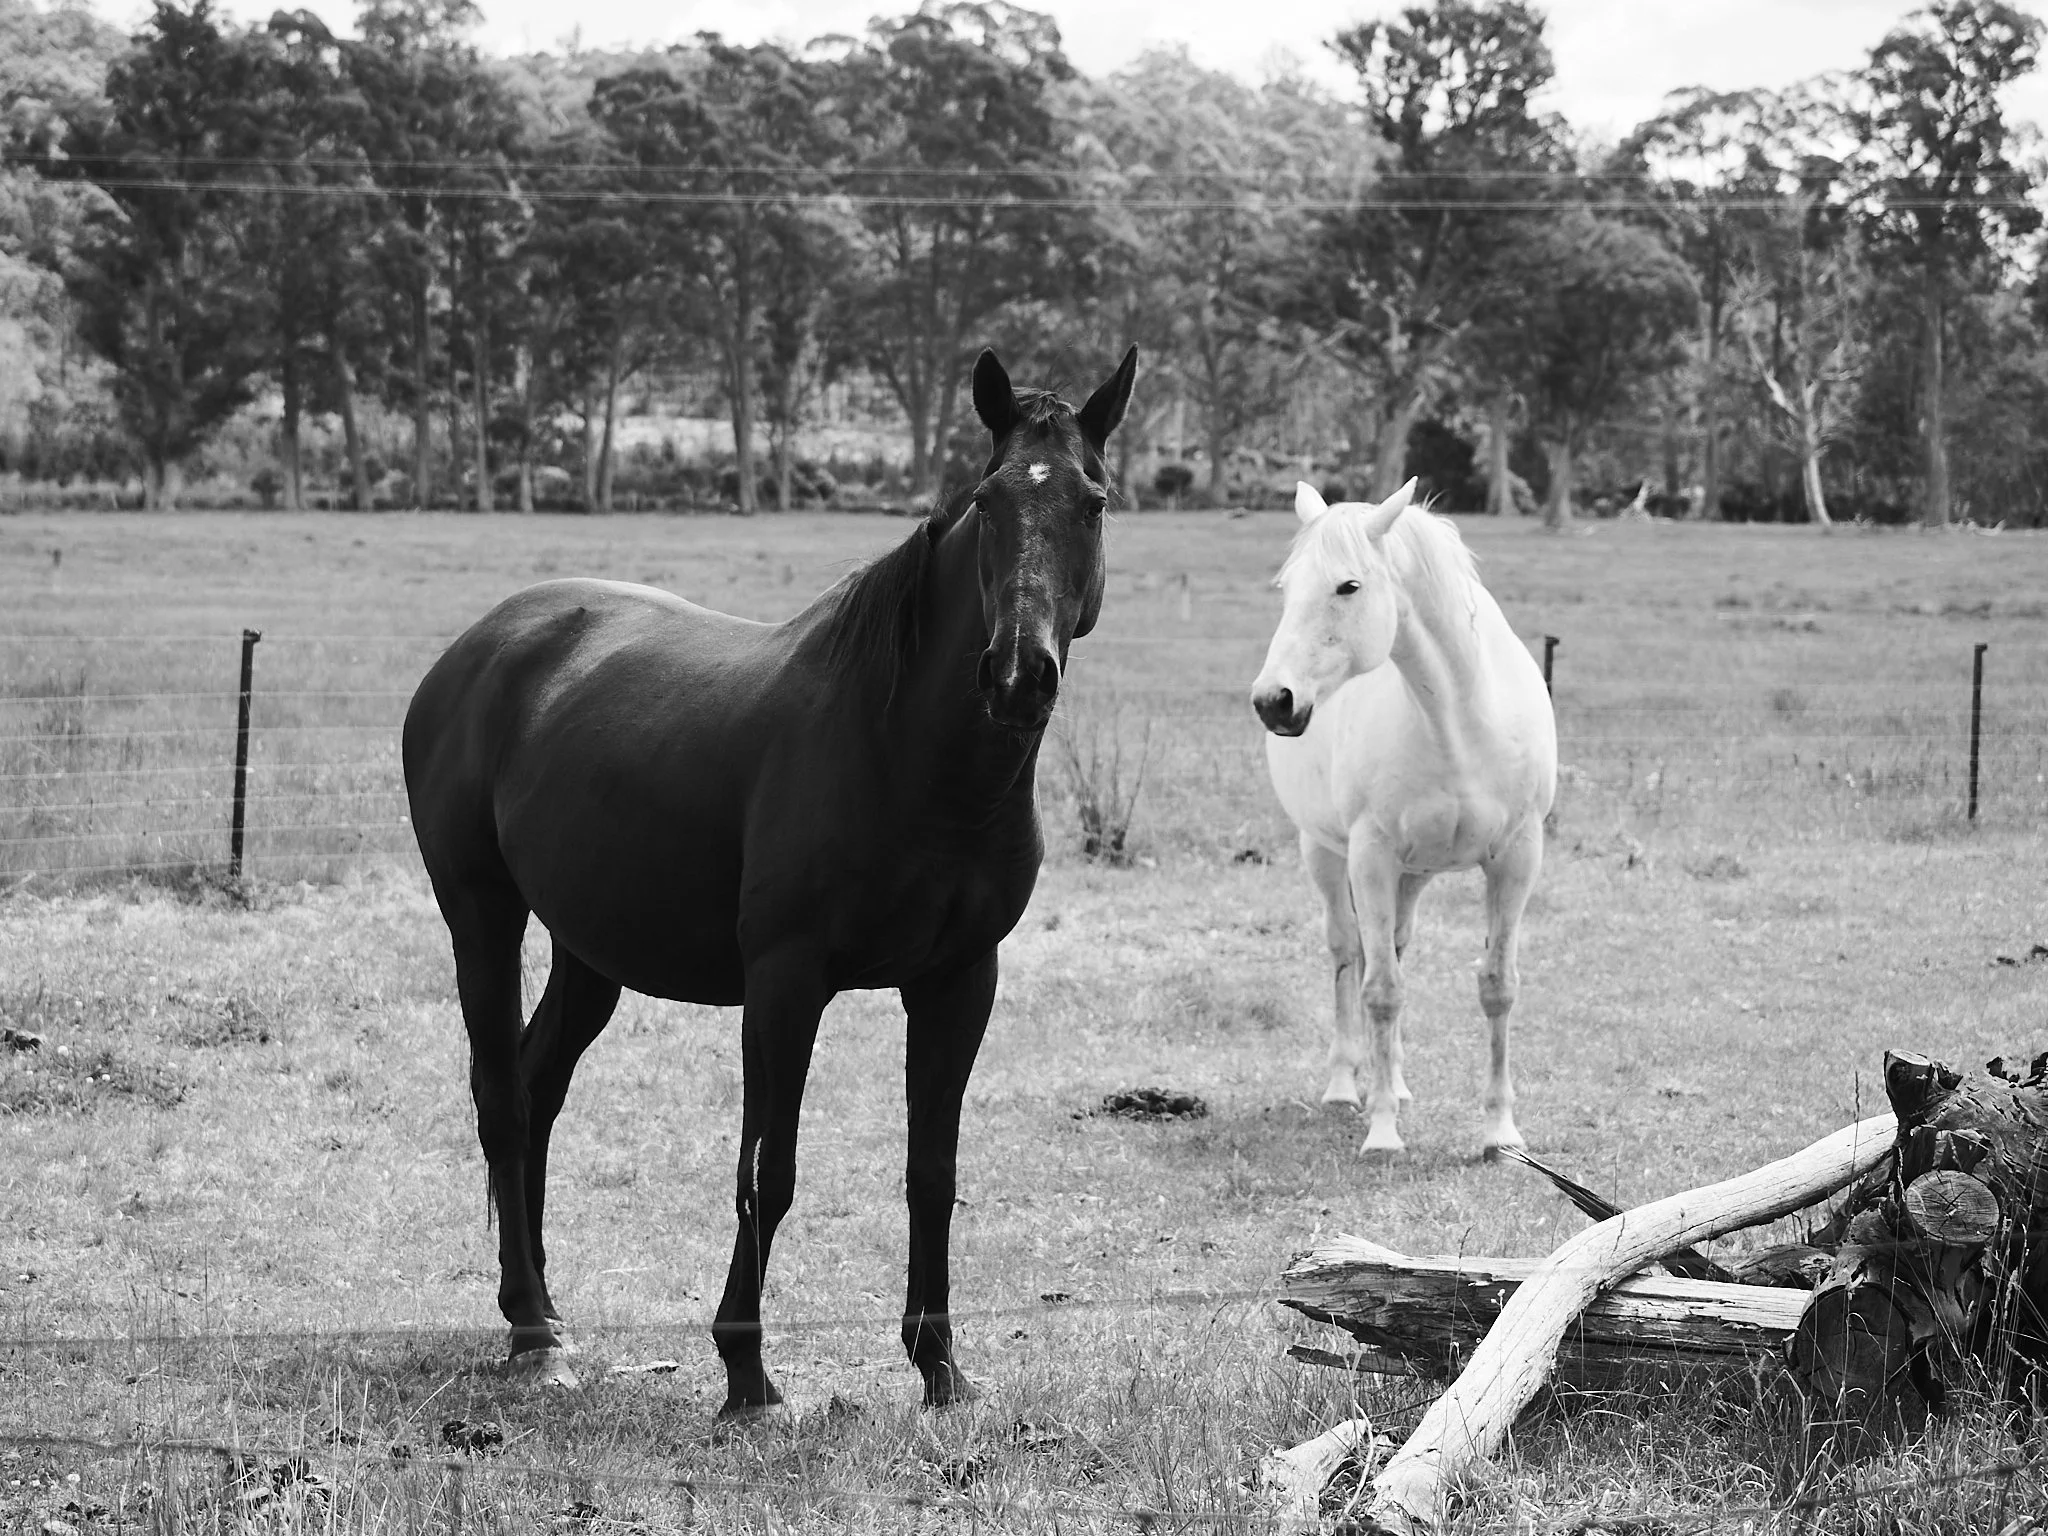
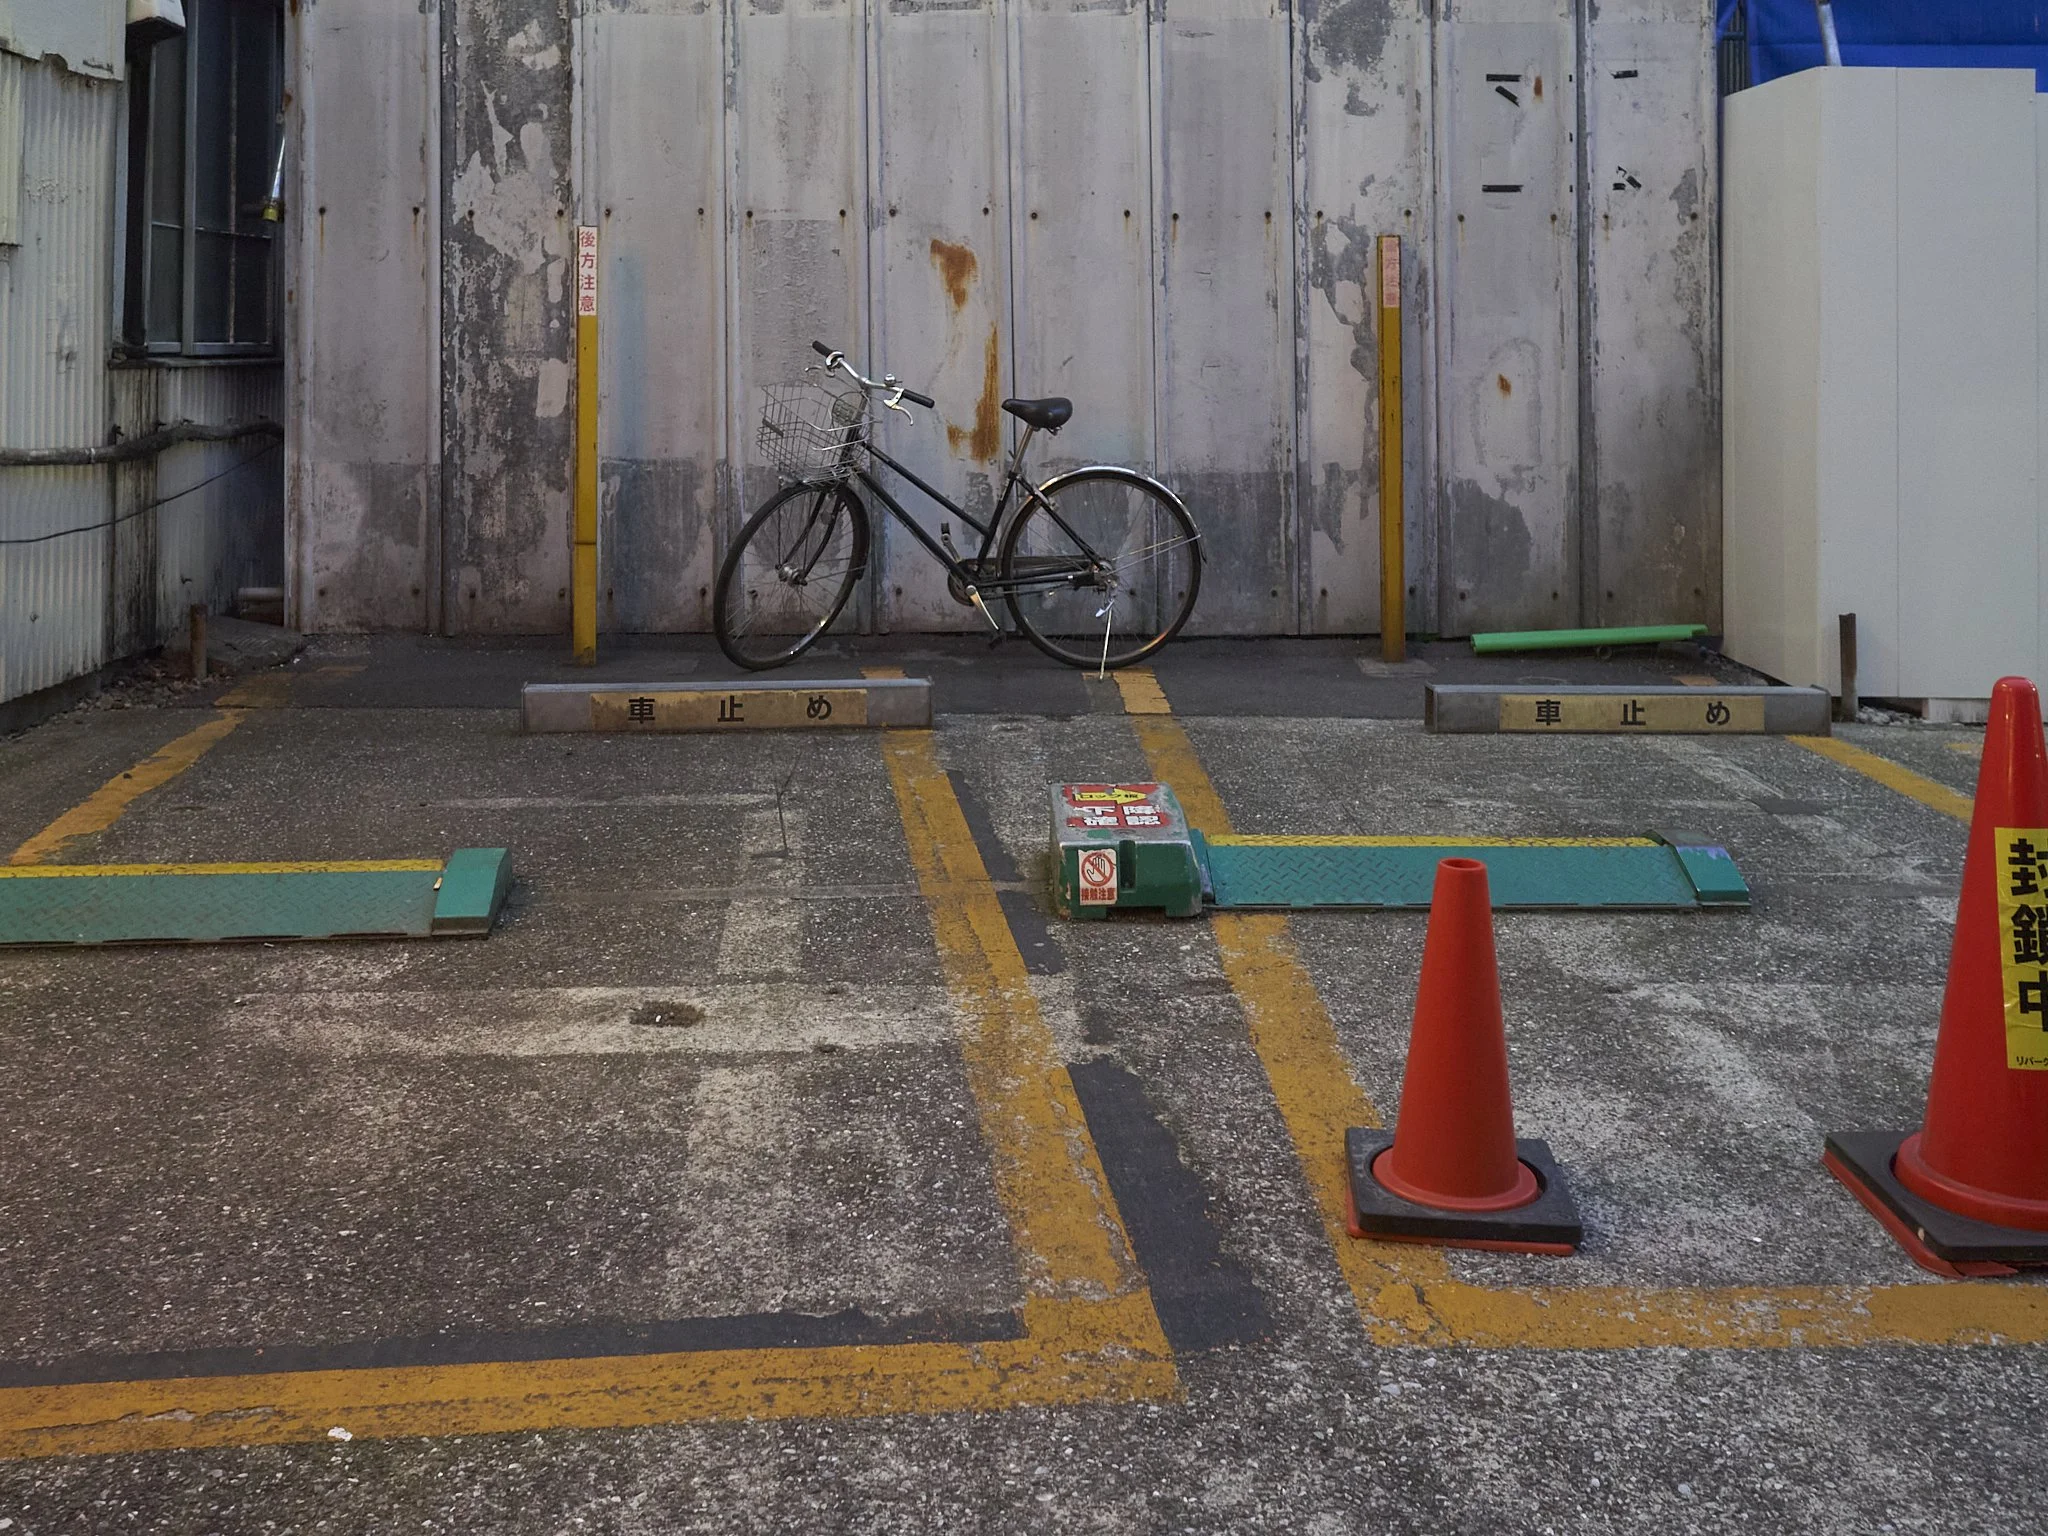
This image has equal emphasis on all of its layers. Looks natural to me.
Maybe it is time for this shallow depth for its own sake thing to be shifted away from?