Might rock a few boats here, but here goes.
Video is not that hard, but it can sure look like it is.
Shooting and grading.
There is a lot of mystique here, but also a lot of contradiction and even worse, some odd trends that get picked up, even if they fly in the face of logic.
If you watch a bunch of videos on what profile to use, to apply a LUT or not, dynamic range etc, you can get quite depressed. I have found, more often than not, that the processes many pundits recommend give us results that fall squarely in the “artsy, on-trend” camp.
What if, no matter what you do, no matter how hard you try, there are a lot of variables you cannot control and a lot of opinions at work here. What is right? To me, if it looks good it is right. If it can be improved, it is better.
If you look at it backwards, just wanting to simply get clear, smooth, colourful and natural looking footage, the sort of footage a client wants, the sort you see on TV or when streaming, then the pathway is likely a lot easier.
The amber/teal with full strength Blackmist or Cinebloom filter look is in at the moment, so give it a go if you want, but remember, nothing lasts forever and the standouts in any creative space tend to be those who do it better and they are often the ones who grow from it best.
Because most video is shot in a form of JPEG style compression, because true RAW is locked up by RED, processing is mostly additive, so shooting needs to be reductive. This results in a flat profile, something with room to push colour and contrast into from a very soft base.
The ladder of choice looks like this;
Standard profile. A normal shooting profile like Standard, Natural, Portrait or Landscape
Standard profile heavily reduced in contrast, colour and sharpness. The above modified.
A video specific profile. Cine-V, Like 709 or similar, designed to look like graded footage.
A semi-LOG video profile. Cine-D, Flat, V-LOG lite. These are flat, but still fall just inside “normal” profiles. These also tend to limit the other in-camera settings available.
A full LOG video profile. Very flat, usually requiring a LUT to be applied or 709 conversion before they look close to useable, but often providing the cameras best out of cam dynamic range.
A faux RAW profile. BRaw, Apple ProRes etc, that are as close to real RAW as you can get out side of real RAW.
RAW. RED cameras patented this, so few can use it.
You need to work out where in that range of choices you need to settle to get the end product you need (more than one is fine). This needs to be flexible enough to handle reasonably tough lighting, be graded to preference, to be useable by others in their time lines. For me, it needs to do all these without excessive work.
My poison of choice is Panasonic’s Flat profile found in their later cameras. I also apply idynamic set to Standard to increase the dynamic range on offer, but otherwise leave it alone.
I have no numbers to quote, but assuming Flat is 1-2 stops behind V-Log in DR (so 11-12-ish stops), and that idynamic mode adds at least a stop, it may be I have plenty. You cannot apply idynamic to V-Log as far as I can tell.
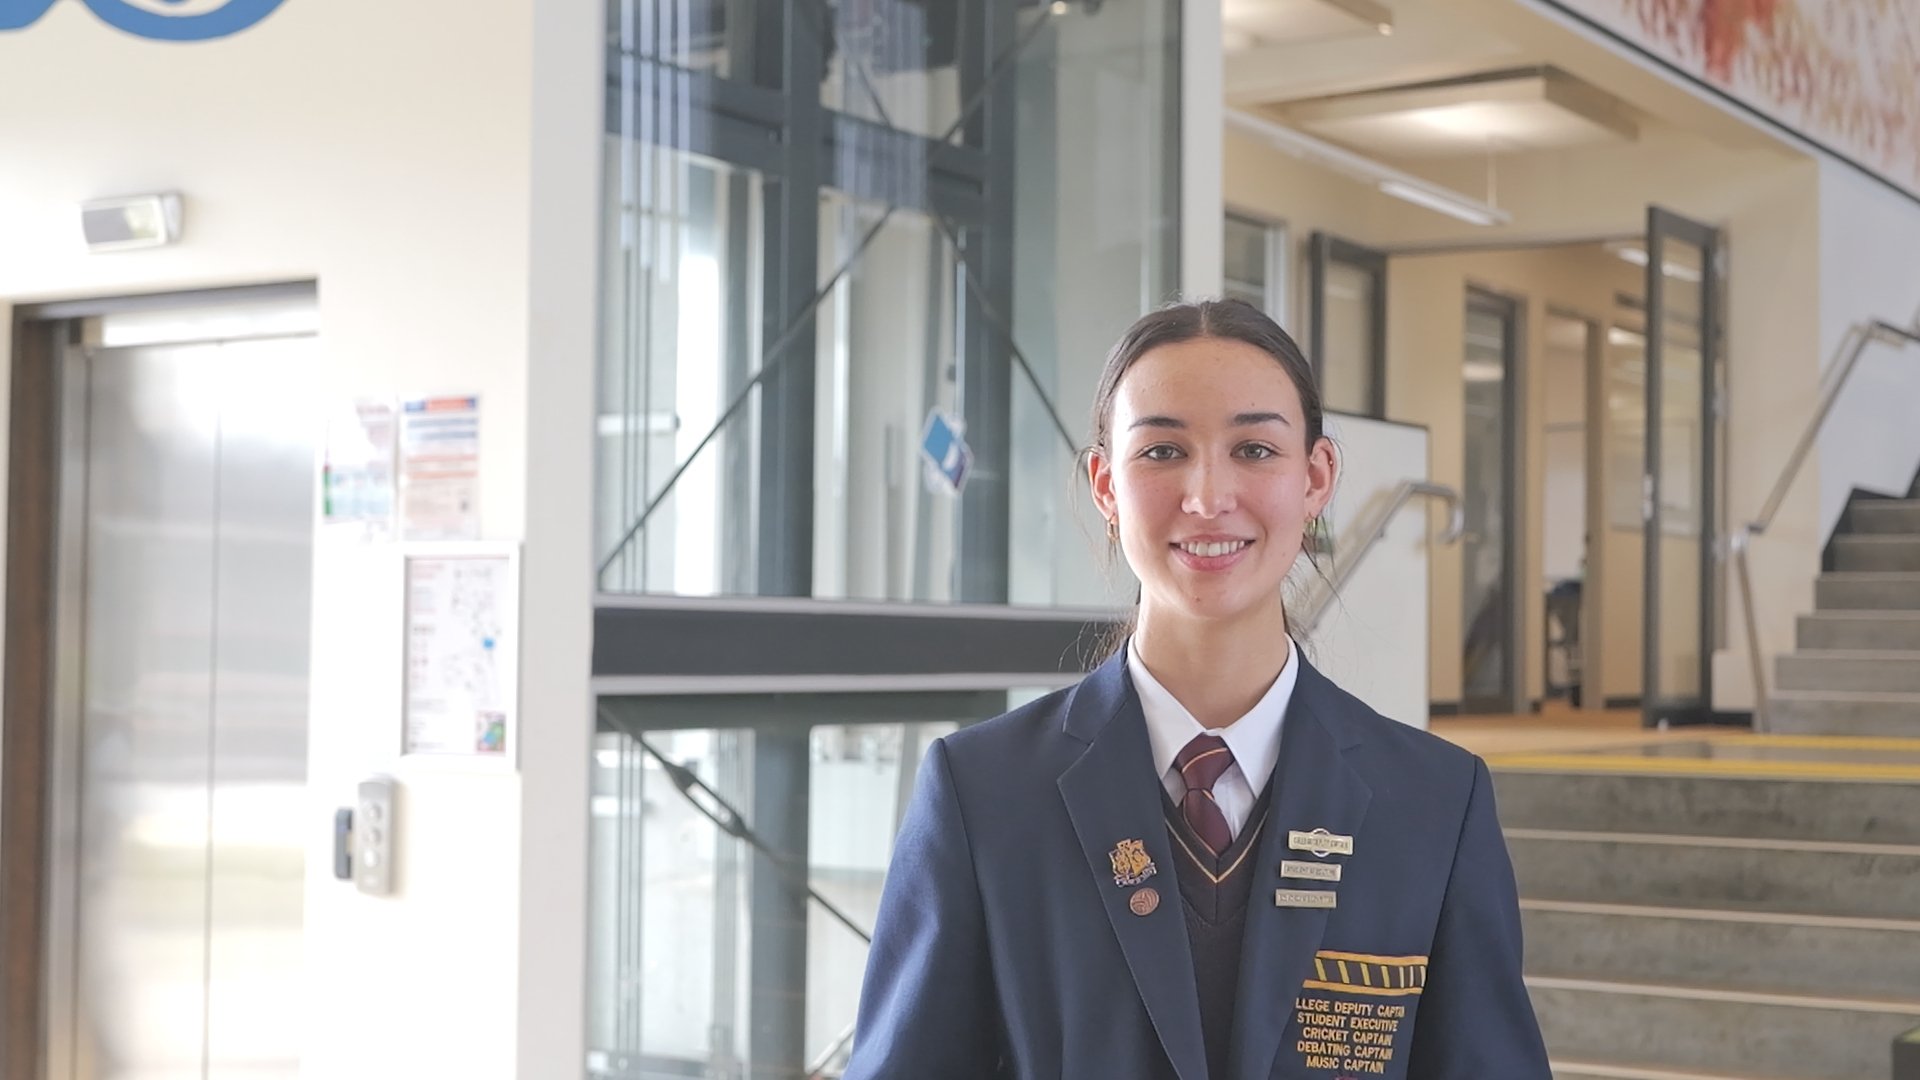
This has the characteristic flatness of a video profile, but is not too far from useable as is (some would even say it is "on trend", if it was maybe softer). This shot was a regular slightly tricky lighting situation, but a nice enough one to get decent results. The reflected light from the left is brilliant, the shadows reasonably open. If pushed, I will expose for the highlights as much as needed.
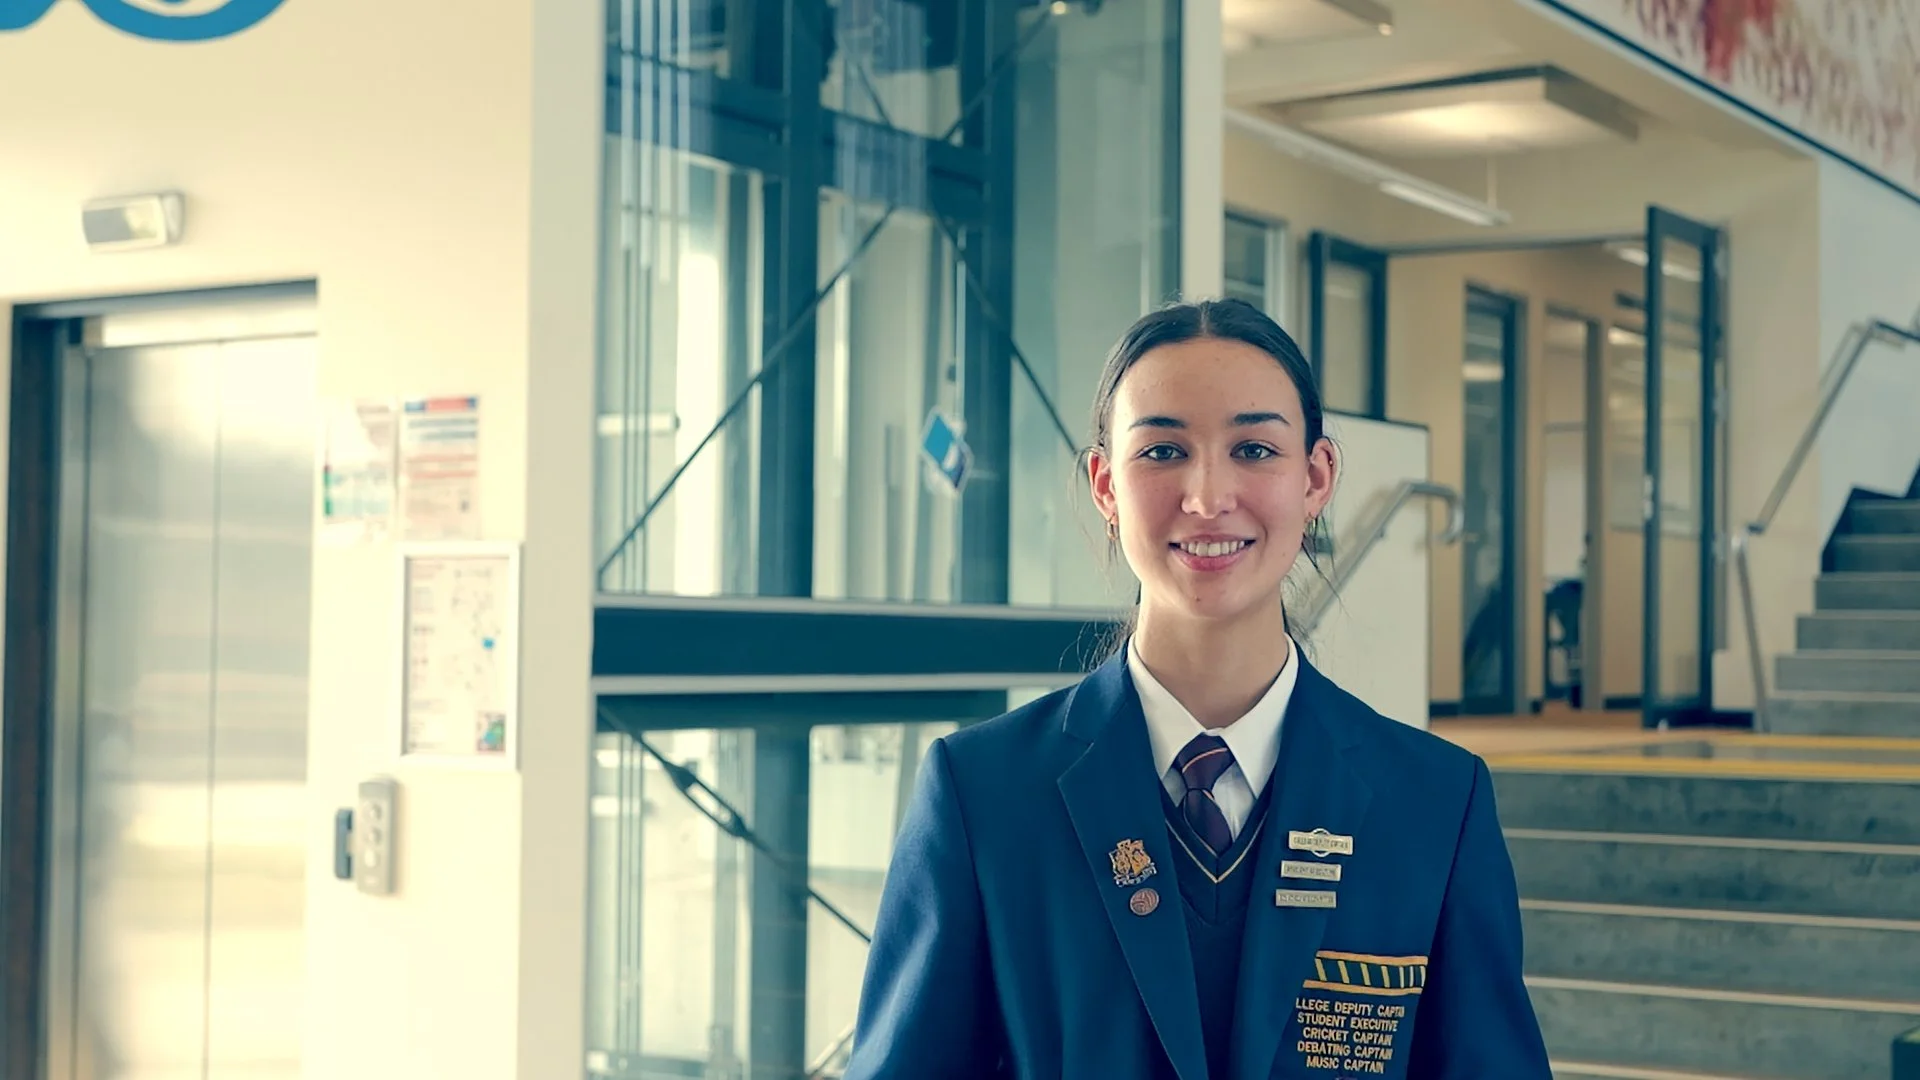
This was my very quick grade (reduced Lift slider in DaVinci for more punch) and what my minds eye sees as correct. No LUT, no weird colour work, no feeling of fighting the clip for what I ultimately want, which is anything from crisp and bitingly sharp to soft and smooth. I can repeat it, match it in-timeline, even make some pre-sets (i.e. LUT's) as I go, because the "fixes" are not complicated. White balance should be as close as possible, but there is plenty of room to adjust if I miss.
An equally simple amber/teal grade using just the colour wheels. There may be very mild mist filters applied if needed, but basically that is it.
I almost let video beat me, like that pesky gimbal balance that never seems to be right. I then did what I had done once before and simplified my processes based on my real needs, not my imagined needs, which do tend to go into fanciful “what if” scenarios.
I need to take the footage, get sound and lighting right, grade it and cut it usually same day. This is enough for me.
You cannot create content without a thought for its use, but also, the complication of the post processing stream should not limit your skill growth across the board. It was with me, so I cut it back to what I need now.
White Balance.
This is part of above, but actually important enough to be tackled on it’s own. White balance is a funny thing. If you need a white sheet of paper to be white no matter what you shoot, then probably best to meter off that.
I eyeball it (never using auto, because it will actually change mid clip), based on a rudimentary knowledge of colour temp and a realistic awareness of what I want the footage to look like. The reality is, under red light, a sheet of white paper will. to look white, so unless you need your footage to always be equalised, there is no need to chase perfect white.
It is important to remember I think that white balance tends to be seen as a right or wrong thing, which is partly true, but not always. Warm light coming from a late afternoon sun, cold blue light reflecting off concrete or water? If that is what it is, then that is what it is. Don’t let WB control you. You control it.
Sound.
This one is important, relatively easy to get right, but as I found also very easy to over do. Any mic, from a $20 Neewer mini shotgun to a $2000 studio condenser, can give you good sound if used well. Equally each will fail if not.
The above clips were shot either with a Sennheiser MKE-600 on a small stand in front fed to a Zoom H5 through XLRs (could have used a 3.5 directly to cam, but why when you don’t need to and the Zoom adds better real time control) or the little Lark M1 LAVs to camera if moving.
Mic comparisons usually create a good, better, best dynamic, but the funny thing is, for the average videographer, decent gain, good depth, enough rejection and/or width of coverage will be plenty. If you cannot compare one to another, you will tend to normalise what you hear anyway. If properly recorded, it has to be quite poor quality before it cannot be salvaged, changed and enhanced.
Camera amps are generally poor, but are getting better and camera mics are by design limited. Like on camera flash, it is not the fault of device, just limited design.
I went too far here for a videographer, with several Zoom interfaces and too many music mics, but I have depth and problem solving options.
If I had my time again, my basic Zoom kit would have sufficed. The H5 and F1 with the extra XLR, X/Y and SSH-6 shotgun/mid-side capsules, my AMS-24, some Lewitt music grade condensers and dynamics can do most of my work and have proven to be quite versatile.
Self noise (which in the real world is overrated as an issue), is higher than say an F6 or H8, but it has never been an issue for my work and my very best combo (Lewitt or MKE-600 via XLR capsule to F1) is actually very good.
Sound is often said to be half of video, but the reality is, if you need it and fail, it is 100% of that failure. Take the straightest path and keep it simple, have backups, but also keep an open mind to options other than just another shotgun on camera or LAV. Most things are better off camera. I also found sound to be relatively inexpensive in proportion to the return compared to cameras and lenses in particular. My entire sound kit, which fills two cases, probably tops out at about $3k au. That is less than my G9II.
Lighting.
With modern cameras and super fast lenses making “available gloom” workable, artificial lighting is less necessary just to get the job done, but it is no exaggeration to say, lighting is the secret to elevating your footage.
Natural light used well, some artificial/reflected to enhance it when needed and manipulation of colour are the true trades of top cinematographers, not just cameras or lenses. Start with natural then enhance what you can see and fix what you cannot see. That window light good, but not showing on your footage? Add a little more or change it’s colour.
If you have the ability to have two lights with you, a key, maybe a 60-100w panel or COB light and a hair light. I currently use an Amaran 60D and a Weeylite RB9 RGB panel. These make a huge difference and can be carried in a small suit case with a Manfrotto nano stand, brolly and super light Neewer stand. Add a reflector/diffuser/negative fill panel and you have options.
Like my sound kit, my lighting kit is badly under funded. $2000au can fix most issues, the price of a decent standard zoom. It is amazing how often it is under done, when it has so much benefit.
More is more of course, but some is exponentially more when compared to nothing.
Edit. Stabilising.
Hard to be a voice of reason as I am still in a funny place here. I guess this comes down to looking at what the pro’s do. Most cinematographers will use tripods, shoulder rigs or harnesses (often part of a super gimbal rig), but many just hand hold.
Lighter cameras make it tougher. With the inertia a large camera offers lacking, small hand held gimbals have become a thing, but follow your gut. Learn good technique and when it is not enough, add the next toy.
Most importantly, learn your craft. There are so many ways of making a video, angles, moves, compositions, but at the moment there are some very strong trends that are hard to ignore. Look to the classics, learn what you can, take what fits and evolve it into your voice.
So, my advice?
Find your acceptable level in each of these areas as quickly as you can. Do not settle, do not allow the industry and its pundits confuse you and keep going. The more you do yourself the more confident you will become, so try to avoid lazy or quick fixes and don’t follow every trend if it does not sit well with you.
The journey is not as hard as it looks unless you let it be and you can always grow as you go, just as long as you keep going. I will possibly become a serious colourist or sound engineer in the future, but probably not, because what I want to be is a capable jack of all trades, a one stop option for basic, good quality video content and most importantly to keep having fun.
:)


