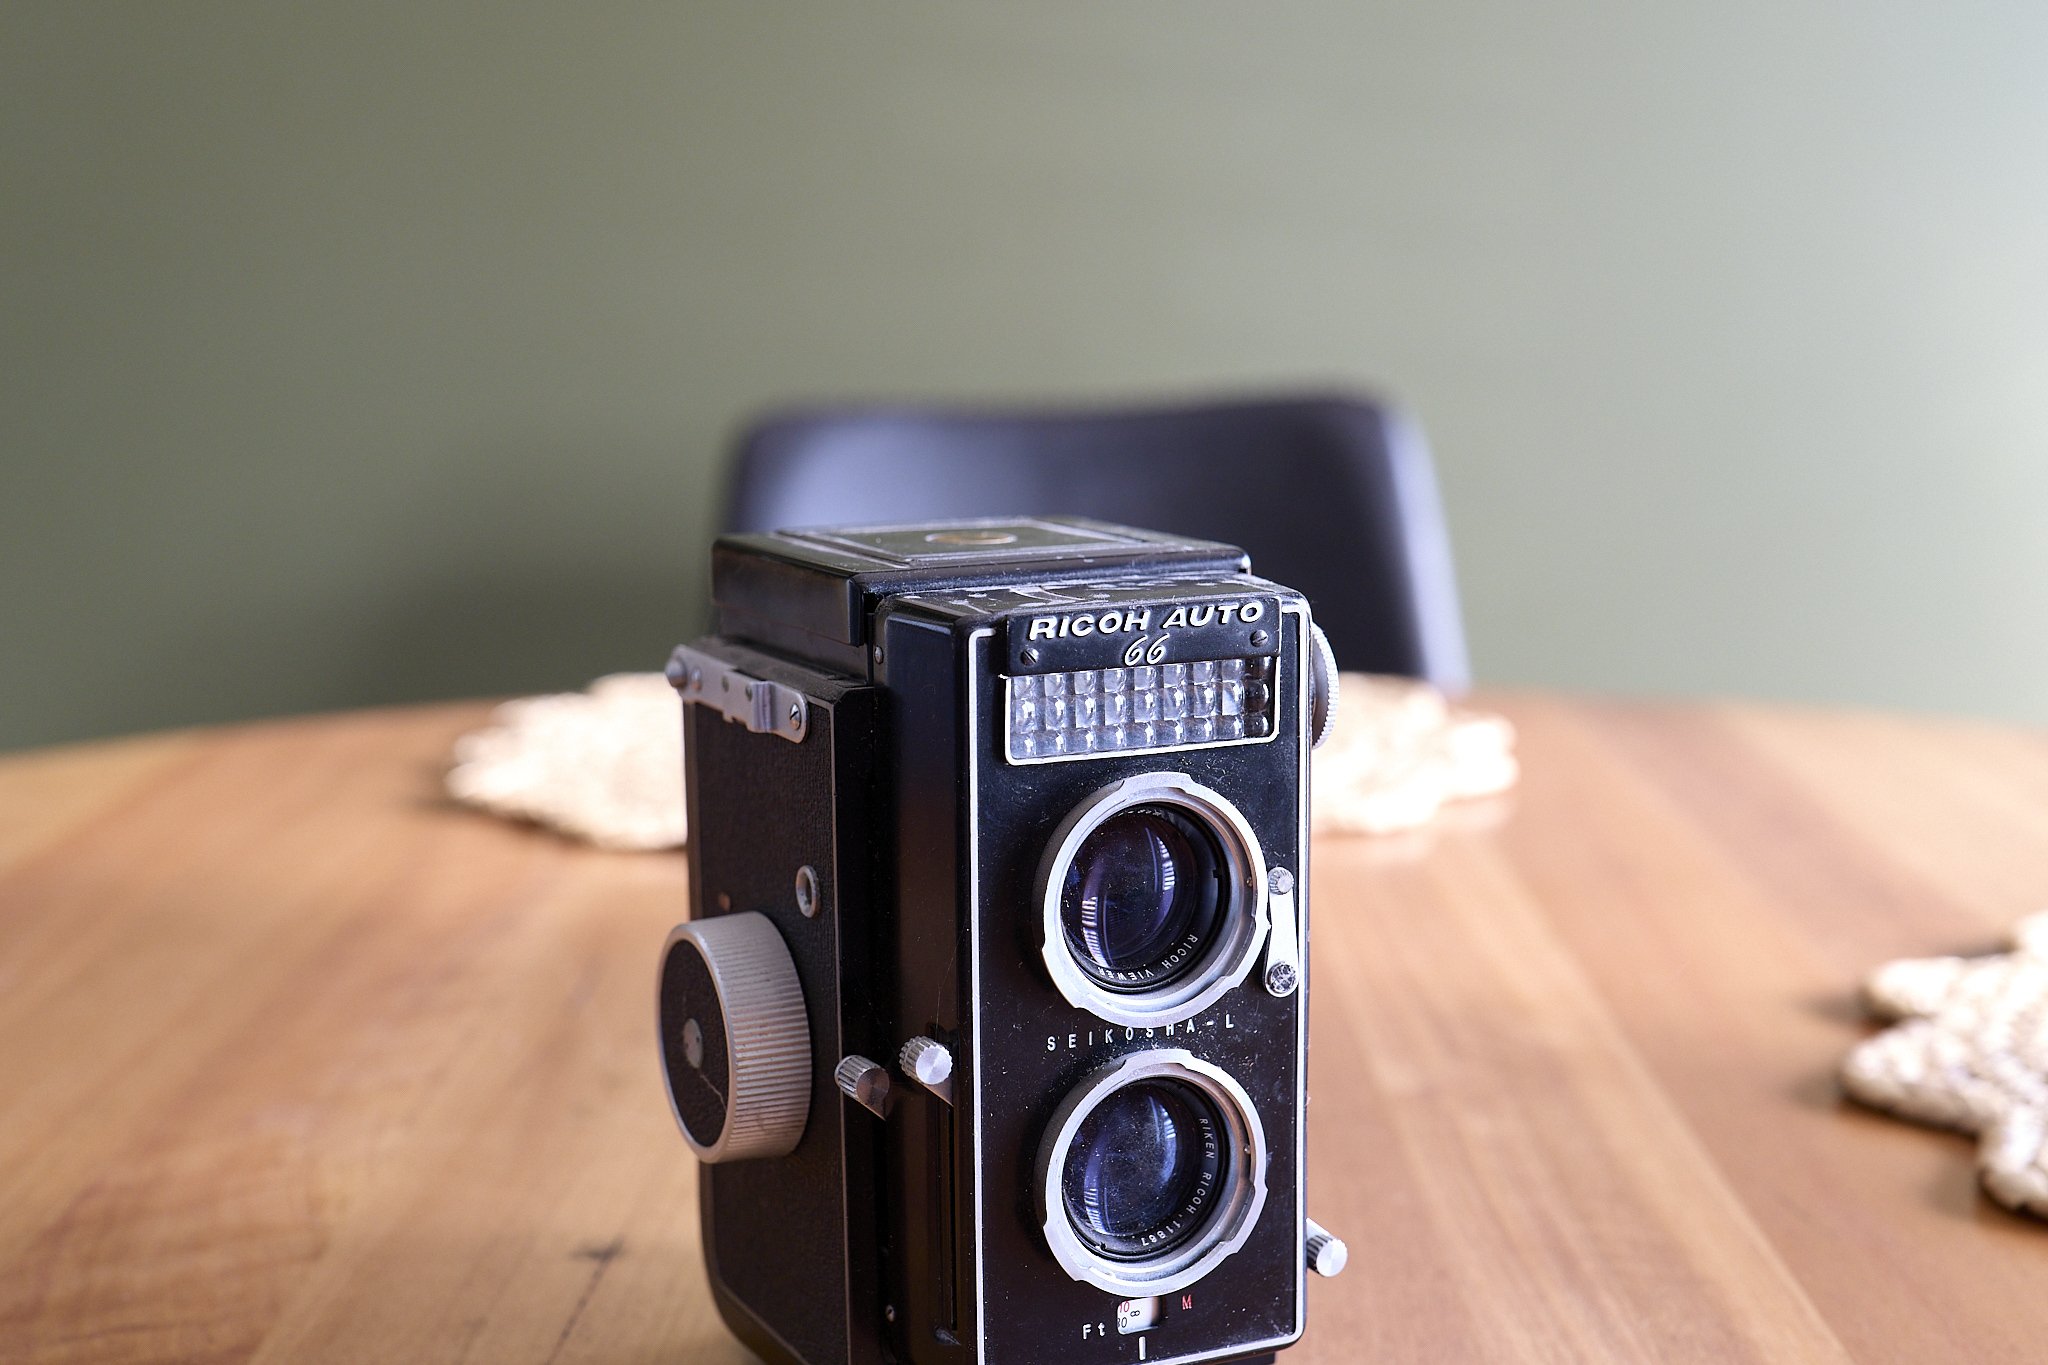
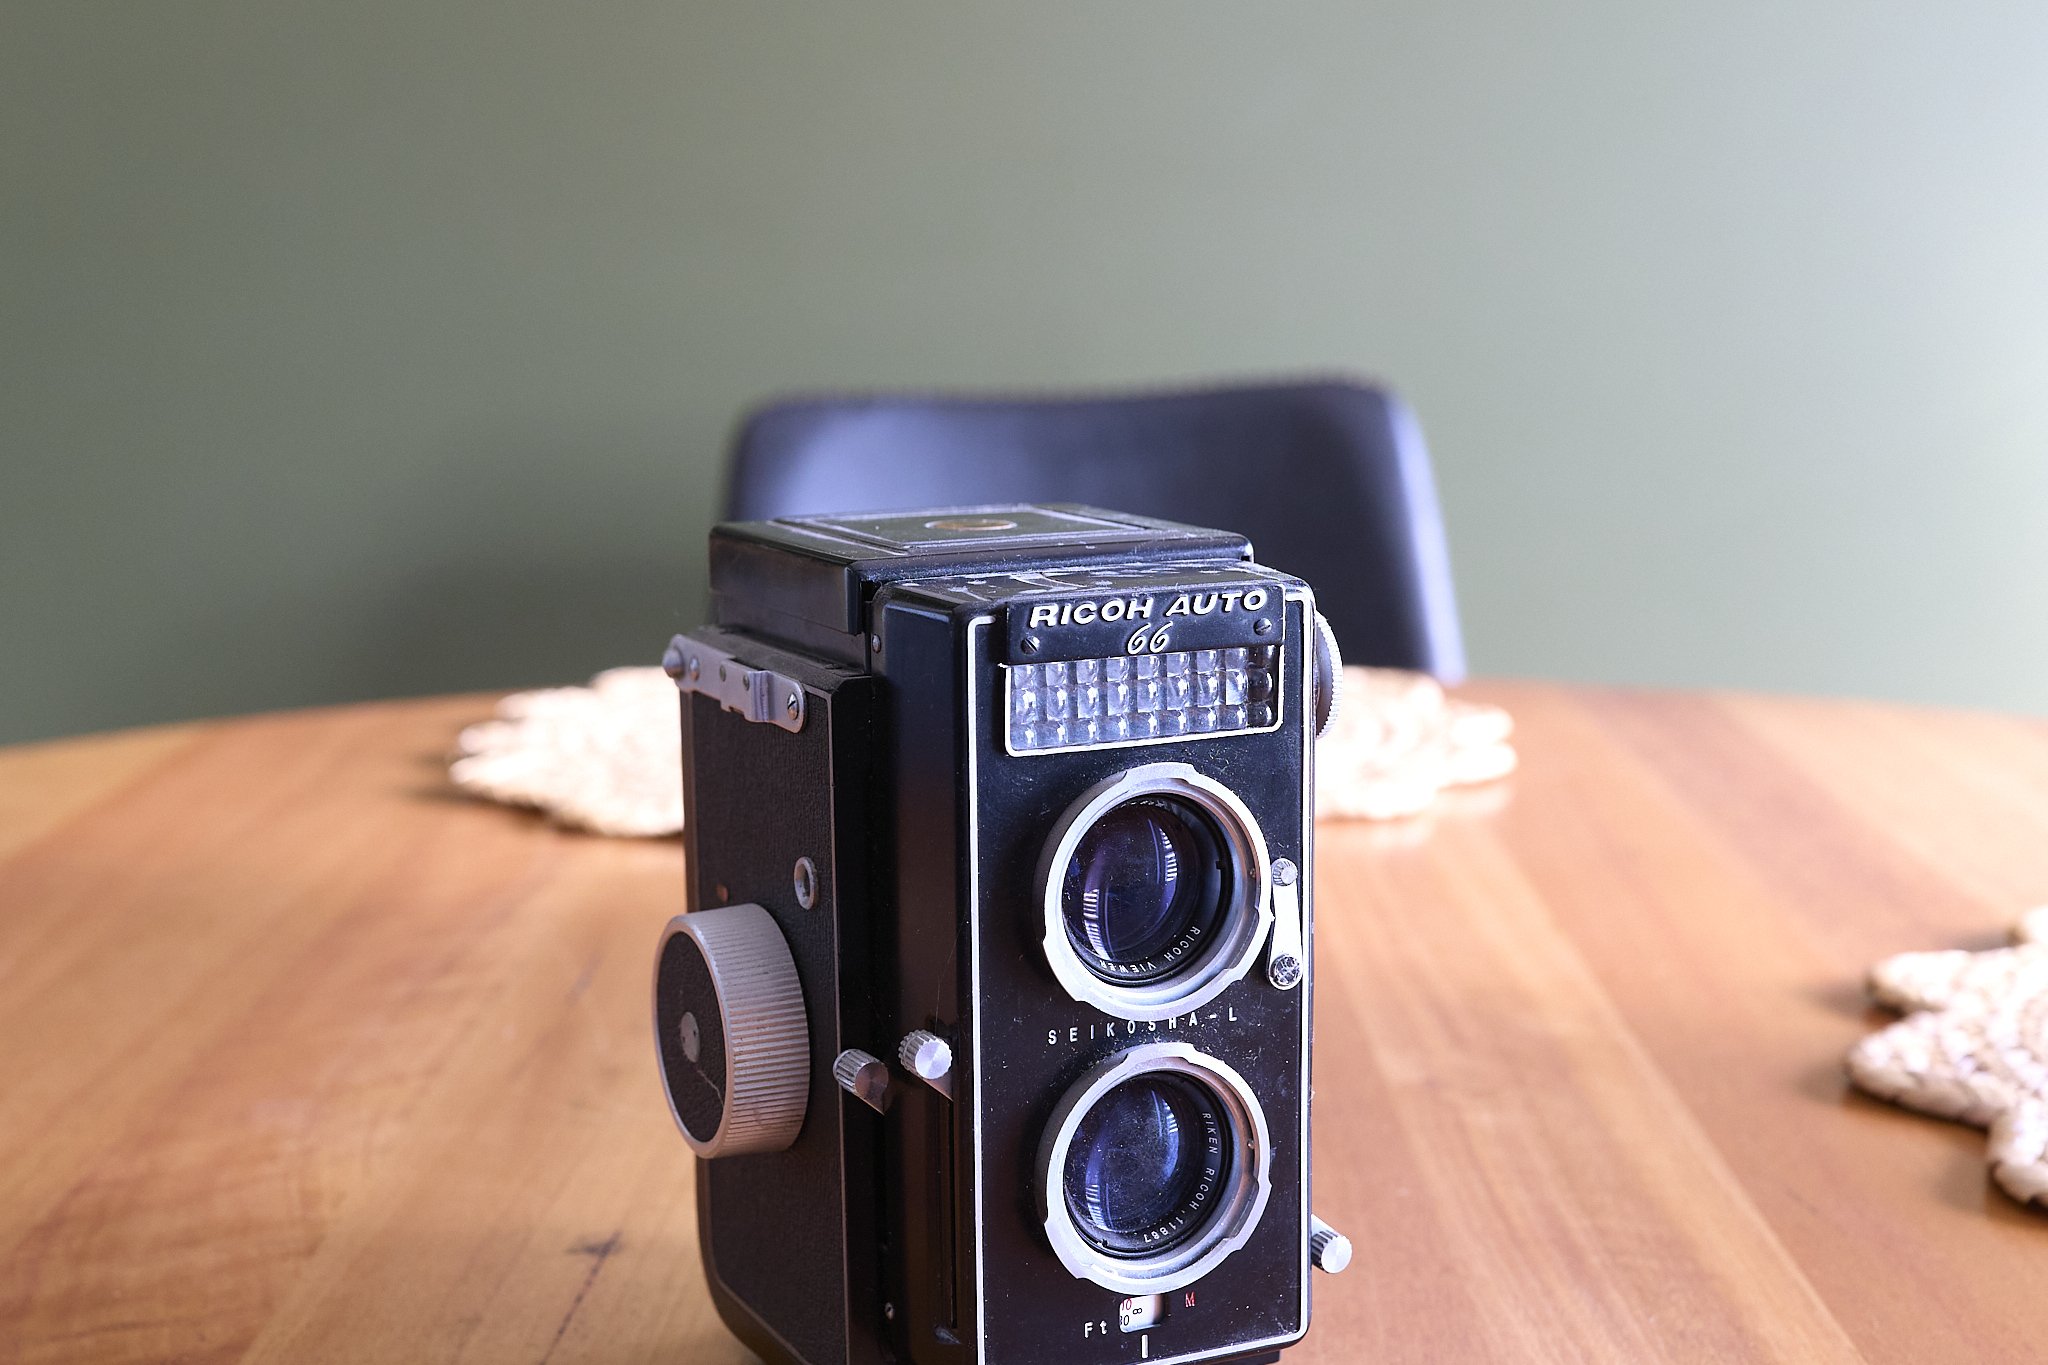
Ok, an exercise we all need to do every now and then is to see what the gear we have, can actually do*.
How hard is it to exceed the maximum output of your sensor and processing?
How fast and erratic a subject can you hit more often than not?
How high an ISO can your camera and processing handle up to standard you consider acceptble?
How long can you use/carry/hold your camera and basic kit until you just don’t want to any more?
Can you manually focus/expose/white balance etc successfully and easily?
What are your limits in storage, battery power, heat dissipation etc. What are the things that stress you most.
Basically do you need that new camera you have been lusting after?
I have a massive hide here, buying three new cams this last year (S5, S5II, G9II), but I will try to justify them with the above criteria.
From a video perspective, I was sgort of several things I needed.
The ability to record for longer than half an hour. This is on three levels; storage, internal limits, power.
Higher bit rates and All-i recording for better overall quality of moving or busy subjects.
Better high ISO quality, but that was a stretch.
Access to better quality > V-Log
Access to better quality > RAW output.
Workable video AF for the few times I would use it.
Better manual controls (Wave form)
Now to be honest some or all of these were actually not too far off, but it was complicated and full of not too confidence filling pit falls.
I could upgrade either or both of my G9 Mk1 cameras for $100 each, gaining wave forms and VLog-L as well as coming across plenty of users who have Ninja V or BM 12G recorders attached (RAW recording, no limits, better storage, more power), but none of these were guaranteed and I would be spending a bit on chancy items.
The screen would also add accuracy to my manual focussing and fast cinema glass (allowing use of T1.05 to 1.2 lenses and fixing the ISO thing). I would also have saved enough to get the 10-25 f1.7 lens from Panasonic that is known to be decently capable at video AF (as are the later Olympus cameras).
I am pretty confident that if I do go for either of these, now that I have plenty of safe options, I would find everything works just fine. Possibly a pair of G9 Mk1’s upgraded with 5” BMVA 12G’s would have been more than I need, but oh well.
I will admit that the allure of better high ISO performance for stills was real, but in the field, it has proven to be more or less pointless.

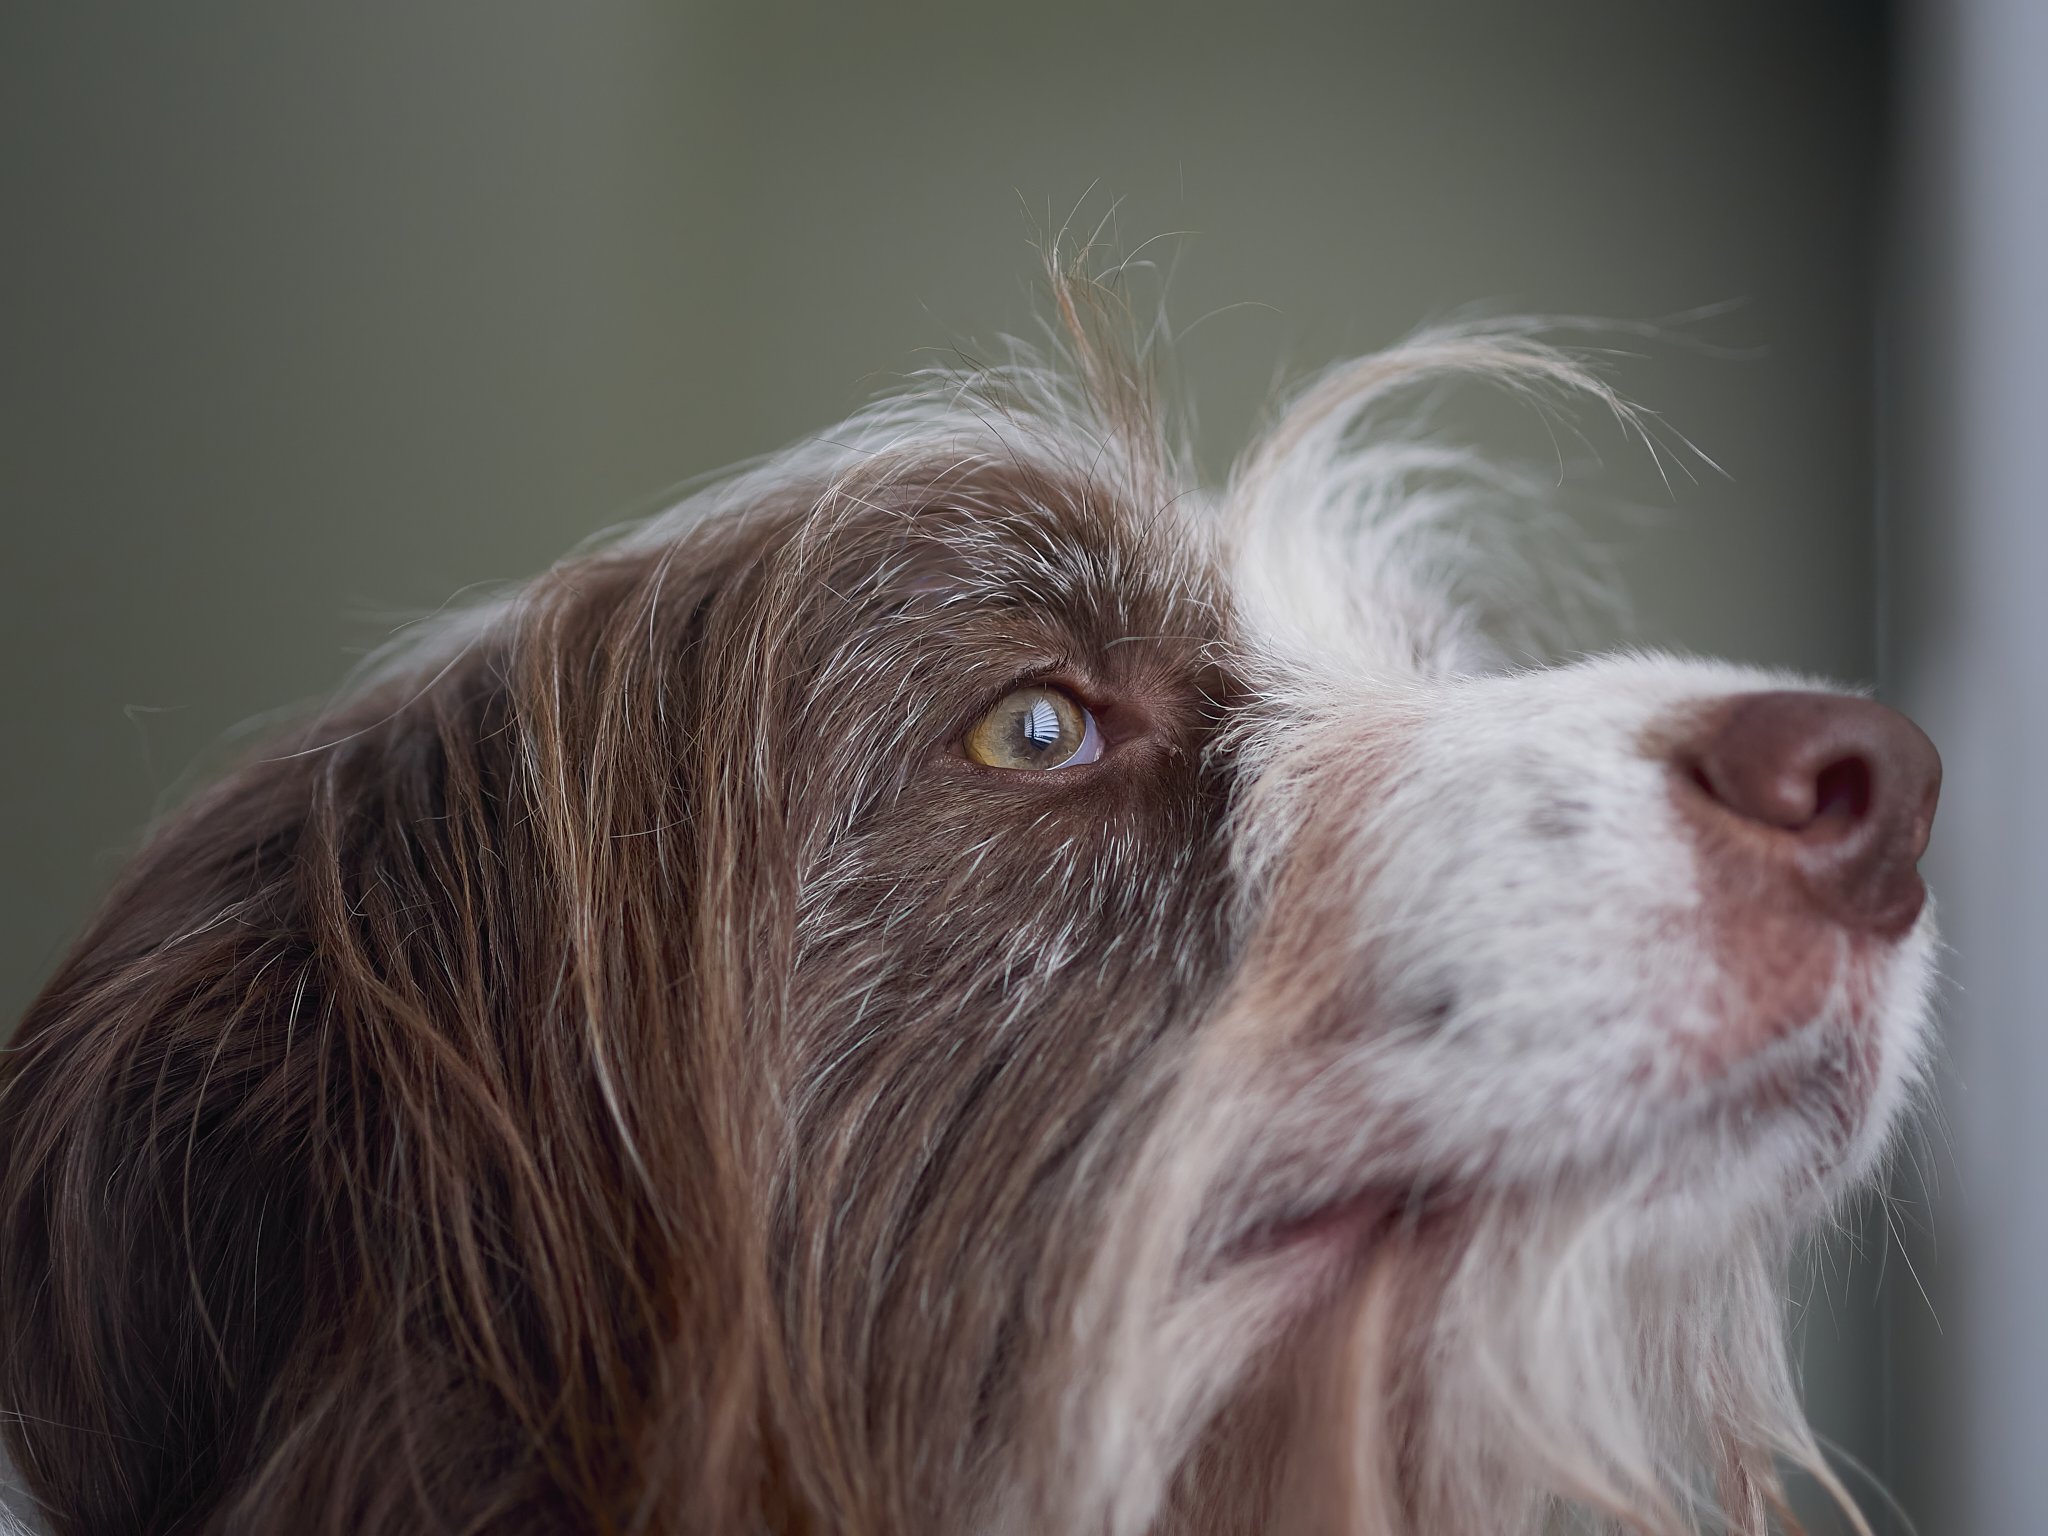
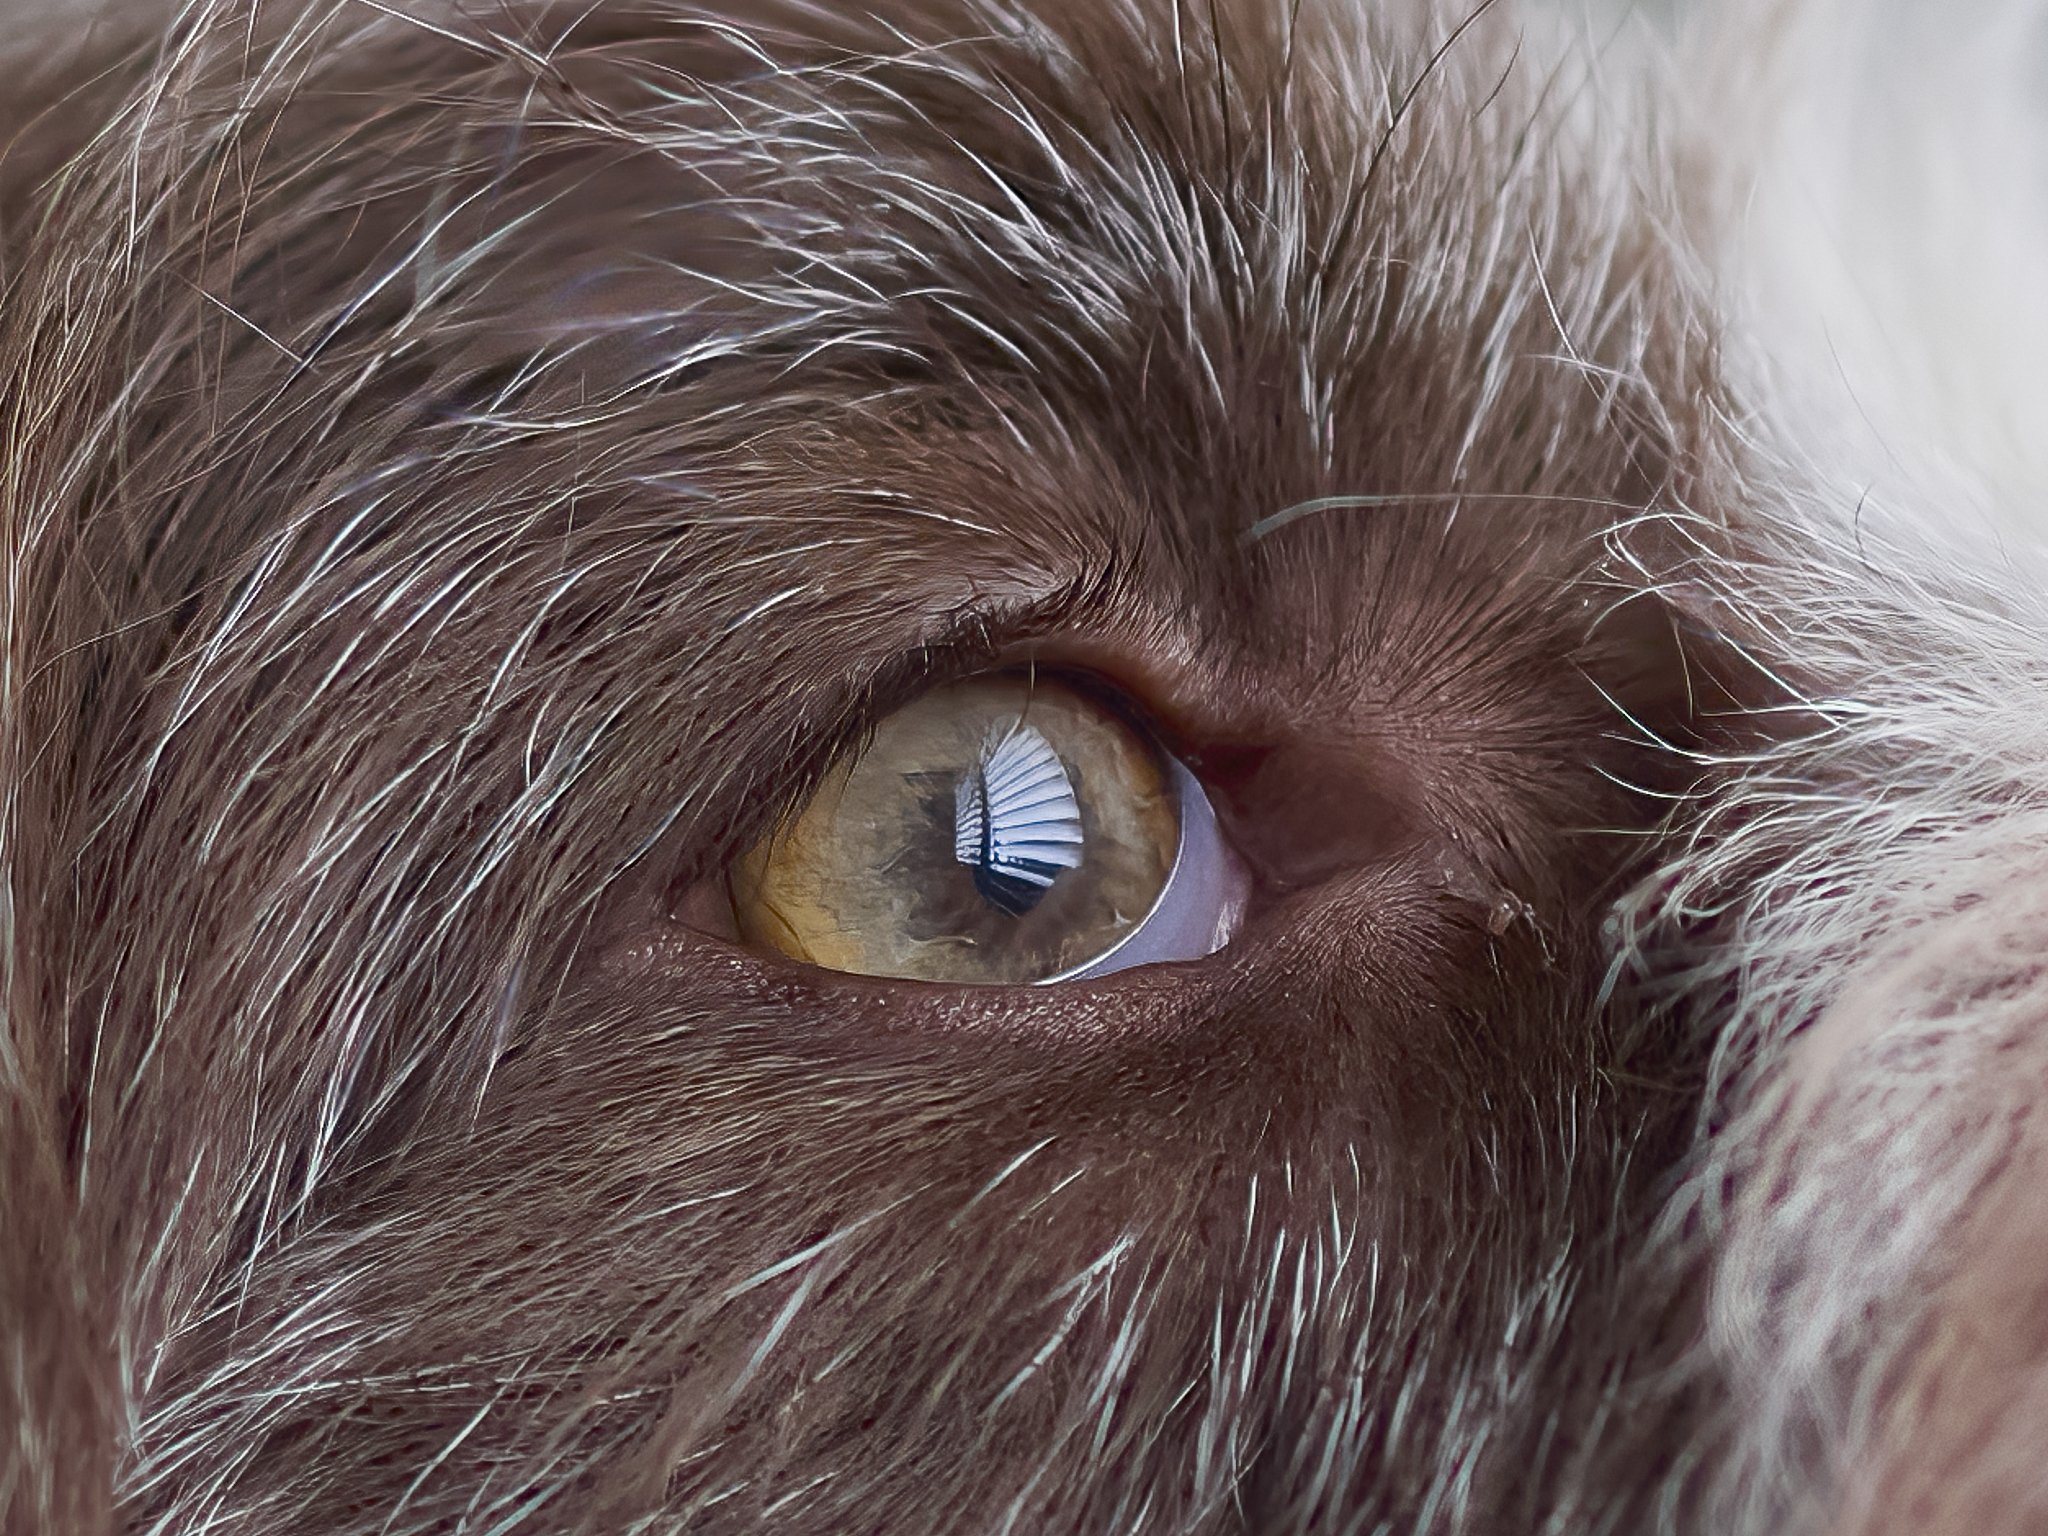
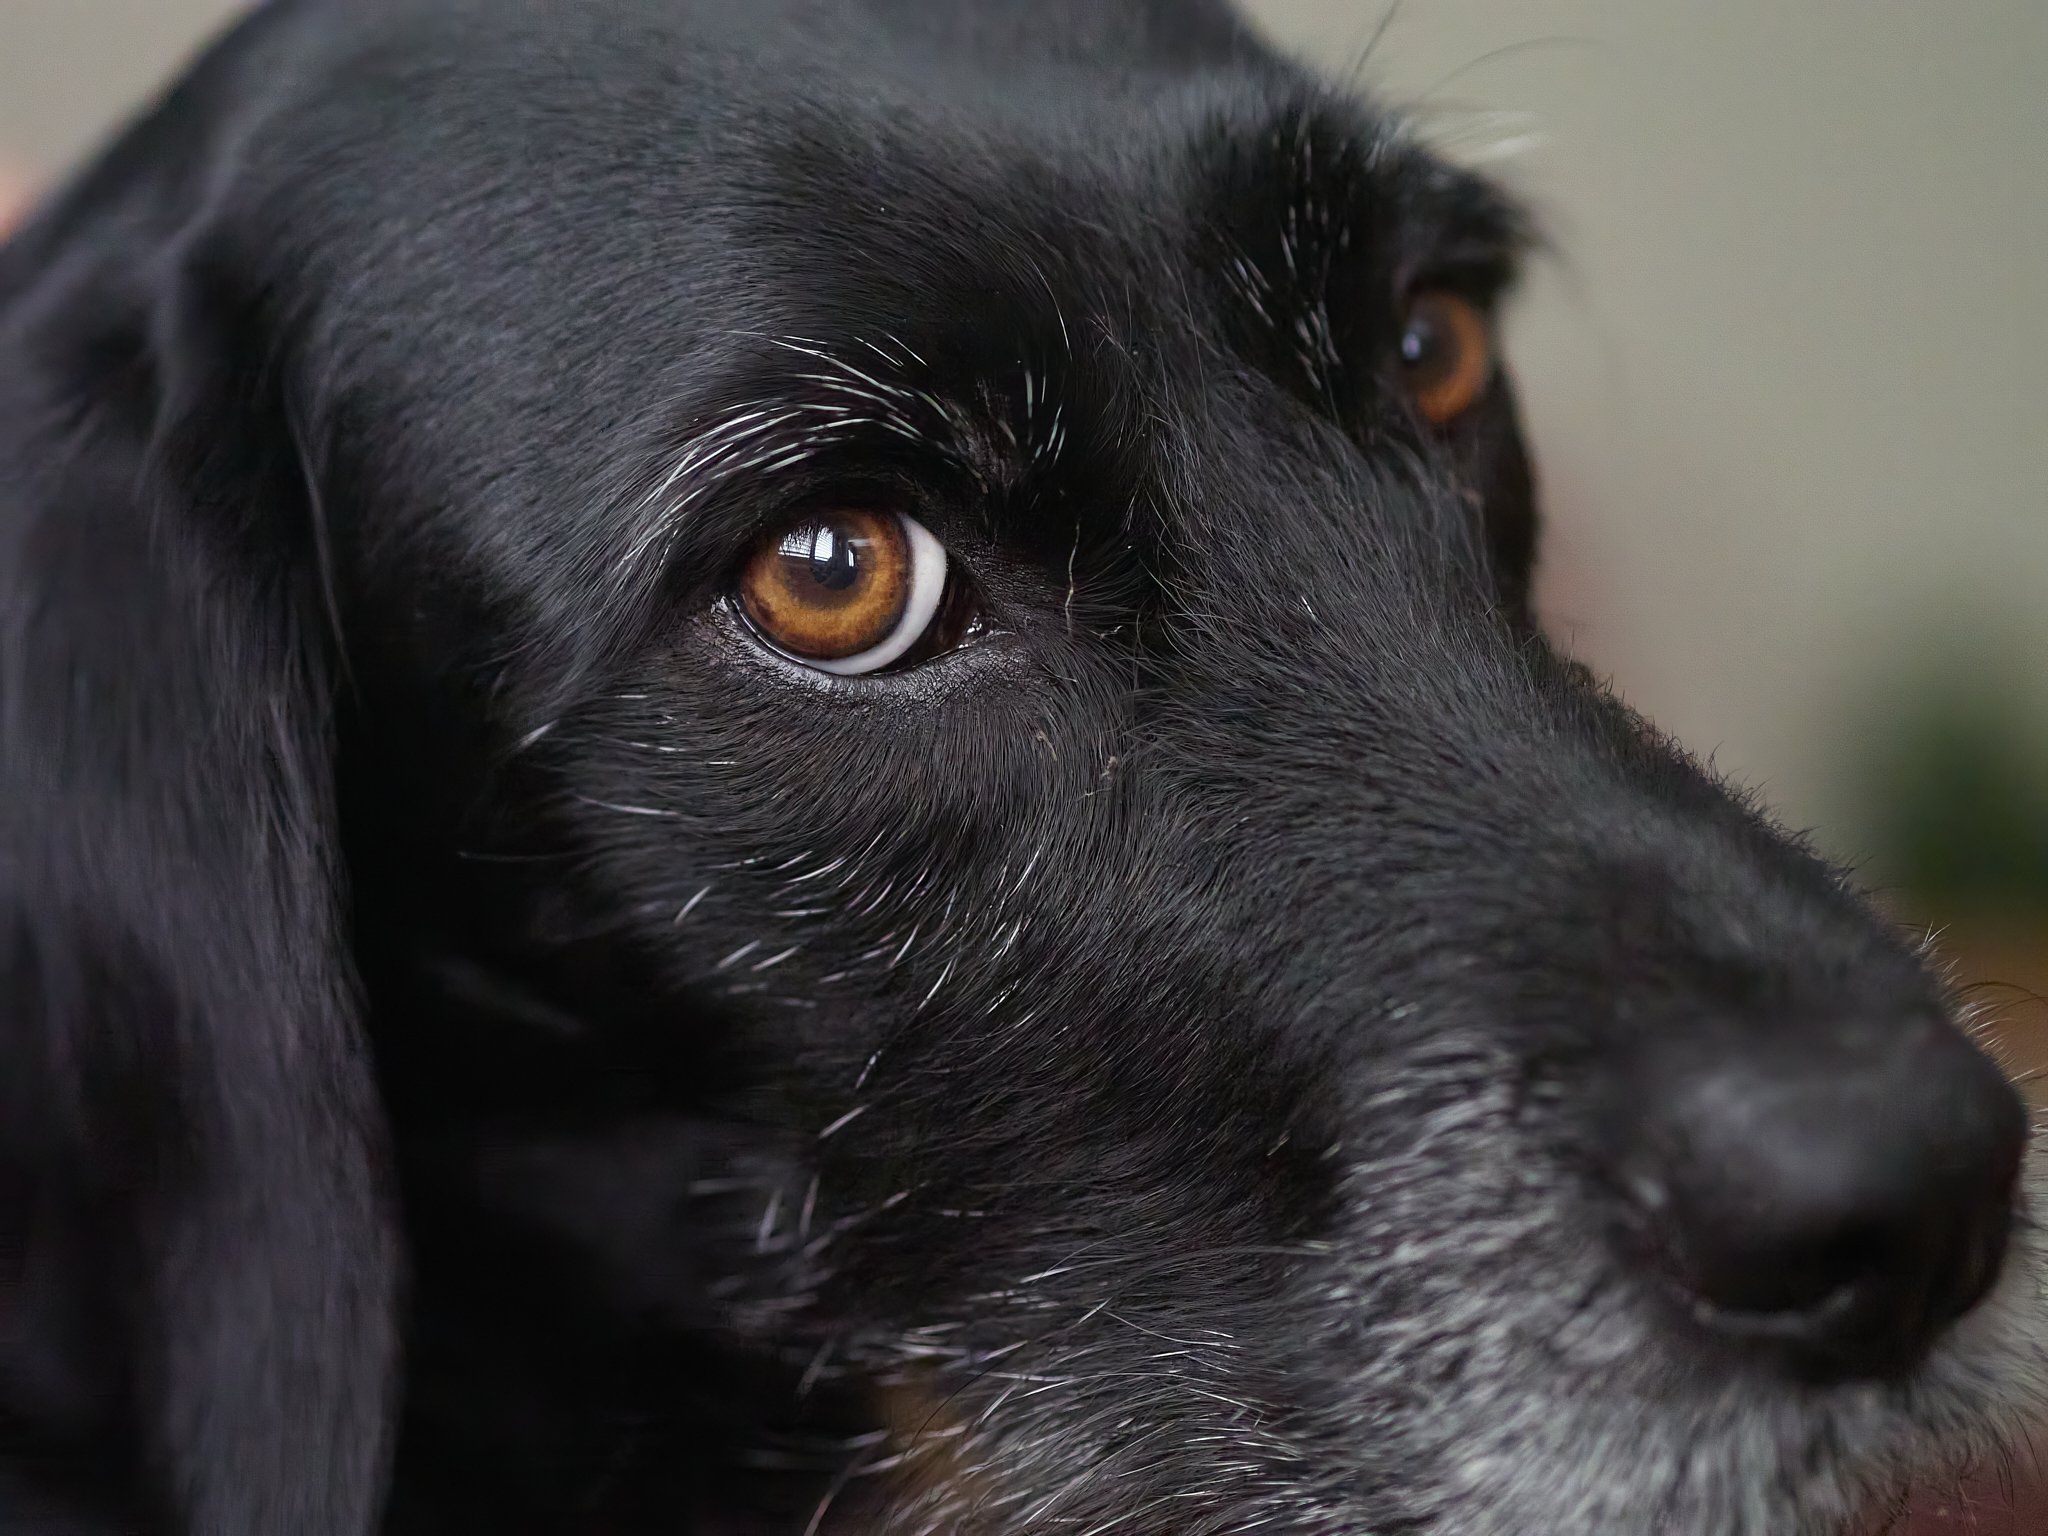
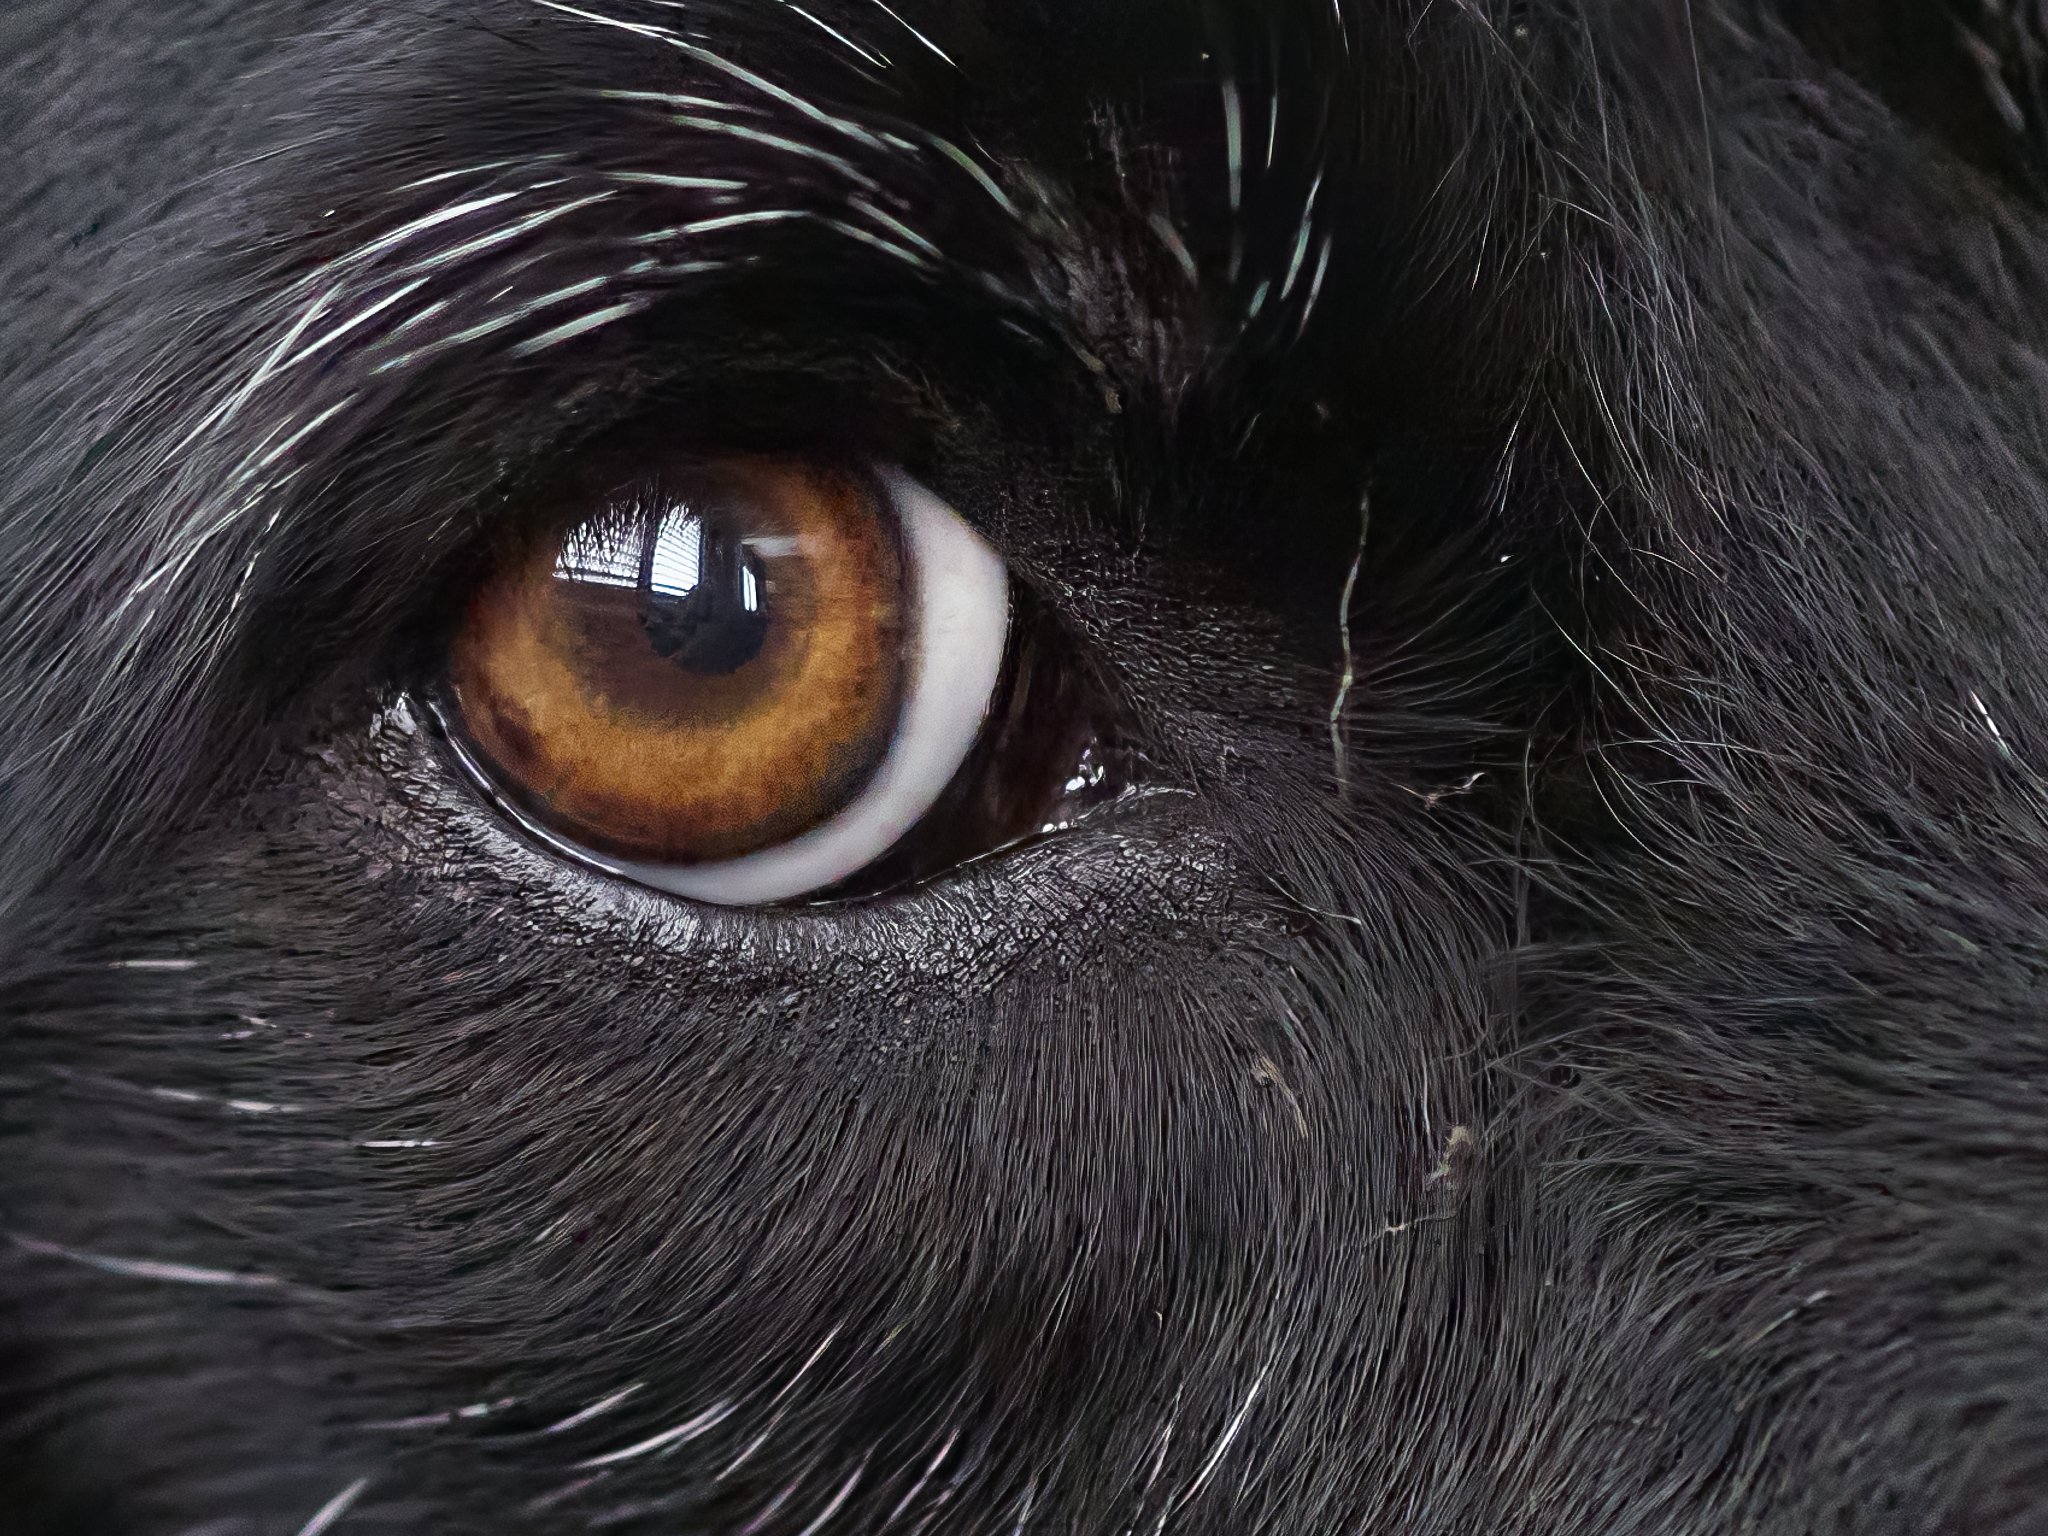
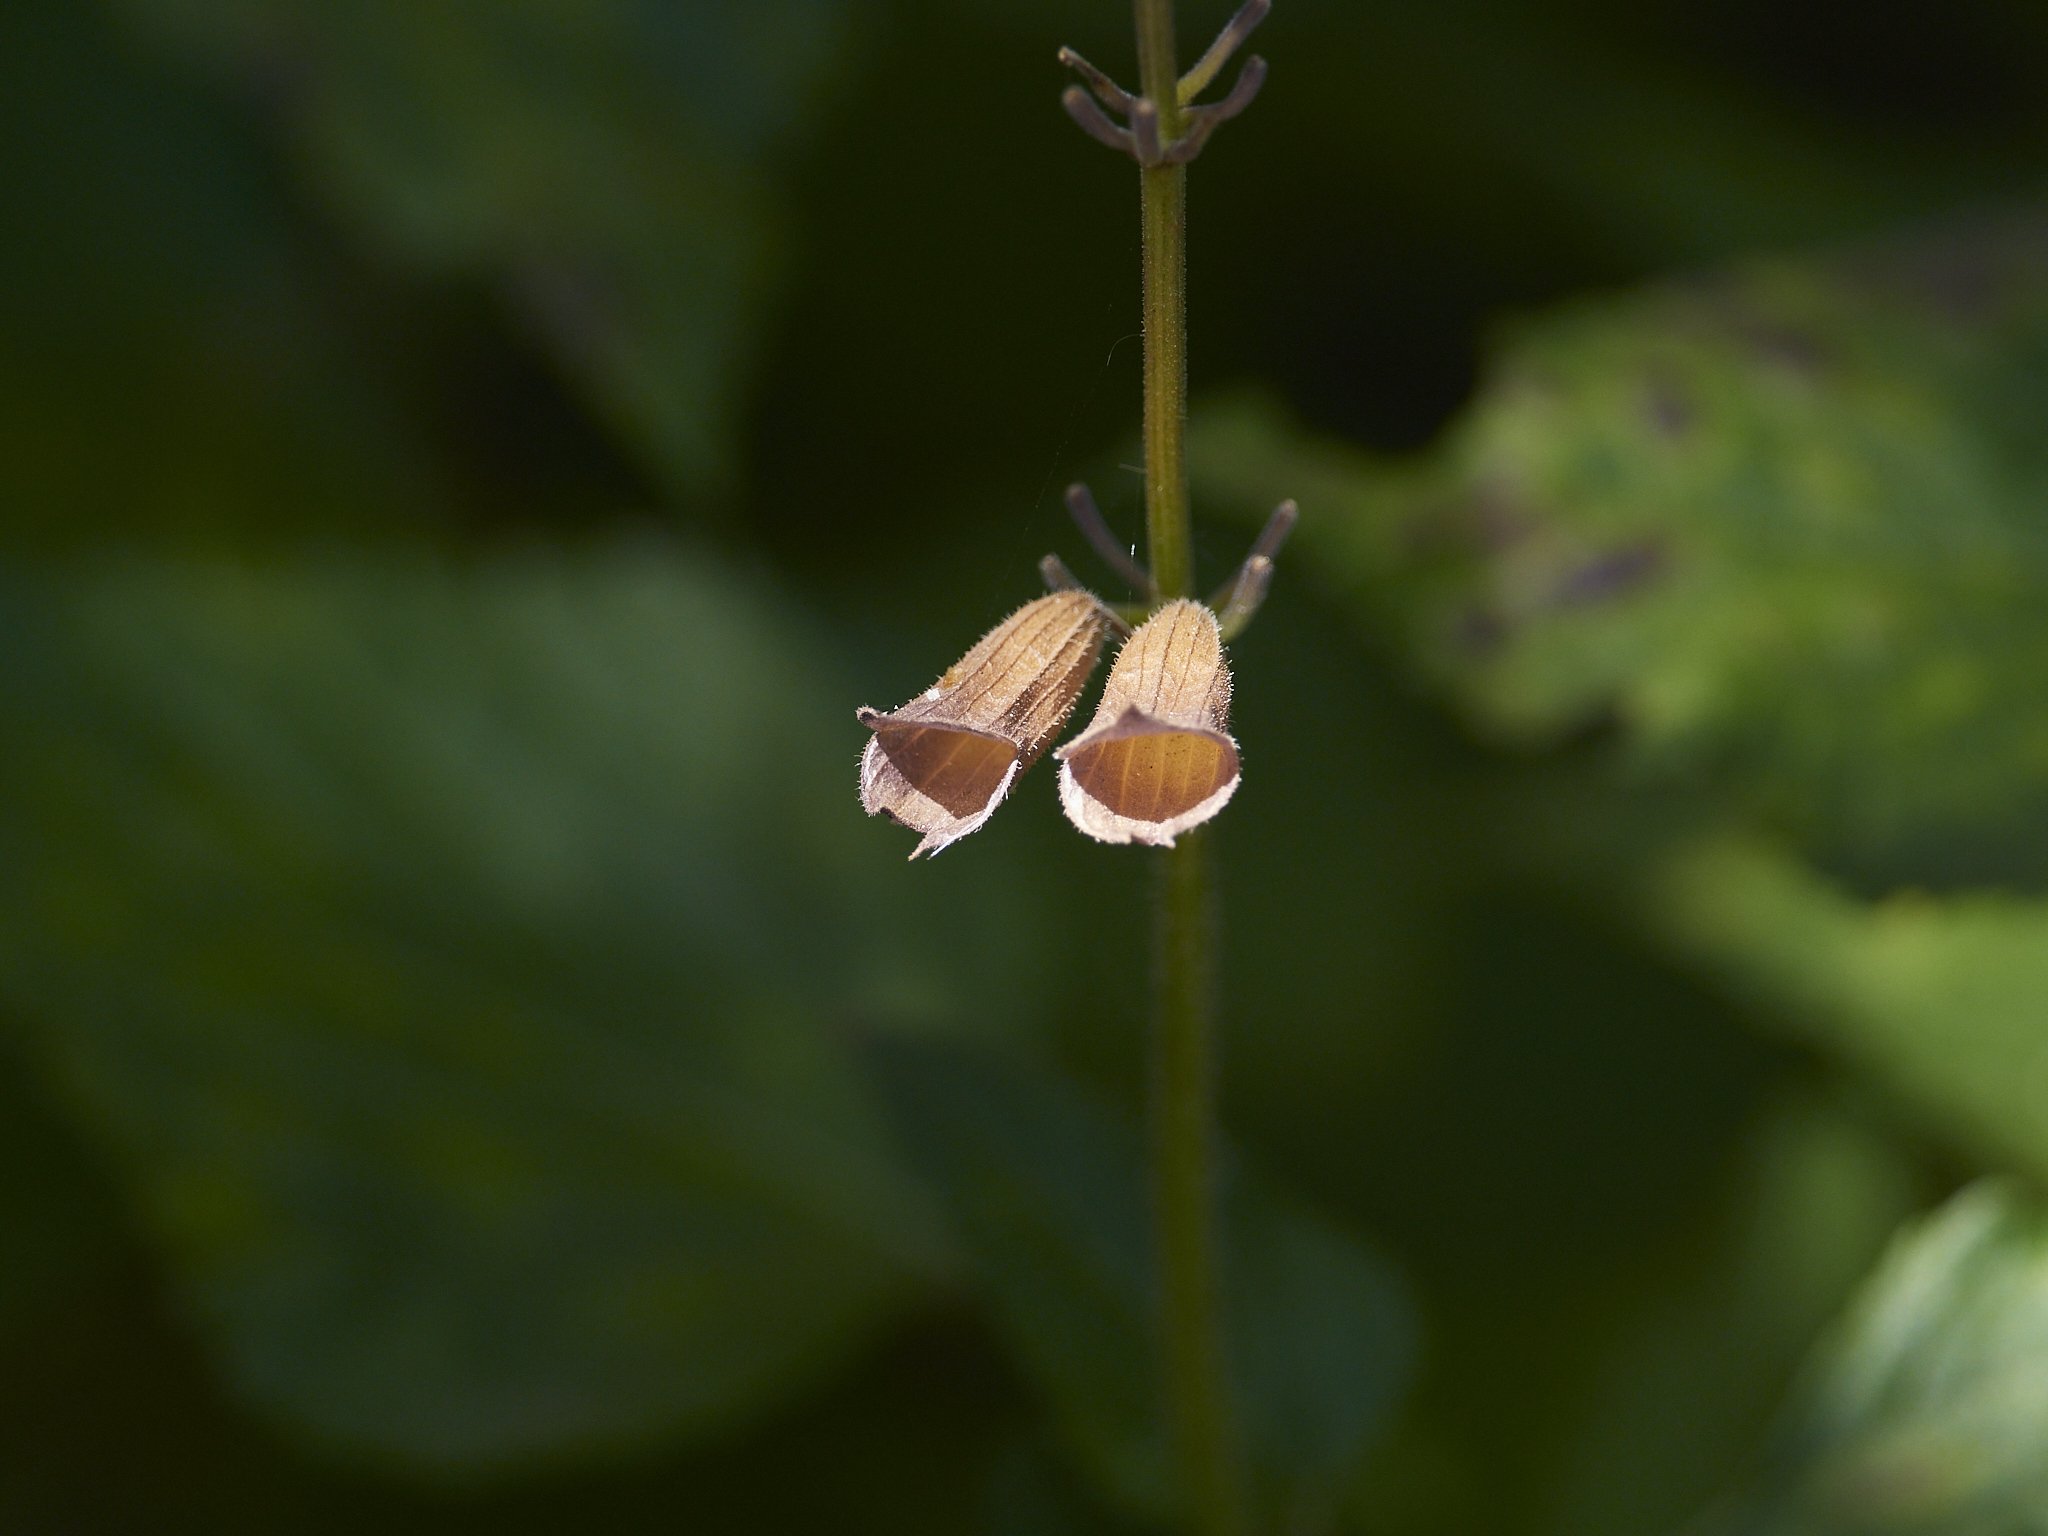
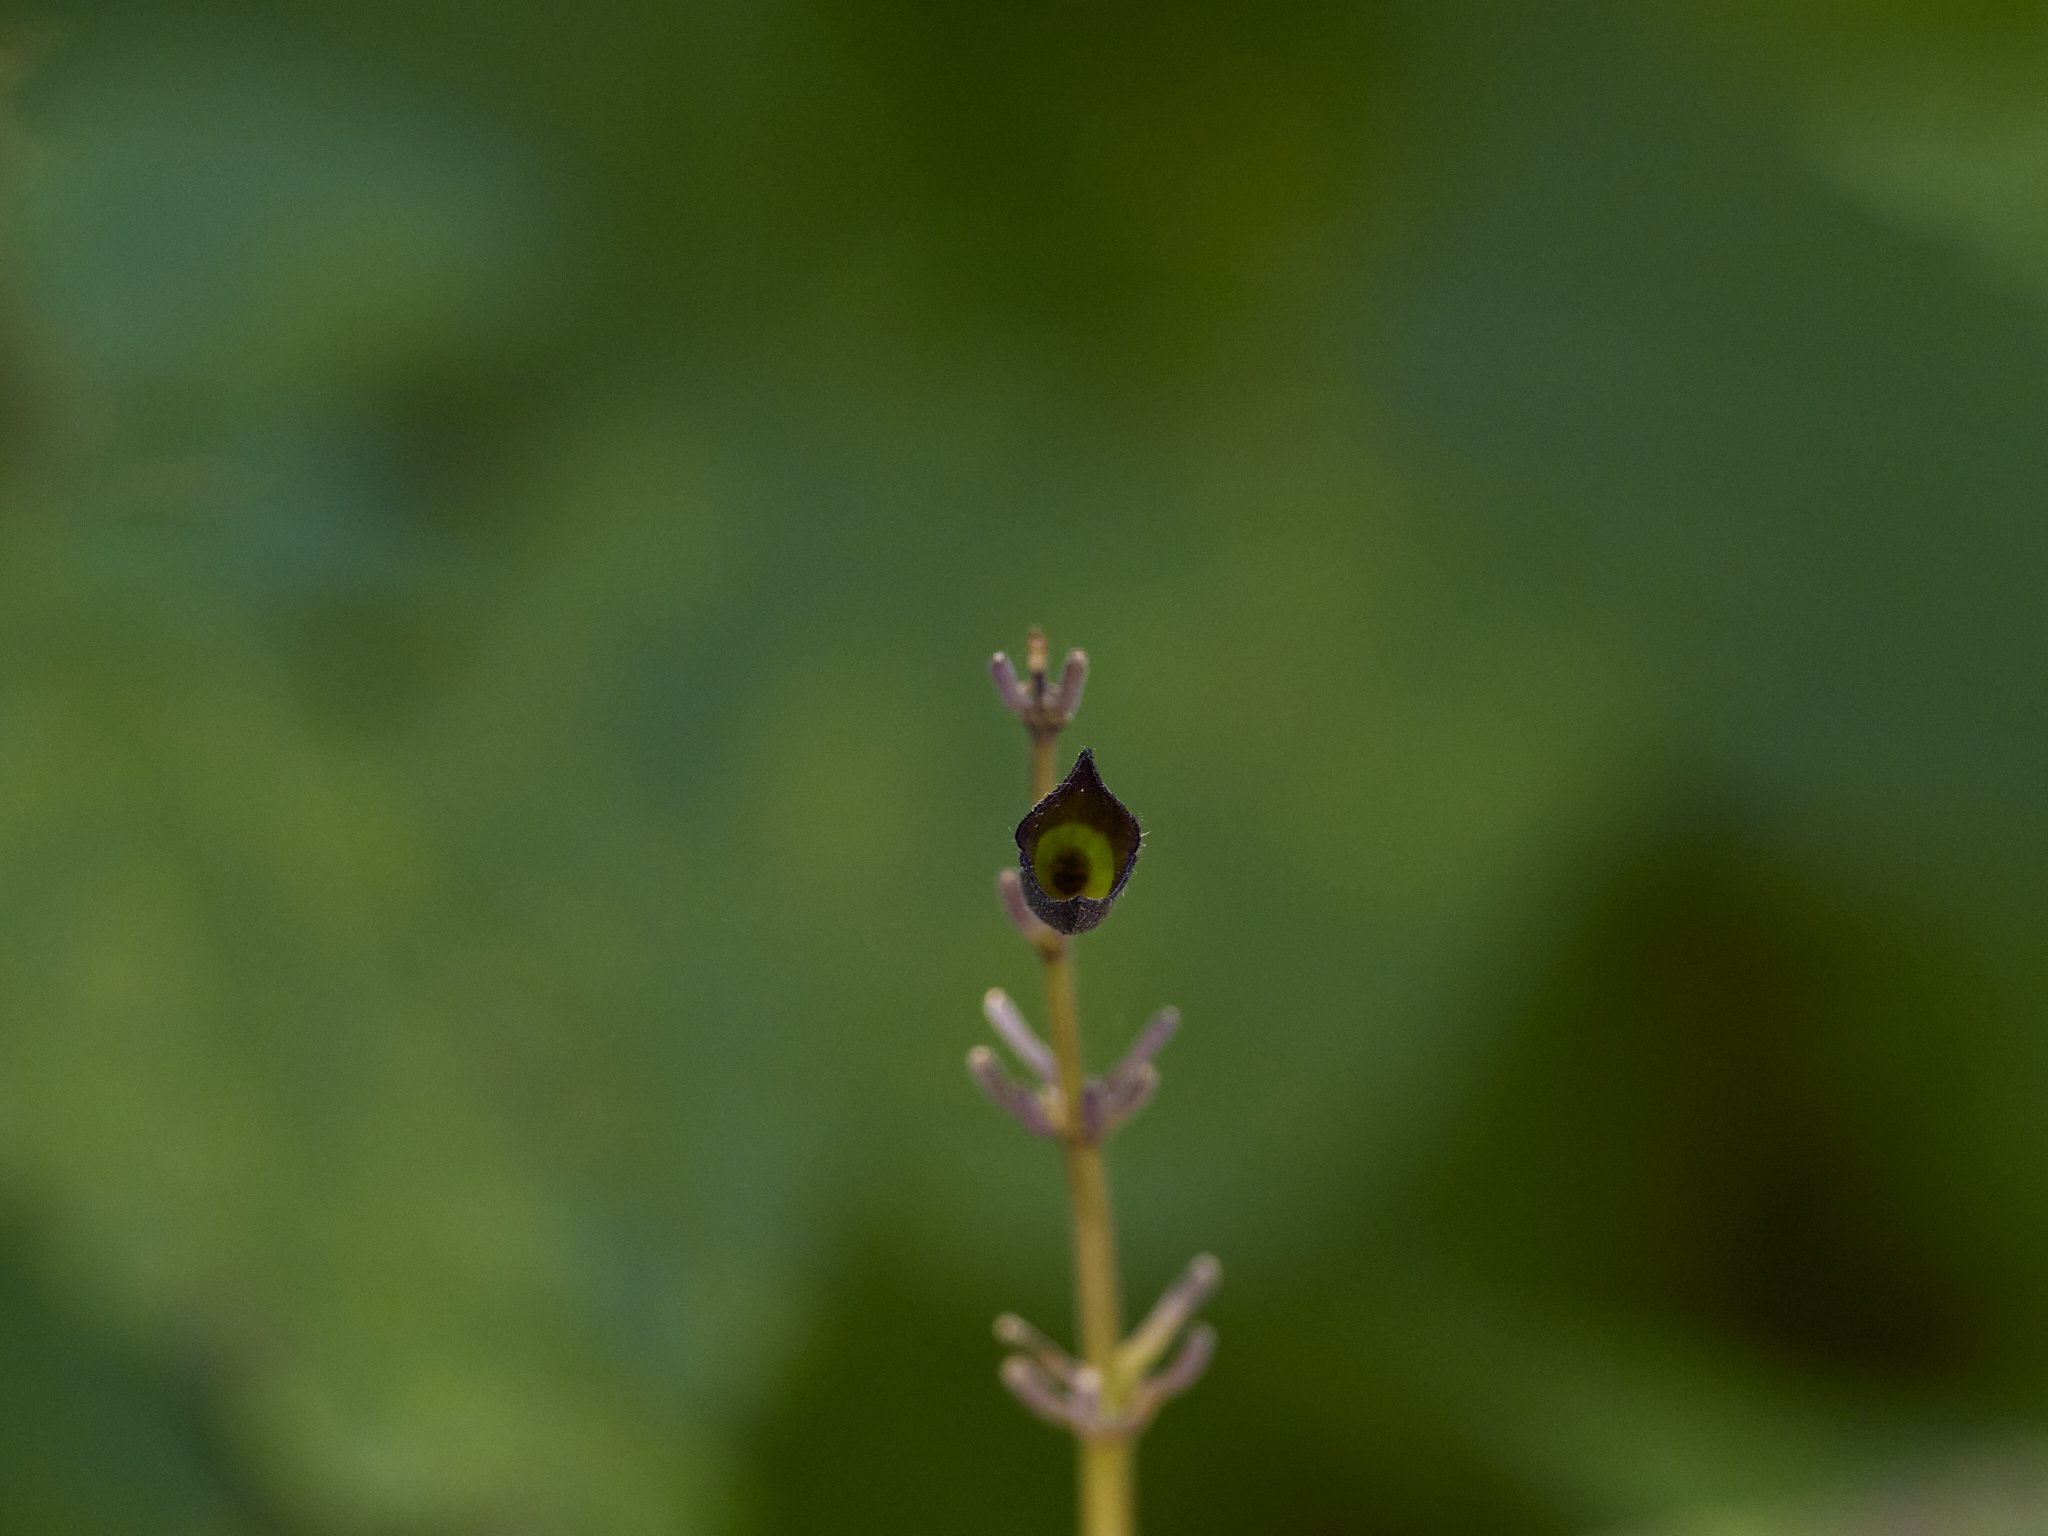
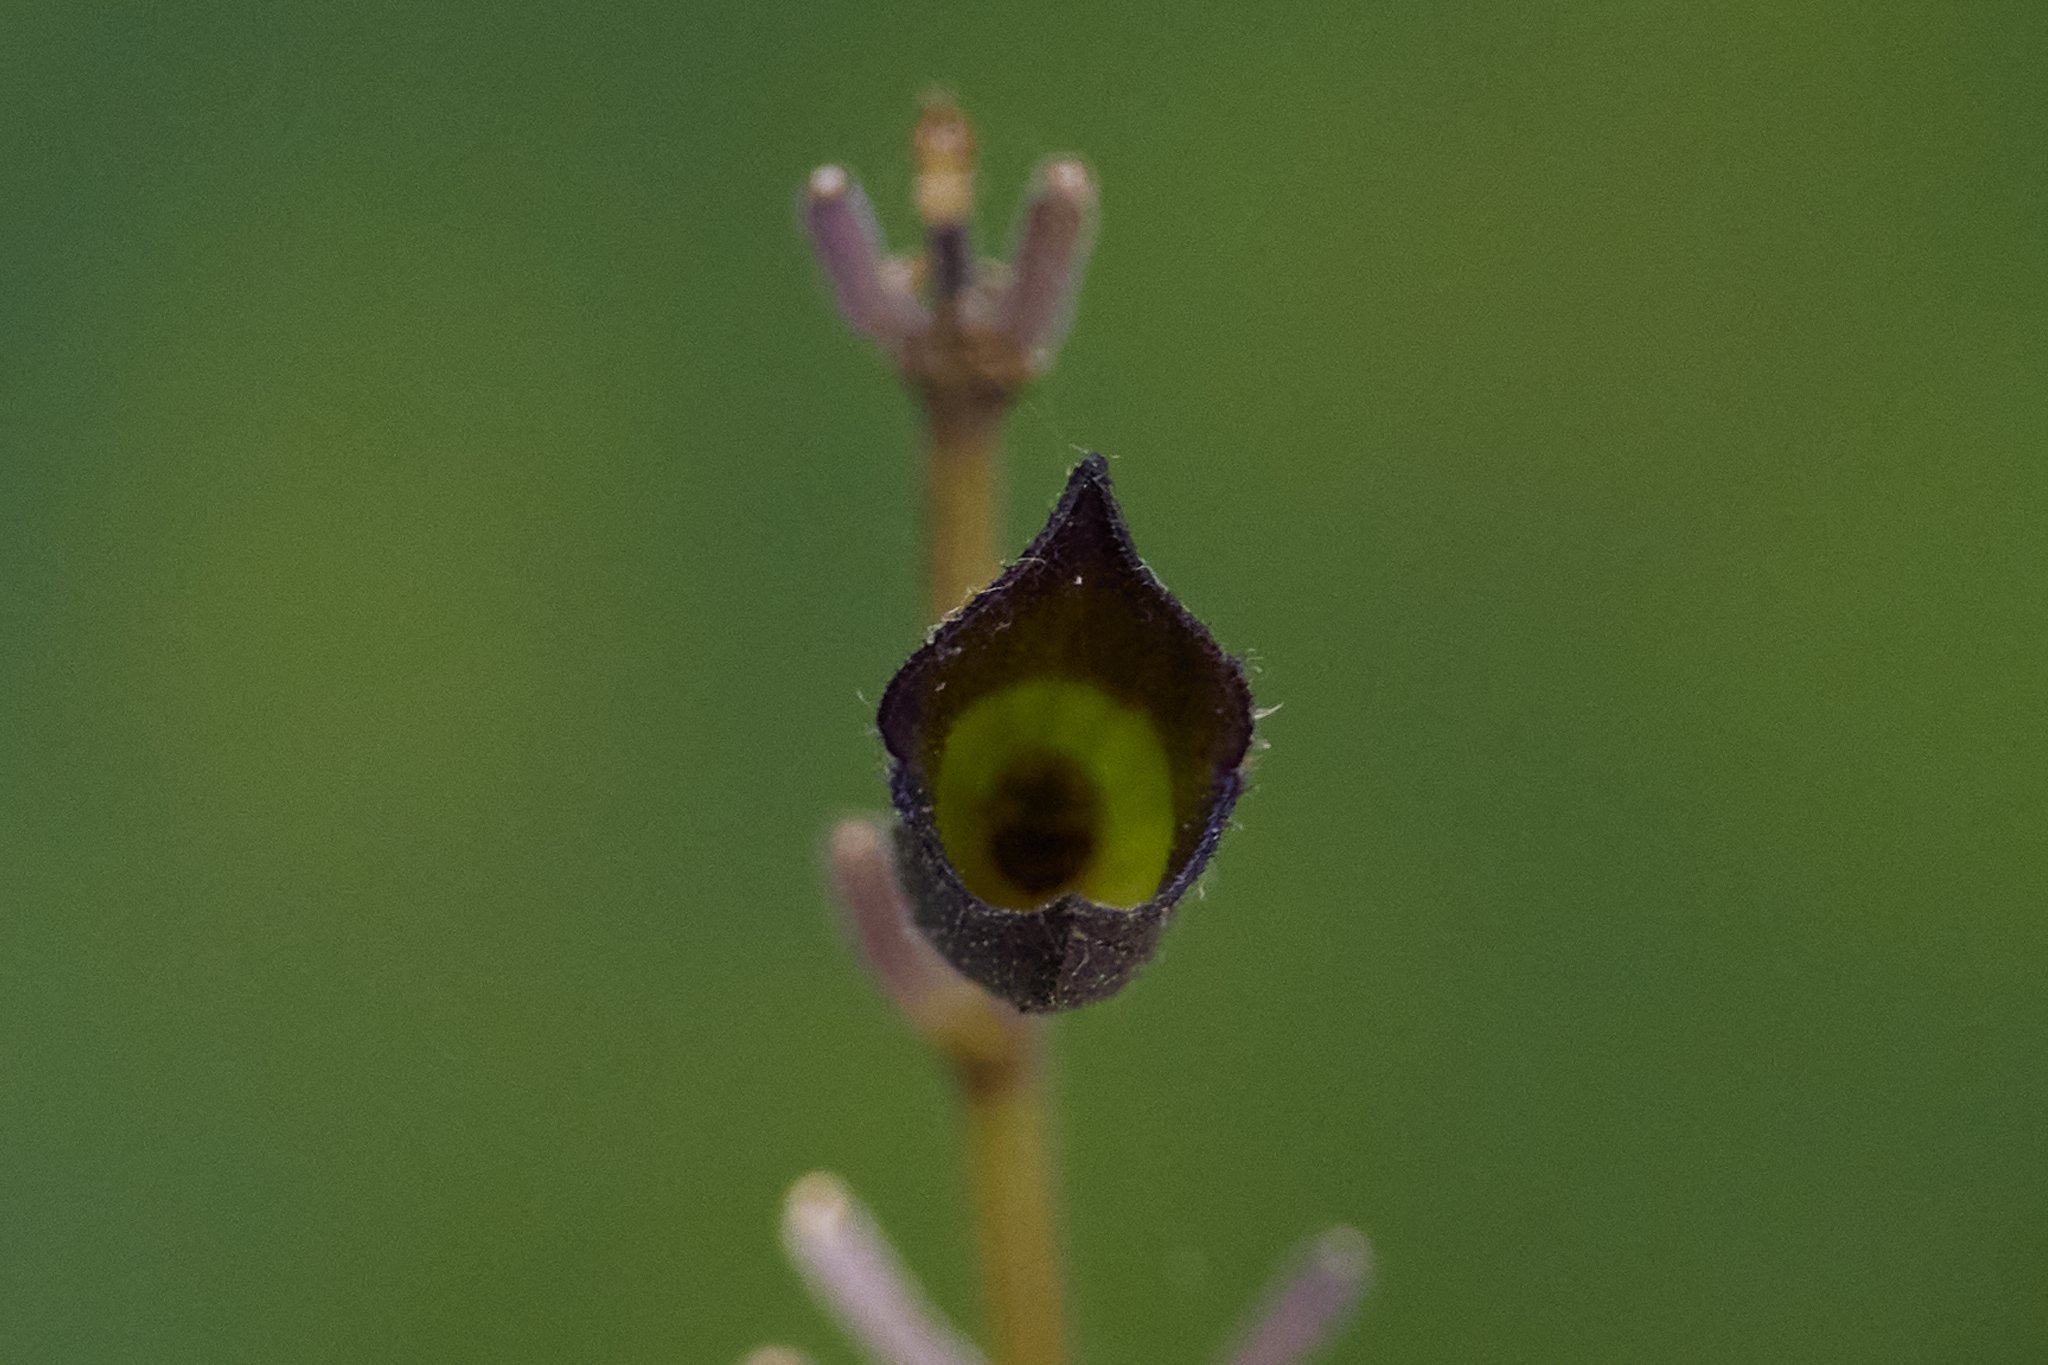
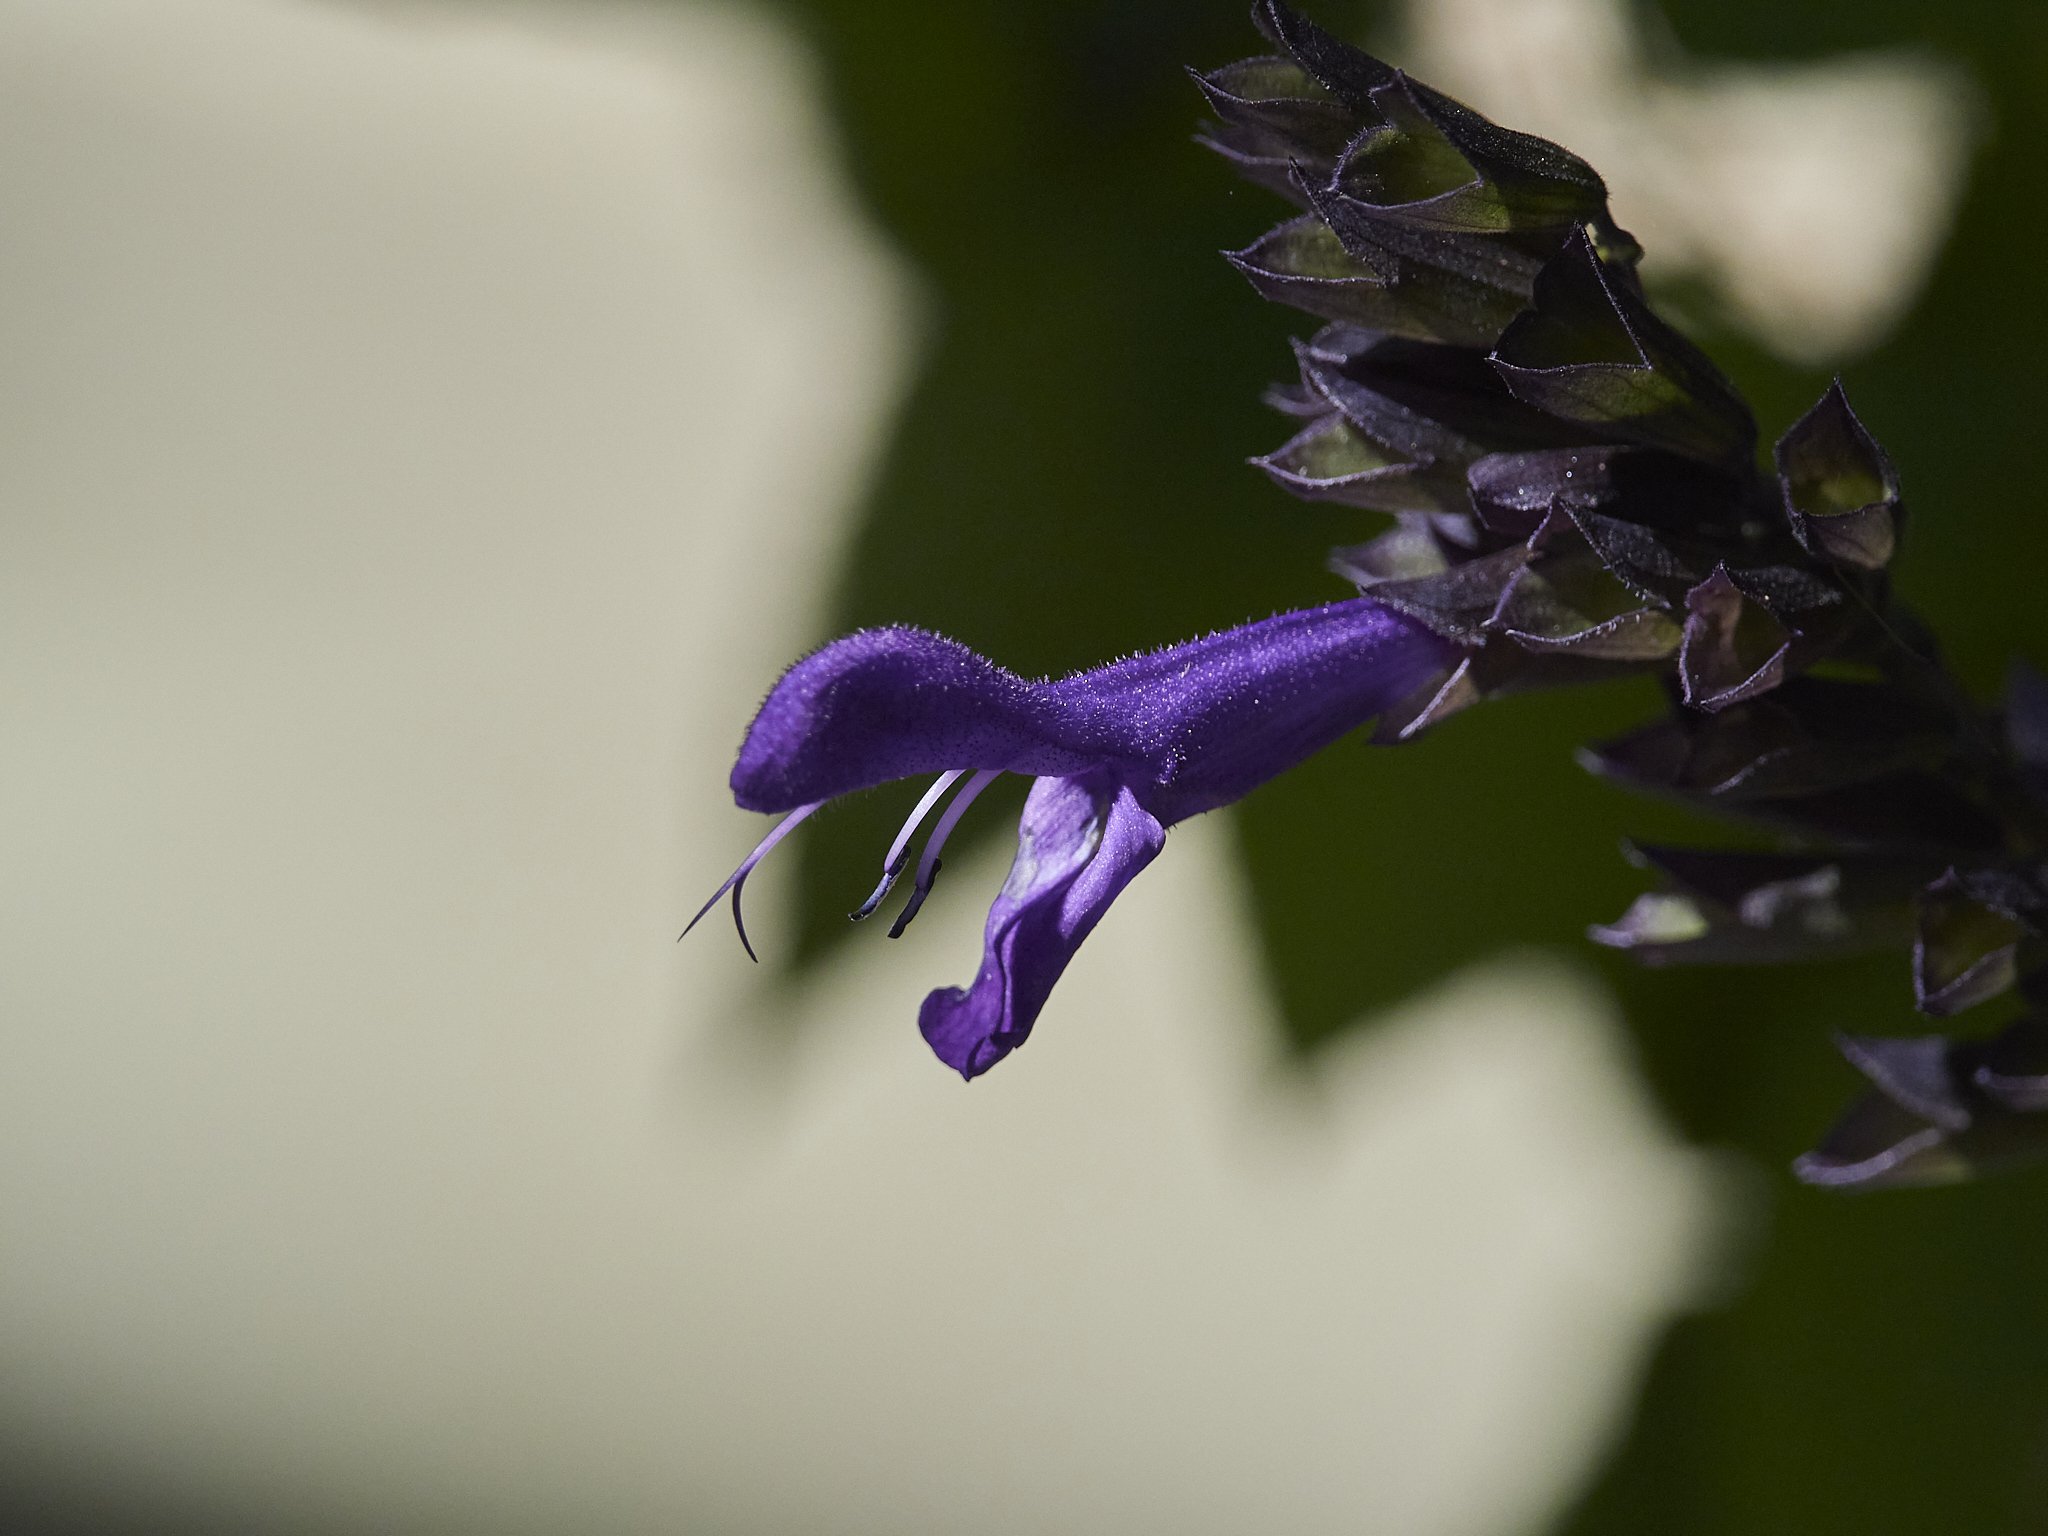
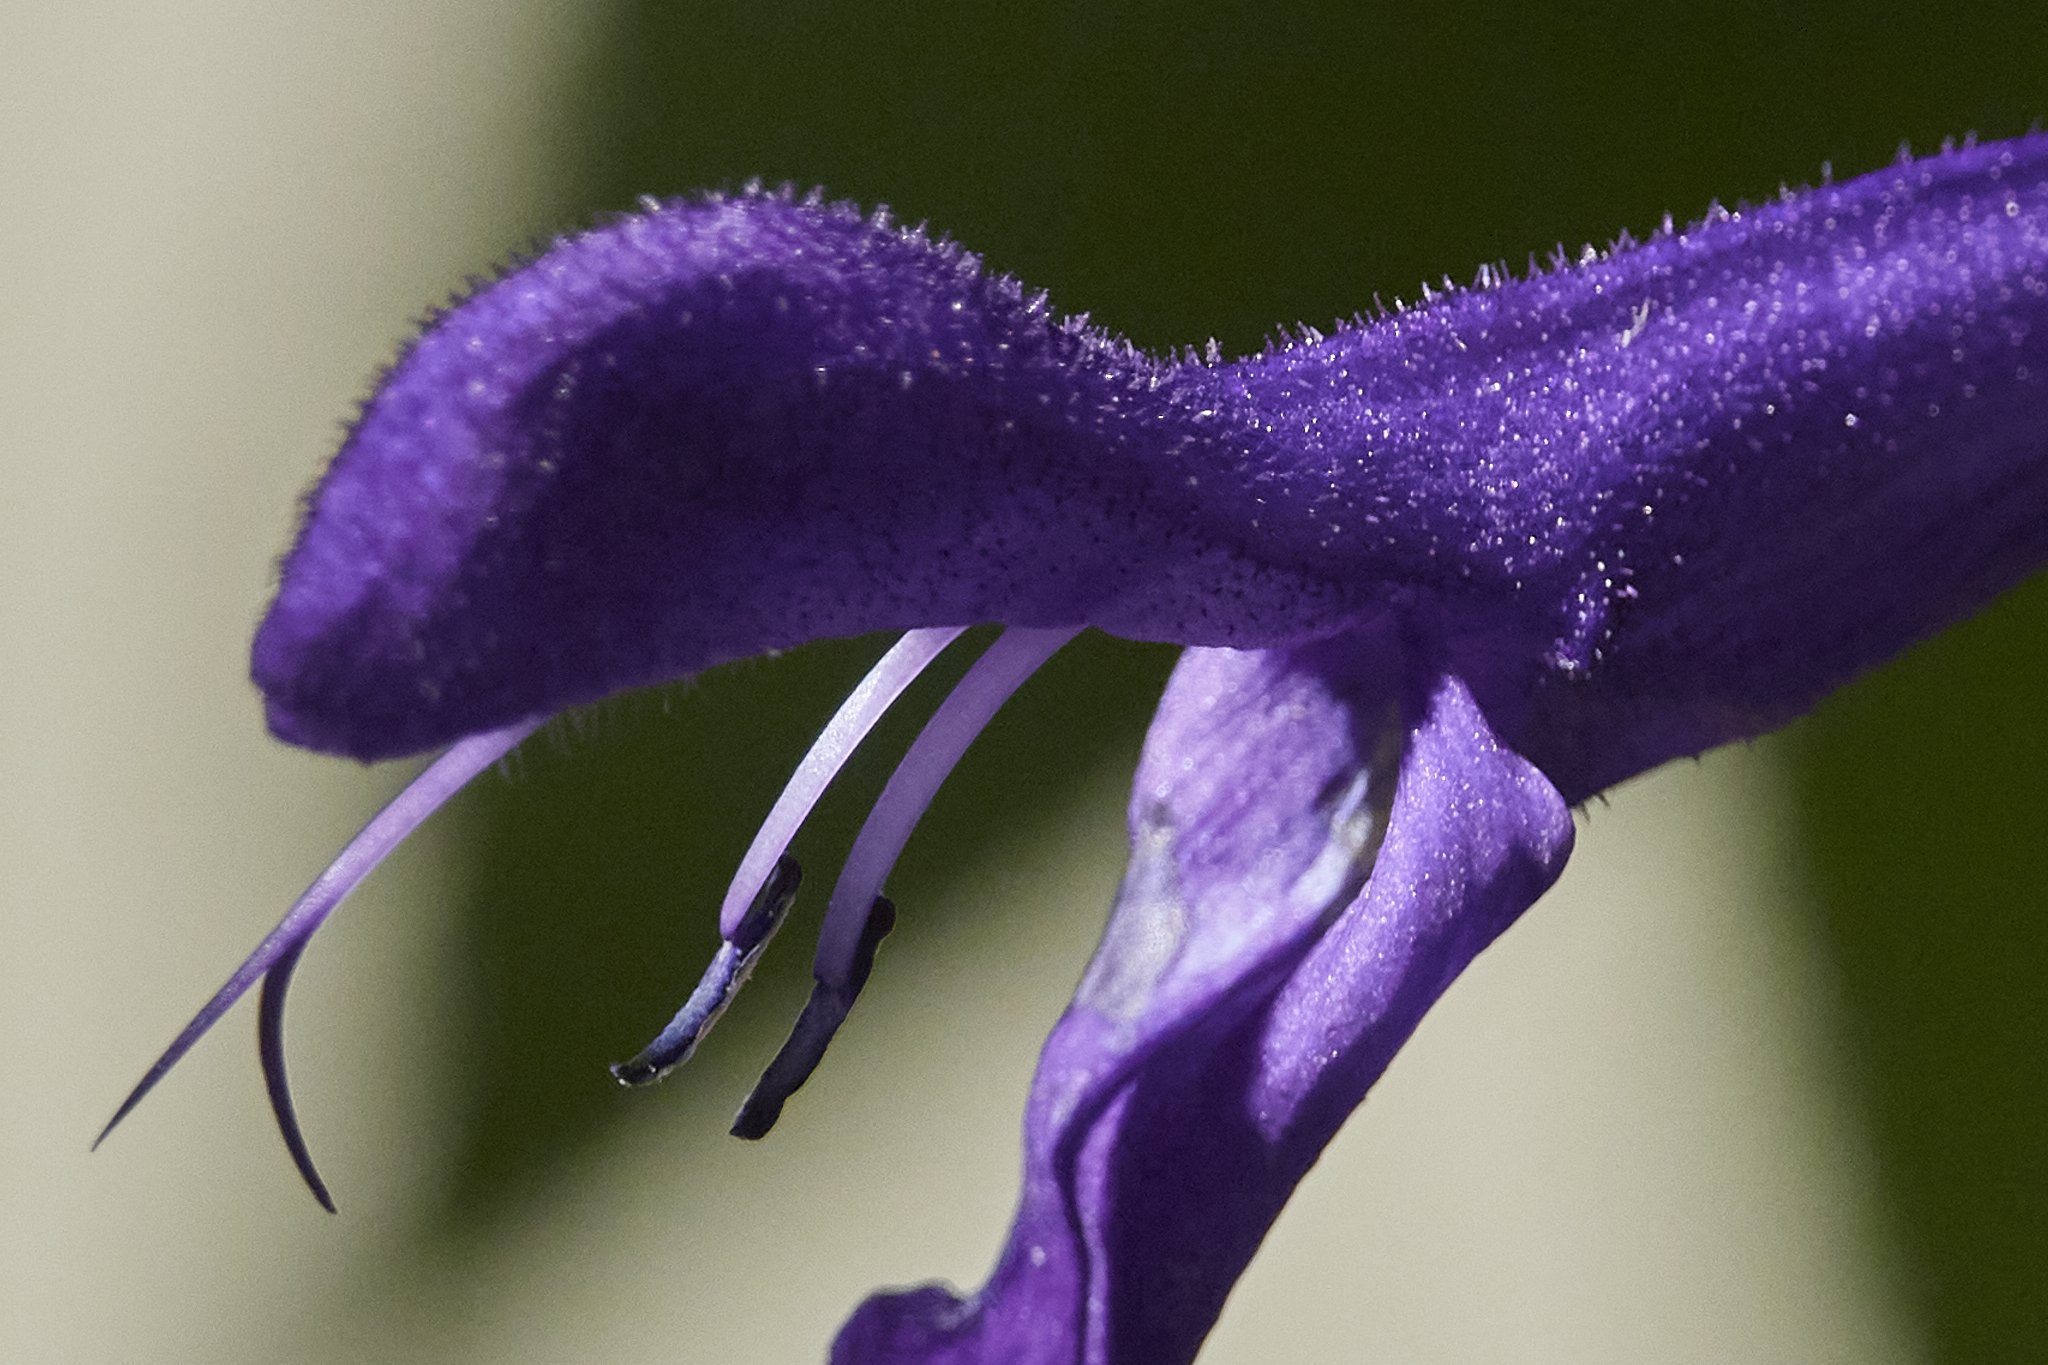
Even with an older m43 camera, ISO 1600 has lately become one of my base ISO settings, ISO 3200 not far behind. Both are used with little fear of image degradation and I get a little thrill out of producing more than decent ISO 12,800 files. EM1 mk2, 40-150 f2.8, ISO 1600 1/125th.
Olympus 45mm f2.2 ISO 3200, 1/125th. Not sure why not 1.8, but still excellent quality.

ISO 1600 f1.7 Leica 15mm EM1 Mk2. This files was raised from a black background and it is clean and sharp.
*My own test results are;
How hard is it to exceed the output of your sensor and processing?
I have had cropped images used on bill boards and busses, huge screens and large fine art prints all from M43 files and nobody has ever complained (or noticed), I even get compliments from full frame users on the quality I produce on average, proving that it is not the camera, but the whole creation stream. If needed I have several over 80mp options, several hand held, but so far, nobody has wanted them.
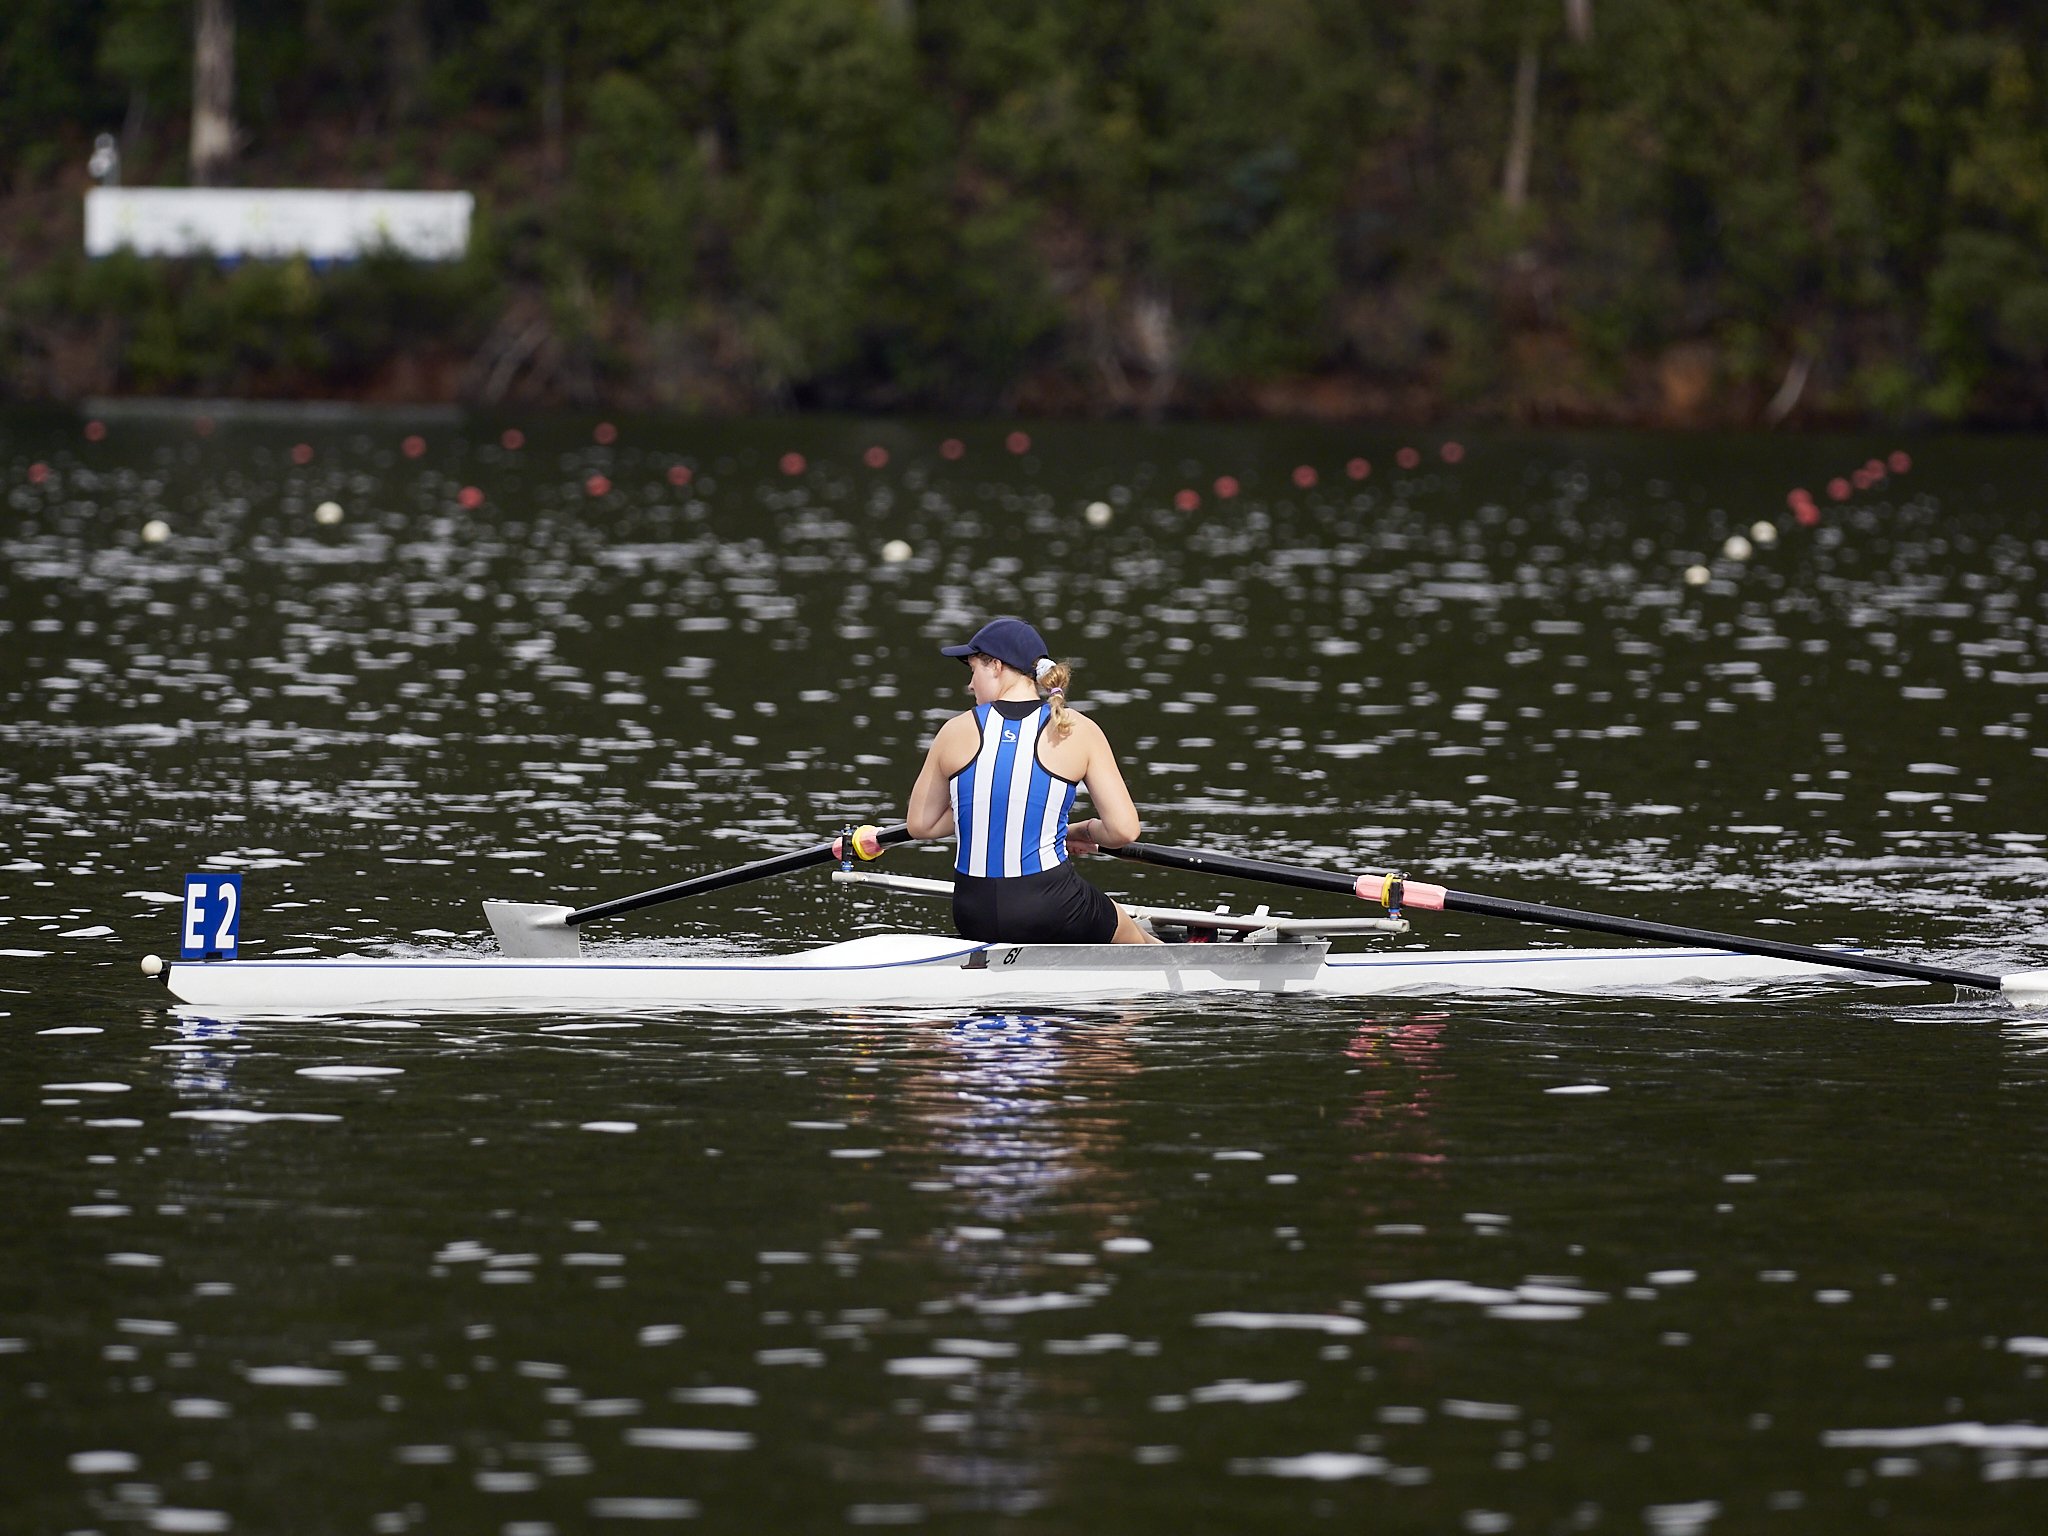
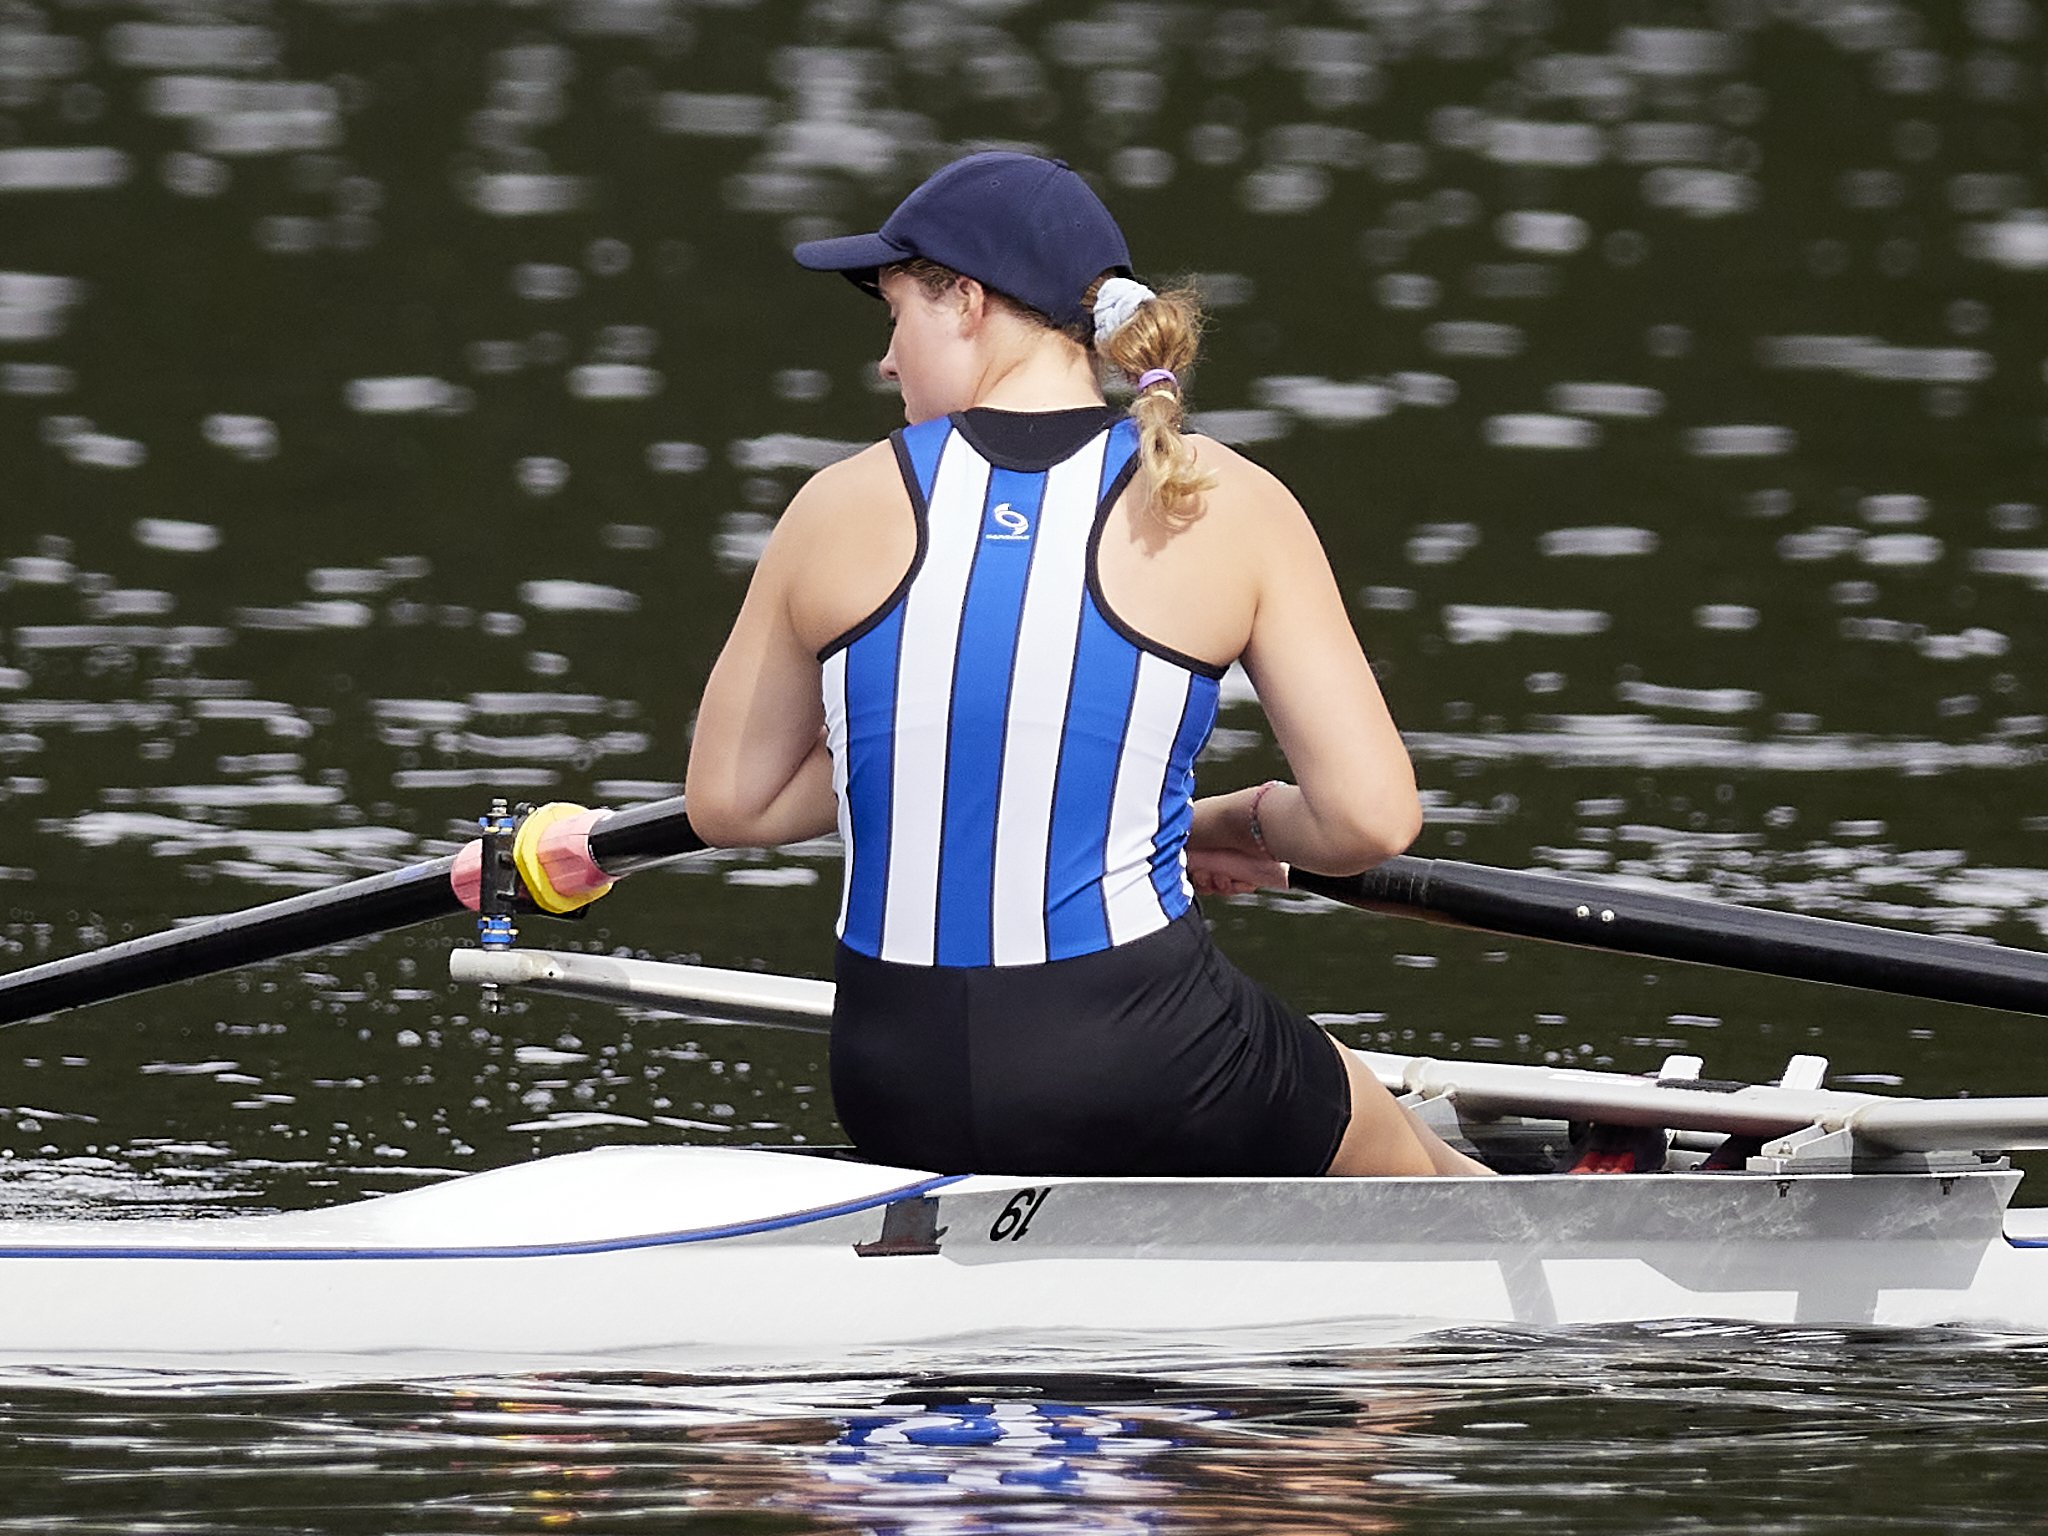
How fast and erratic a subject can you hit more often than not?
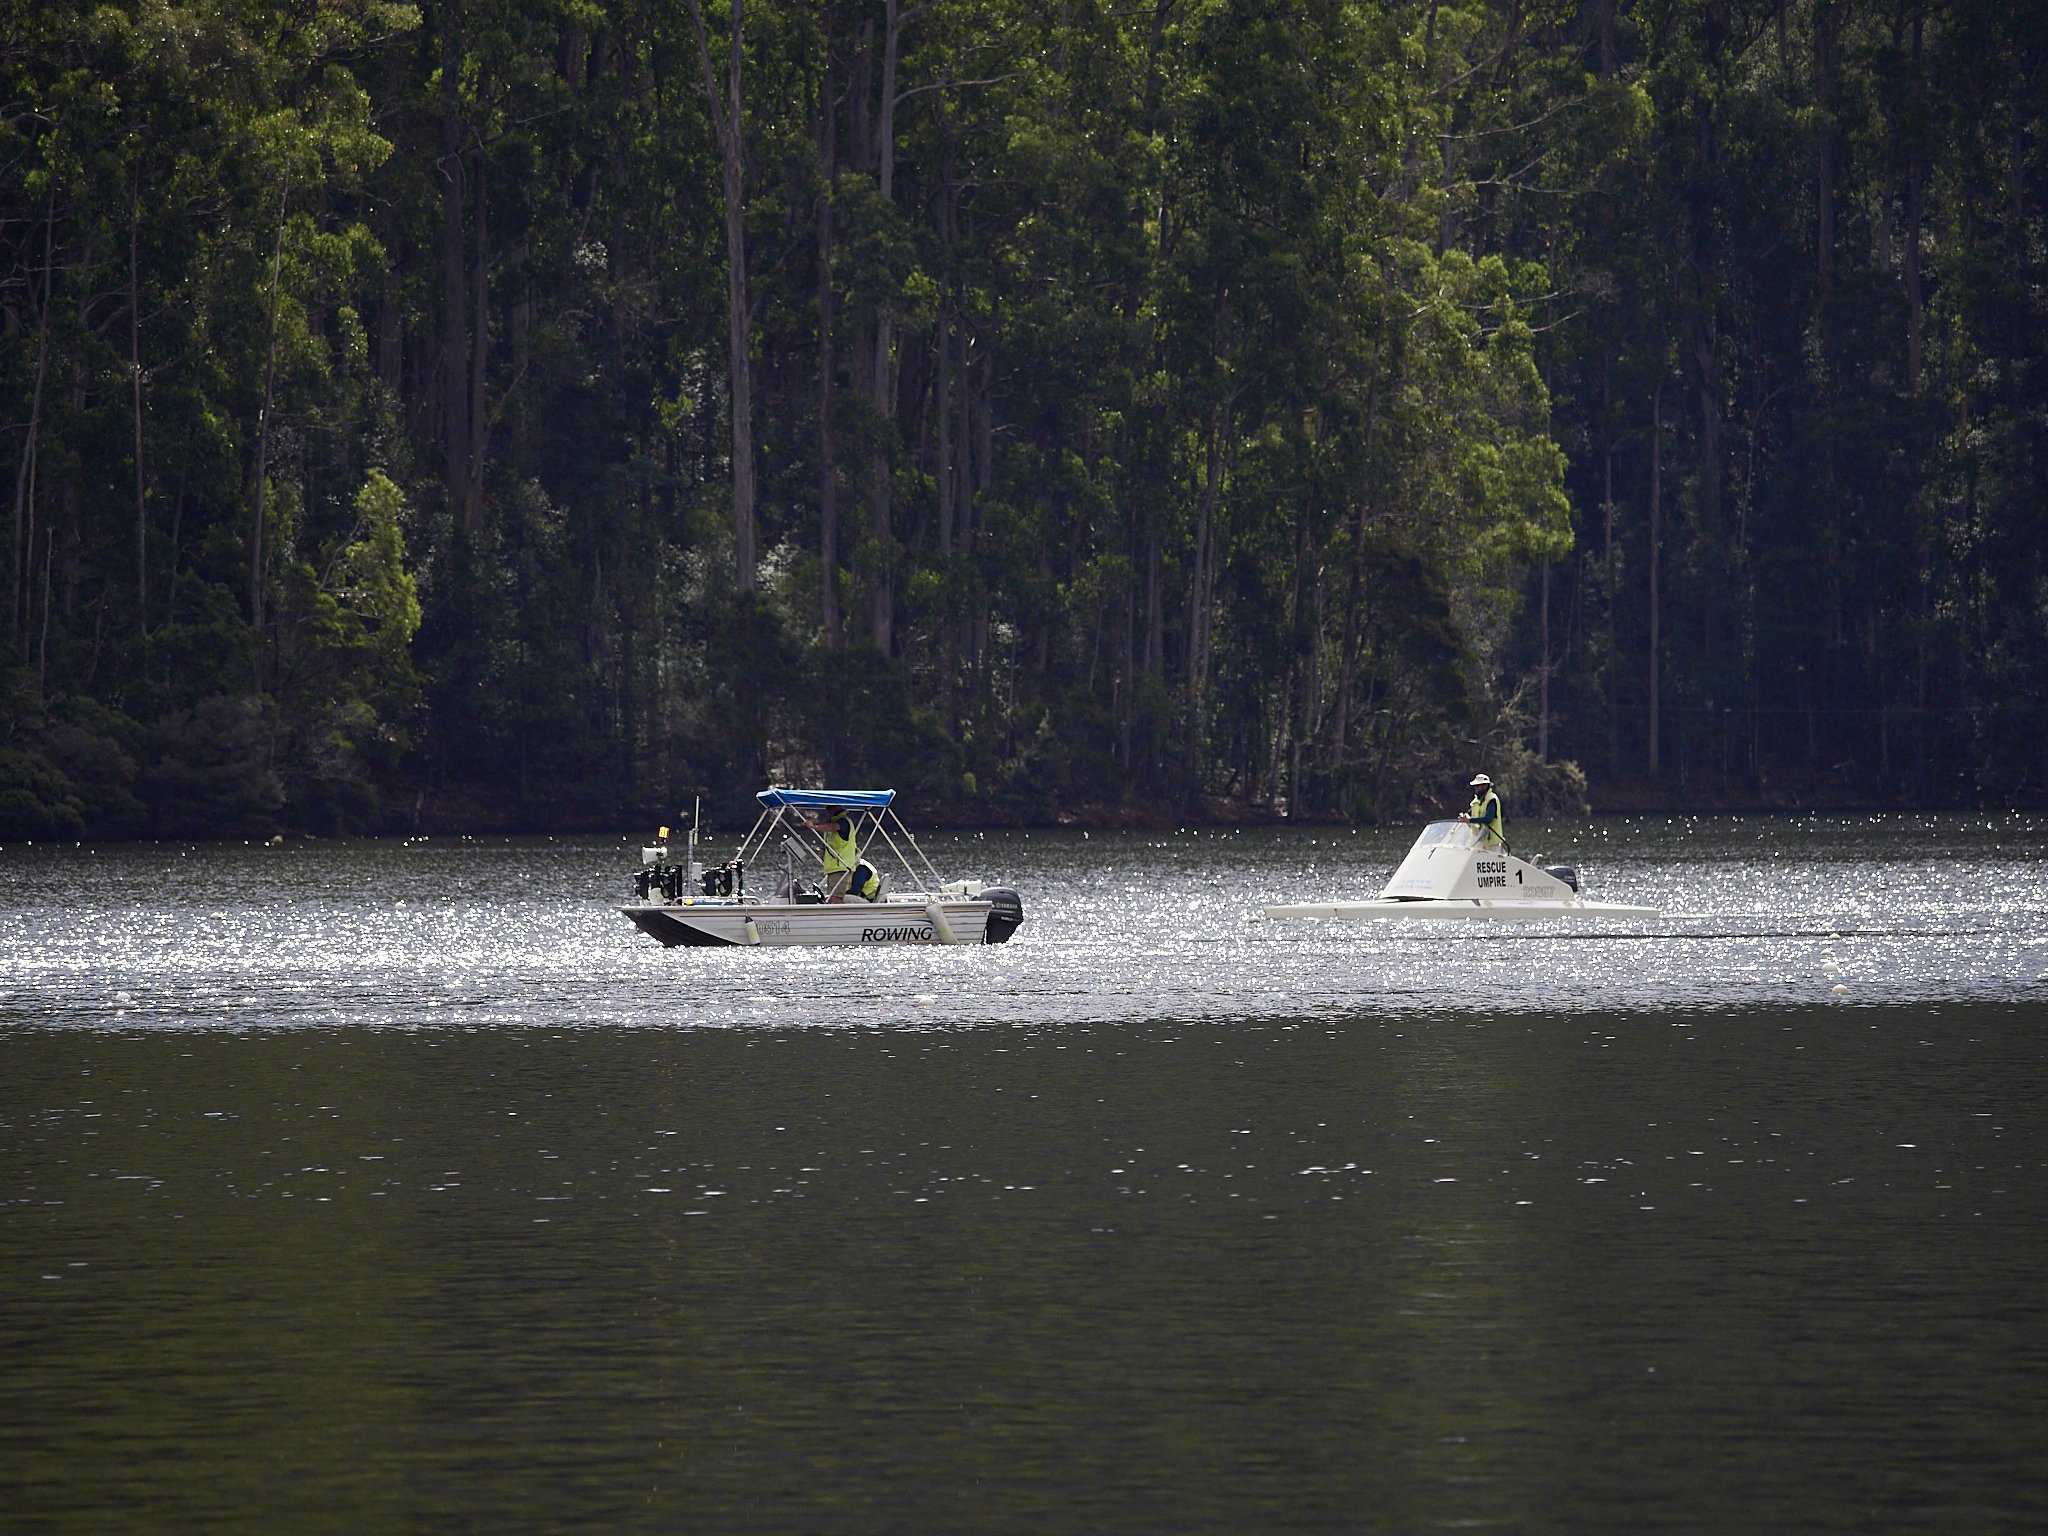
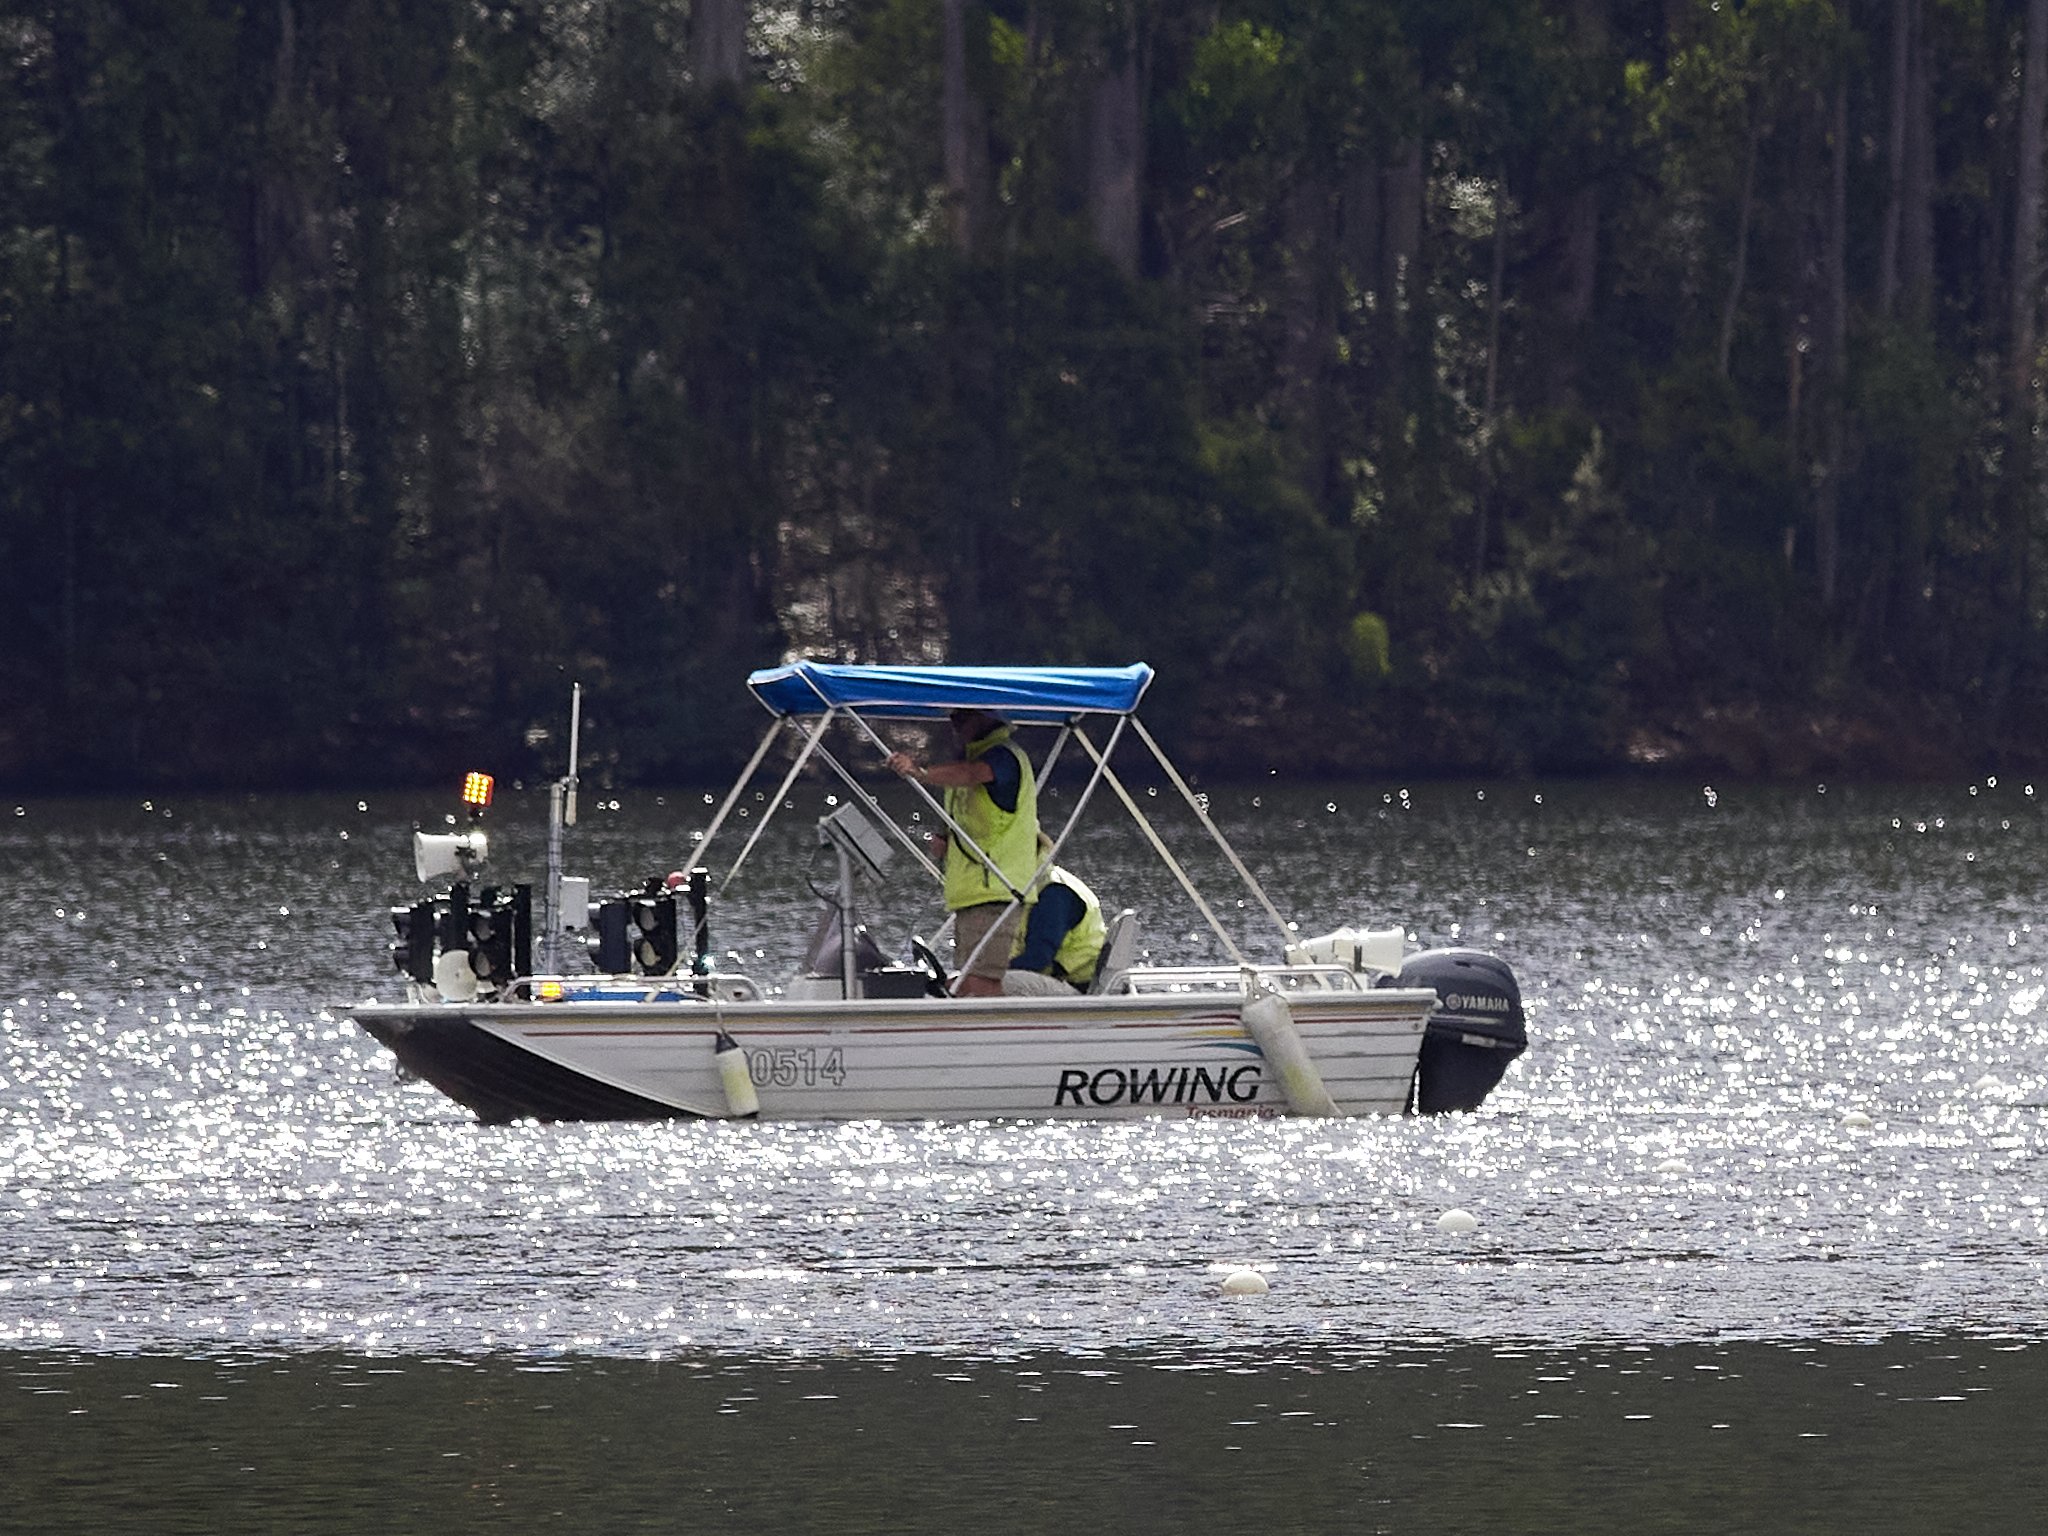
The EM1x’s are as fast as I am, meaning if I do not miss, they do not miss. Any more speed would be wasted without telepathic capabilities. Even the older EM1 Mk2’s are more than enough and I have not even tried the G9II yet! I see a definite increase in hit rate with more practice, but the cameras capabilities still constantly surprise me. I have learned to give anything a go always with hope of some success. Sometime early last year, I stopped shooting sport in bursts, finding it rarely added more choices (I had it or I didn’t) and cut back massively on time and storage wastage. I think my timing actually got better.

This happened out of the corner of my eye as I was switching cameras (shoot one end with the 40-150, the other with the 12-40). I lifted framed and hit as one movement with little idea what I might get. The EM1x is faster than I am.
How high an ISO can your camera and processing handle up to standard you consider acceptable?
With the latest Capture 1 and ON1 No Noise, high ISO noise is not an issue now for “getting the image”, some more testing is needed though to see if I like all that they do when stretched. This is for M43 of course, my dual ISO full frame kit may surprise me further.
How long can you use/carry/hold your camera and basic kit until you just don’t want to any more?
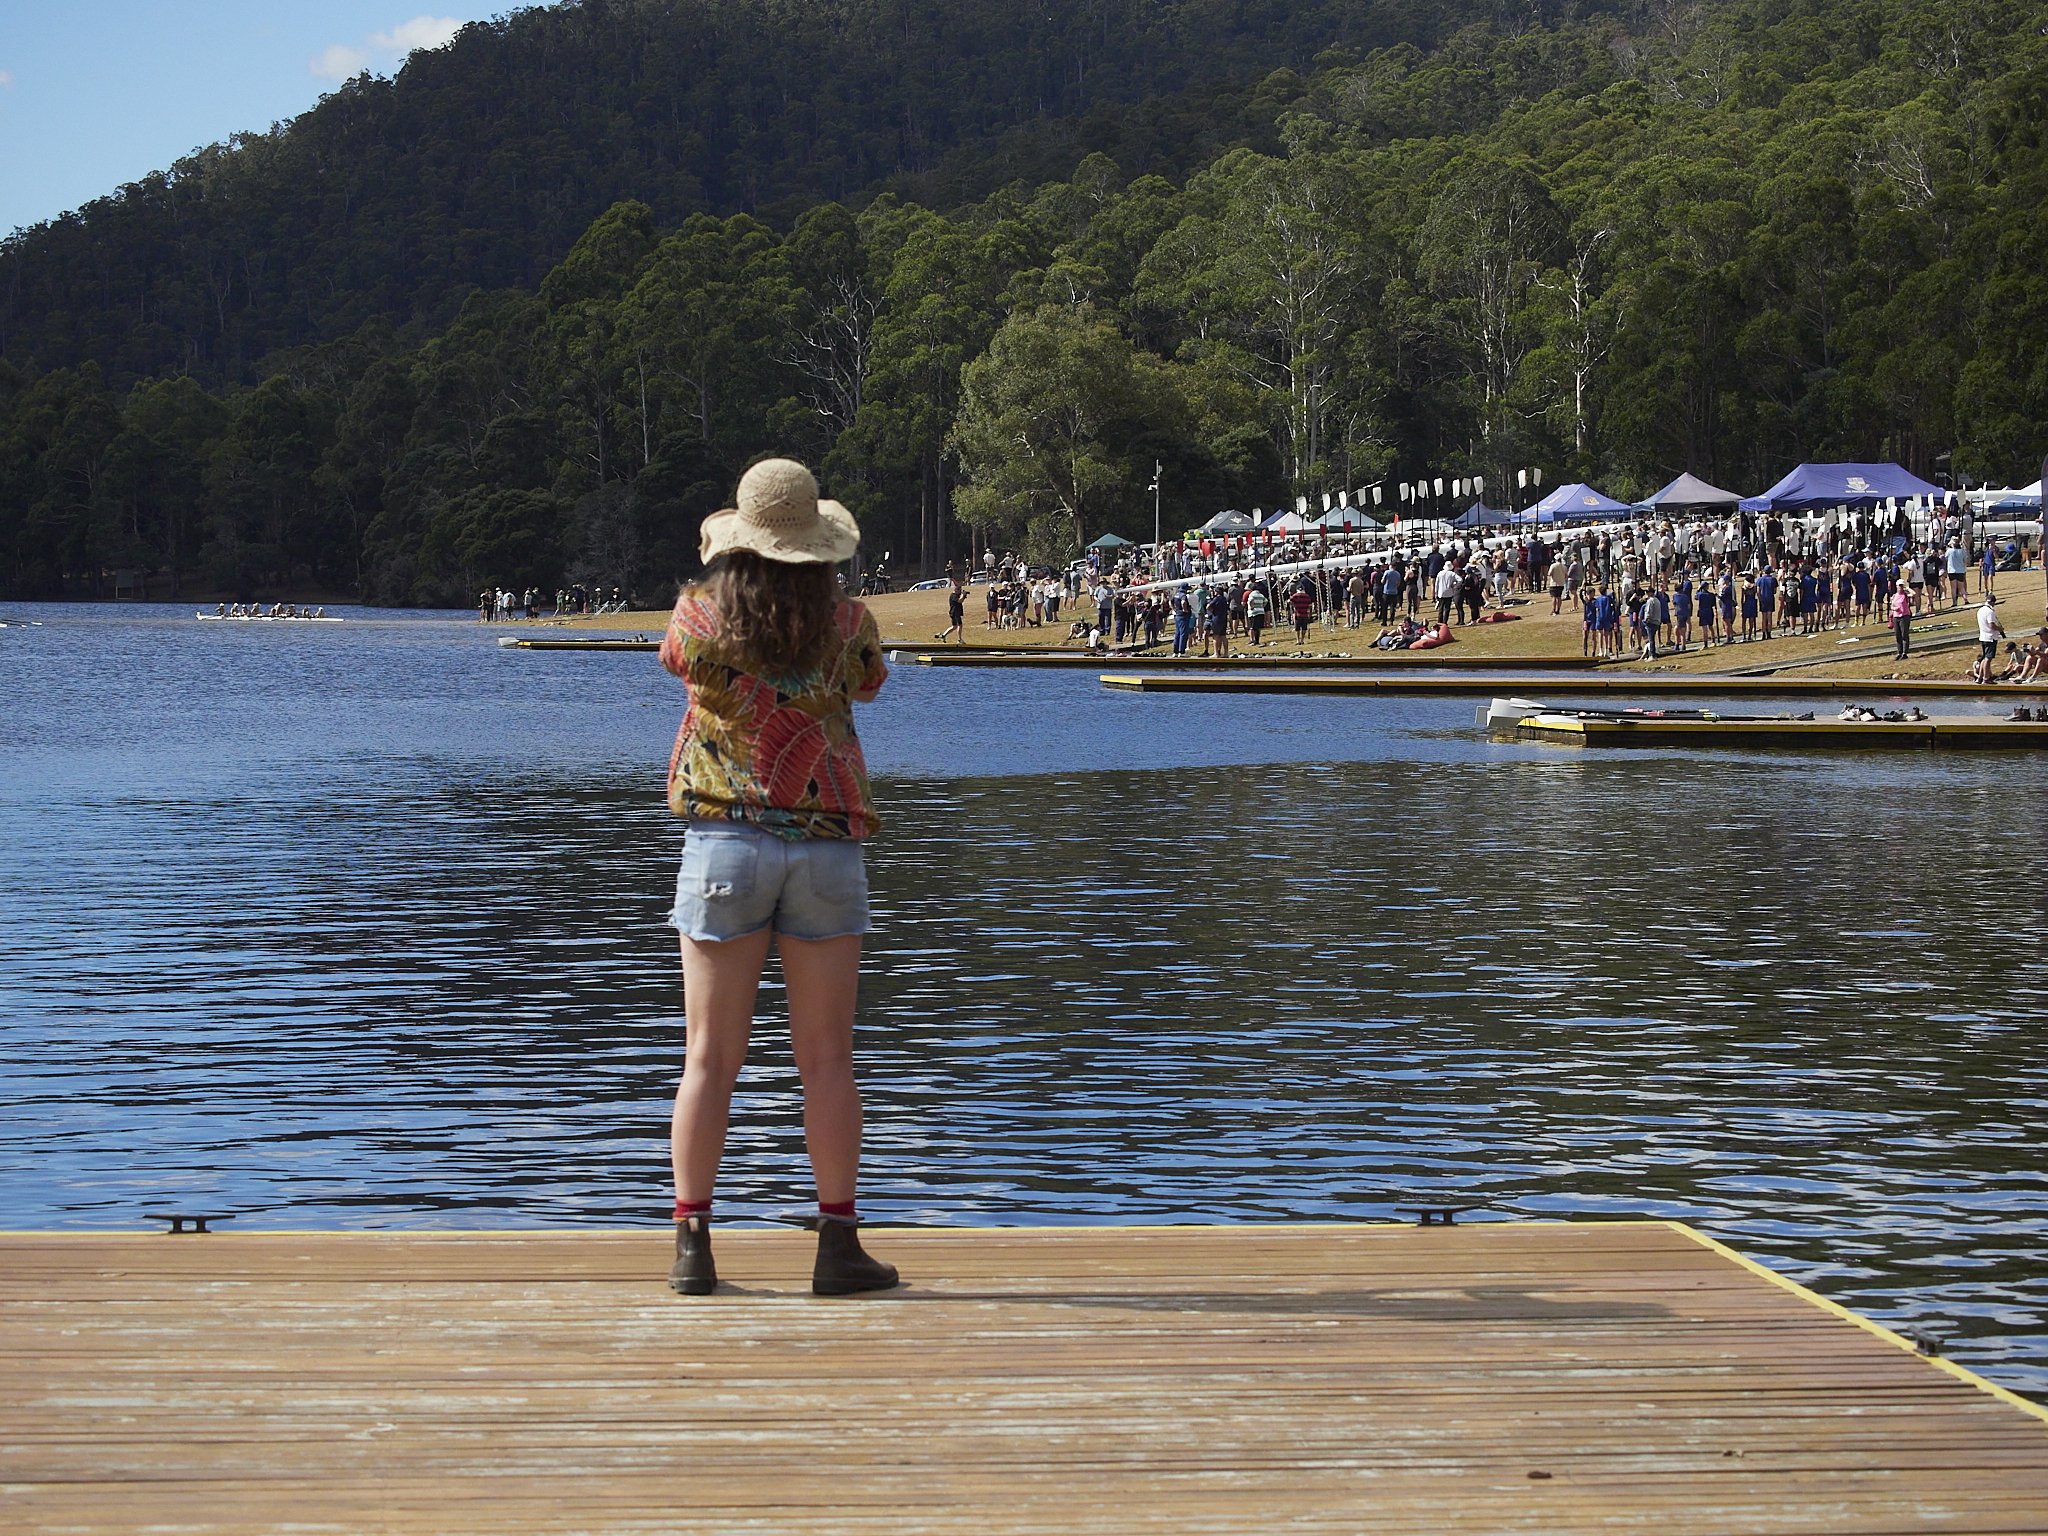
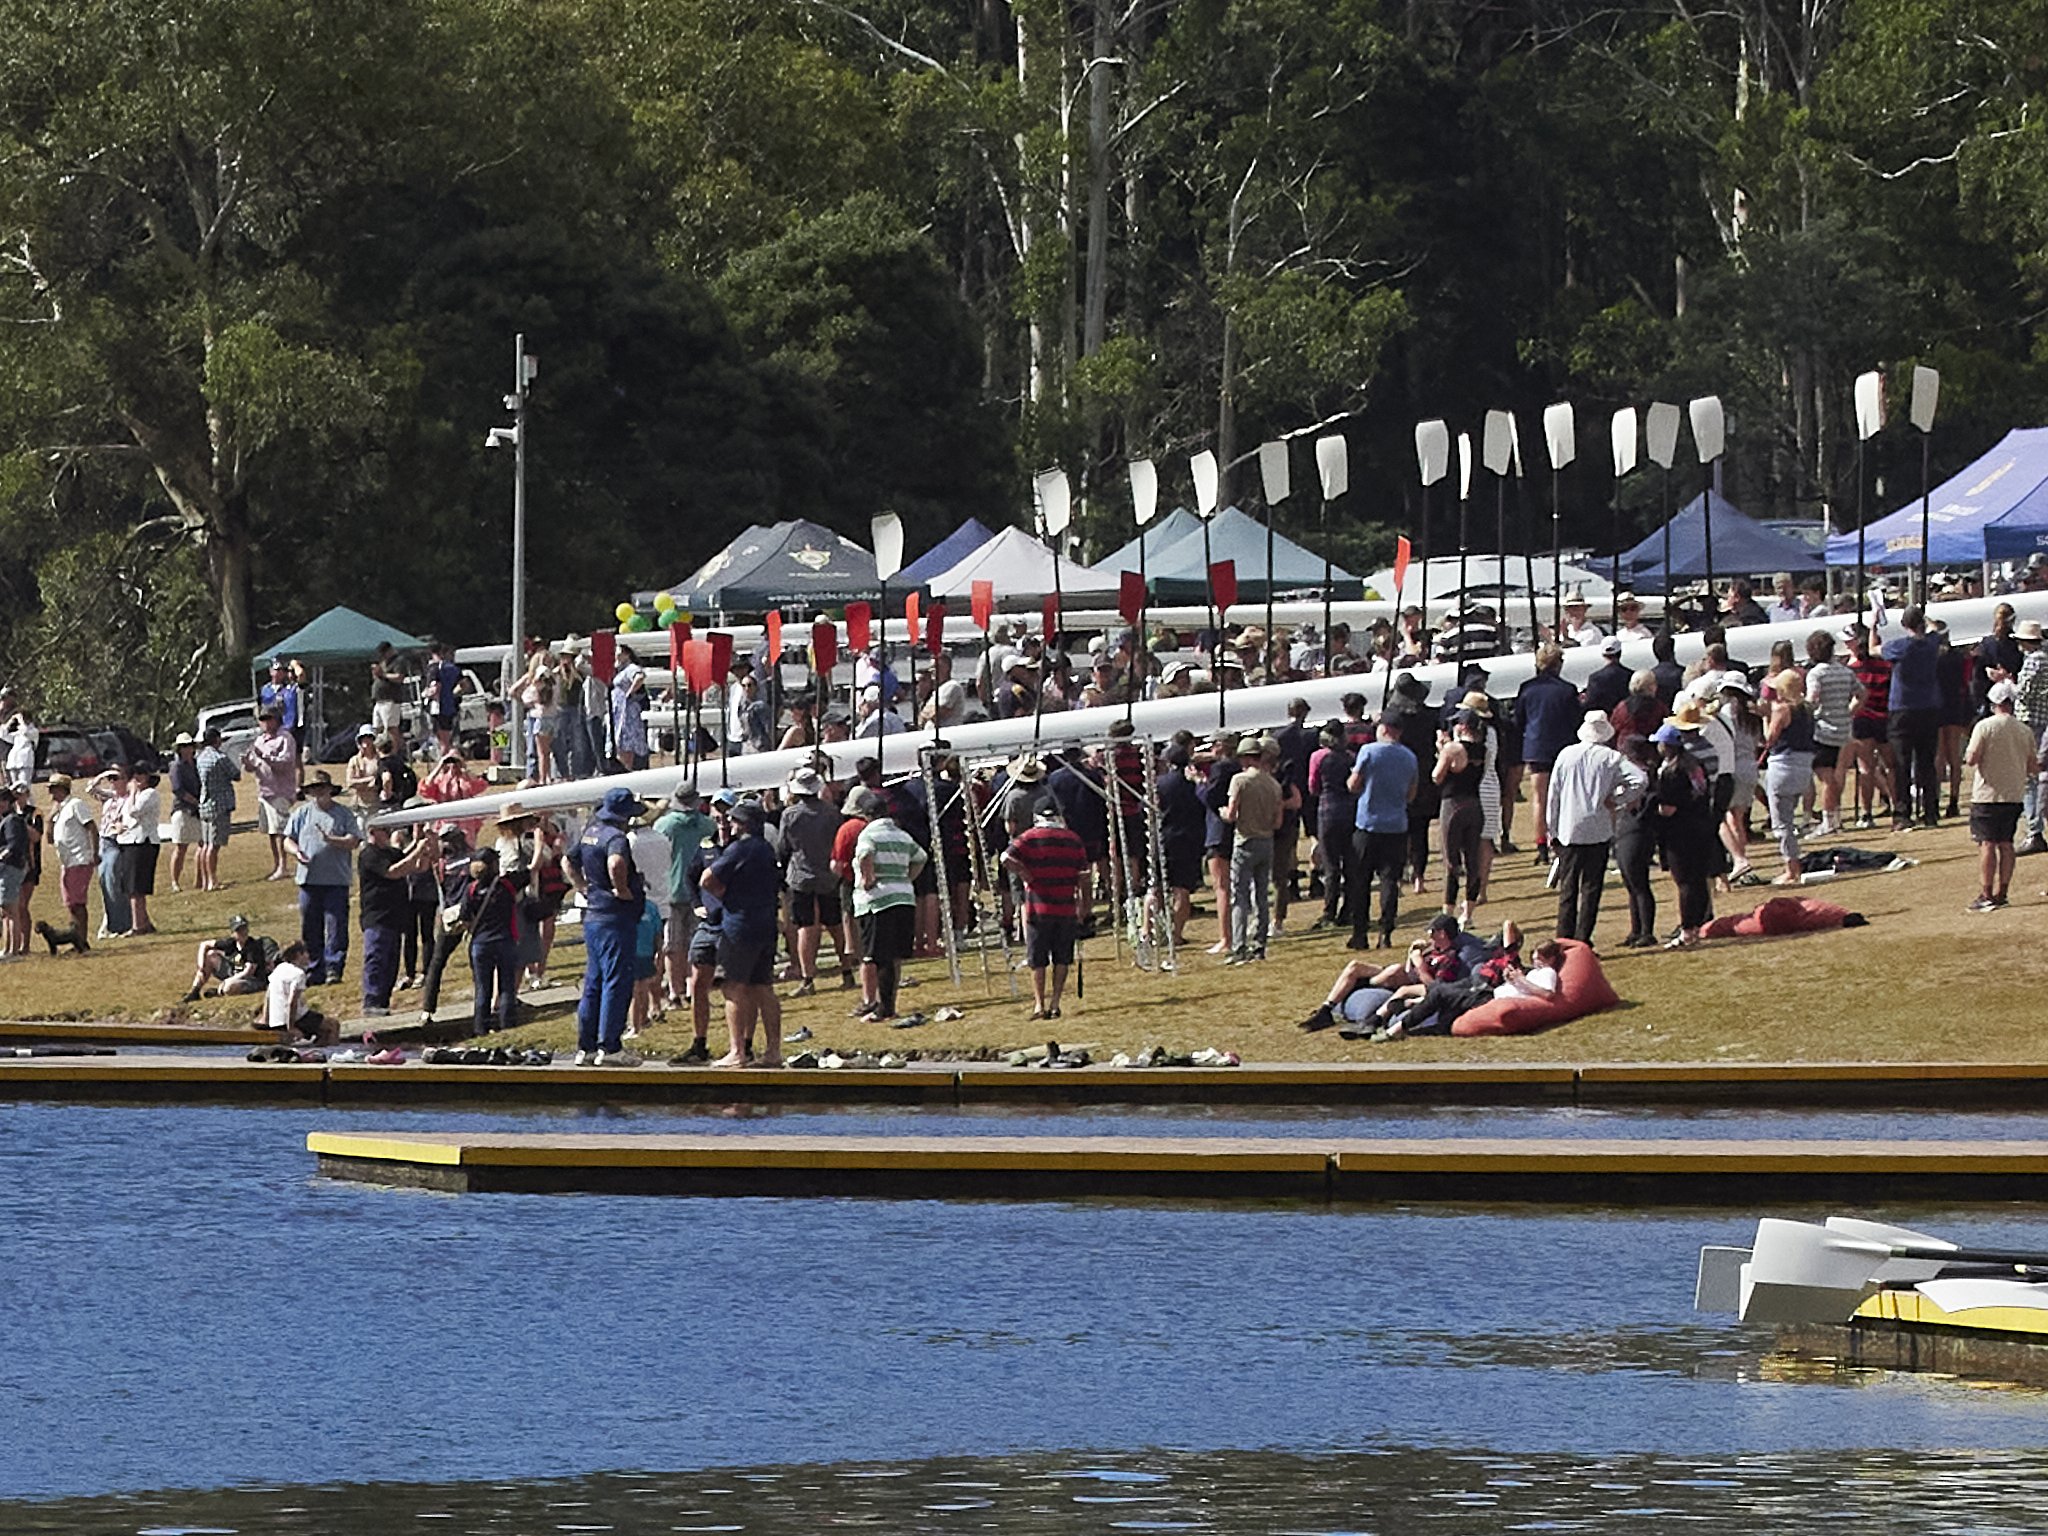
M43 gives me plenty of options to go pro, but light, semi pro and lighter or decent enough for most used and super light. My full frame kit is limited and the Lumix lenses light also, so overall, still happy. I often pull 6-8 hour days at school sports events and can pull up tired, but try carrying a full frame 600 f4, 80-300 f3.8, 150 f1.8, 16-35 f2.8 and two bodies around all day and you will appreciate the M43 difference.

It does not always take pro level gear to get the shot.
Can you manually focus/expose/white balance etc successfully and easily?
For stills, this is fine as needed. For video I have several levels of this from rear to large screens, all good enough at this level. For video it is important to control white balance, often focus and exposure manually and accurately, which I can.
What are your limits in storage, battery power, heat dissipation etc. What are the things that stress you most?
In the S5’s and G9II I have constant power in from power banks and I have several of those now. My many Zoom devices were an issue here also, which I have fixed with power banks.
With power sorted, storage came next. The G9II has SSD out, which unfortunately has to share a USB-C port with power in, so it is a choice between longer power or more storage, but at worst I have 1 hr or more of battery or a 128gb SD card limit (about 2hrs of 1080/10 bit/422). If I get a dummy battery, I can have both, so 1TB of memory and AC power. Cages and rails add the needed connection options.
Heat is rarely an issue here thanks to our temperate climate, I have plenty of spare cords and cables and duplicate everything (sound, storage, power).