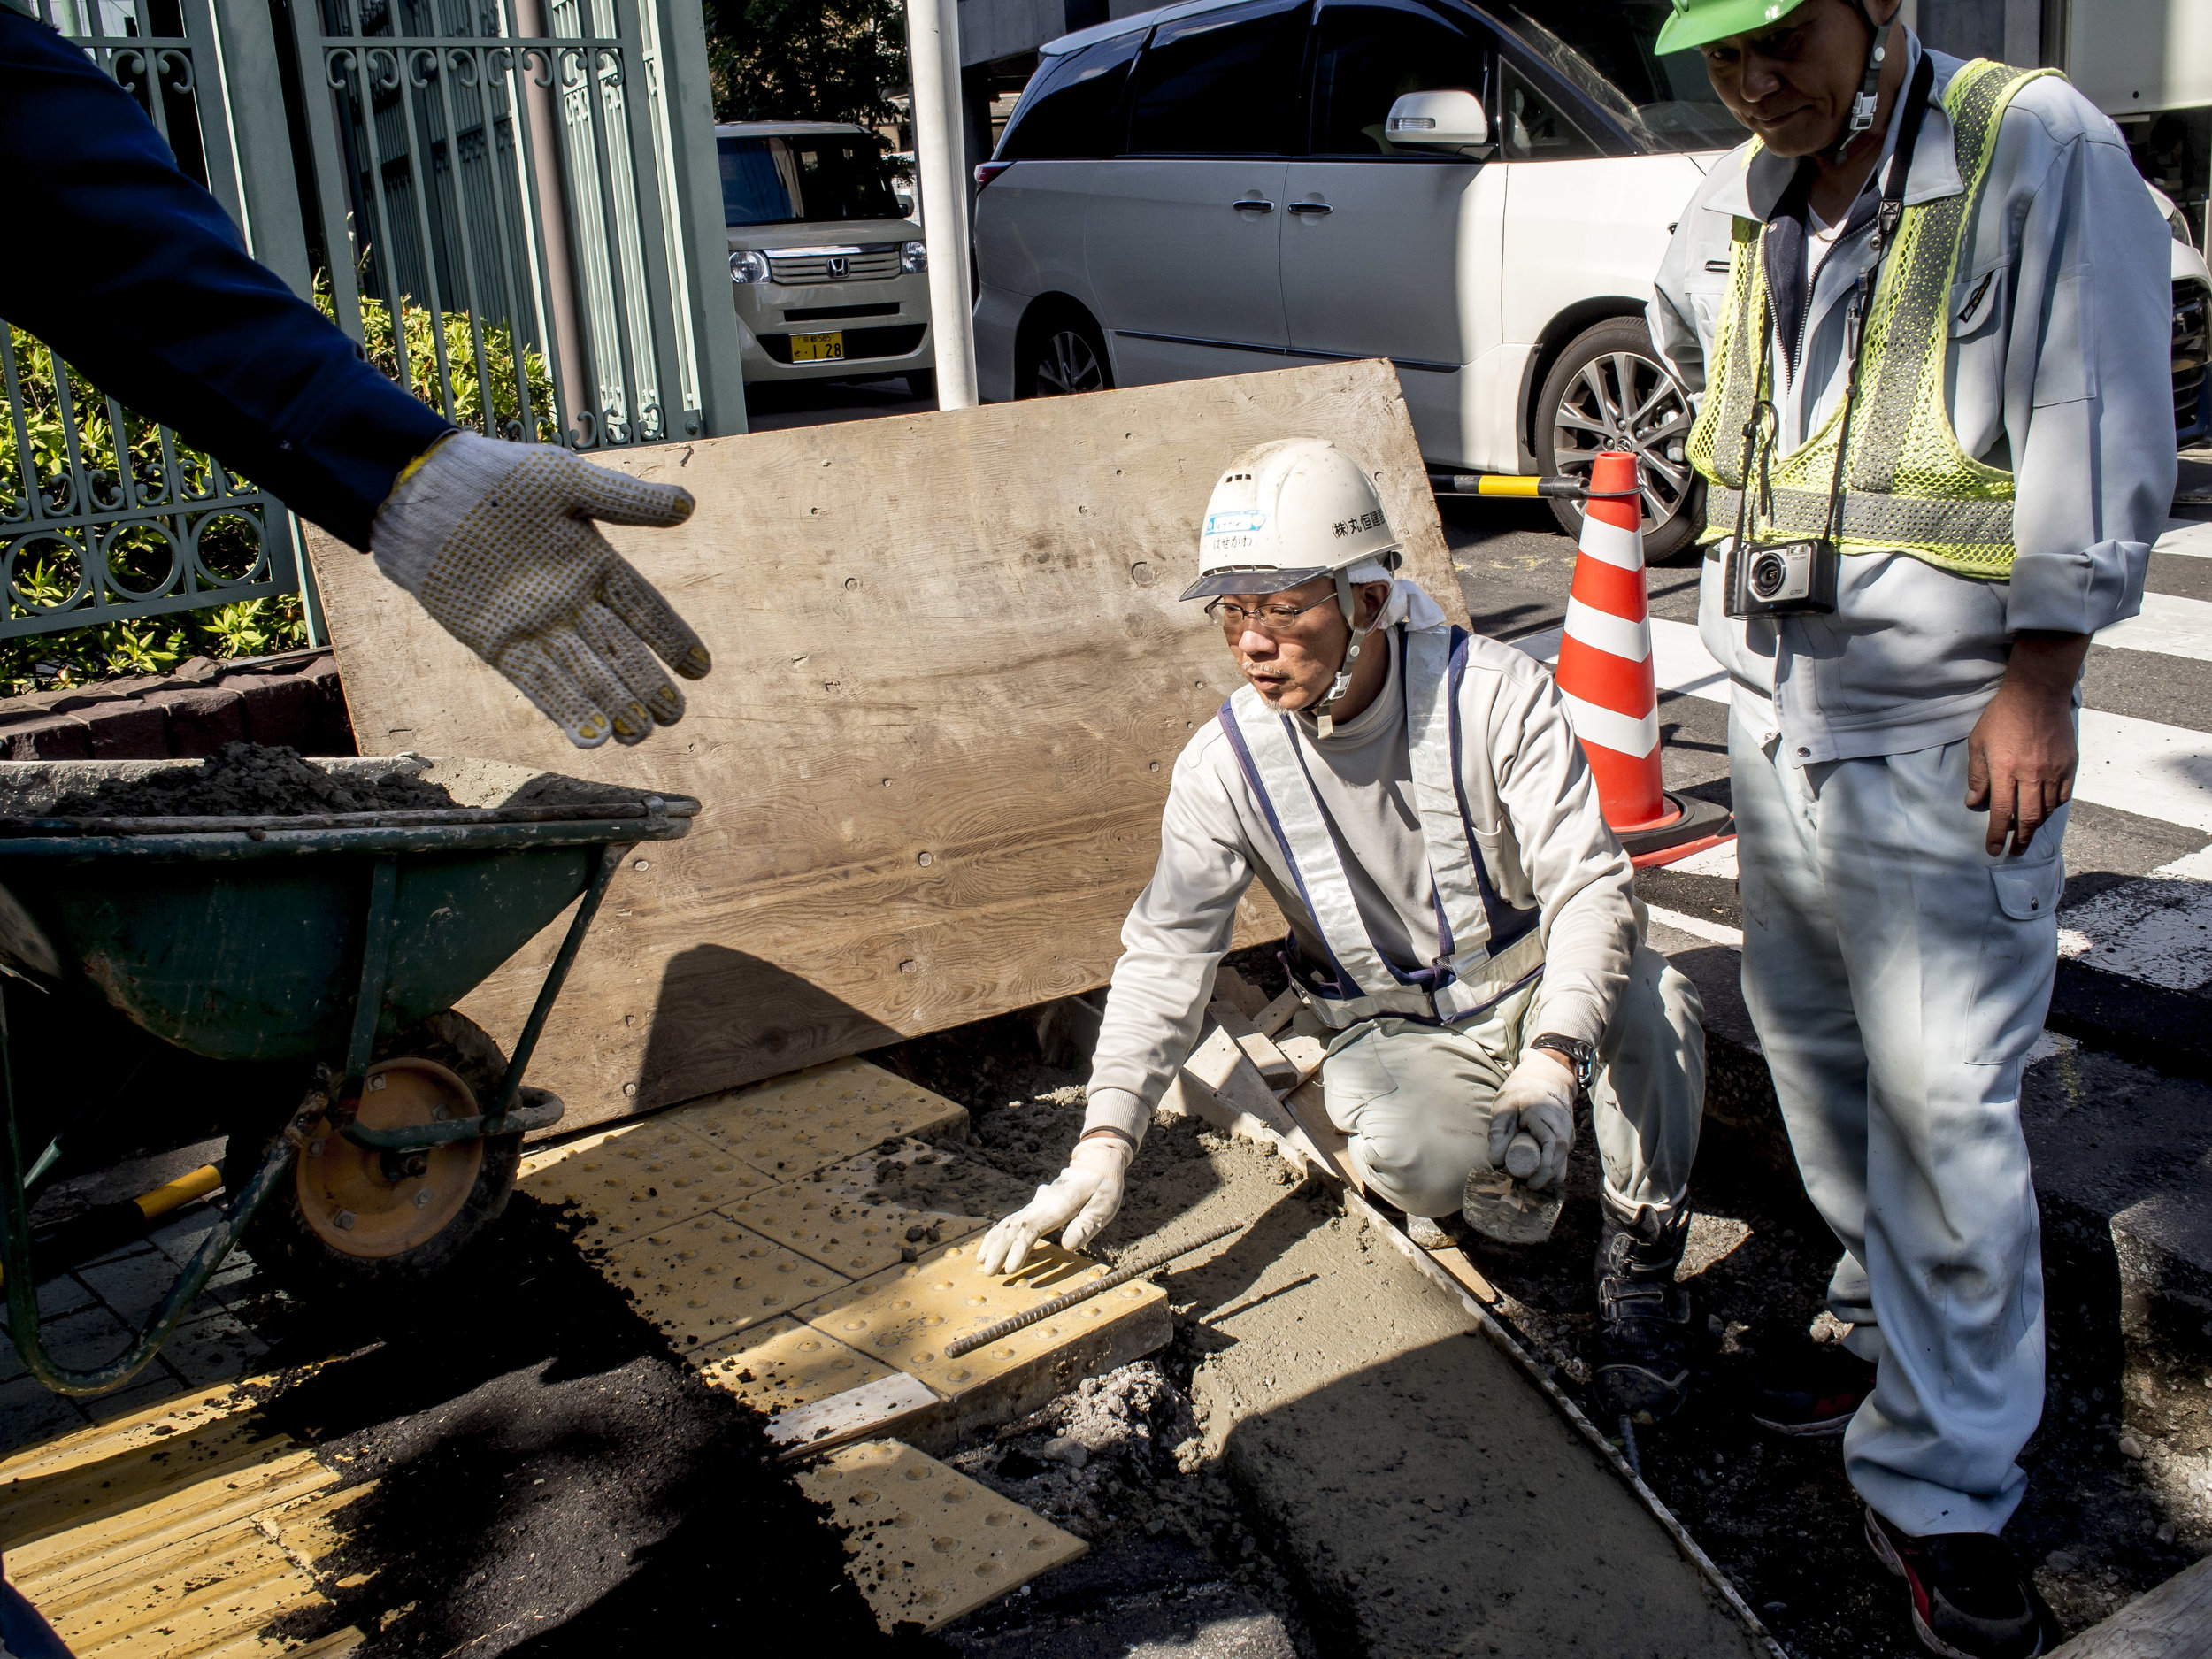
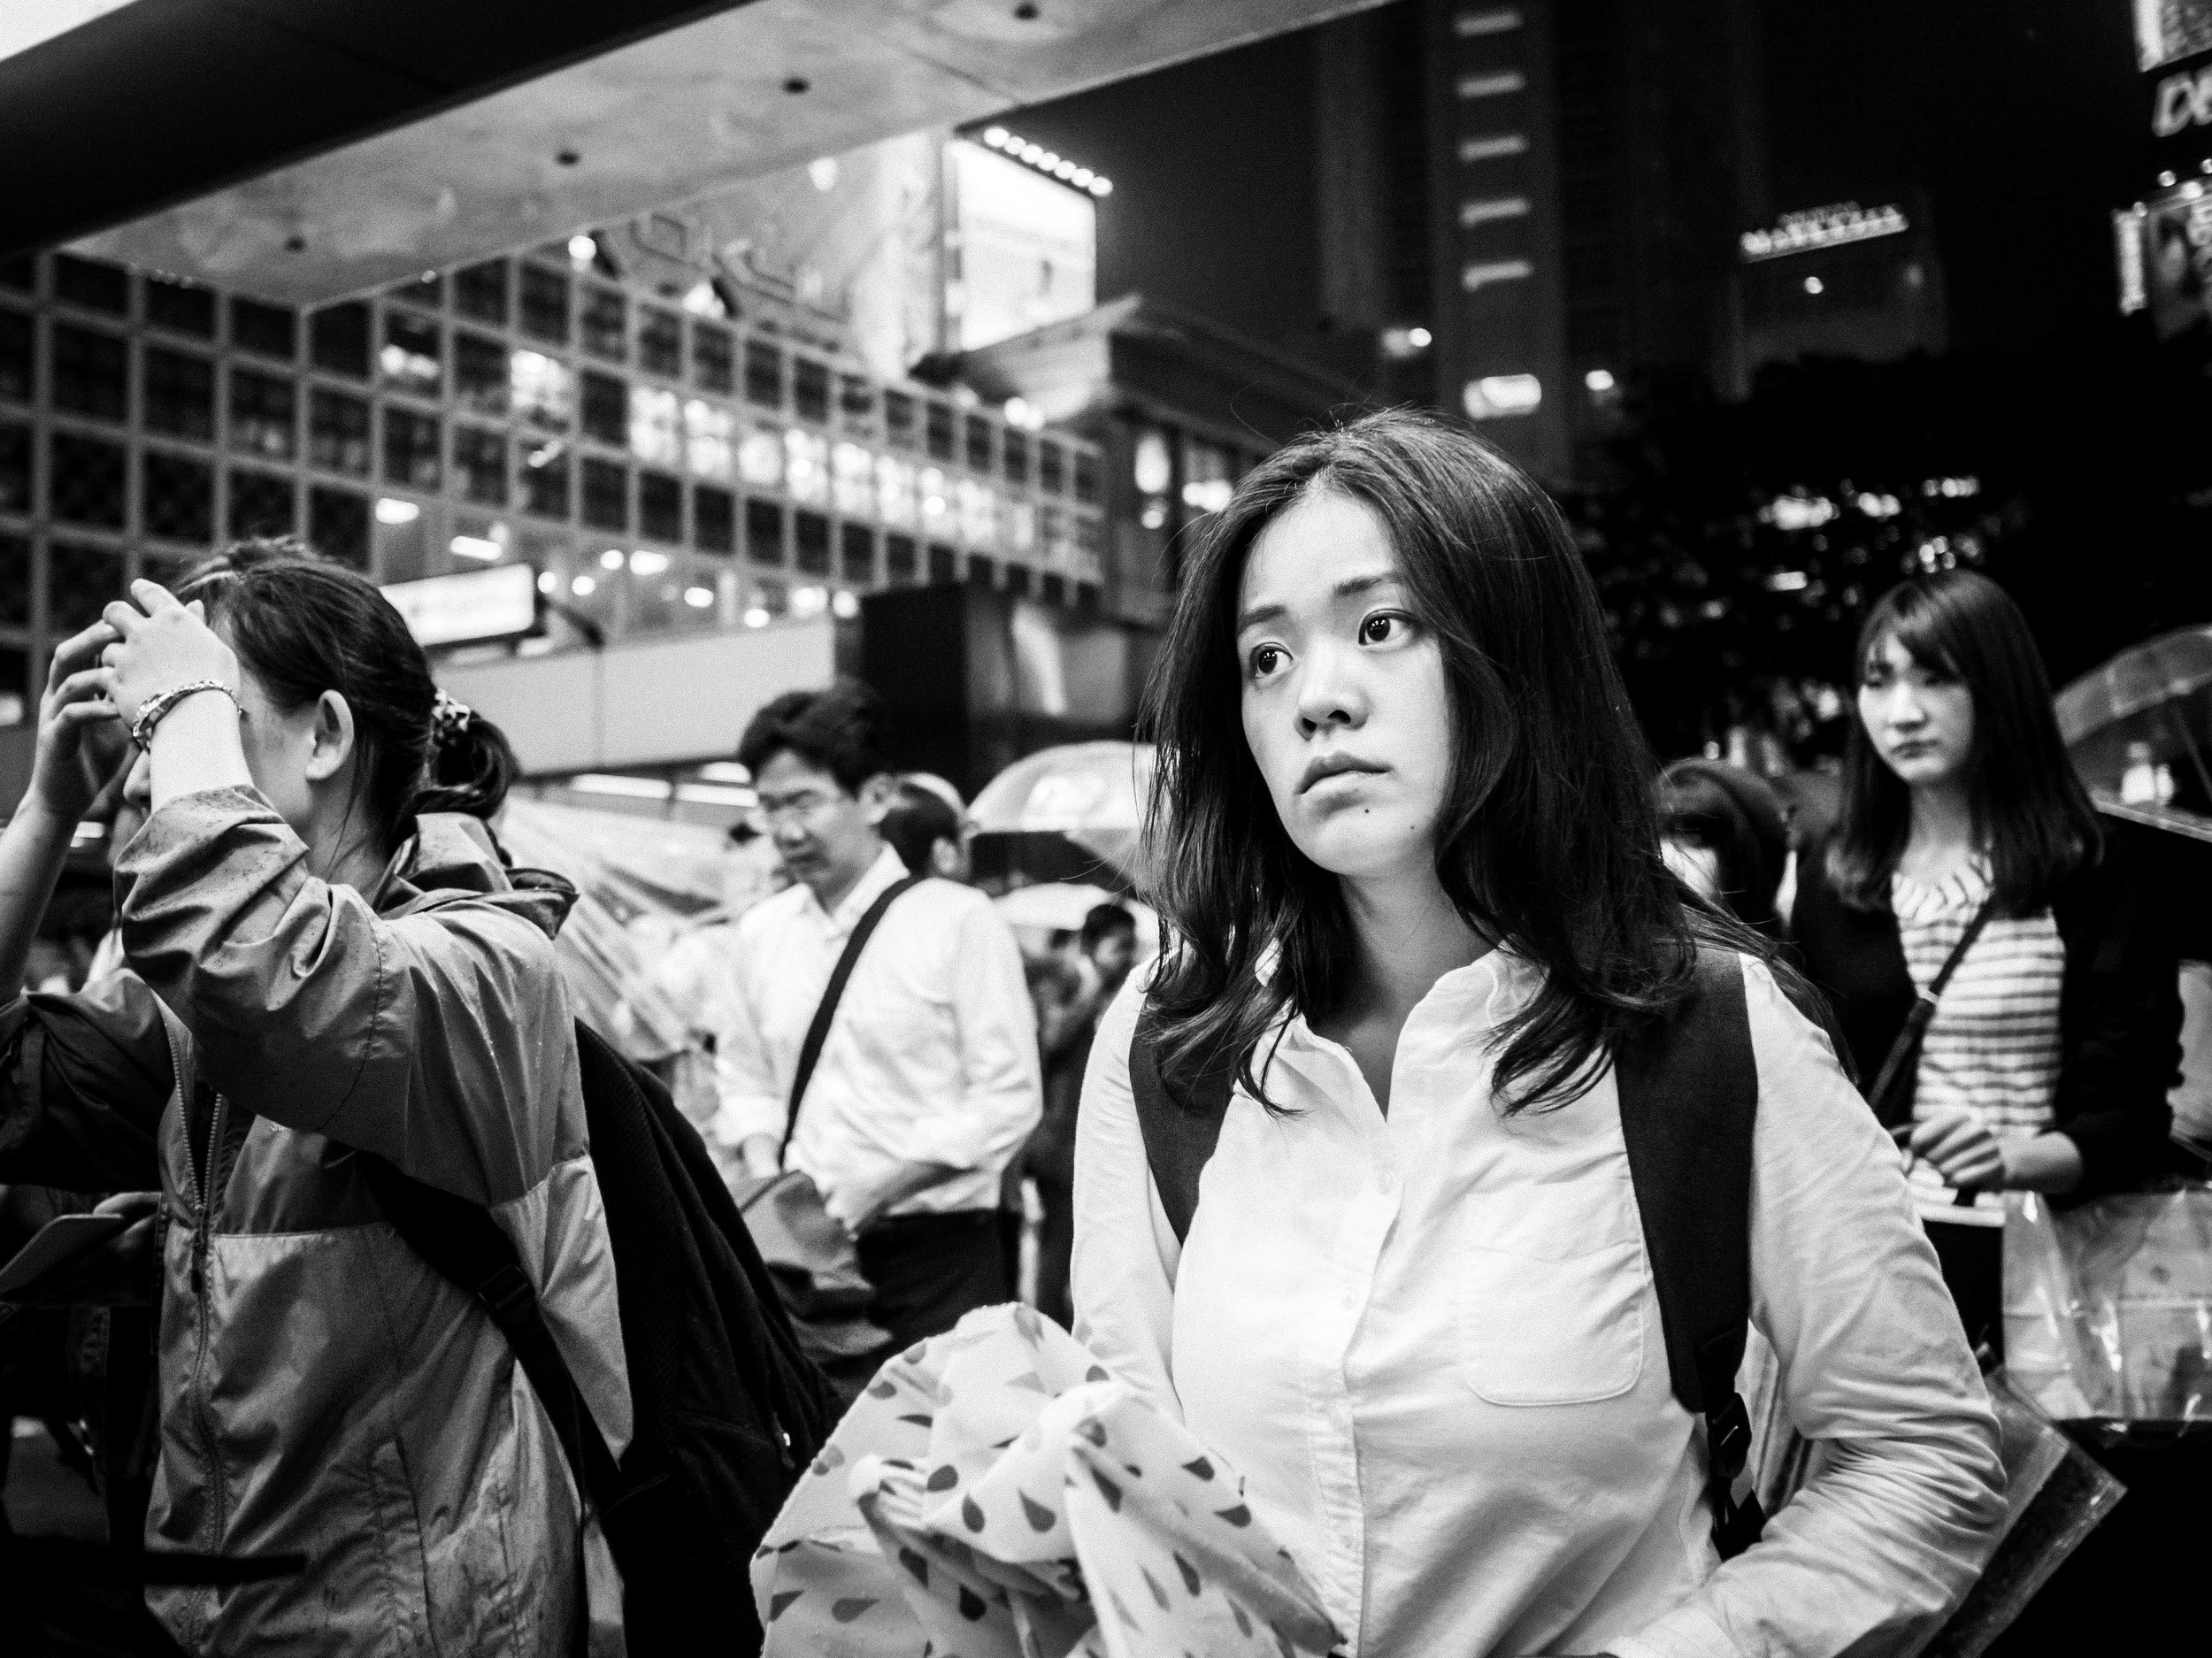
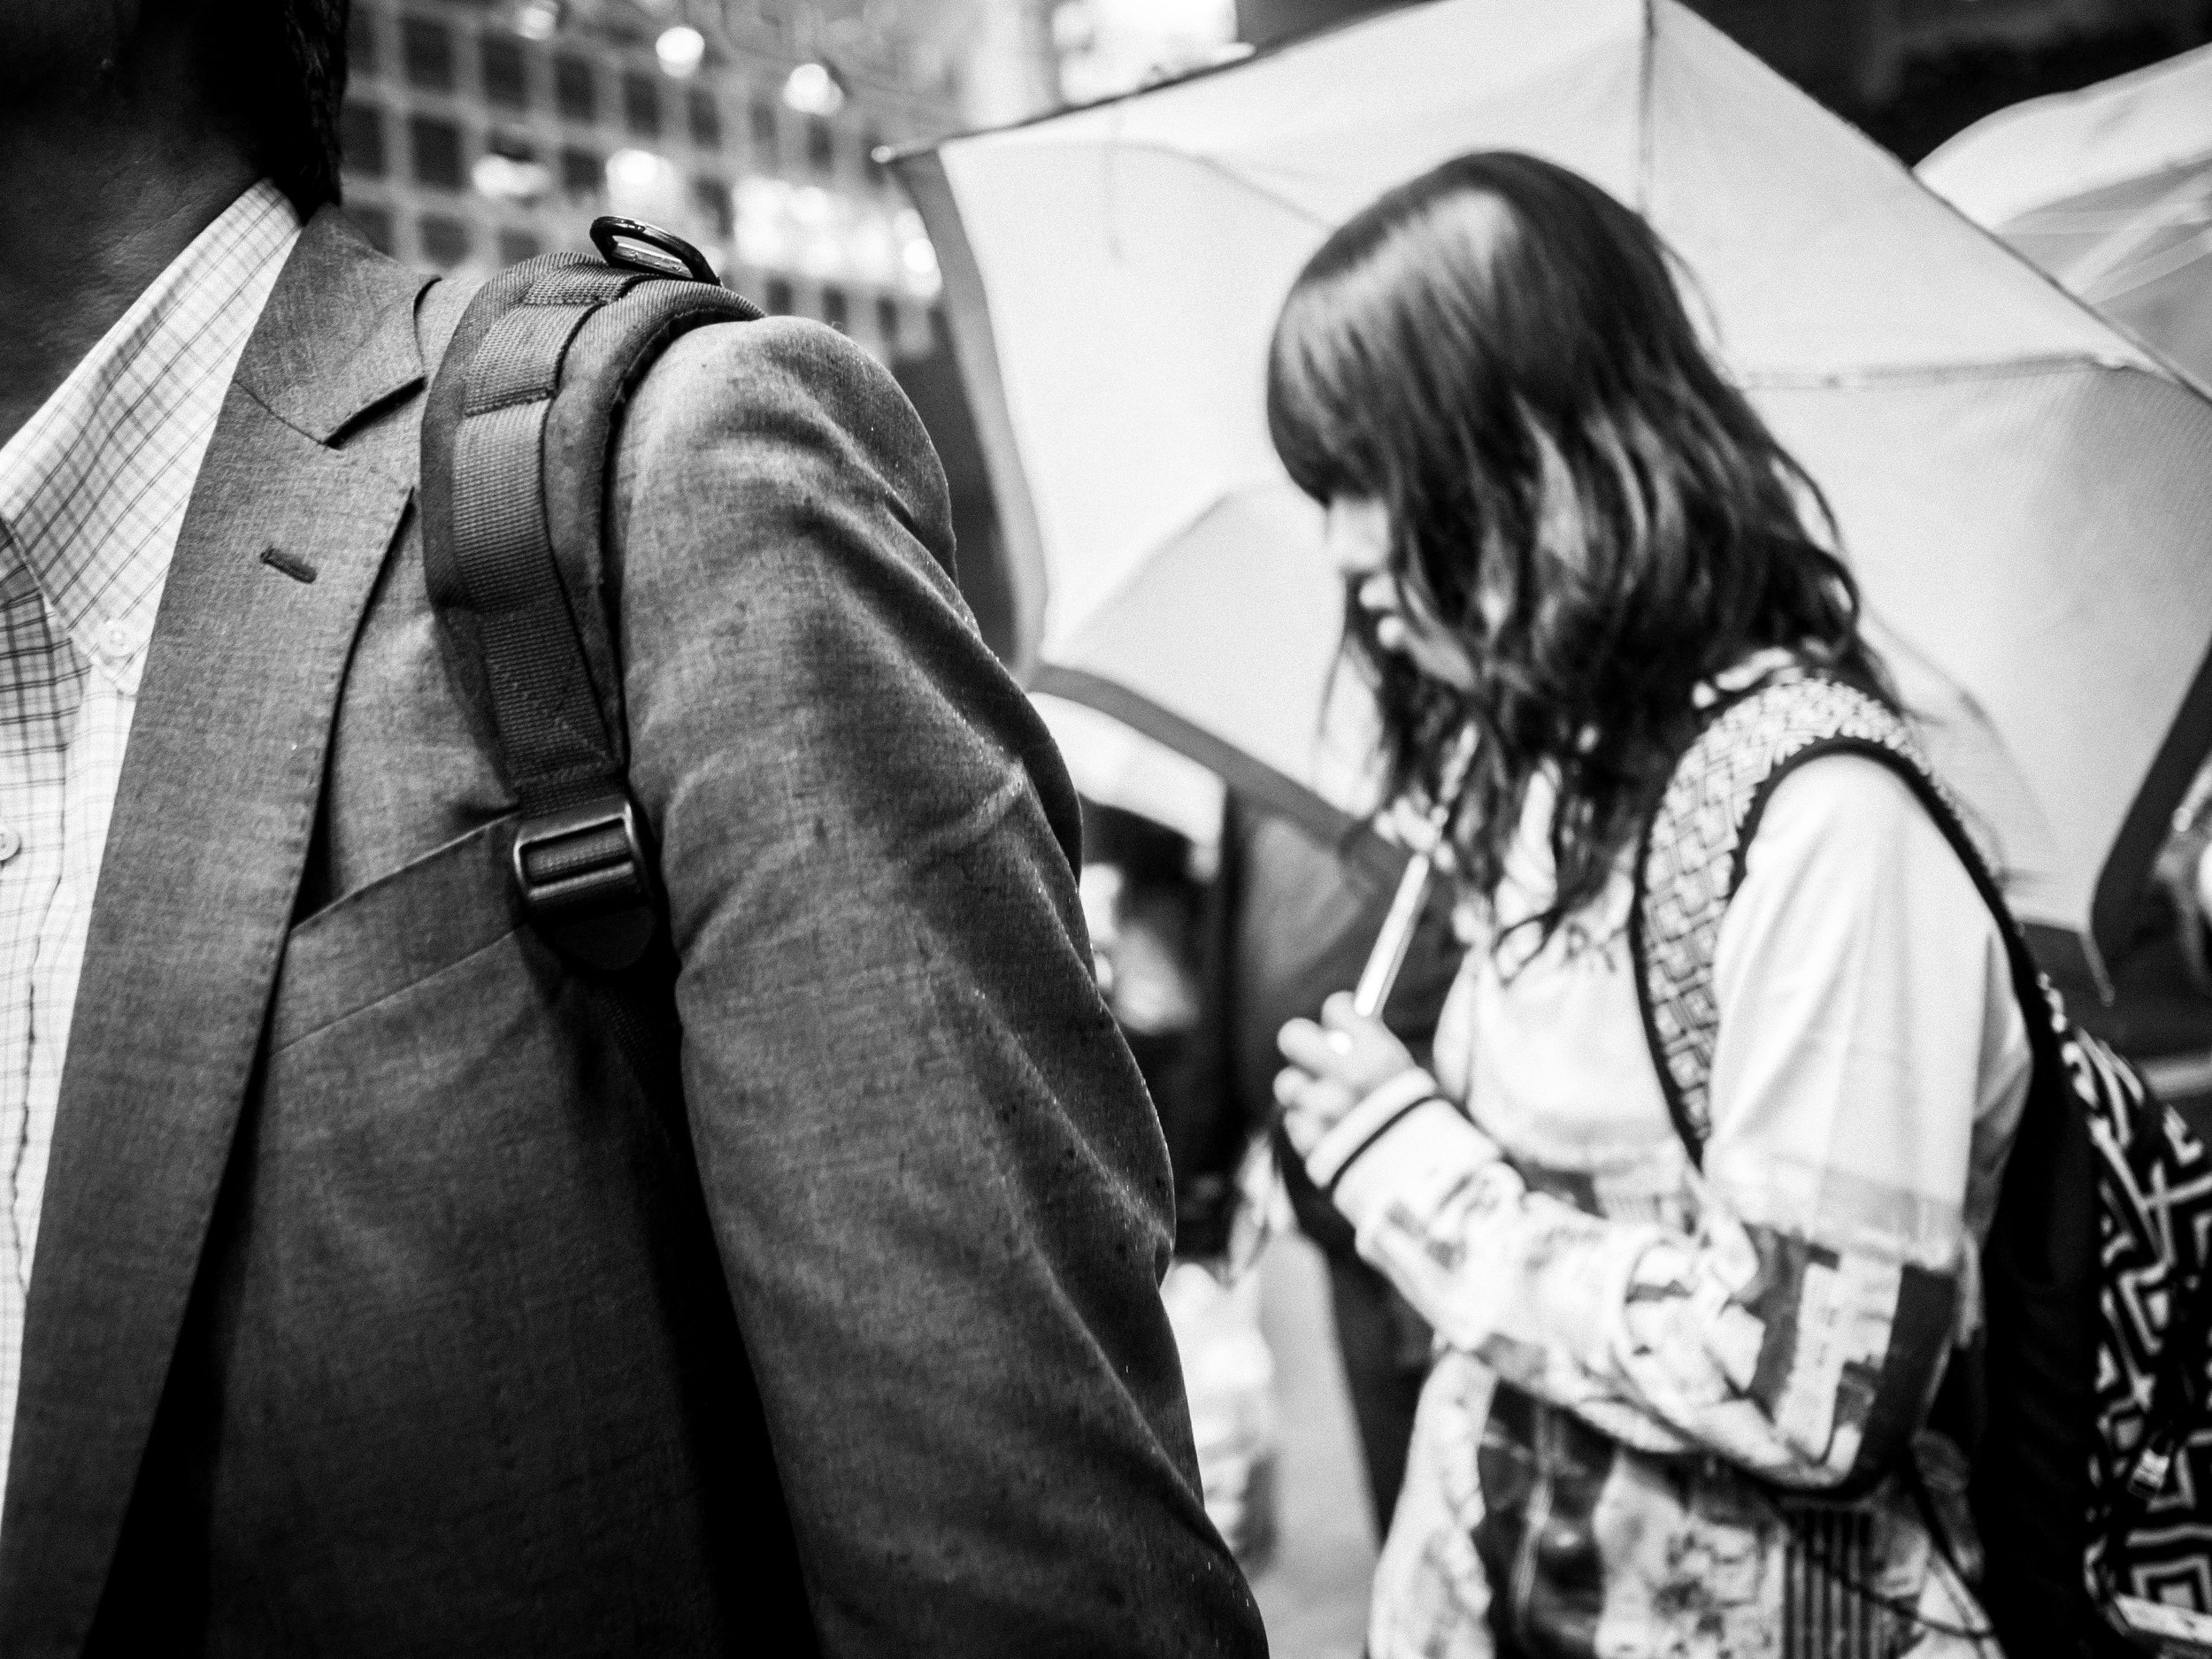
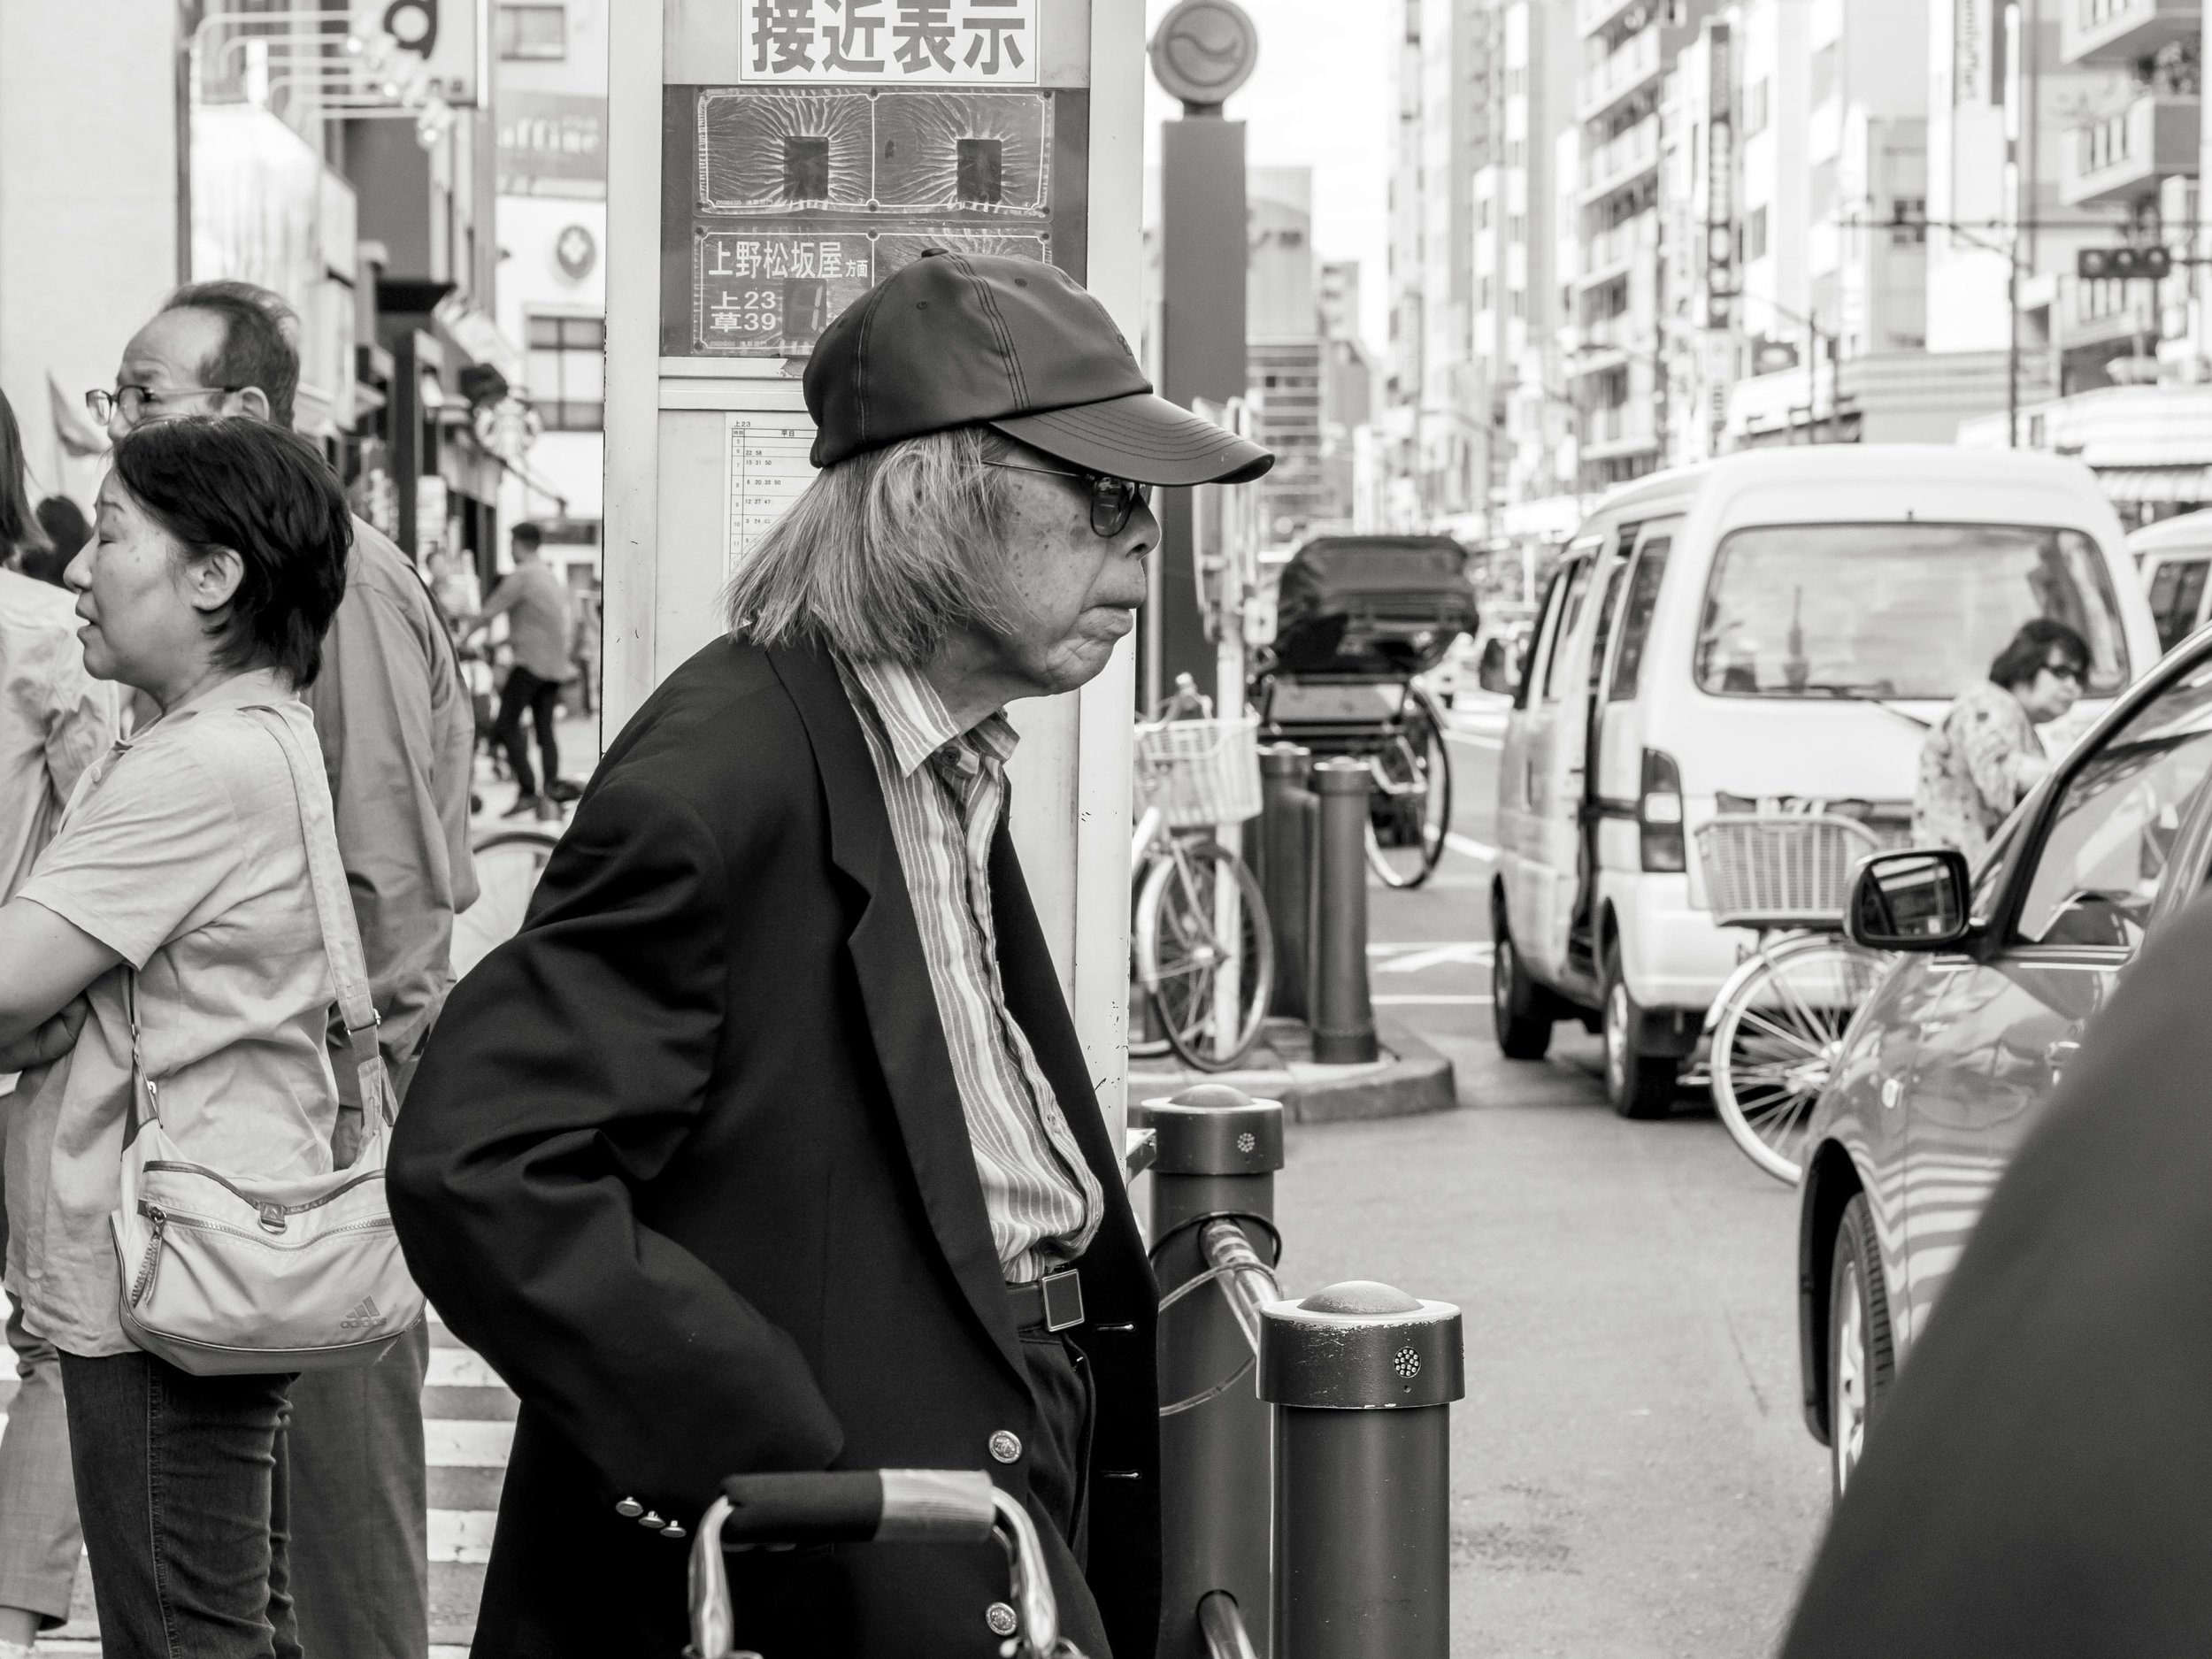
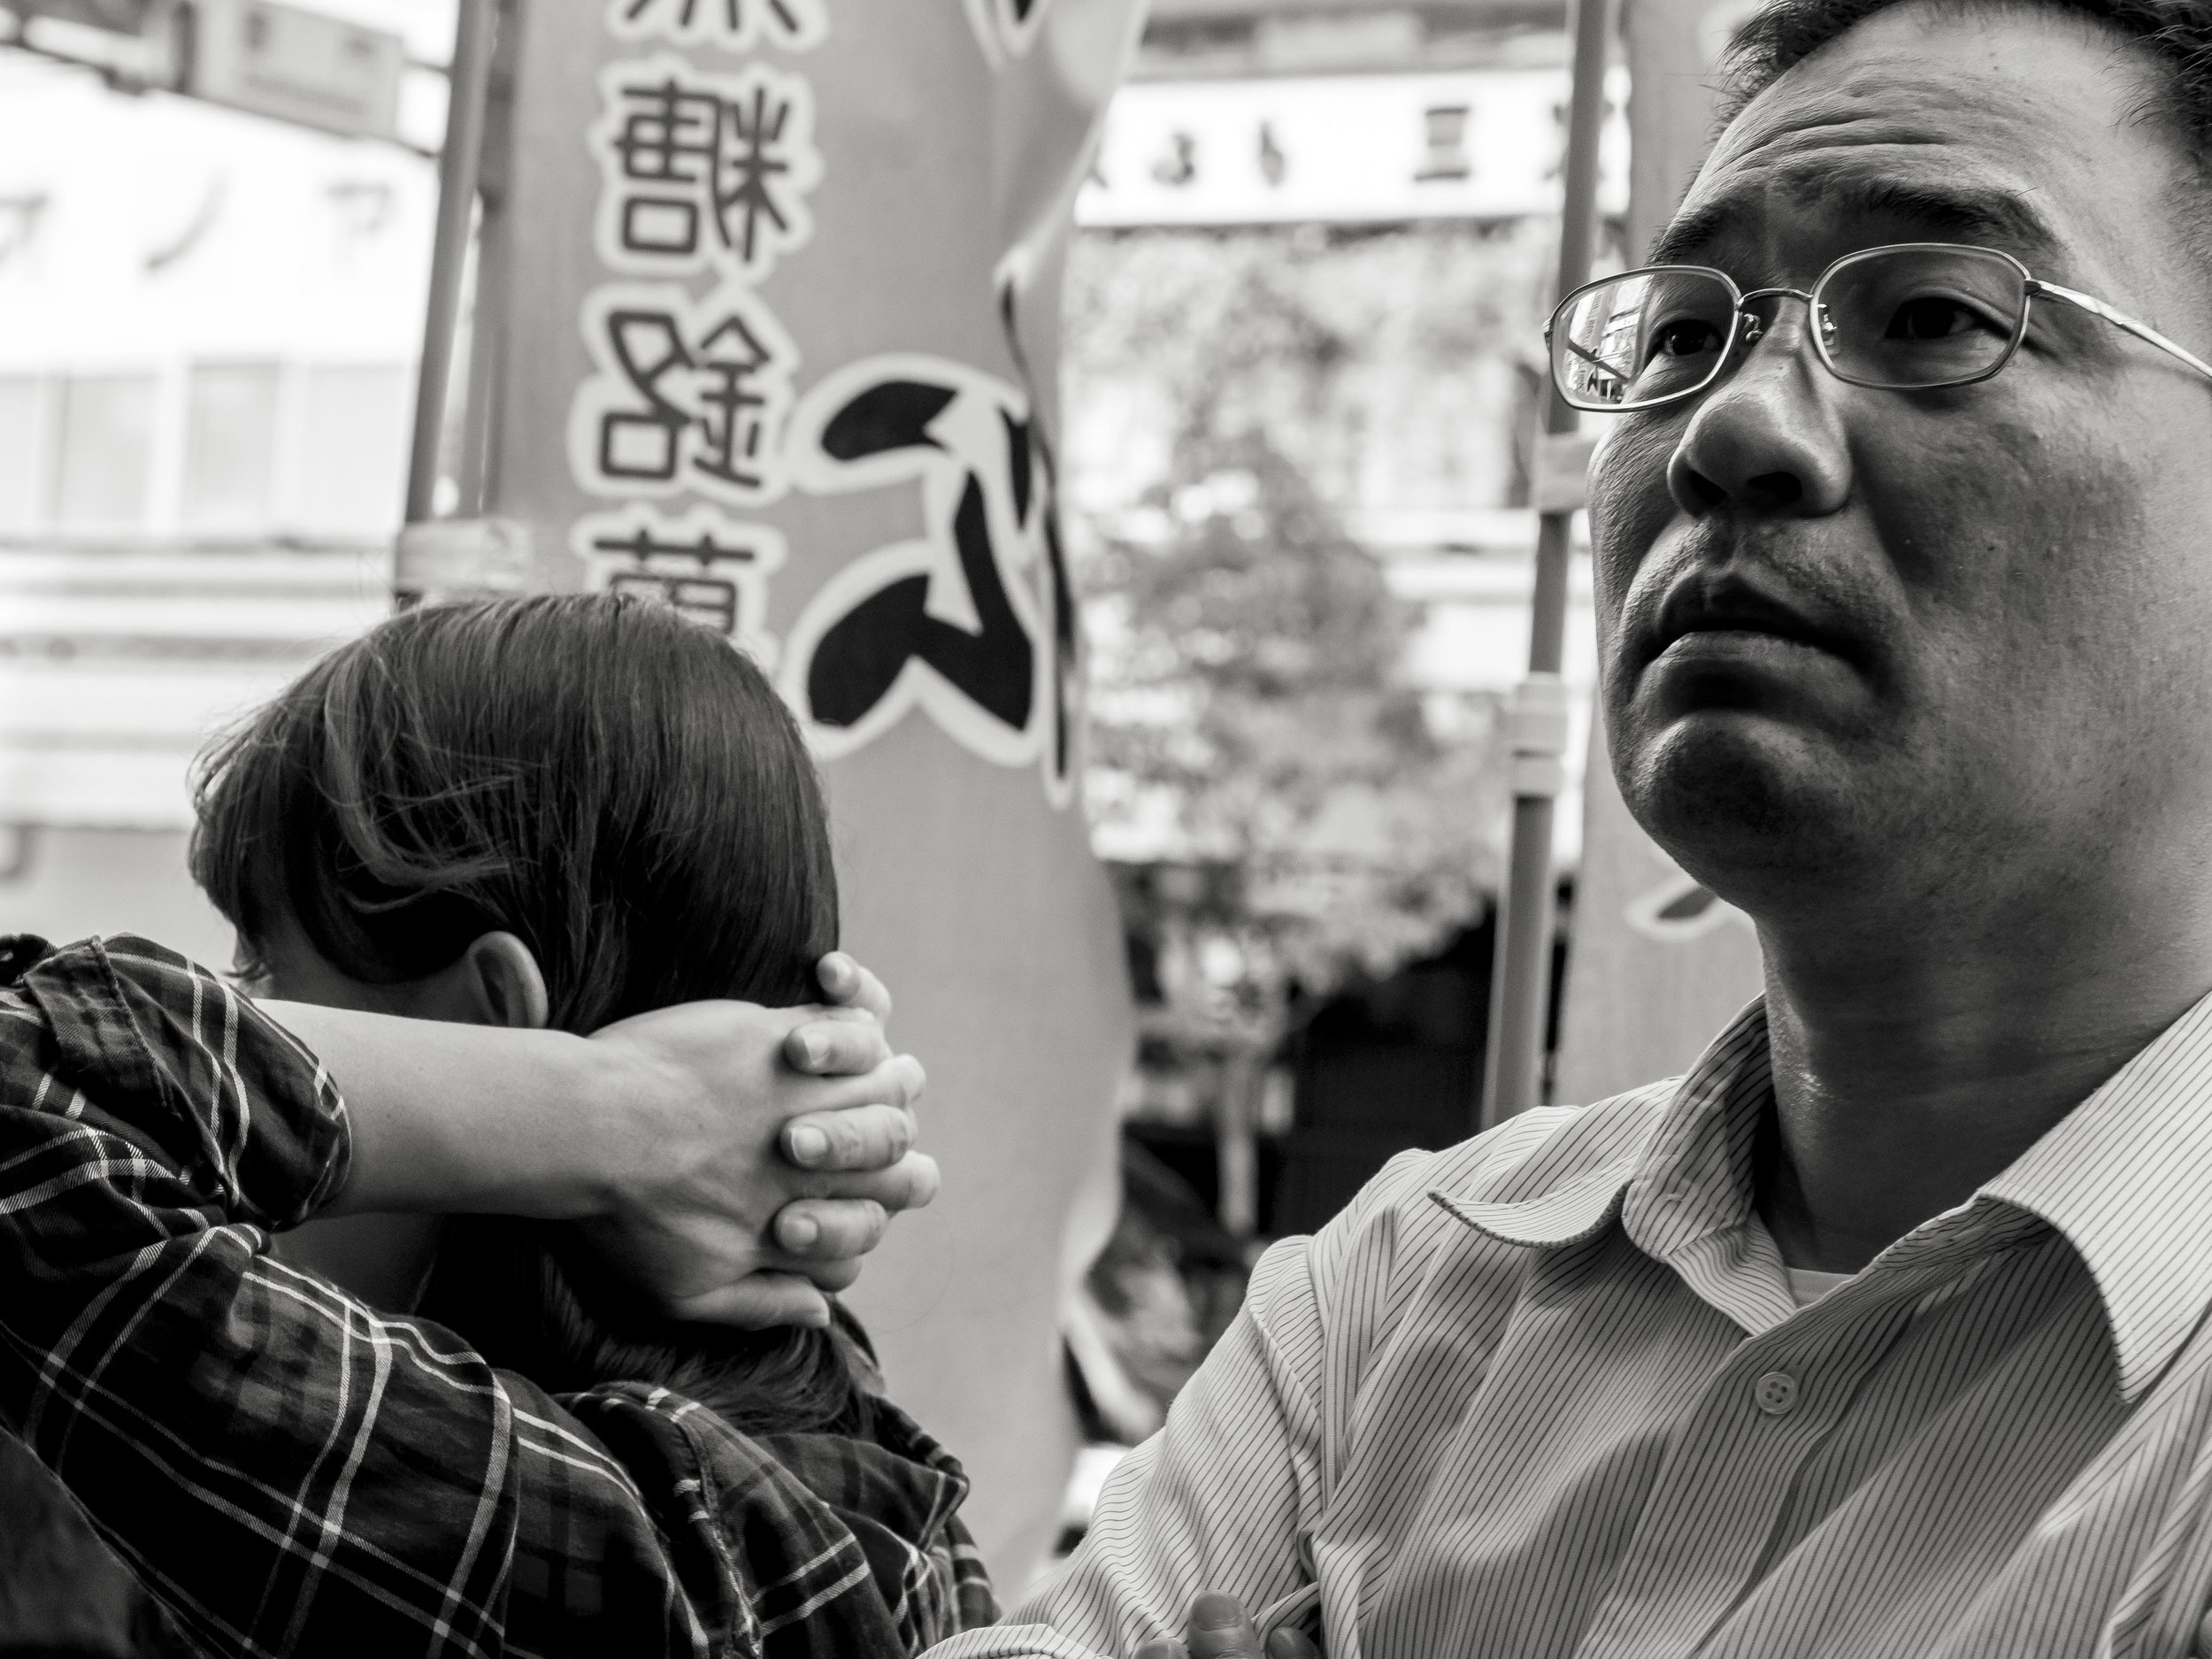
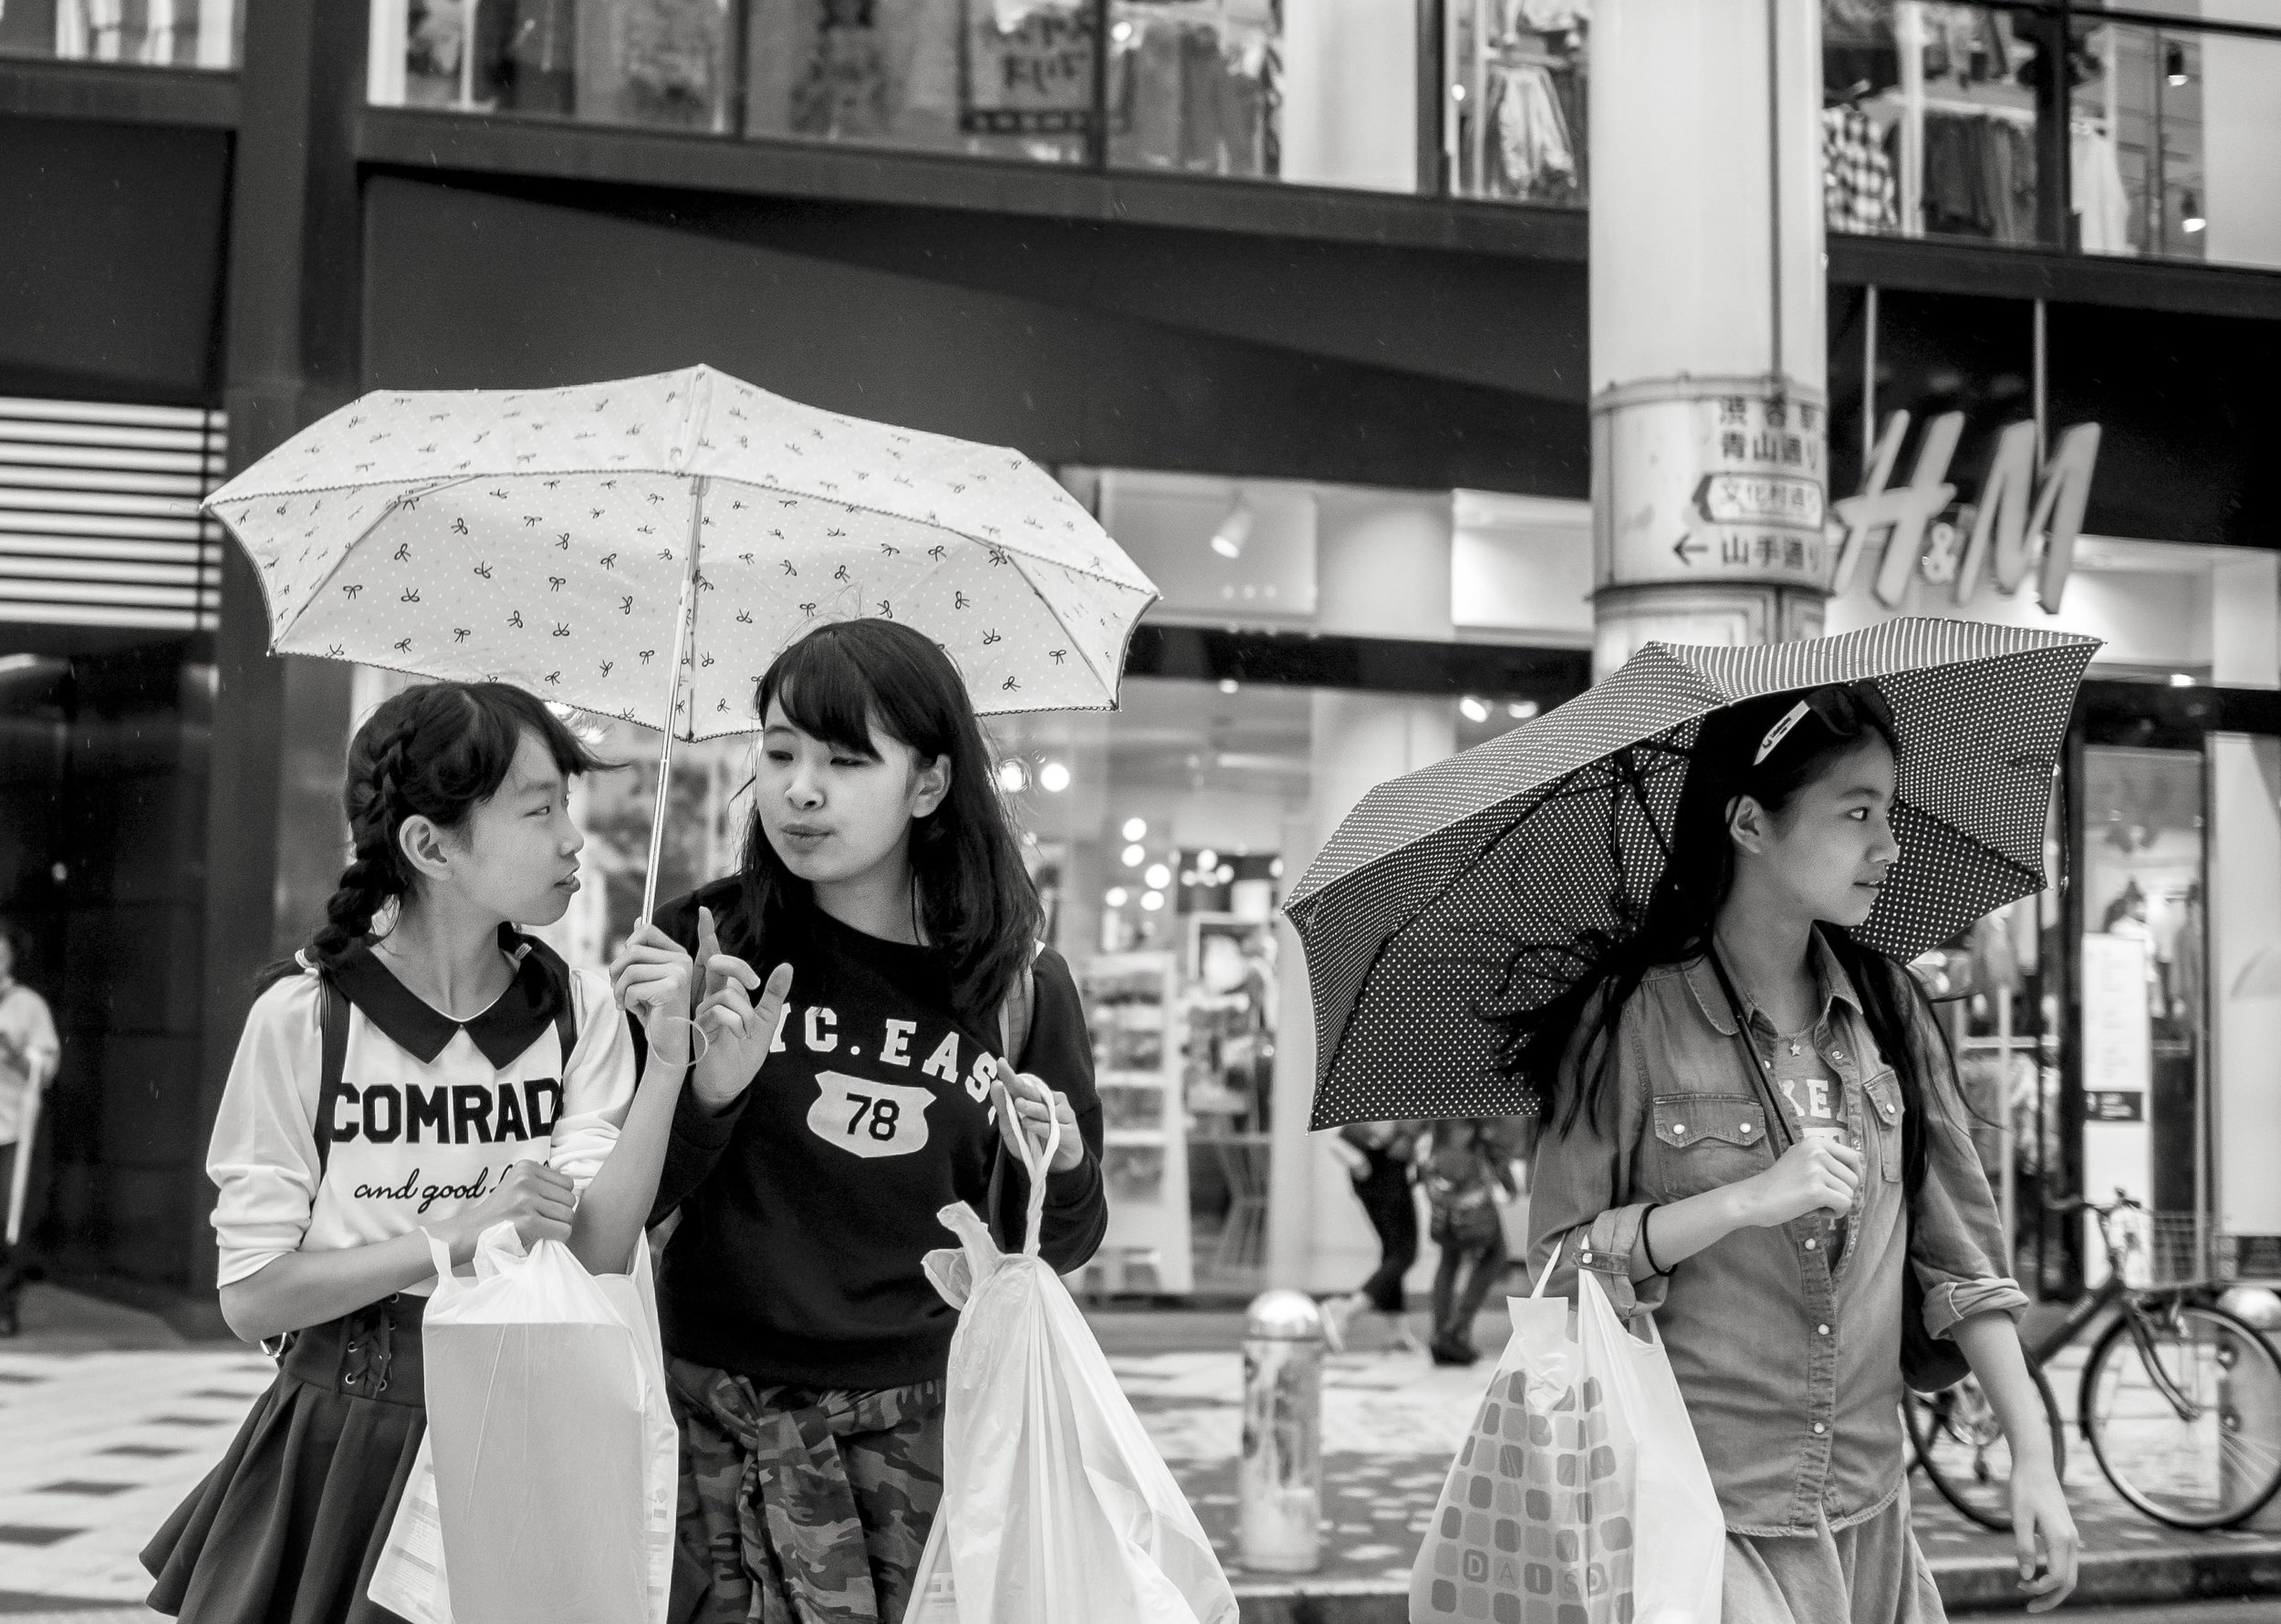
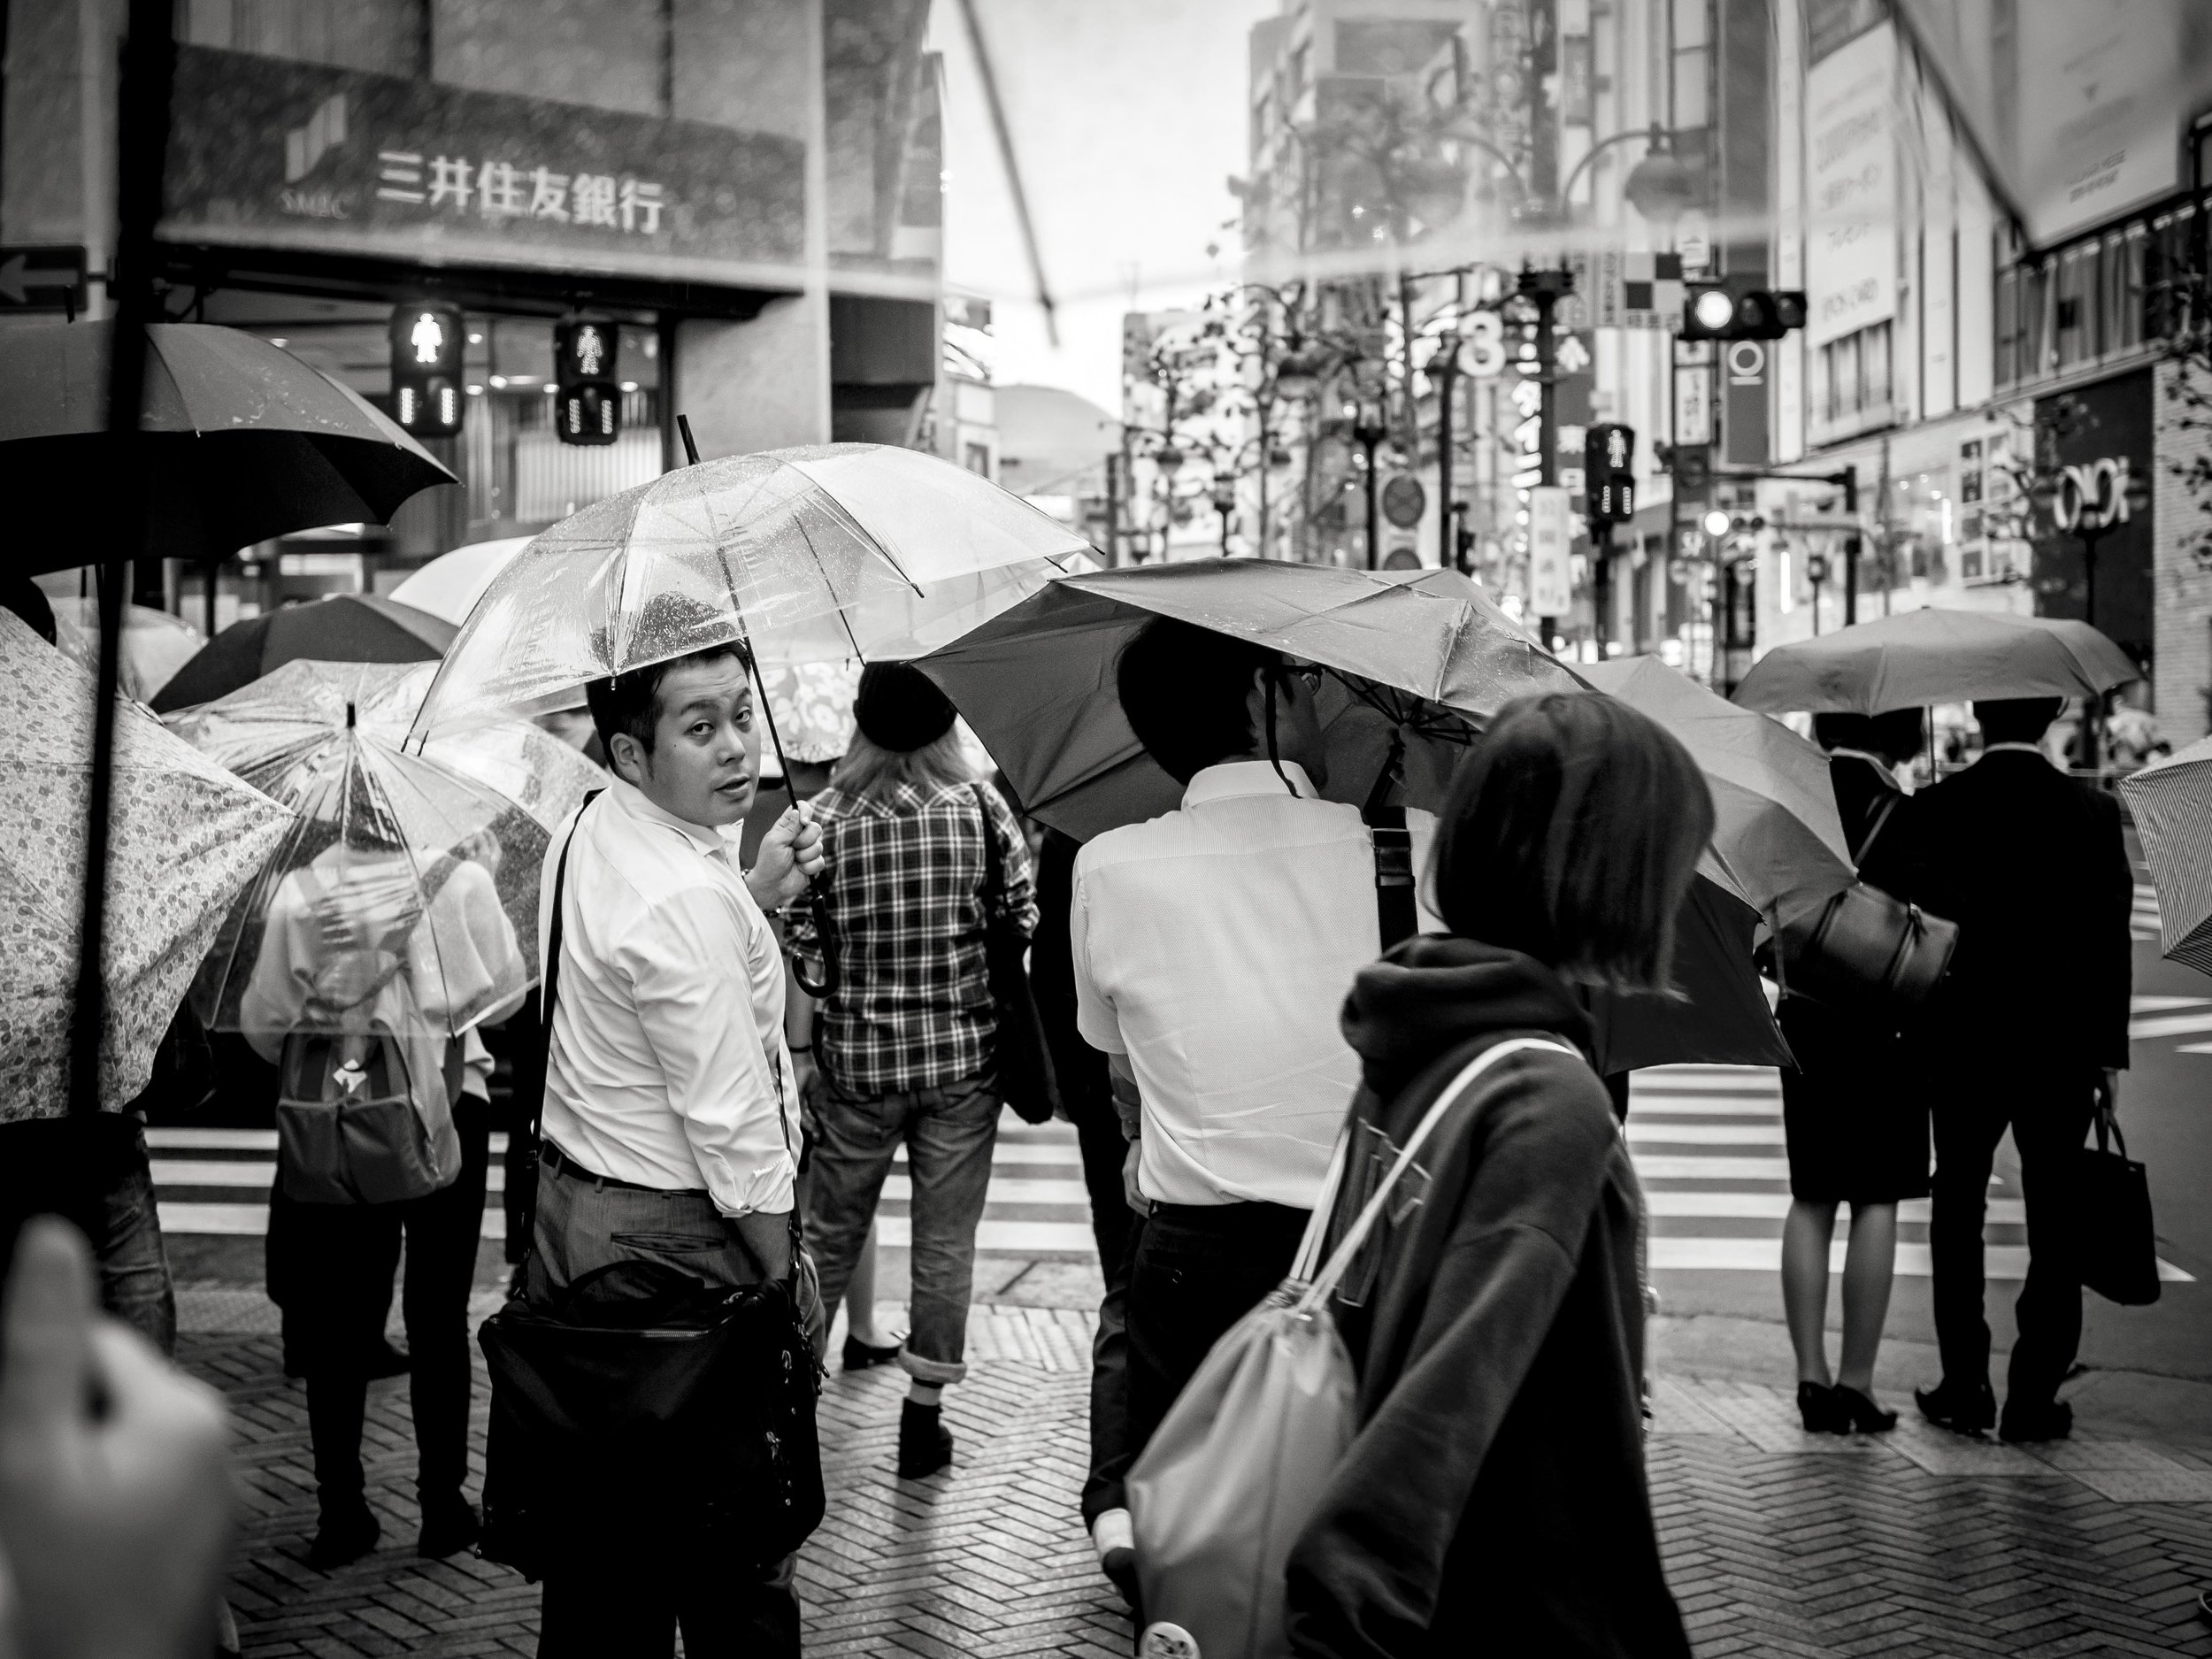
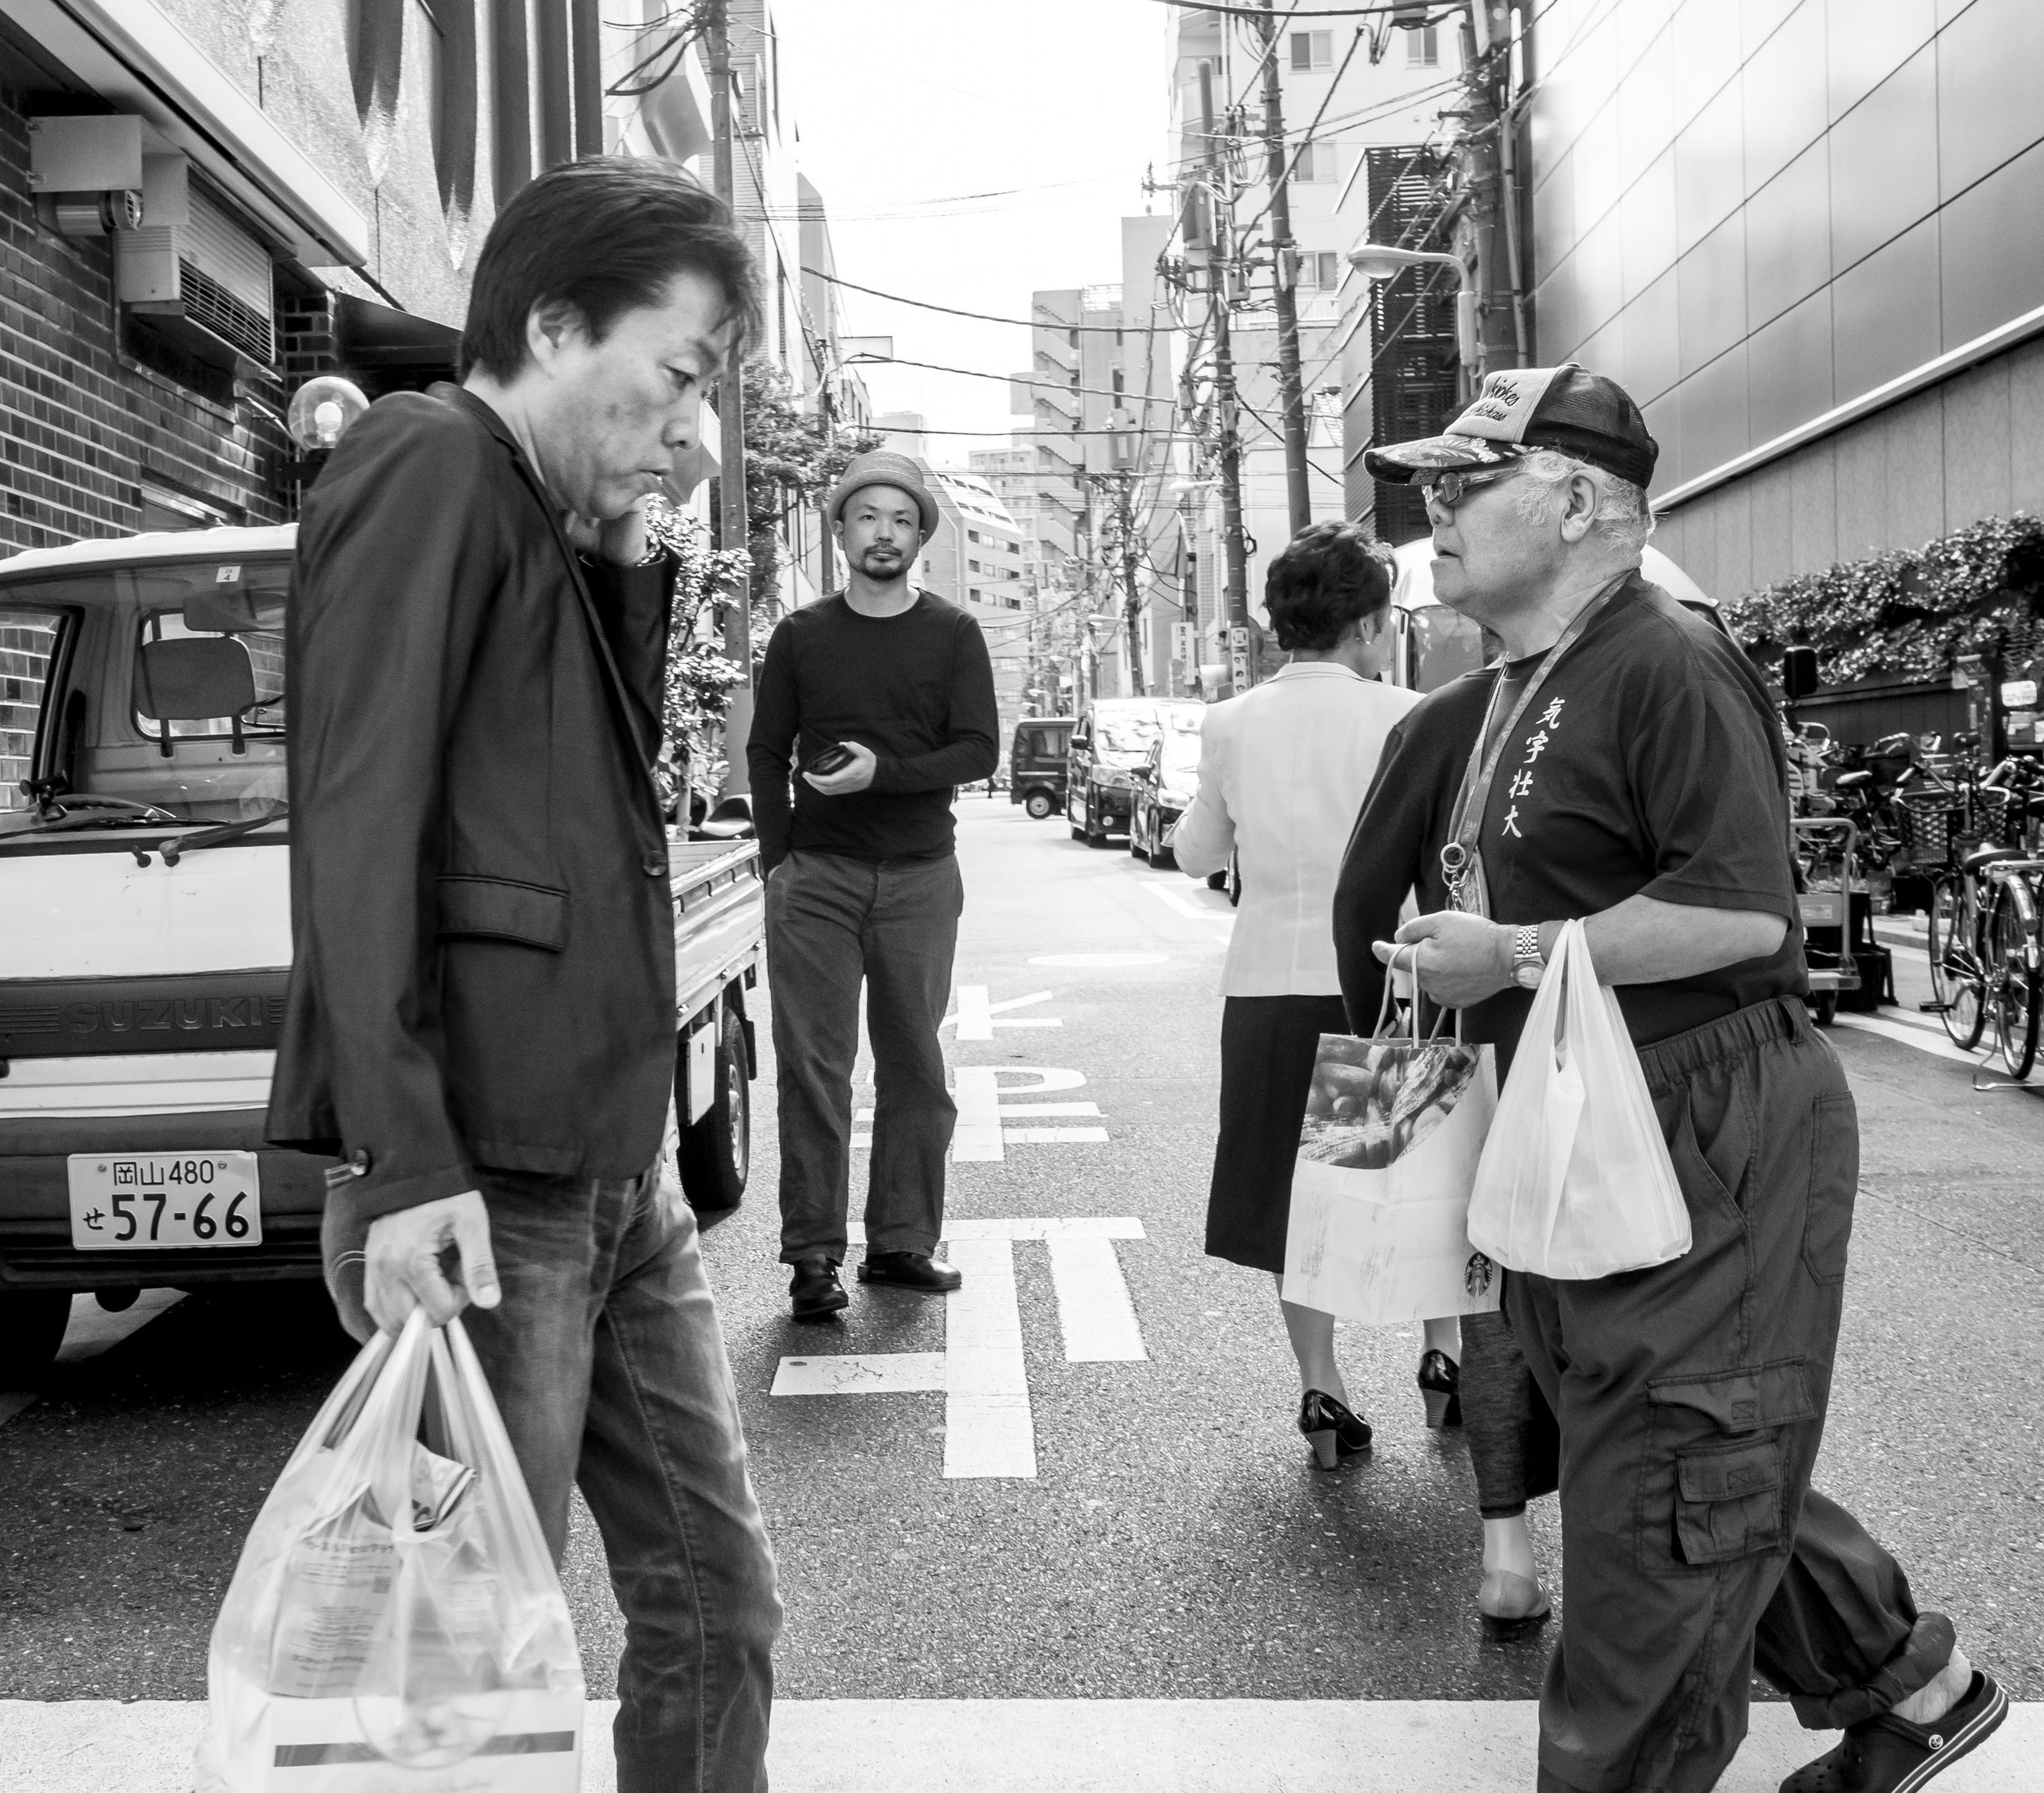
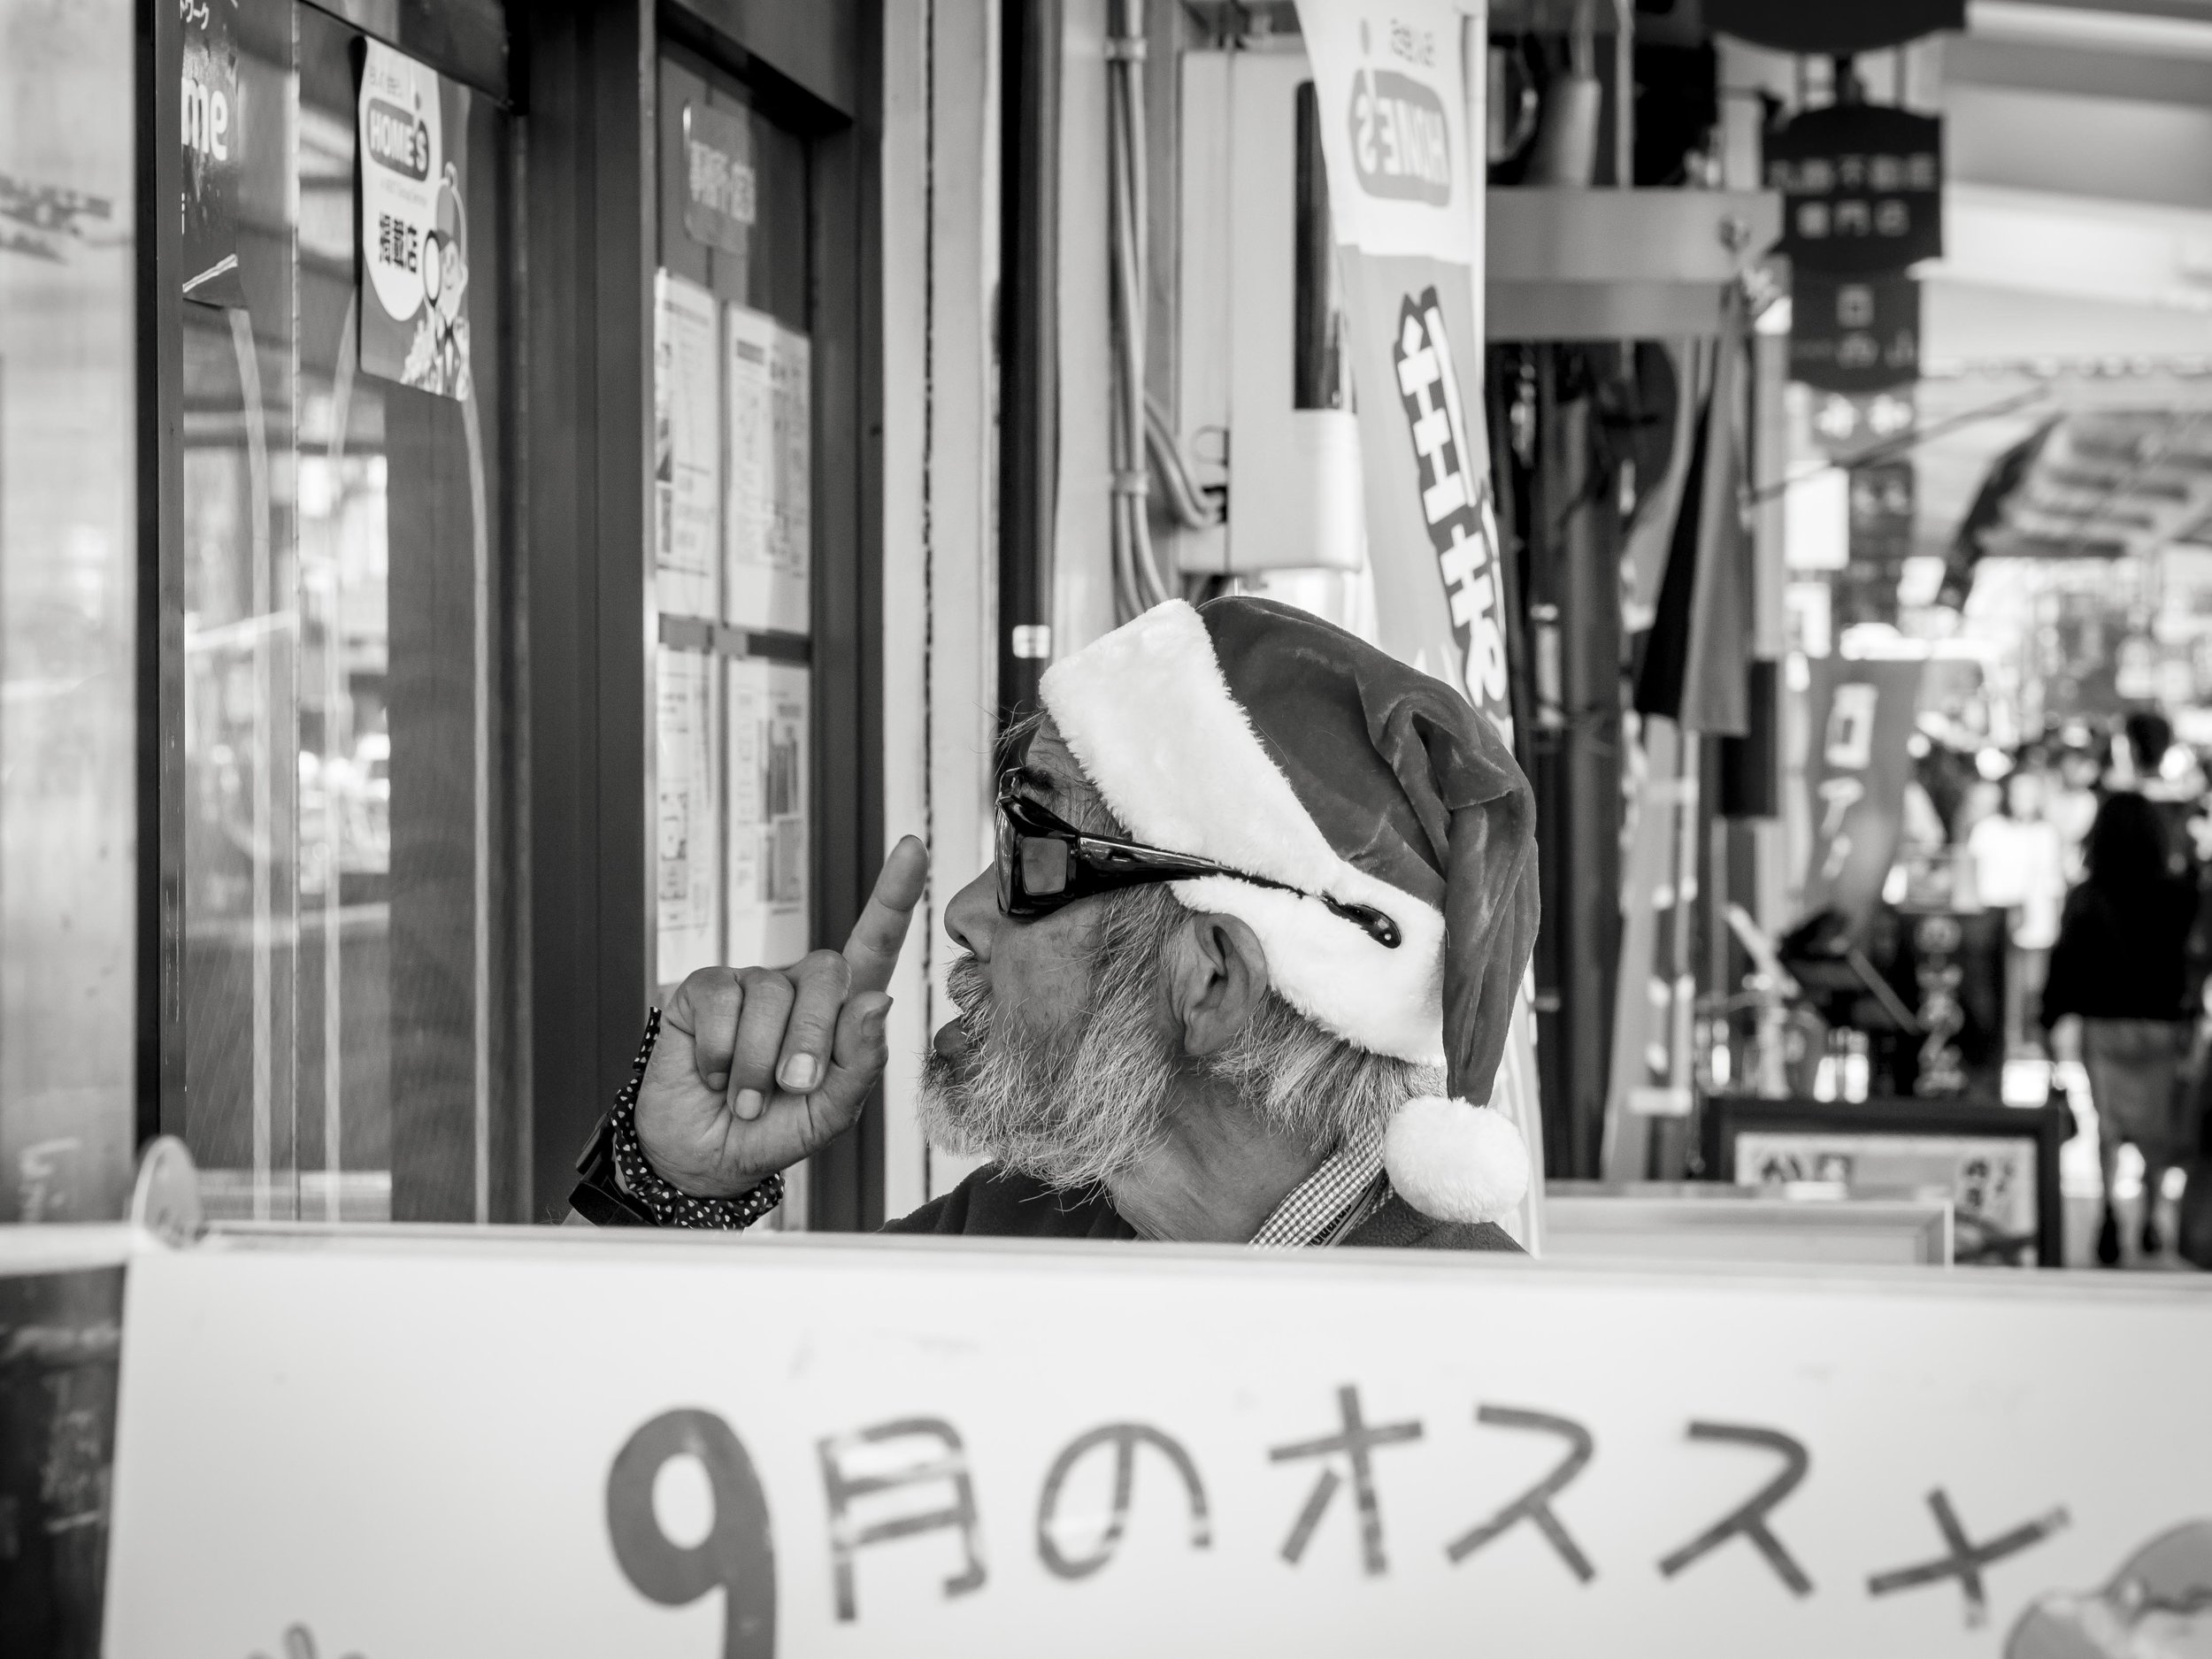
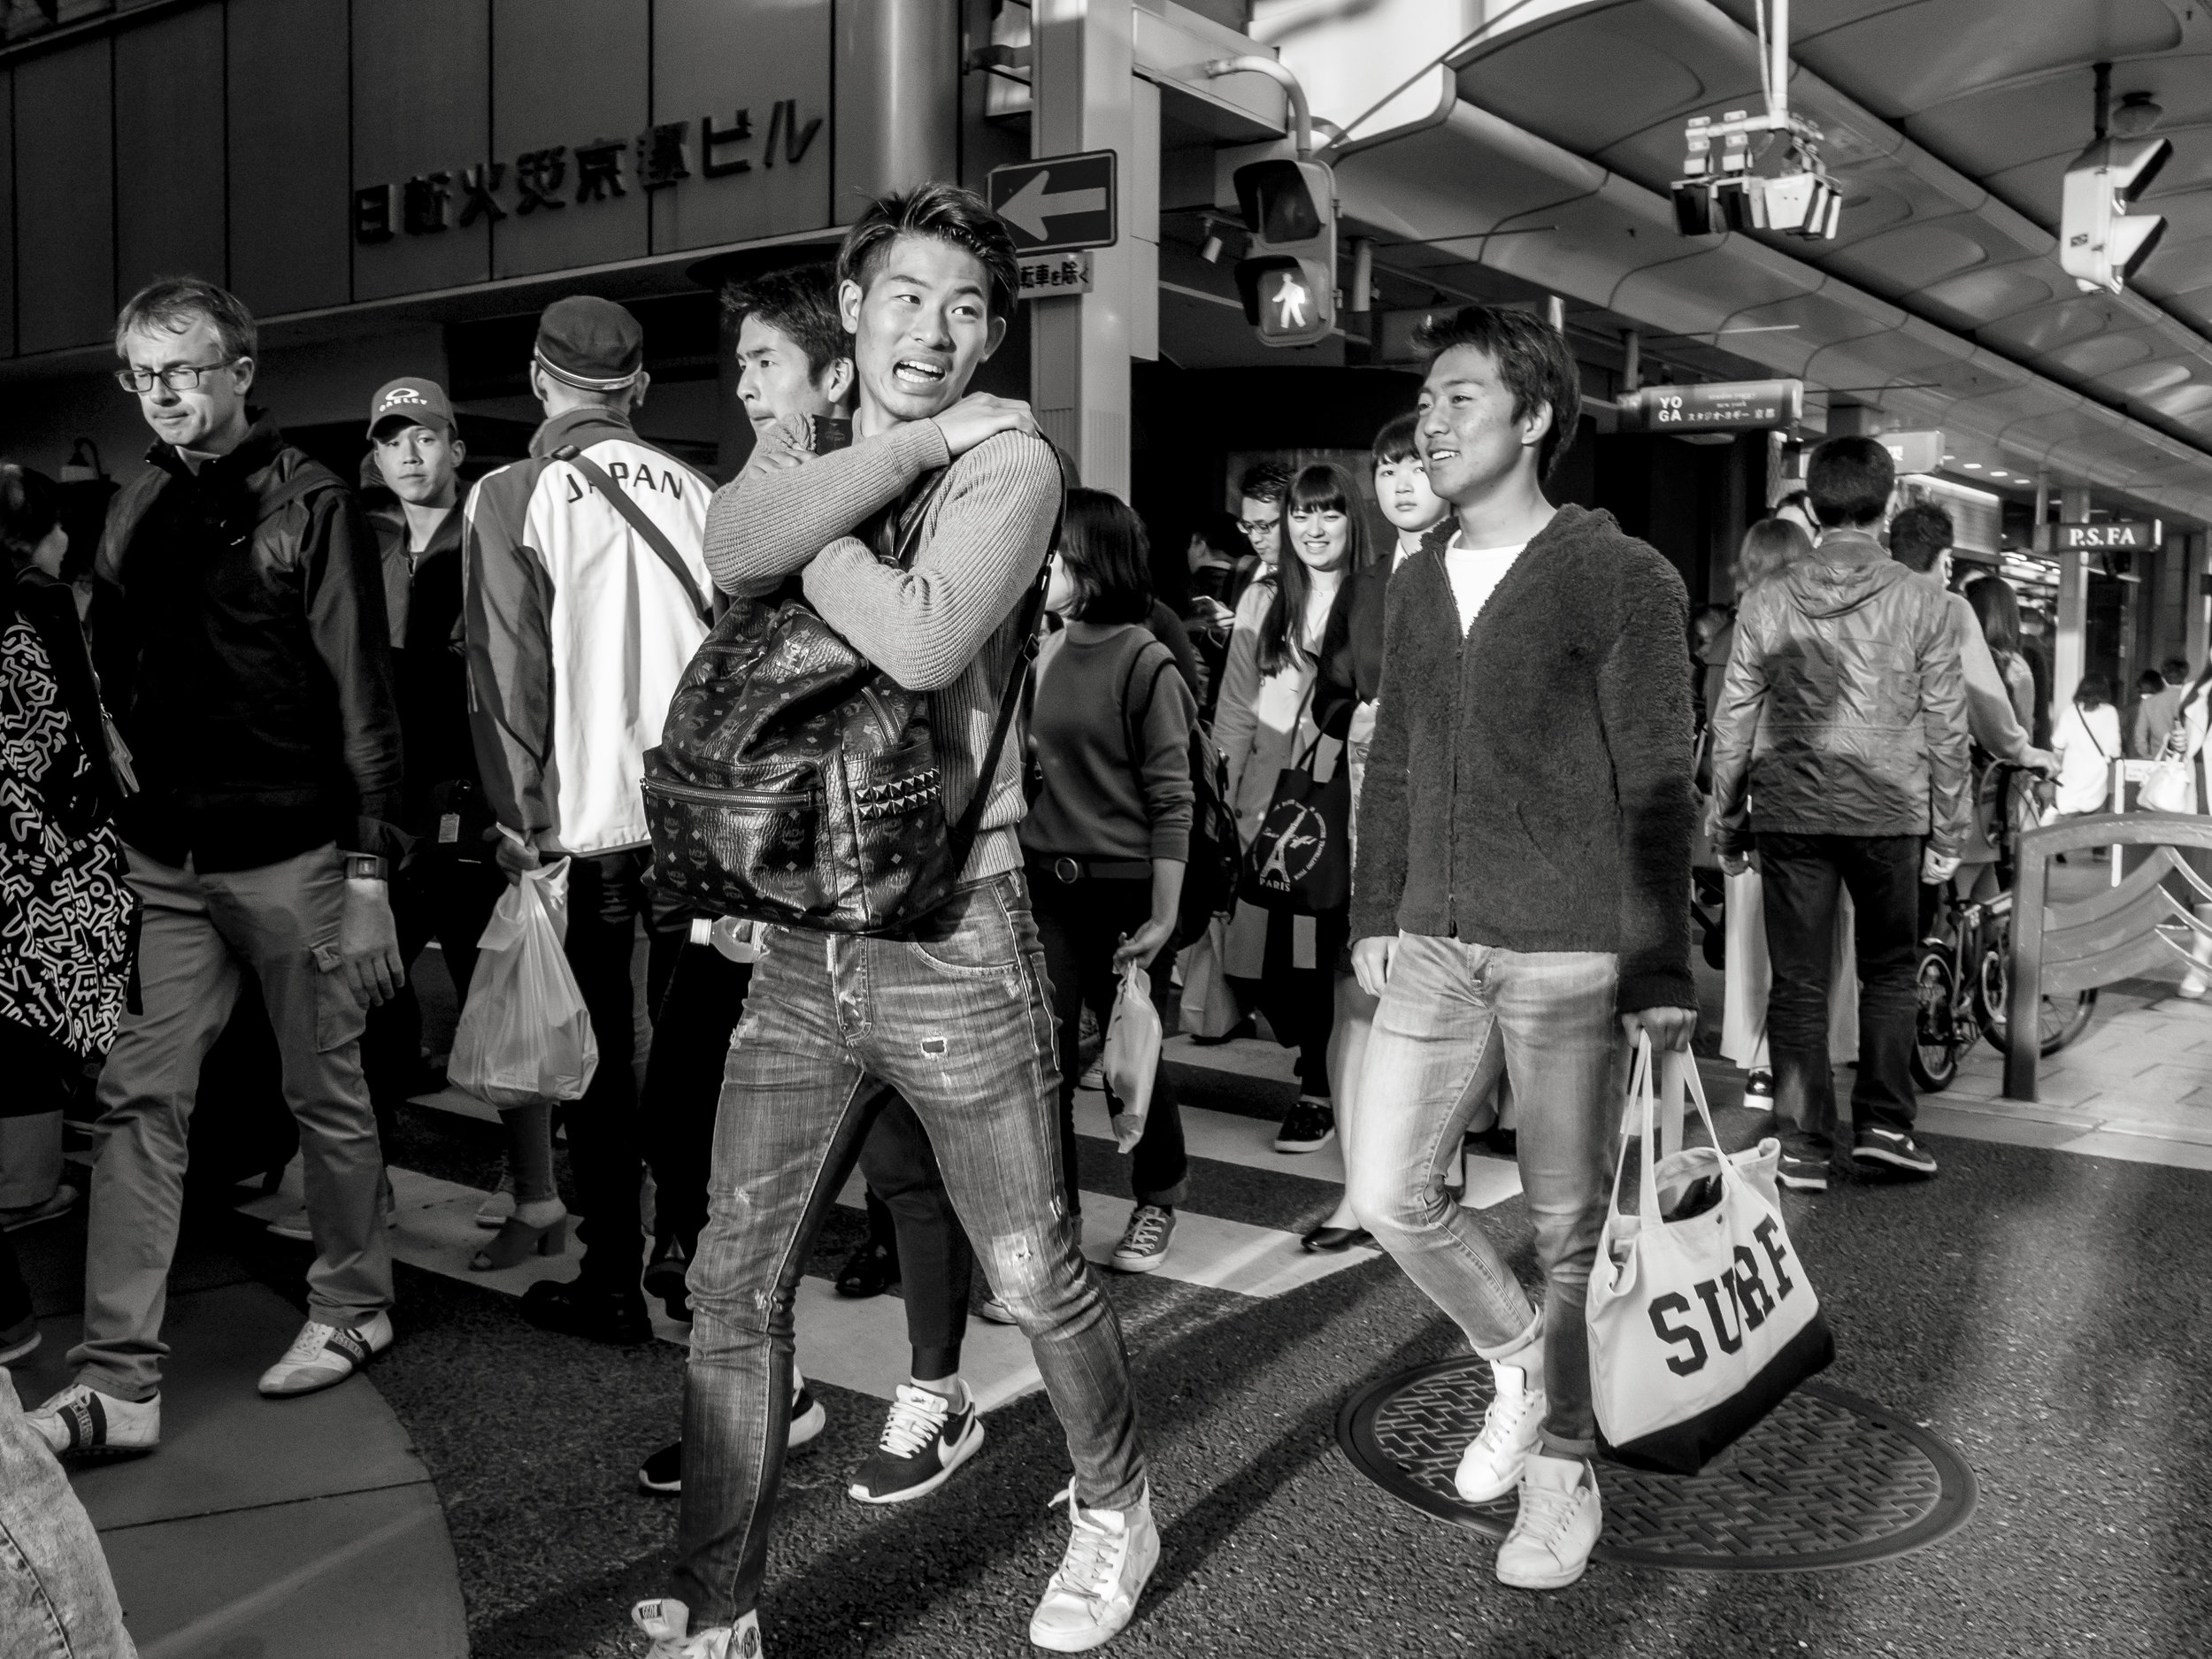
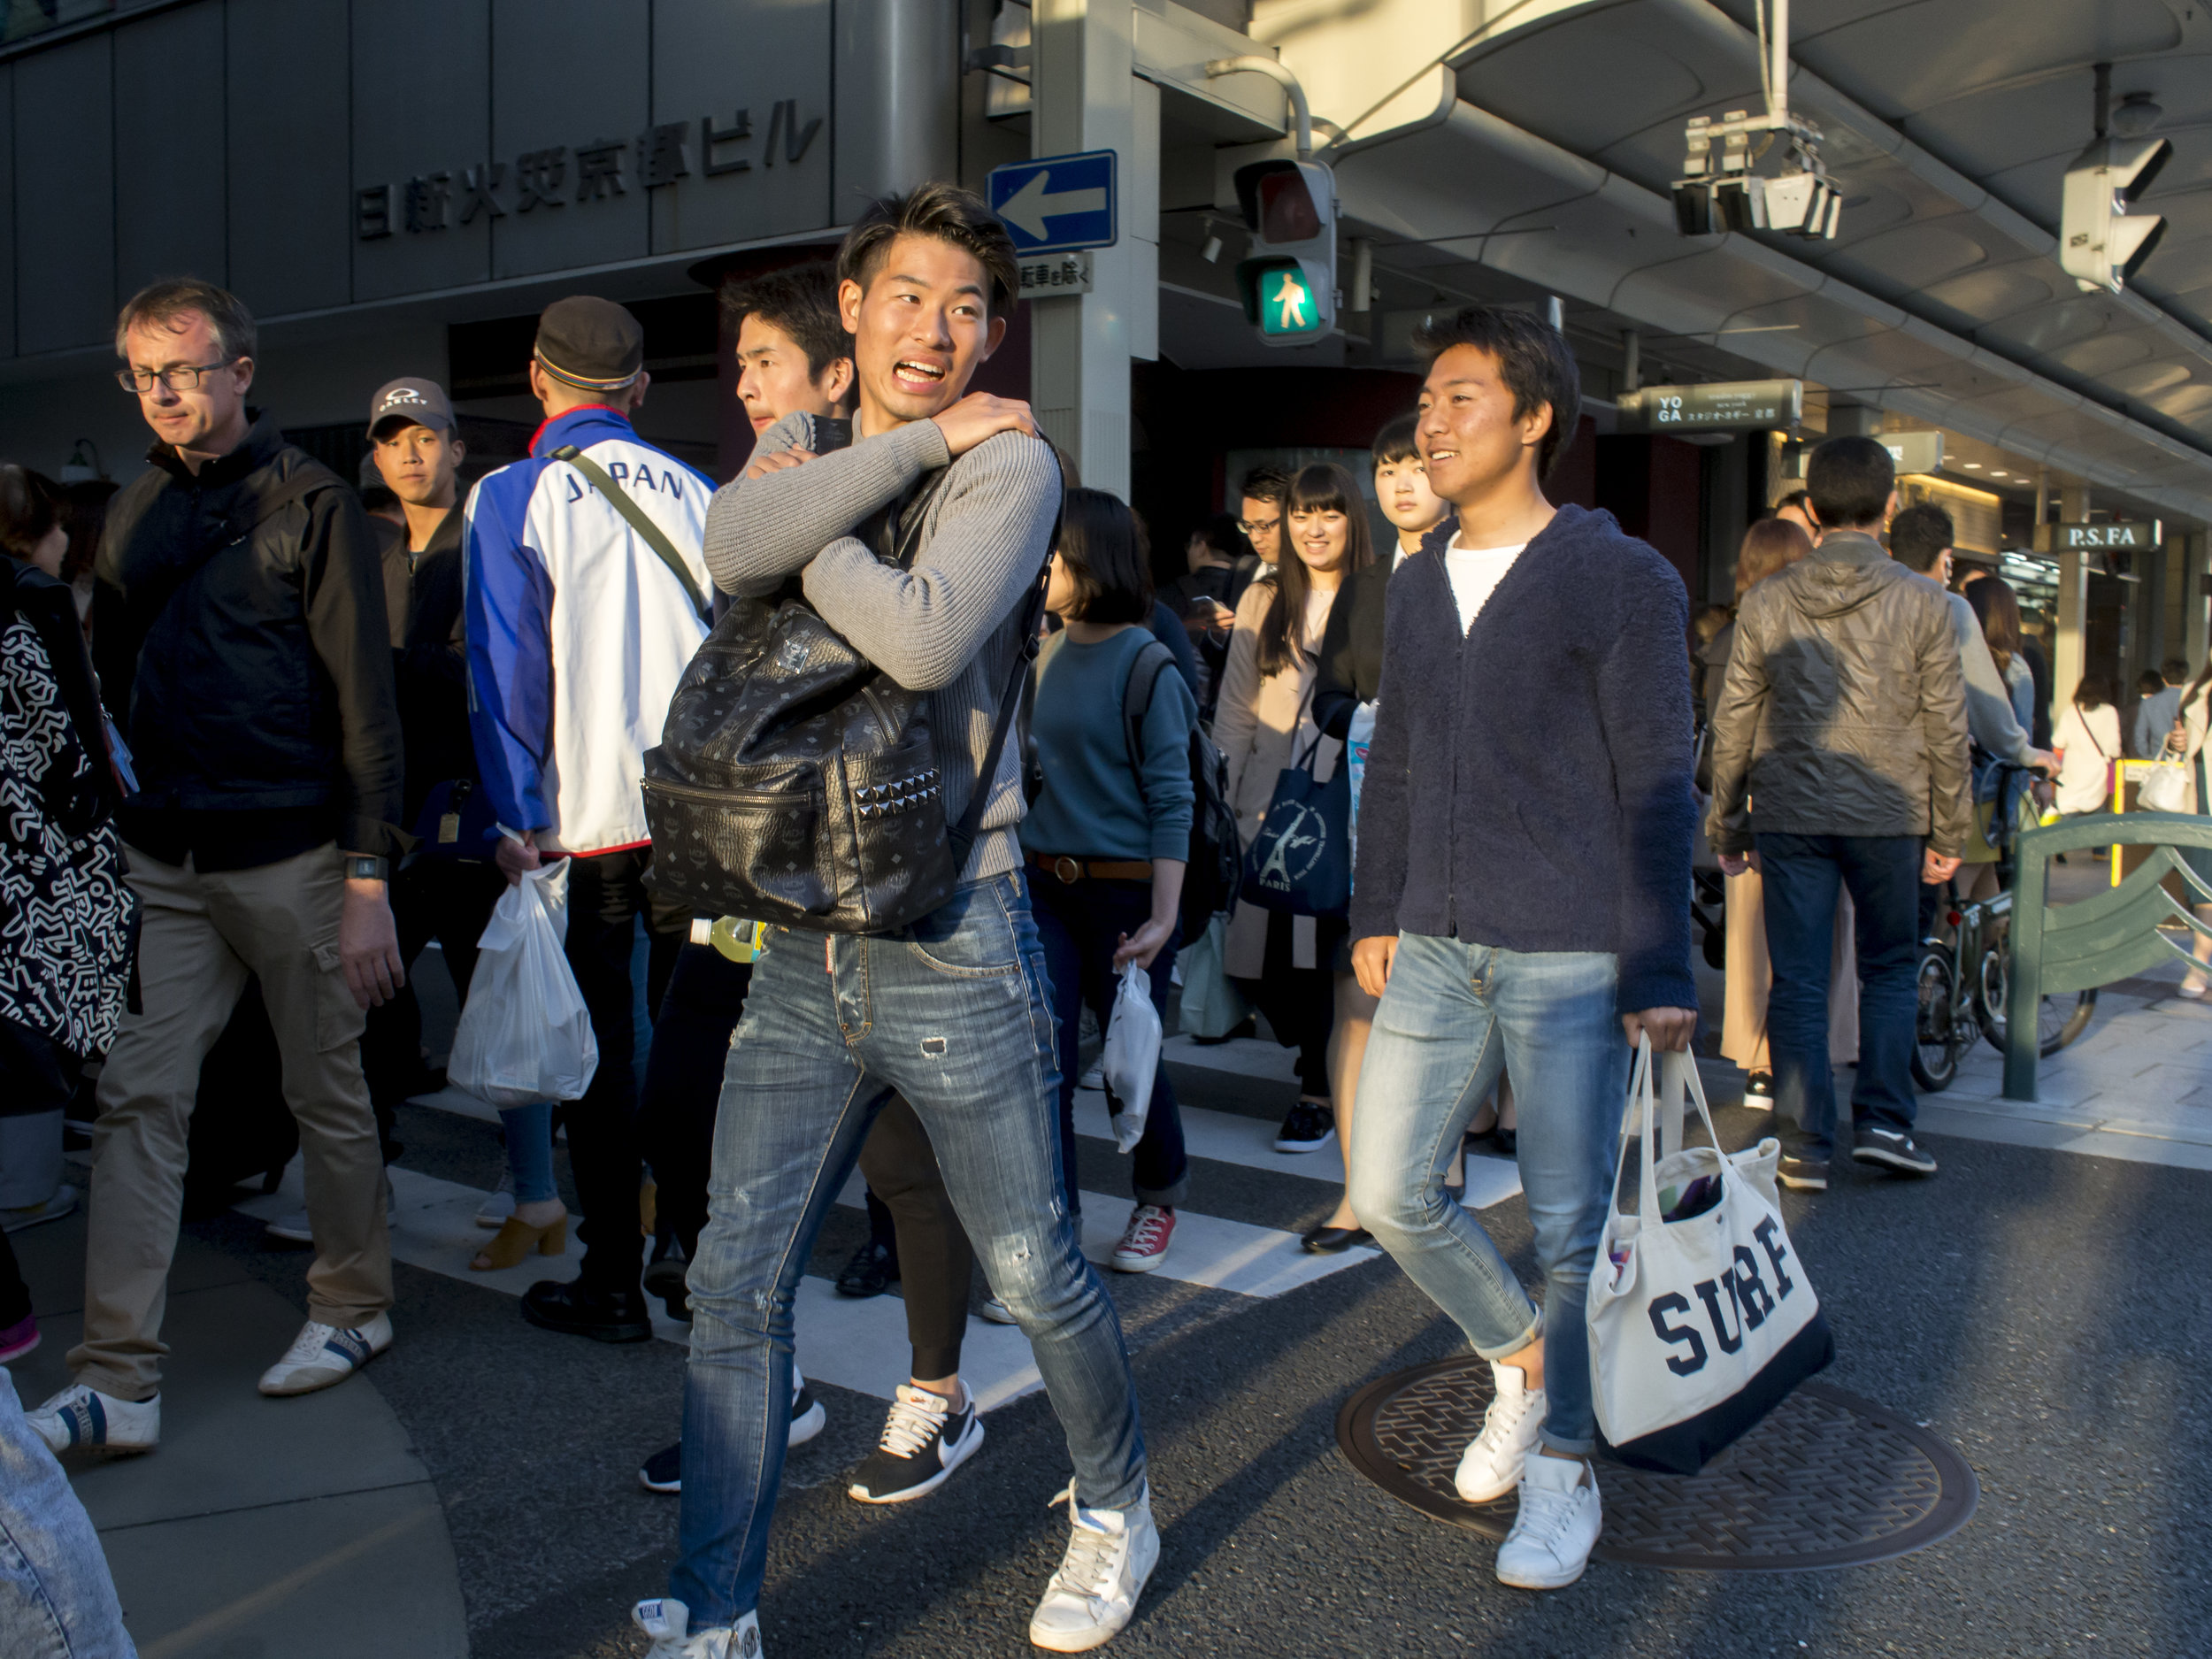
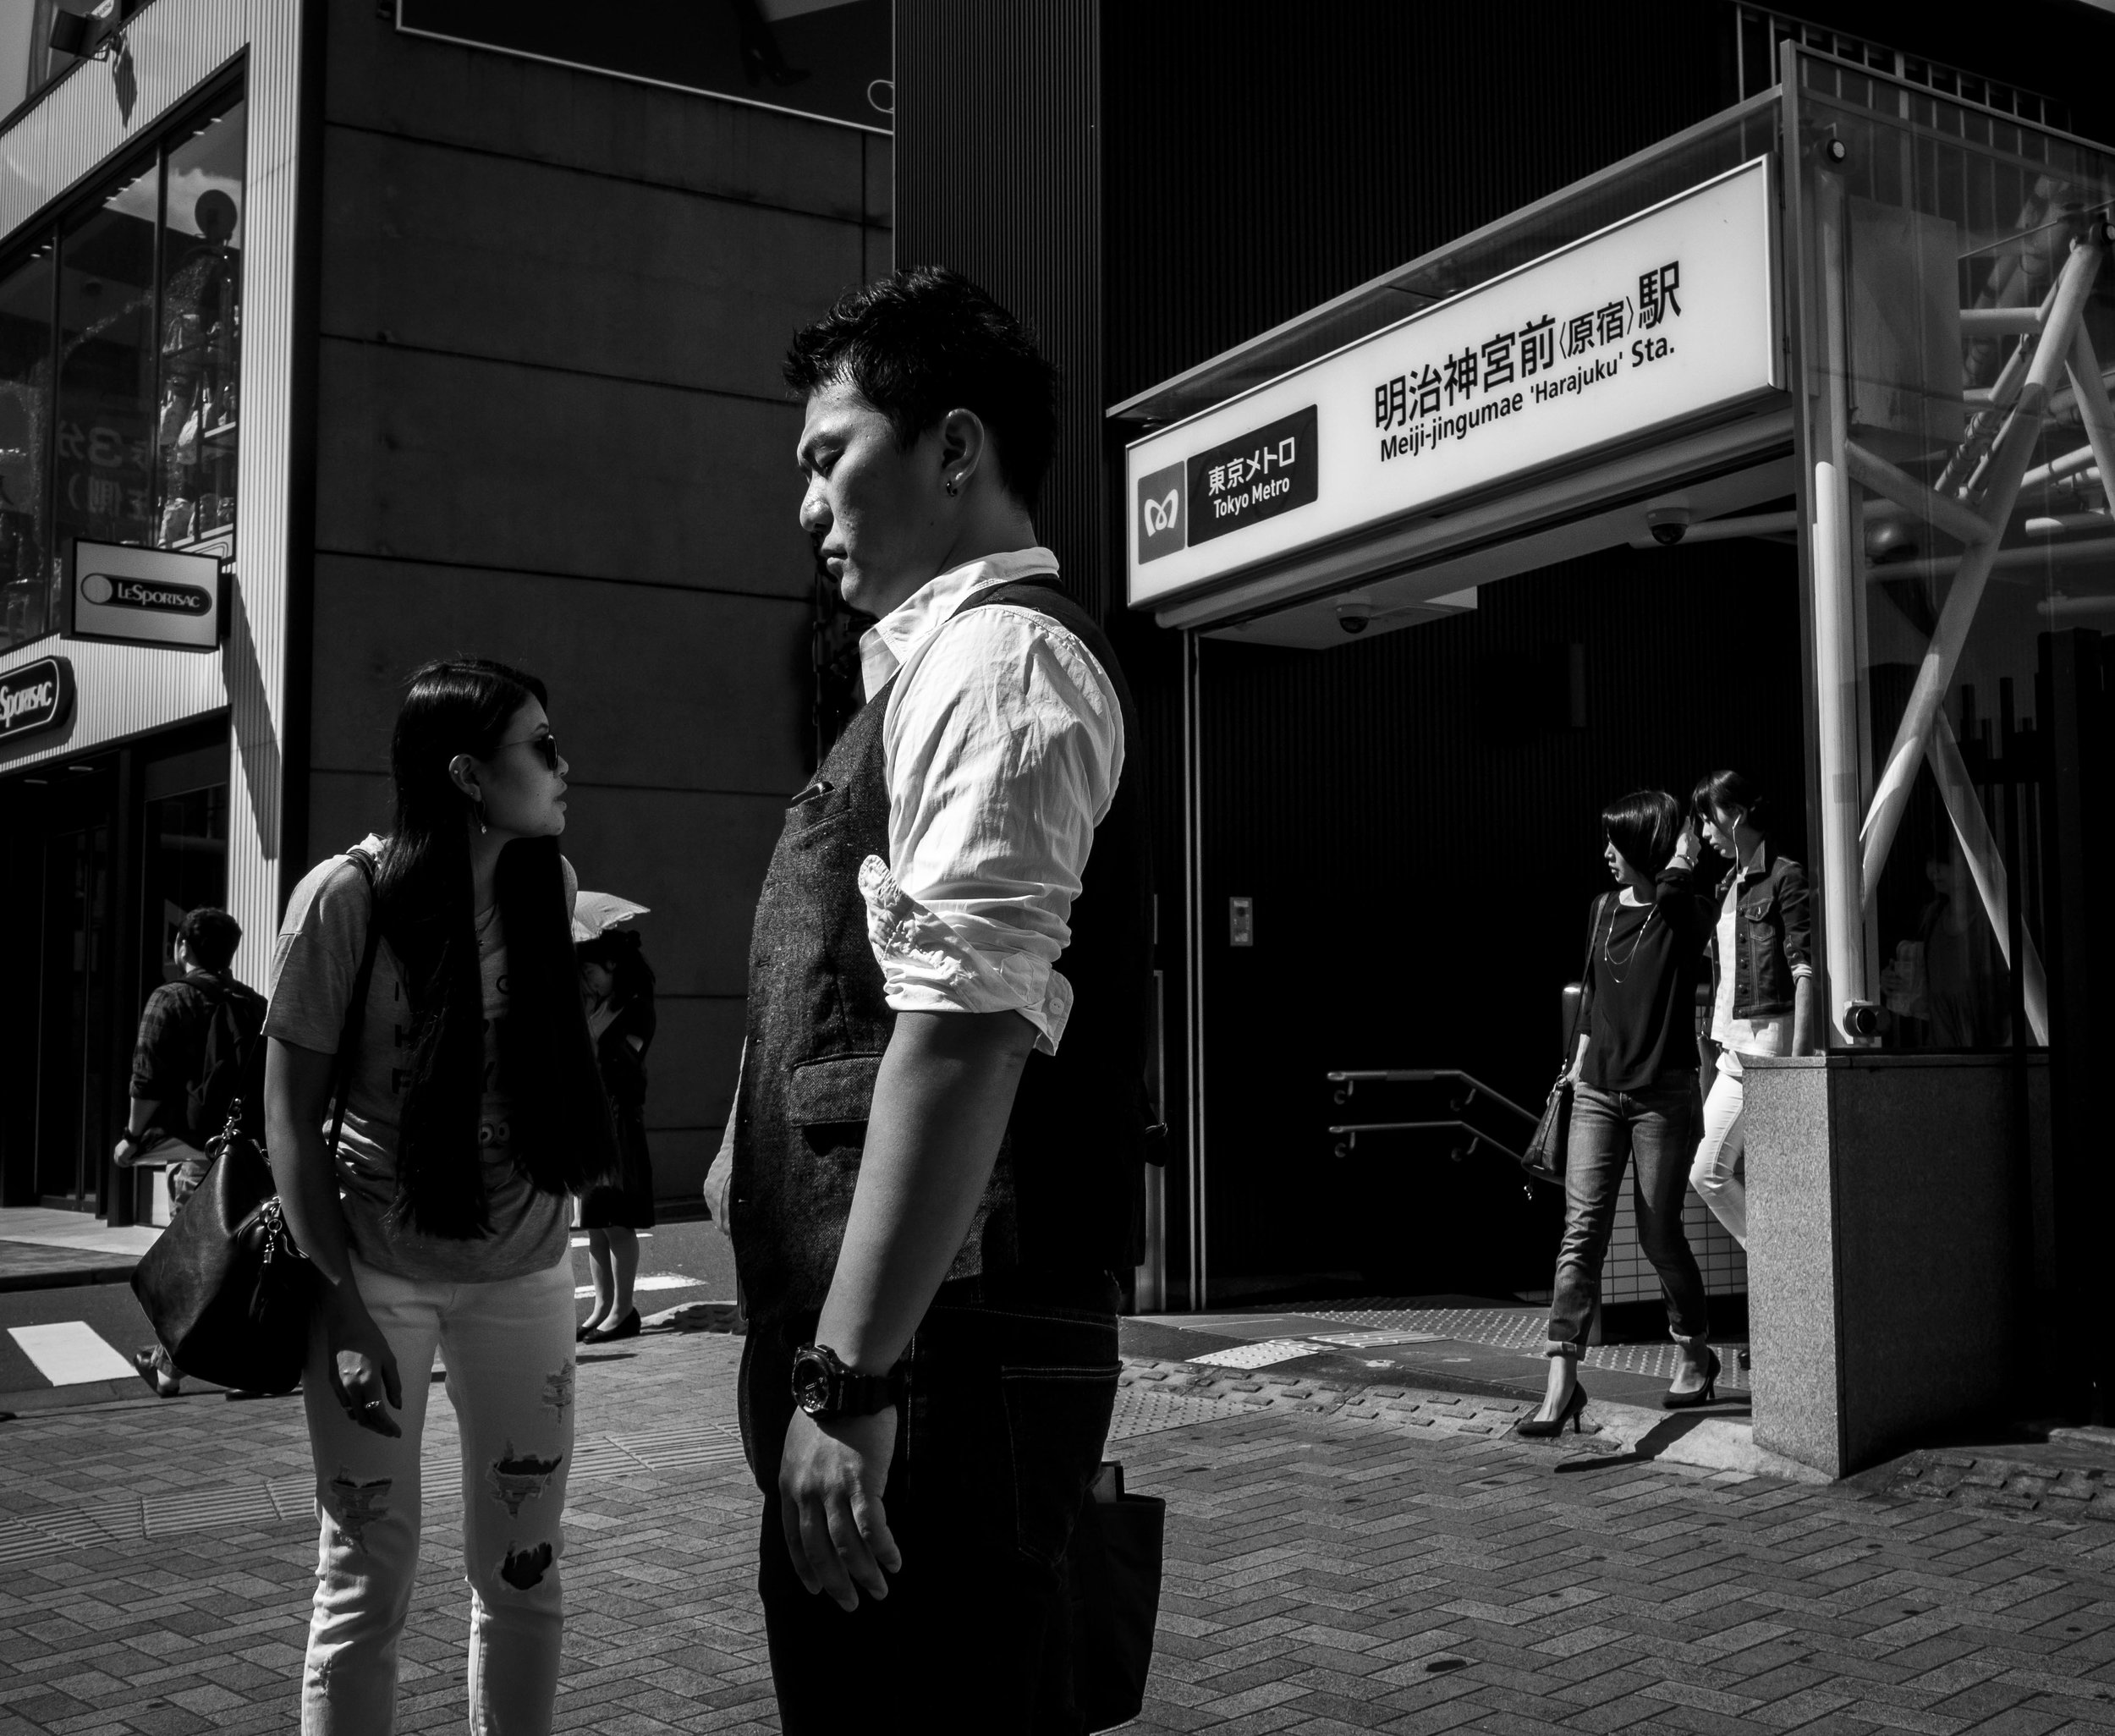
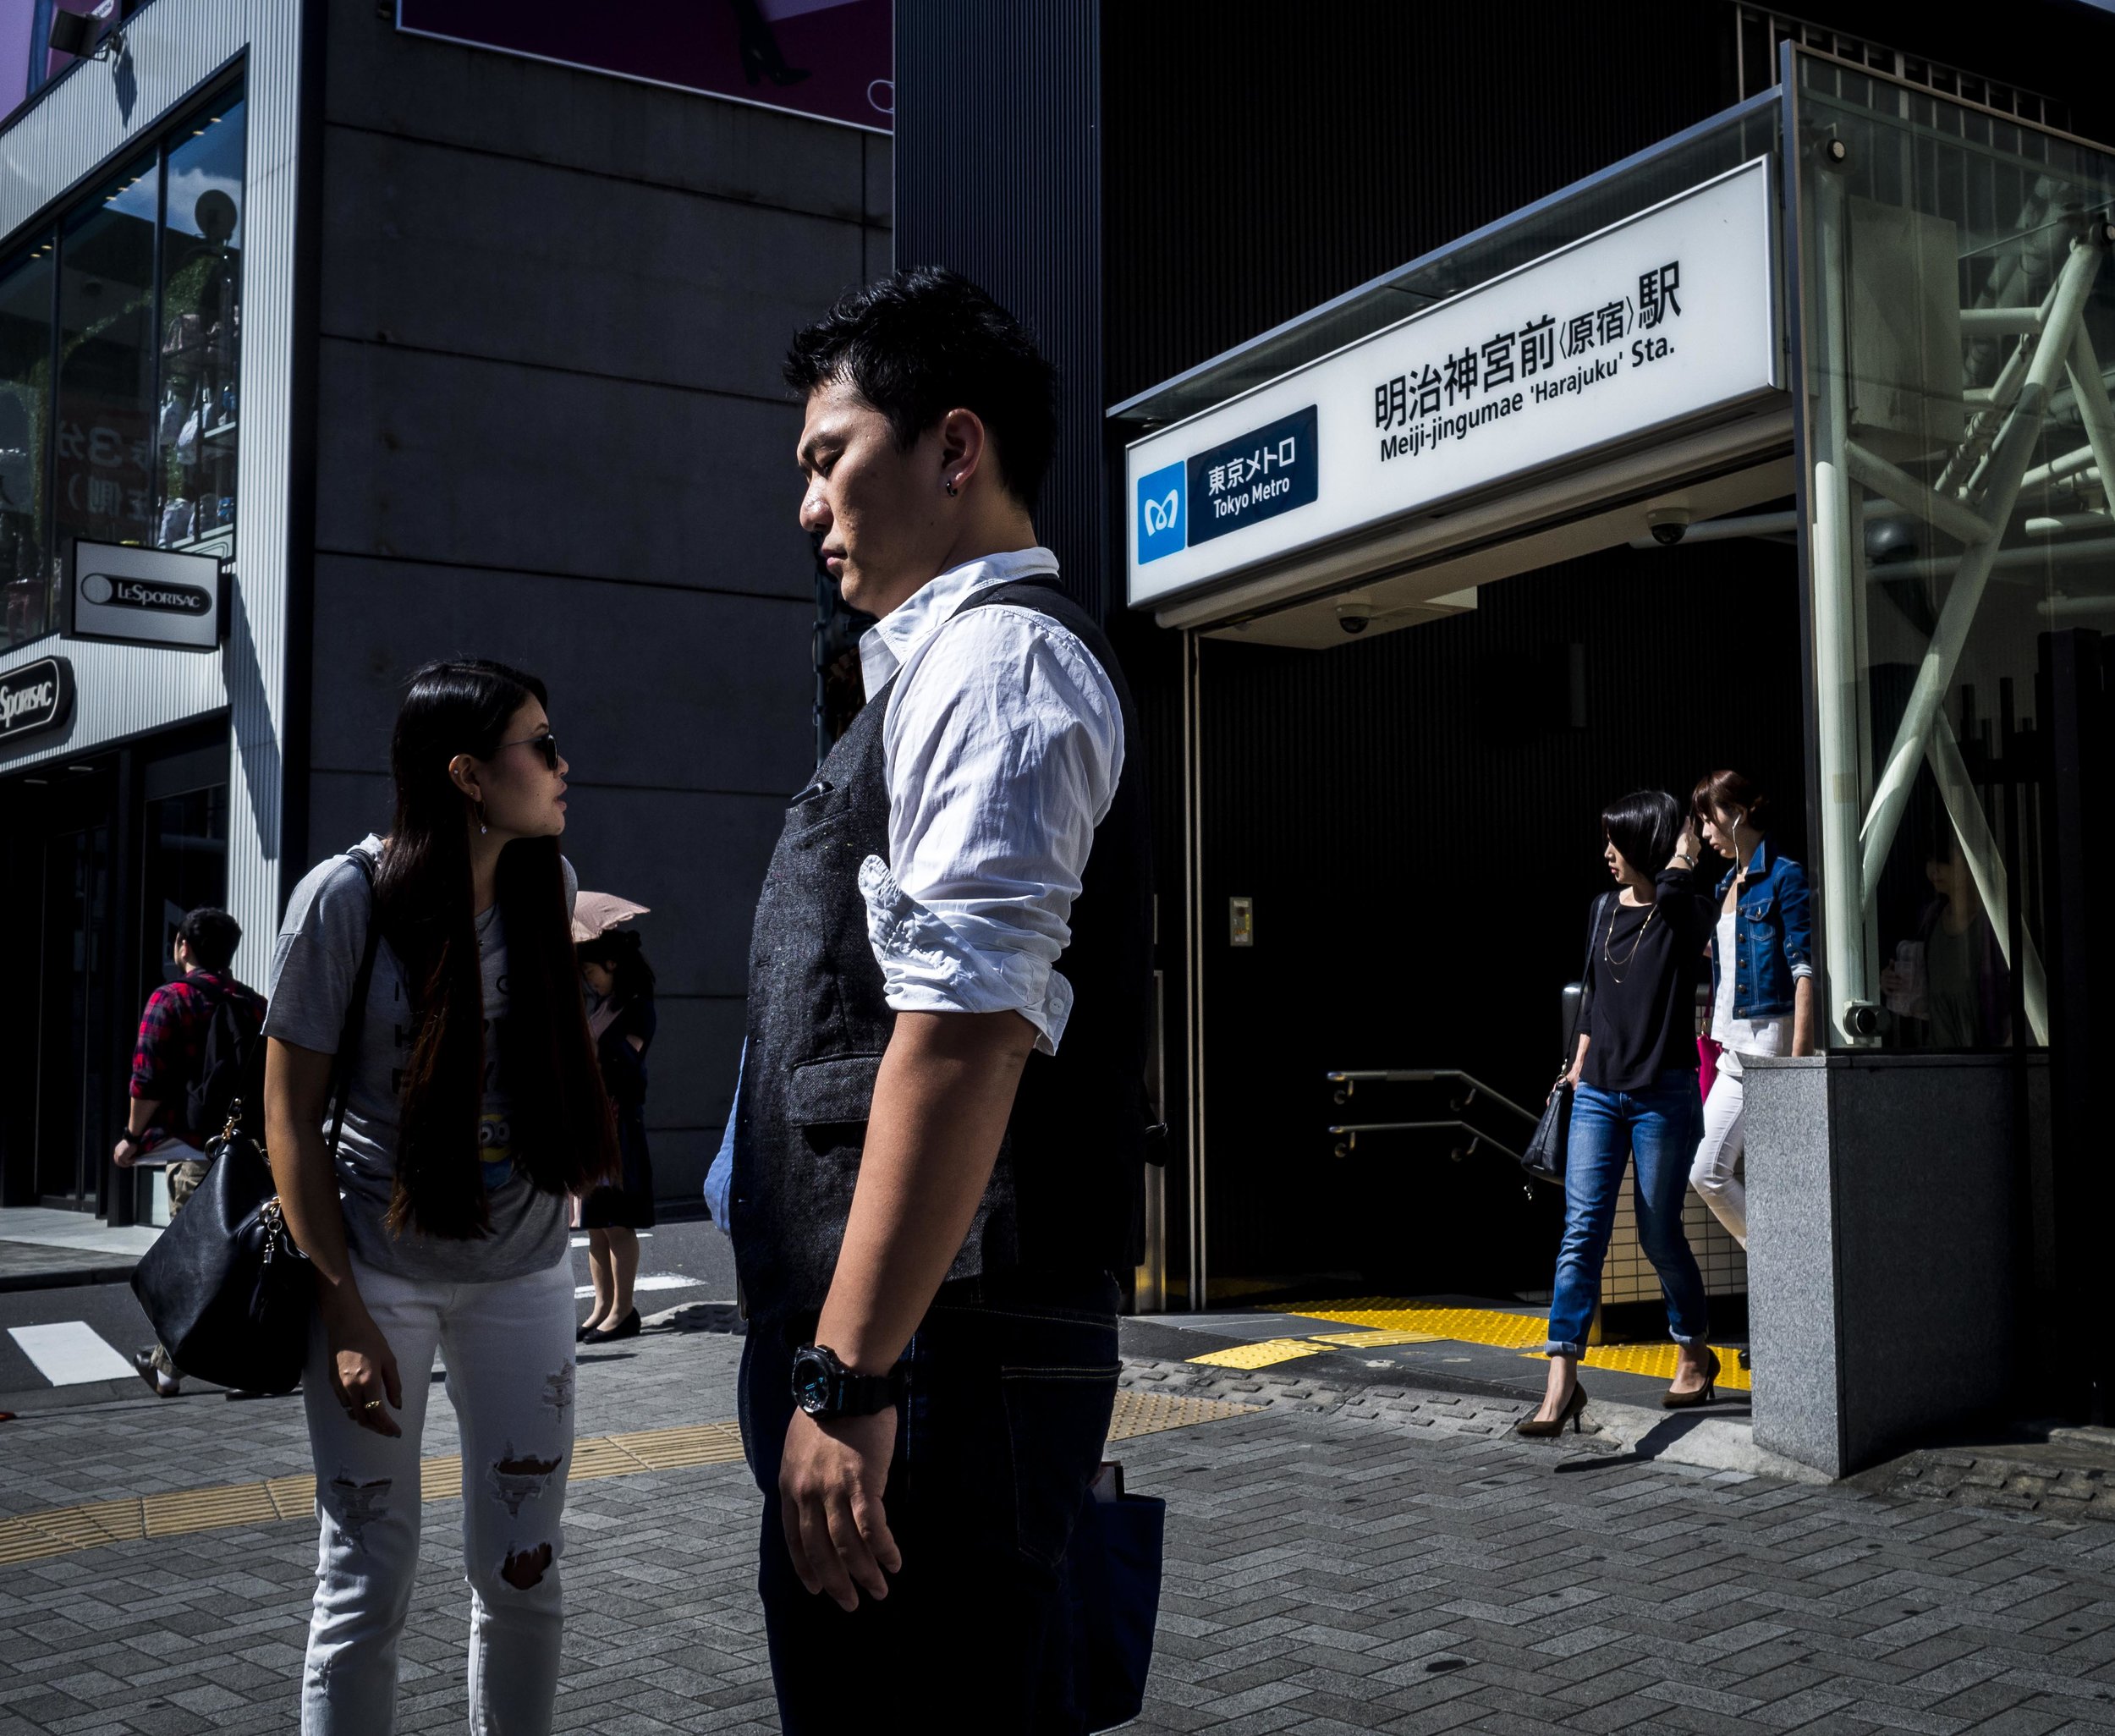
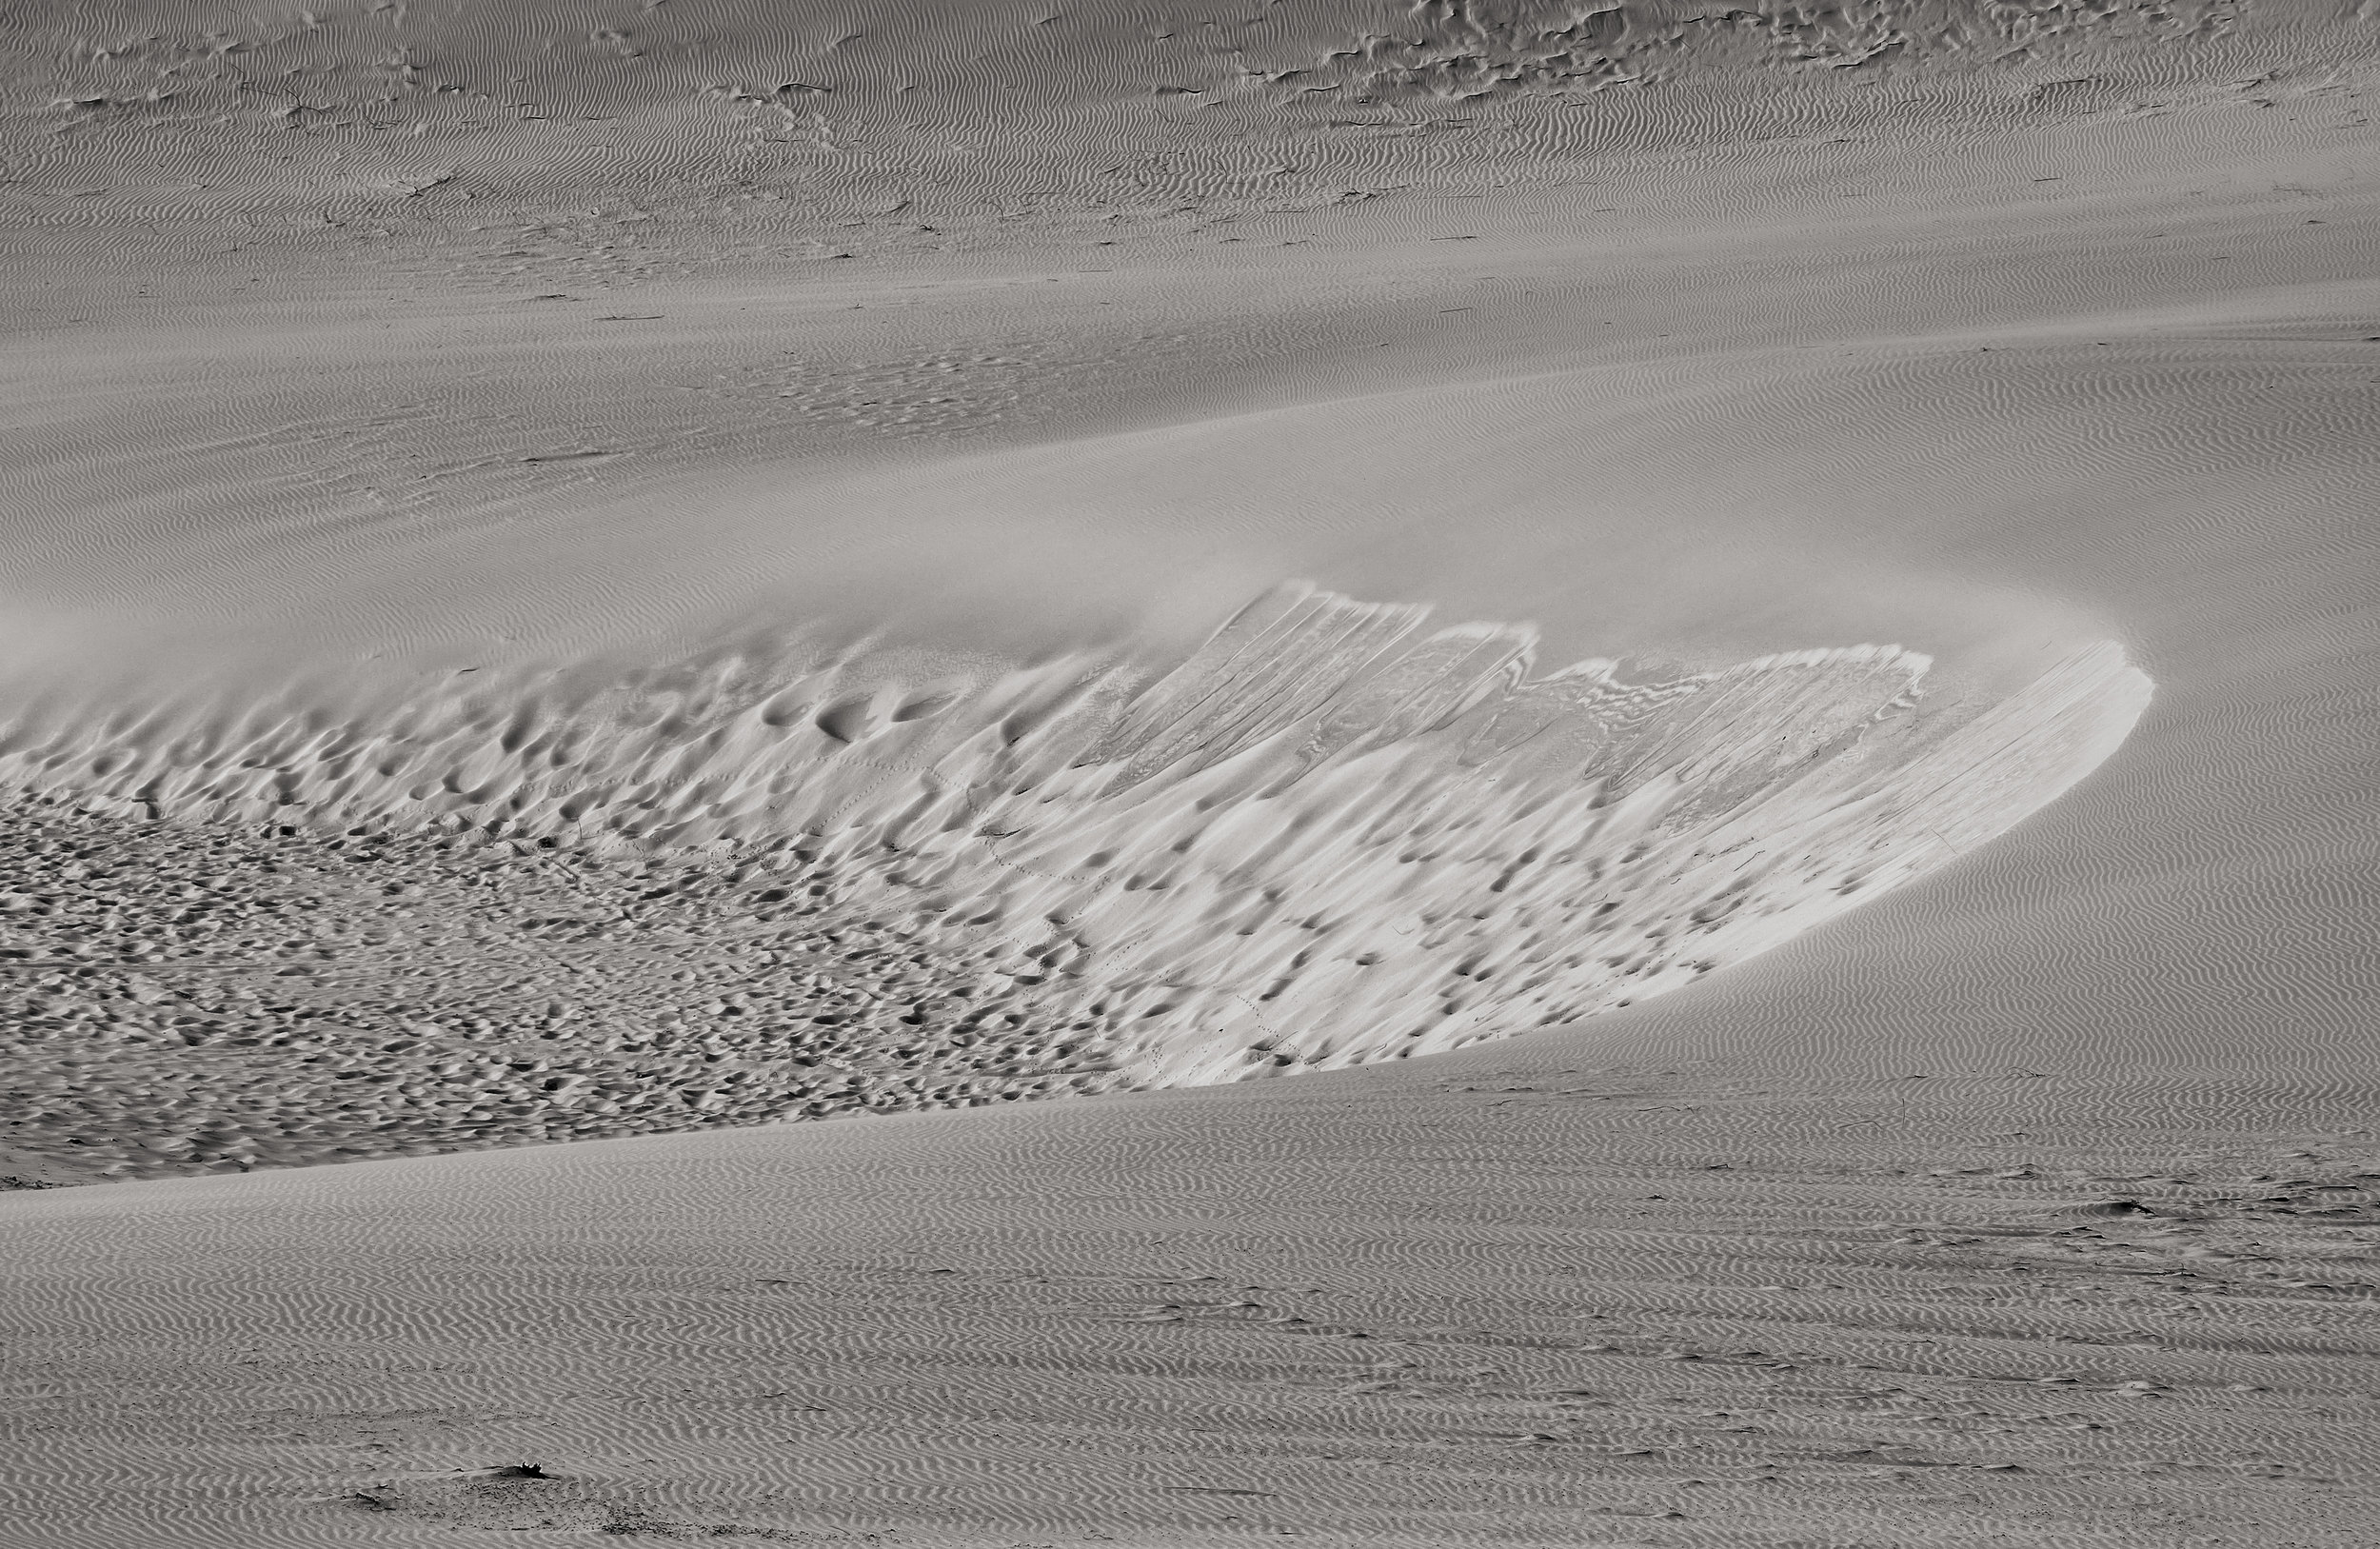
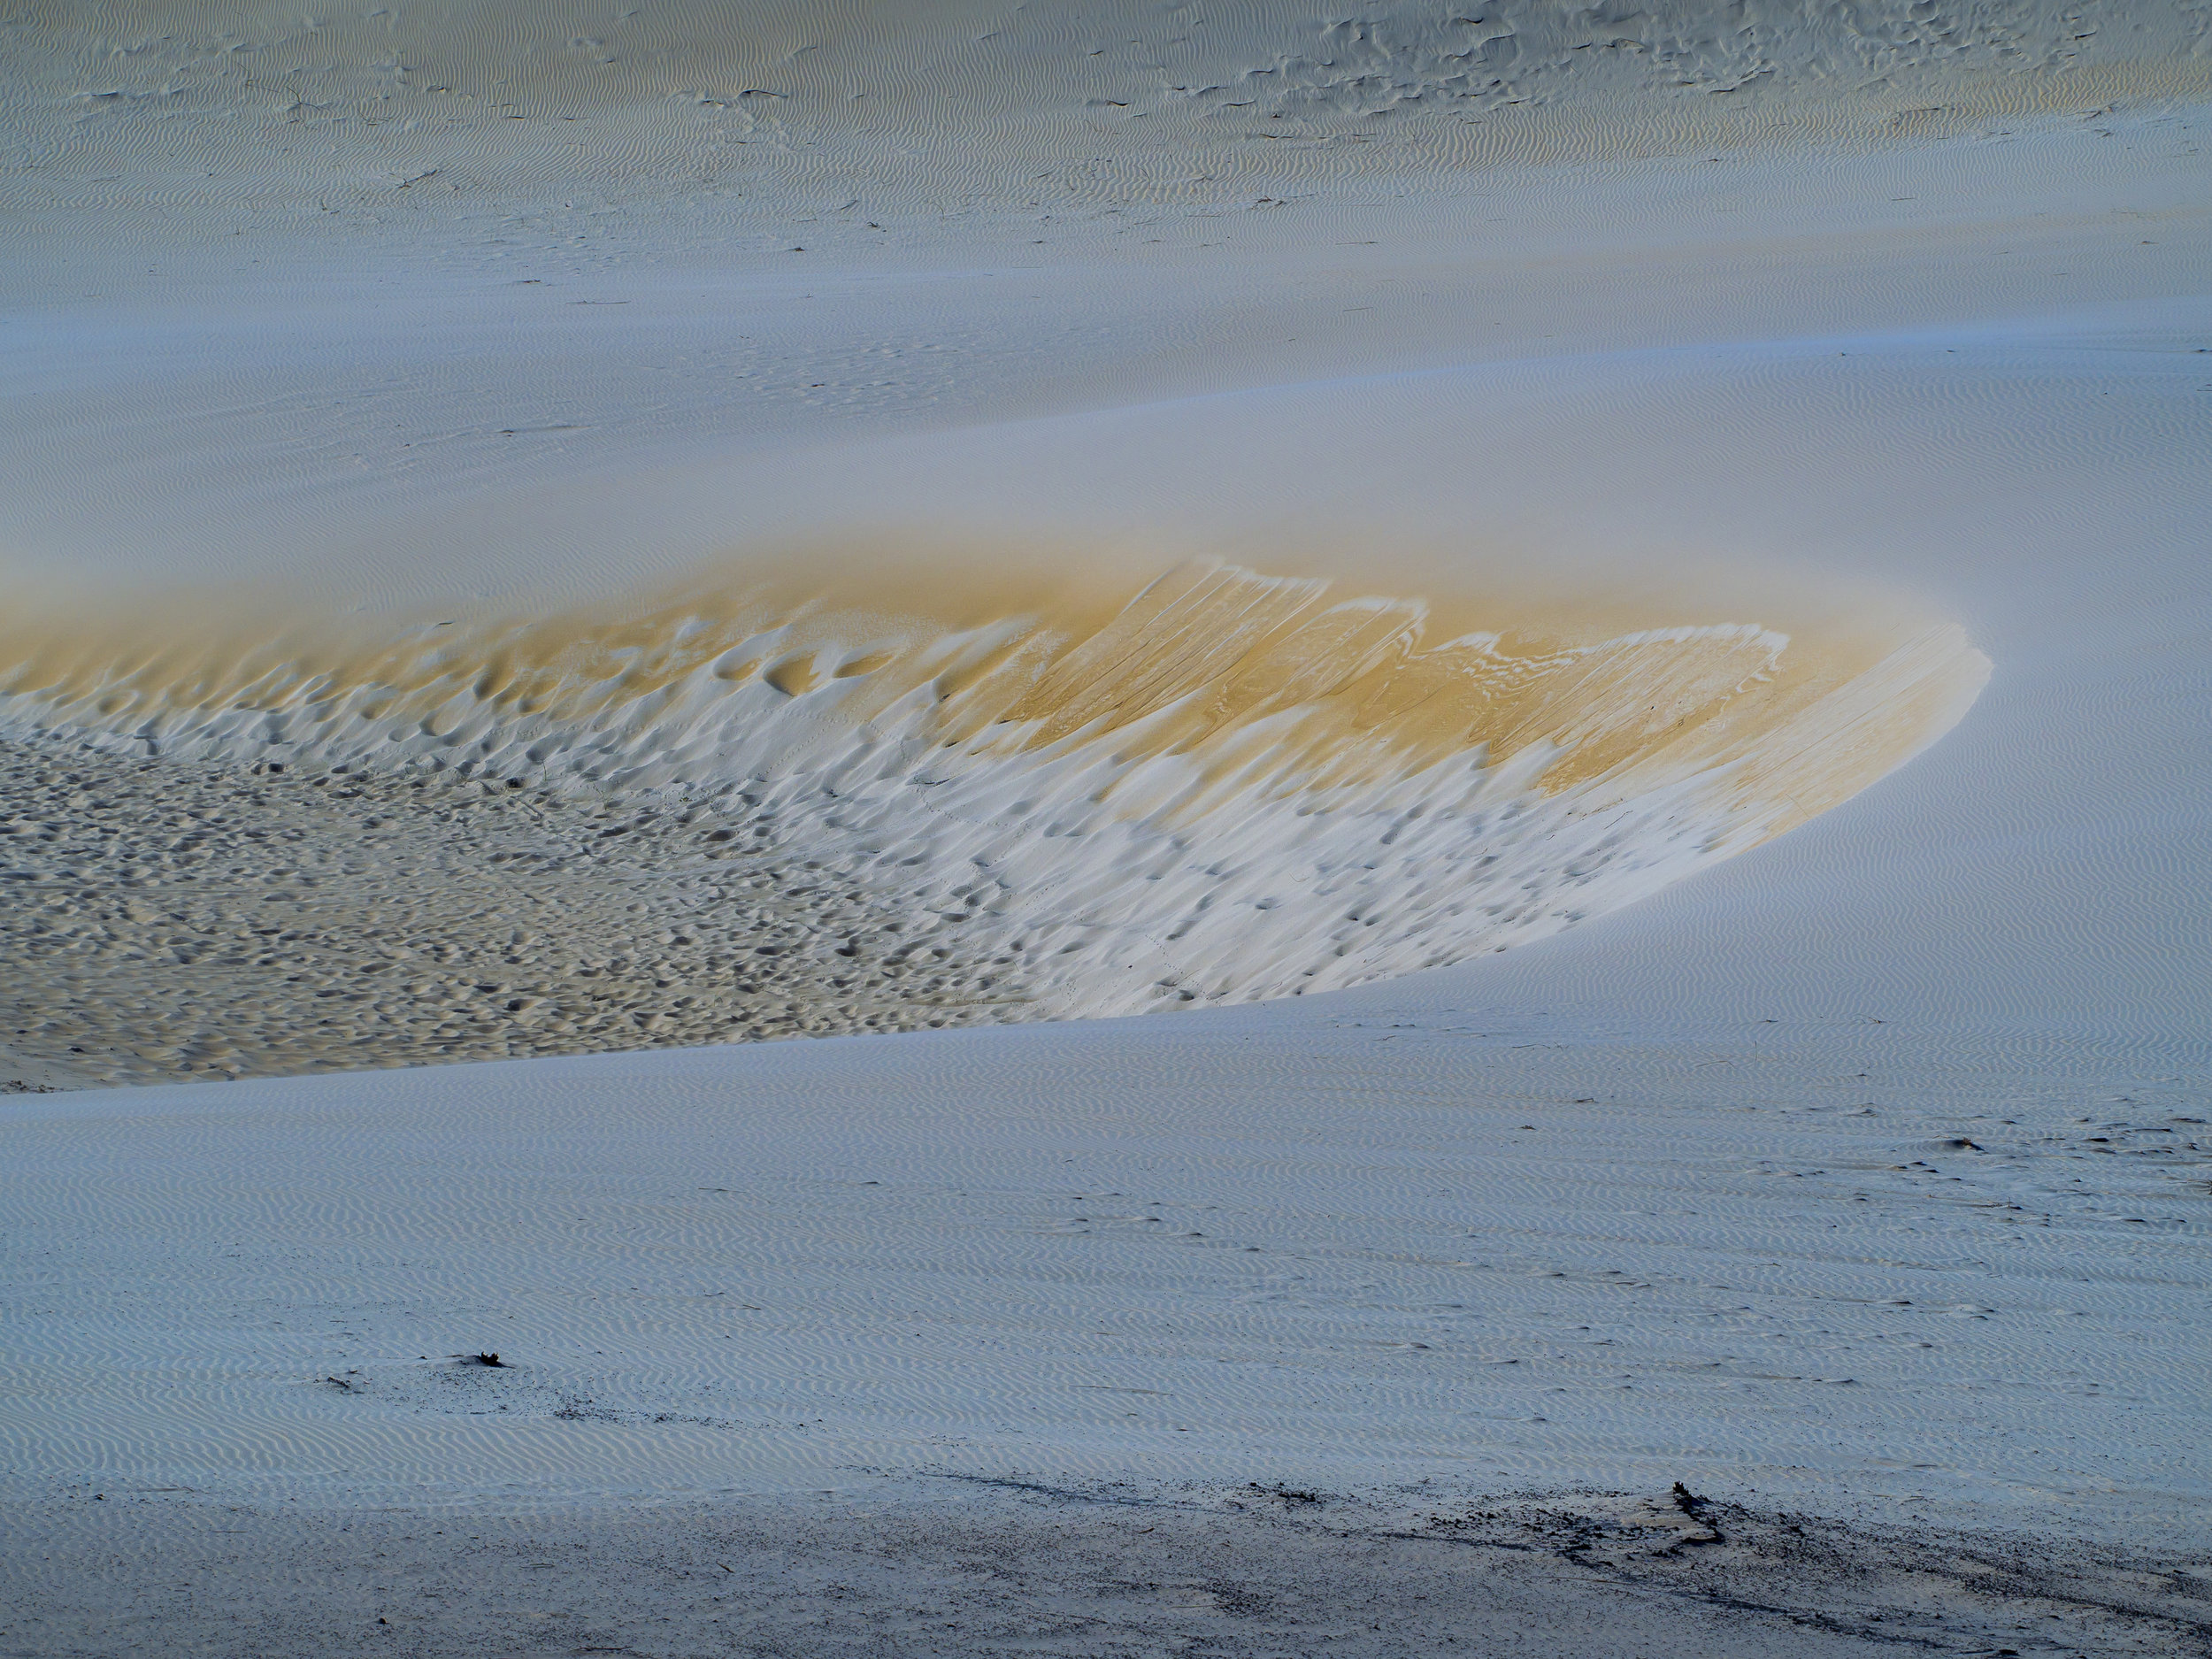
Creativity or accuracy?

Photography sits is in a difficult and delicate position in the artistic world. On the one hand it is generally accepted as an accurate enough recording system for every thing from dinner to dinosaurs, where most other forms of art disqualify themselves by their difficult and bespoke nature. On the other hand, the art world often assumes it to be a traitor to it’s own best characteristic, accuracy. It is assumed it is manipulated and compromised as a matter of course

Photoshopping has even become as much a household word as “Hoovering”, giving the modern photographer, in the eyes of their viewers, little solid ground to stand on if they claim to produce “pure” or untampered with work. The reality is, it never has been.

The fact is, no image making can be or has ever been perfectly accurate or unadulterated. There will always be forces out of the control of the photographer. Even in the film era, often cited as “real” or true photography, the choice of film, processing, light, filtering, lens coatings, film age, exposure, printing paper, printing chemistry, framing options etc. etc. would inevitably erode the accuracy of any attempt at literal reproduction. Ironically, this was how photographers controlled their style or signature process, by harnessing these differences.

So, does it matter if an image is not perfectly accurate? If it does, then how far from accurate is ok and how far is too far?

The argument of whether or not to manipulate a digital image will never be resolved to everyone’s satisfaction. Many reject too much obvious processing, added and fake elements, while others make a strong body of work doing exactly that (just look at most novel covers). The trend of regular over processing seems to be behind us to some extent, but these things do have a habit of coming and going. The biggest offenders recently seem to be well known film era photographers who have had their old work manipulated (knowingly or not) from it’s previously accepted form (Steve McCurry, as an example has copped a lot of criticism for this lately and my personal bugbear is the difference between Ansel Adam’s colour reproductions old and new).

Anyone shooting in RAW is by definition deciding to process to their own tastes, aggressively or gently. Those who subscribe to an “untouched”, straight out of the camera jpeg. file are simply letting the preferences of the camera manufacturer take precedence. There is no escaping the fact that someone’s ideal is being applied. The logic of then processing the jpeg file heavily escapes me.

Where to draw the line is a personal decision. I cannot do more than offer my own thoughts, with no intention other than to share, not judge.

Lightroom is my line in the sand. It allows me to manipulate the same functions that I could in a purely photographic sense when using film, but much more accurately and easily. Some of these decisions would have been at the film selection stage, some during processing and some in the Darkroom. Lightroom gives me much the same control in a more repeatable and cost efficient form. Printing also, is now simply a matter of accuracy (although instinct rather than technical processes is usually applied).

The basis of this approach is because of it’s inability to add anything that was not there. It only allows manipulations within the file as captured or the removal of extraneous details and flaws. These are exactly the same limitations we had before.

The more “graphic arts” applications of Photoshop leave me cold, but I also know that their lure would be too much temptation to ignore. I am aware however that the controls in Photoshop are sometimes more refined and powerful.

There are many other programmes similar to Lightroom, some with superior core pre-sets for some cameras, but the features I love to use most are only found in the Lightroom suite.

The all-in-one nature of the programme is helpful. It is my filing system, my processor and my printing interface. If I have the need it can also produce books or other styles of presentation, so for now, it provides all I need or may need.

The tools that are the most useful to me are;

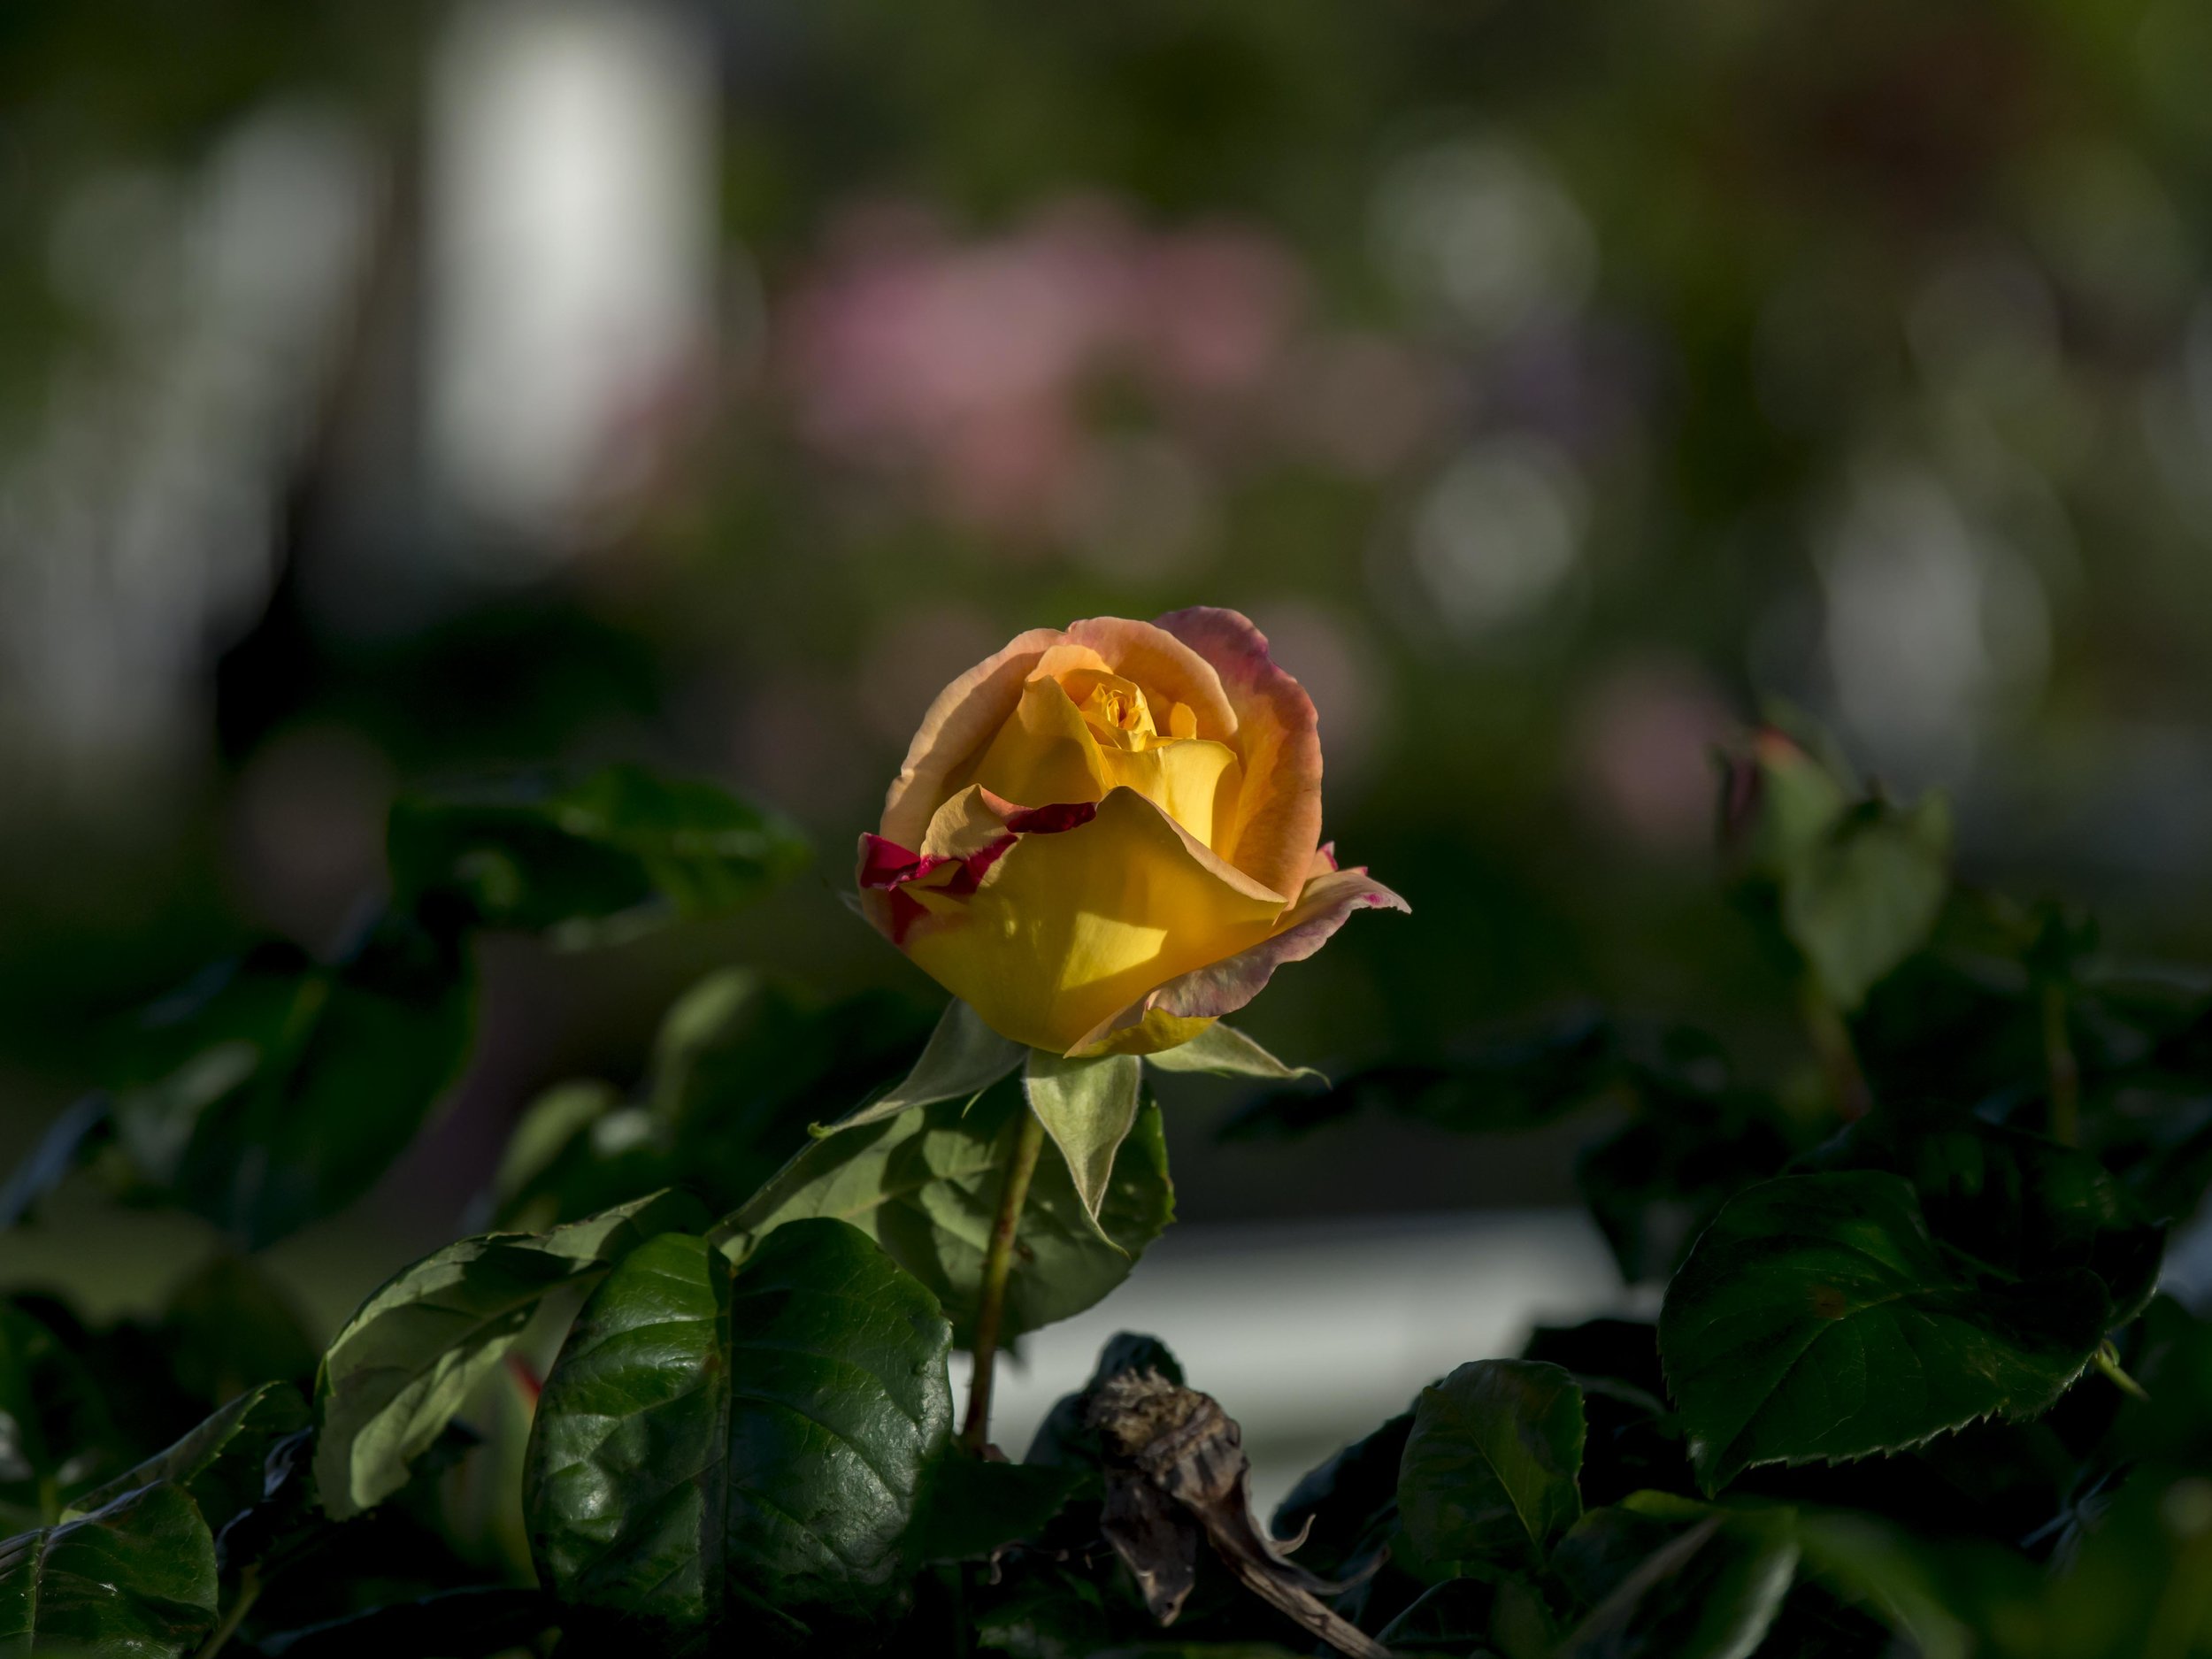
The Brush tool. This gives greater control and subtler application of the more aggressive editing functions. Localised contrast, clarity and sharpness are simply better to look at than global settings. If you use global sharpening or clarity, the entire image, even the soft parts will change. If on the other hand you apply mild (positive) clarity, contrast and sharpening to the area of main interest and negative values of the same to the softer areas, the image gains “pop” and three-dimensionality. The thing to remember with the brush tool is to apply it in multiple sweeps of gentle settings rather than heavy, one off sweeps.
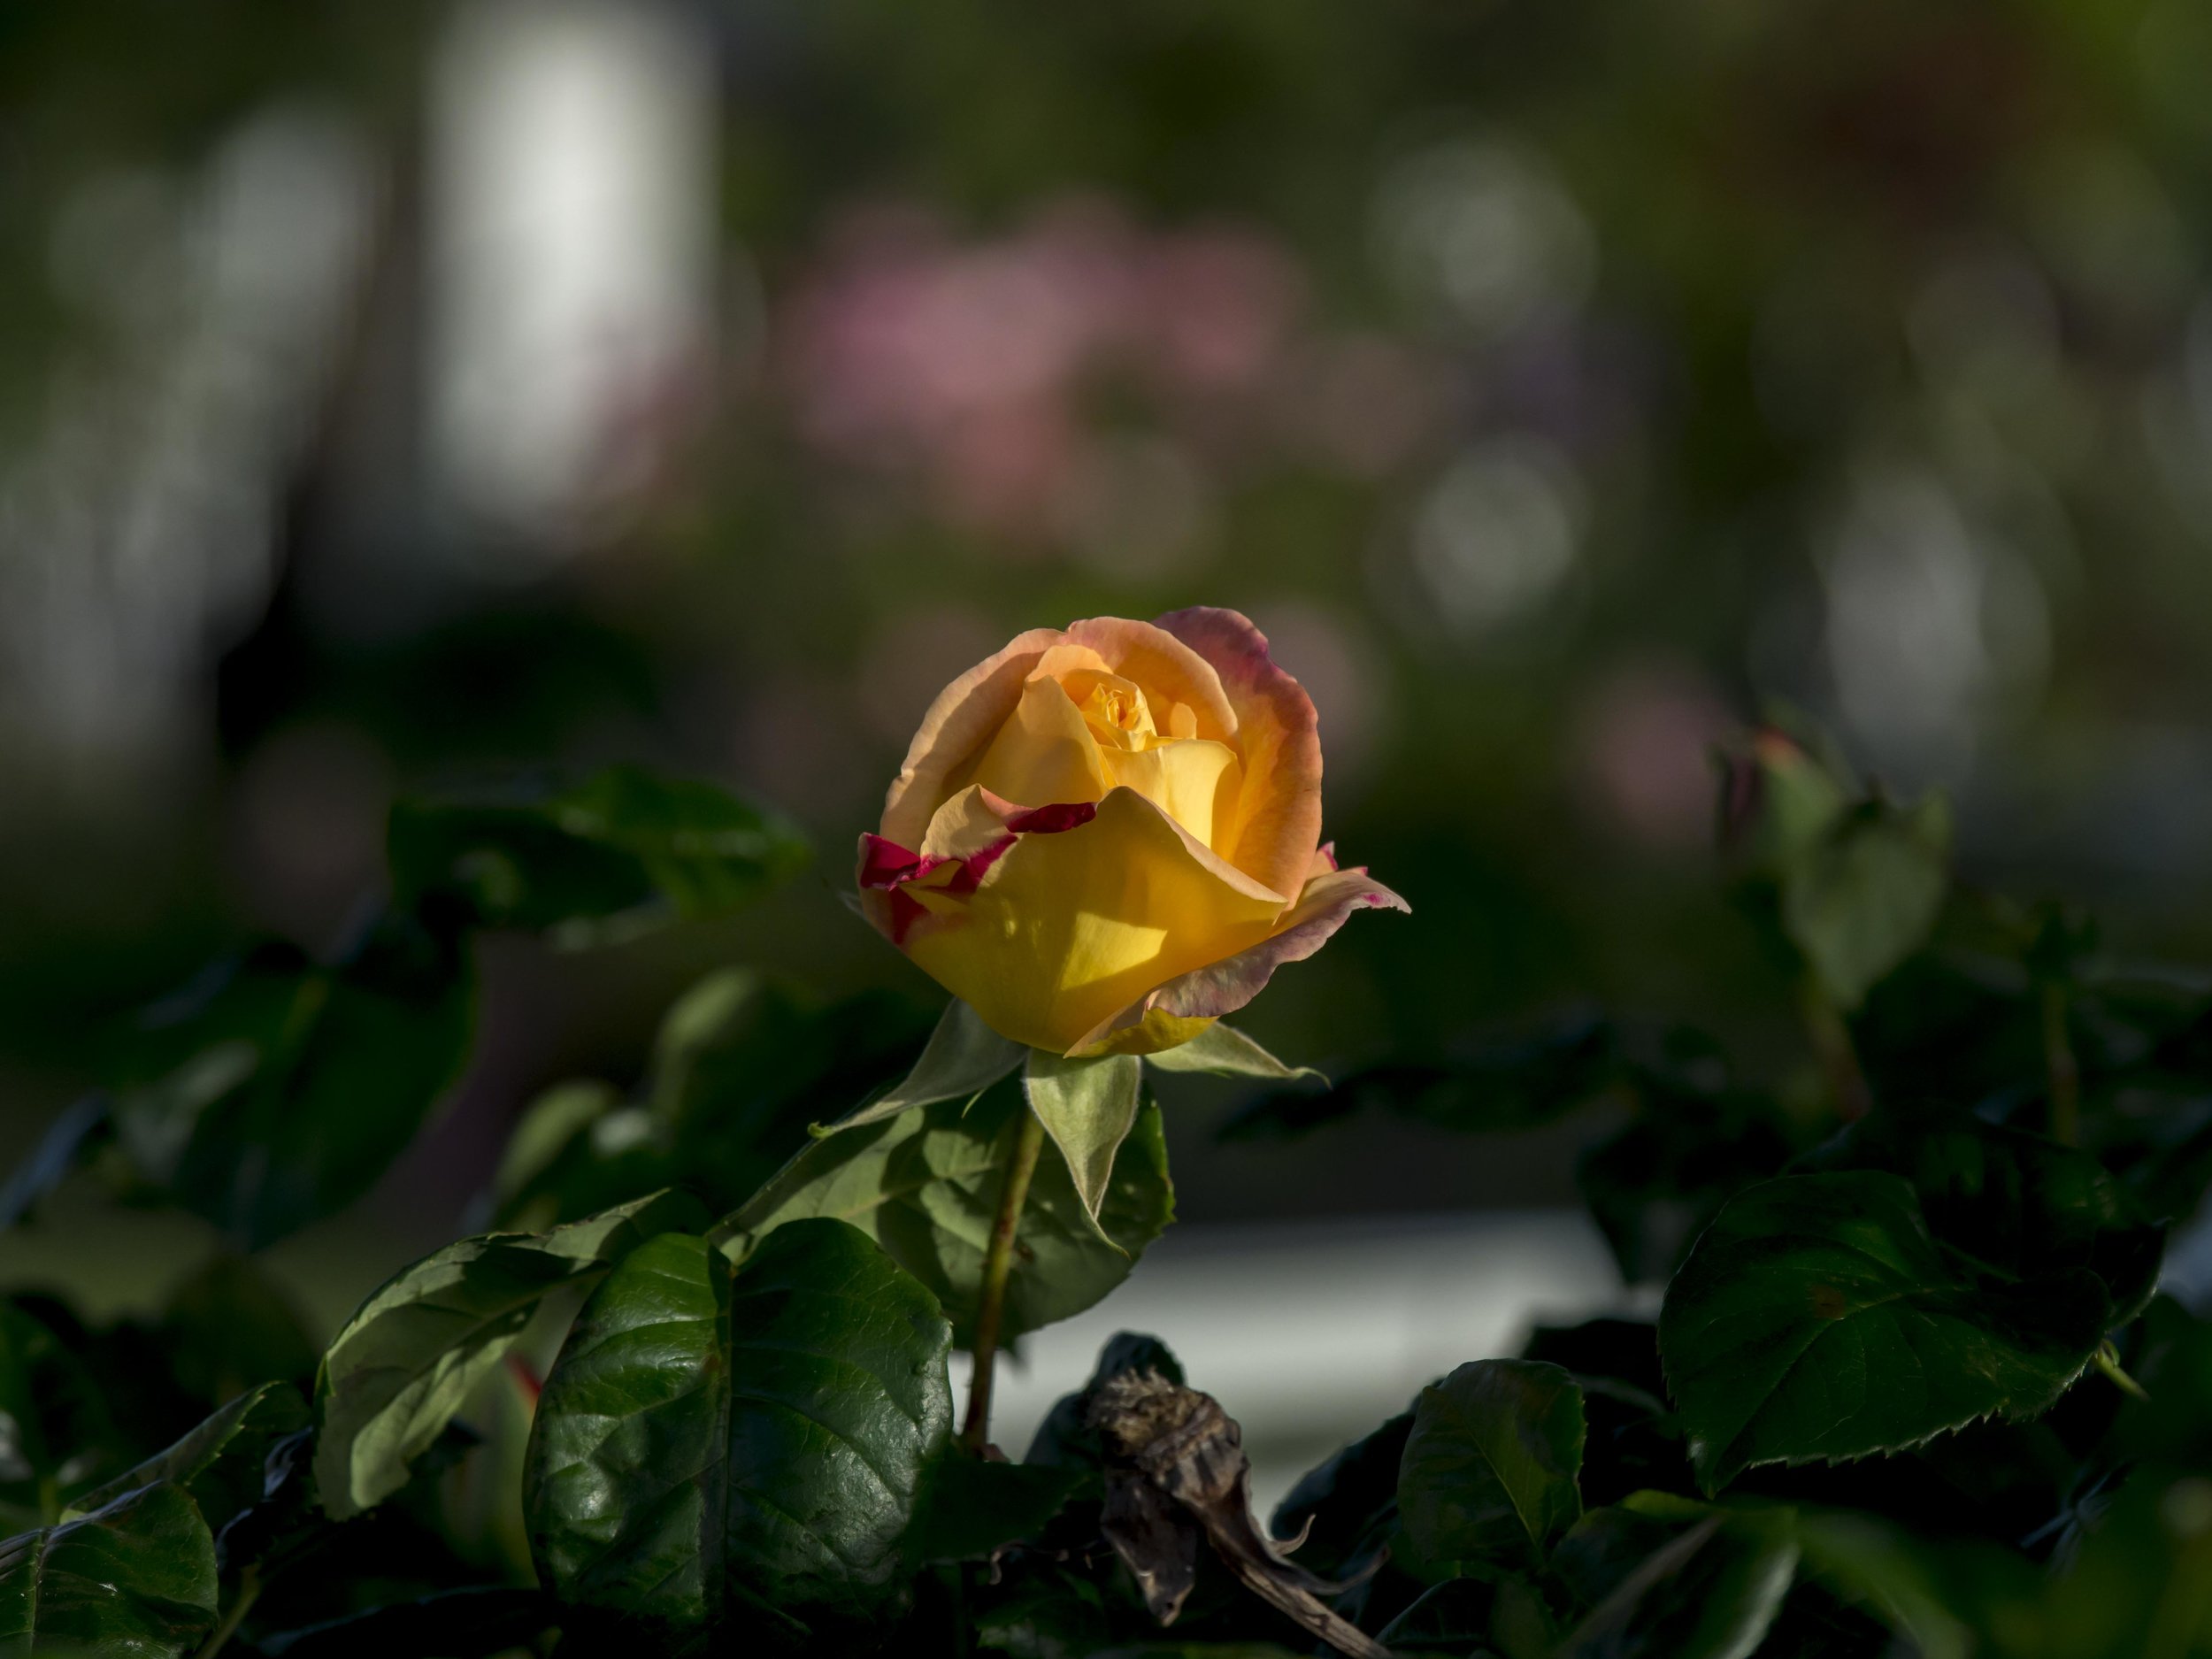
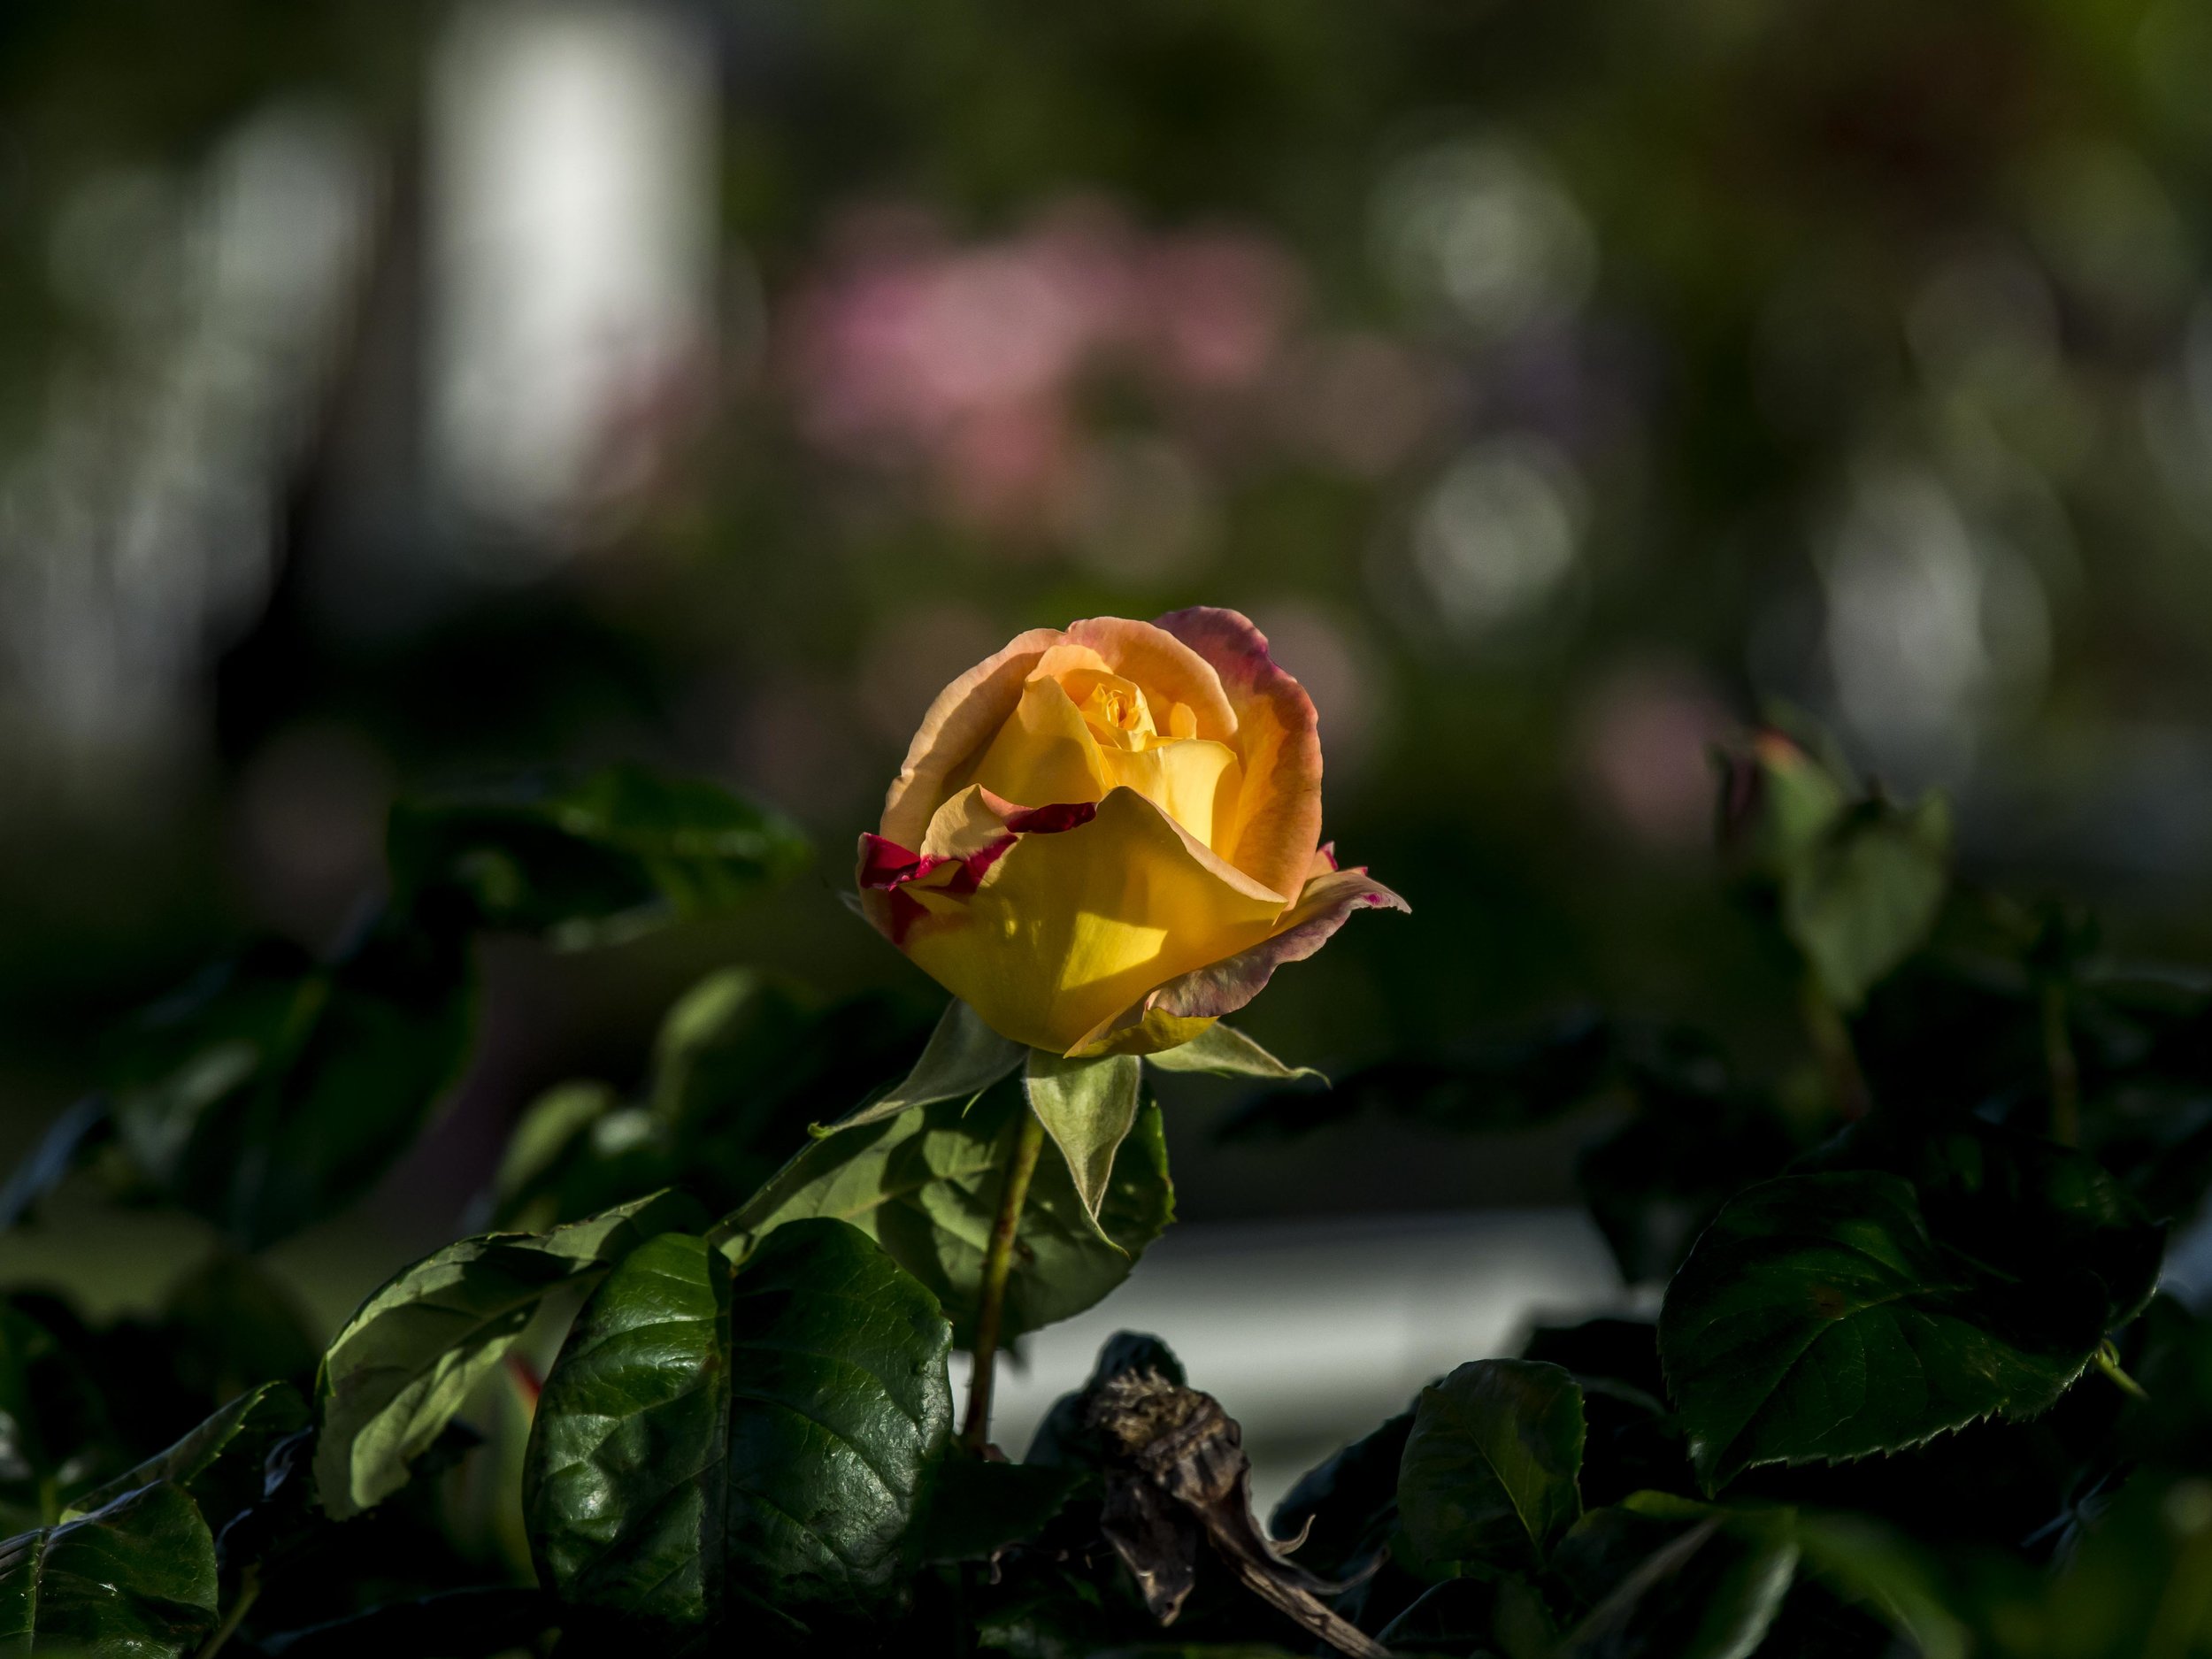
The first image above only has a basic pre set applied. The sharp and soft elements are too close to give a real feeling of separation. The second image has global contrast, sharpening and clarity added. The rose looks stronger, but the out of focus elements have become rougher. The final image has the same settings applied with the brush, but only to the rose and negative settings applied to the OOF areas, making the slightly less than perfect “onion ring” Bokeh smoother and creamier. This also add the three dimensional effect.

Camera Calibration. This one slipped under the radar for ages, but once discovered it gave me the ability to change the core colour rendering of my camera’s sensors. The EM5’s in particular have a colour base that is not to my liking. For ages I was frustrated with a magenta-yellowish baseline that took too much fixing to be comfortable (the more you process, the more file quality you potentially loose). The Camera Calibration sliders don’t just adjust colour like the normal colour sliders, they change the core colour bias of the file on a fundamental level (think of it as adding raspberries to a cake mix rather than putting them on top of the baked cake later). Just a little (+20) blue channel saturation for example makes my files cooler/deeper/more mysterious in the cool tones and by contrast warmer/richer in the warmer tones and not murky.
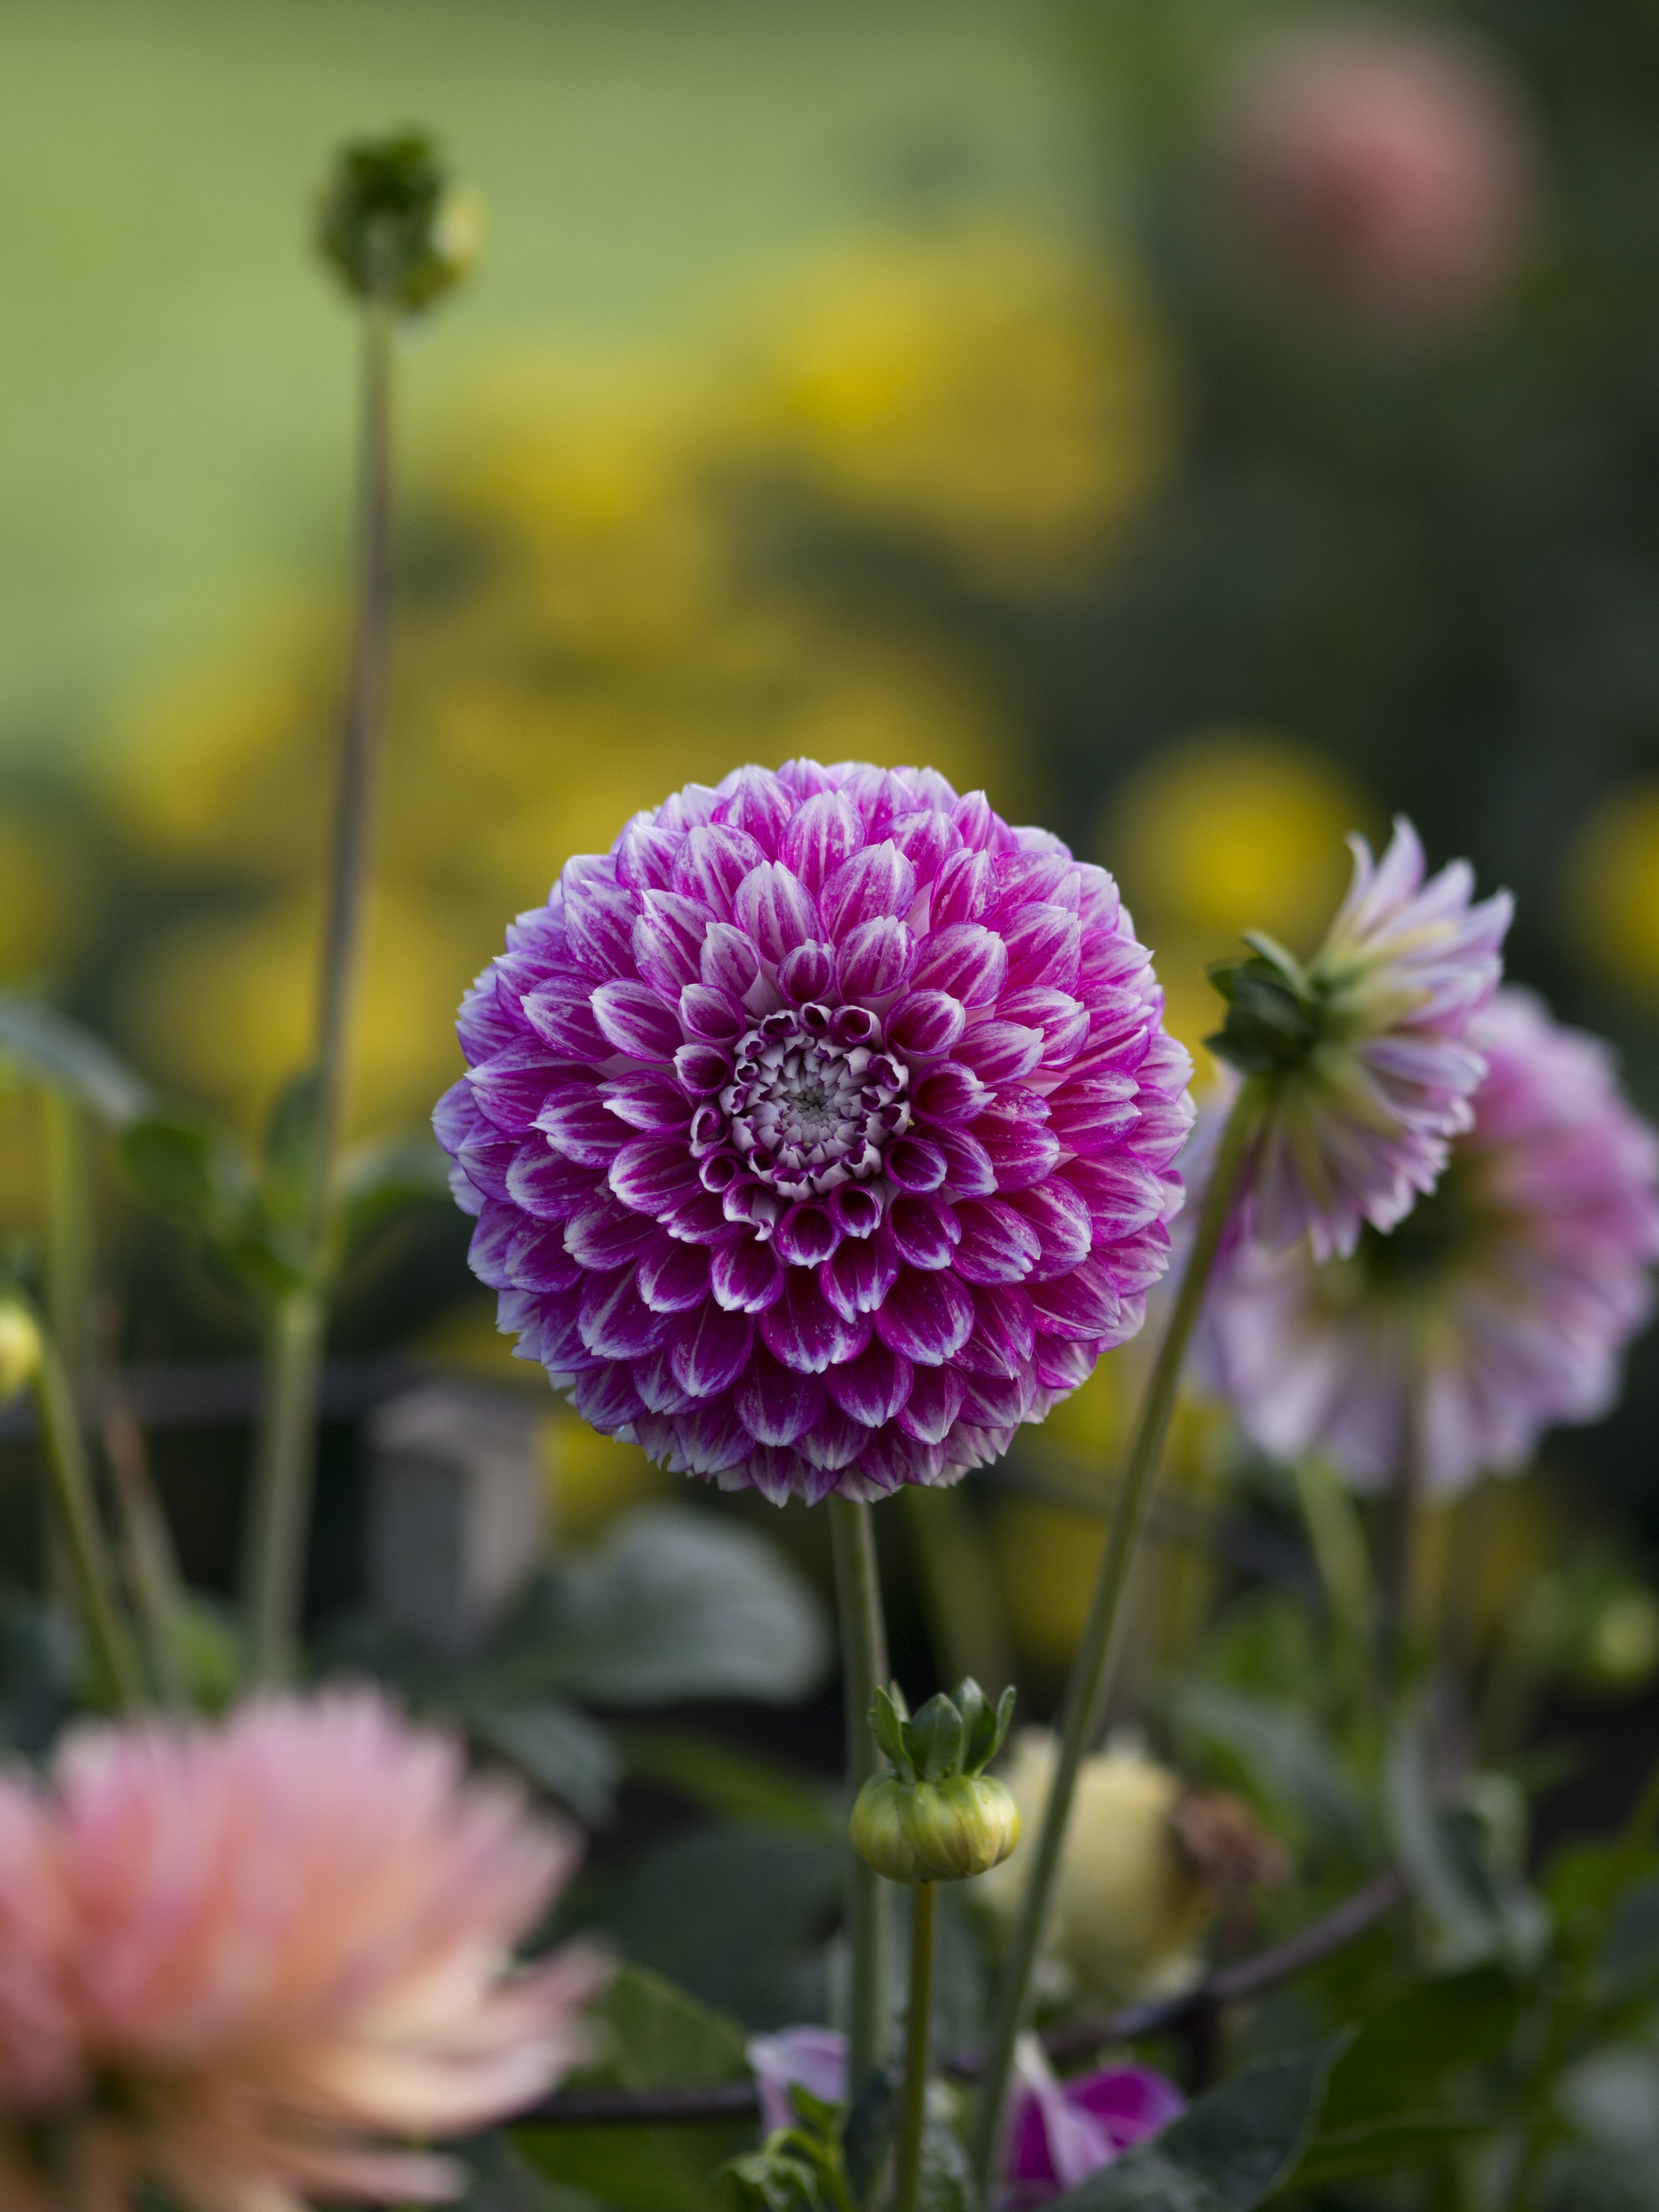
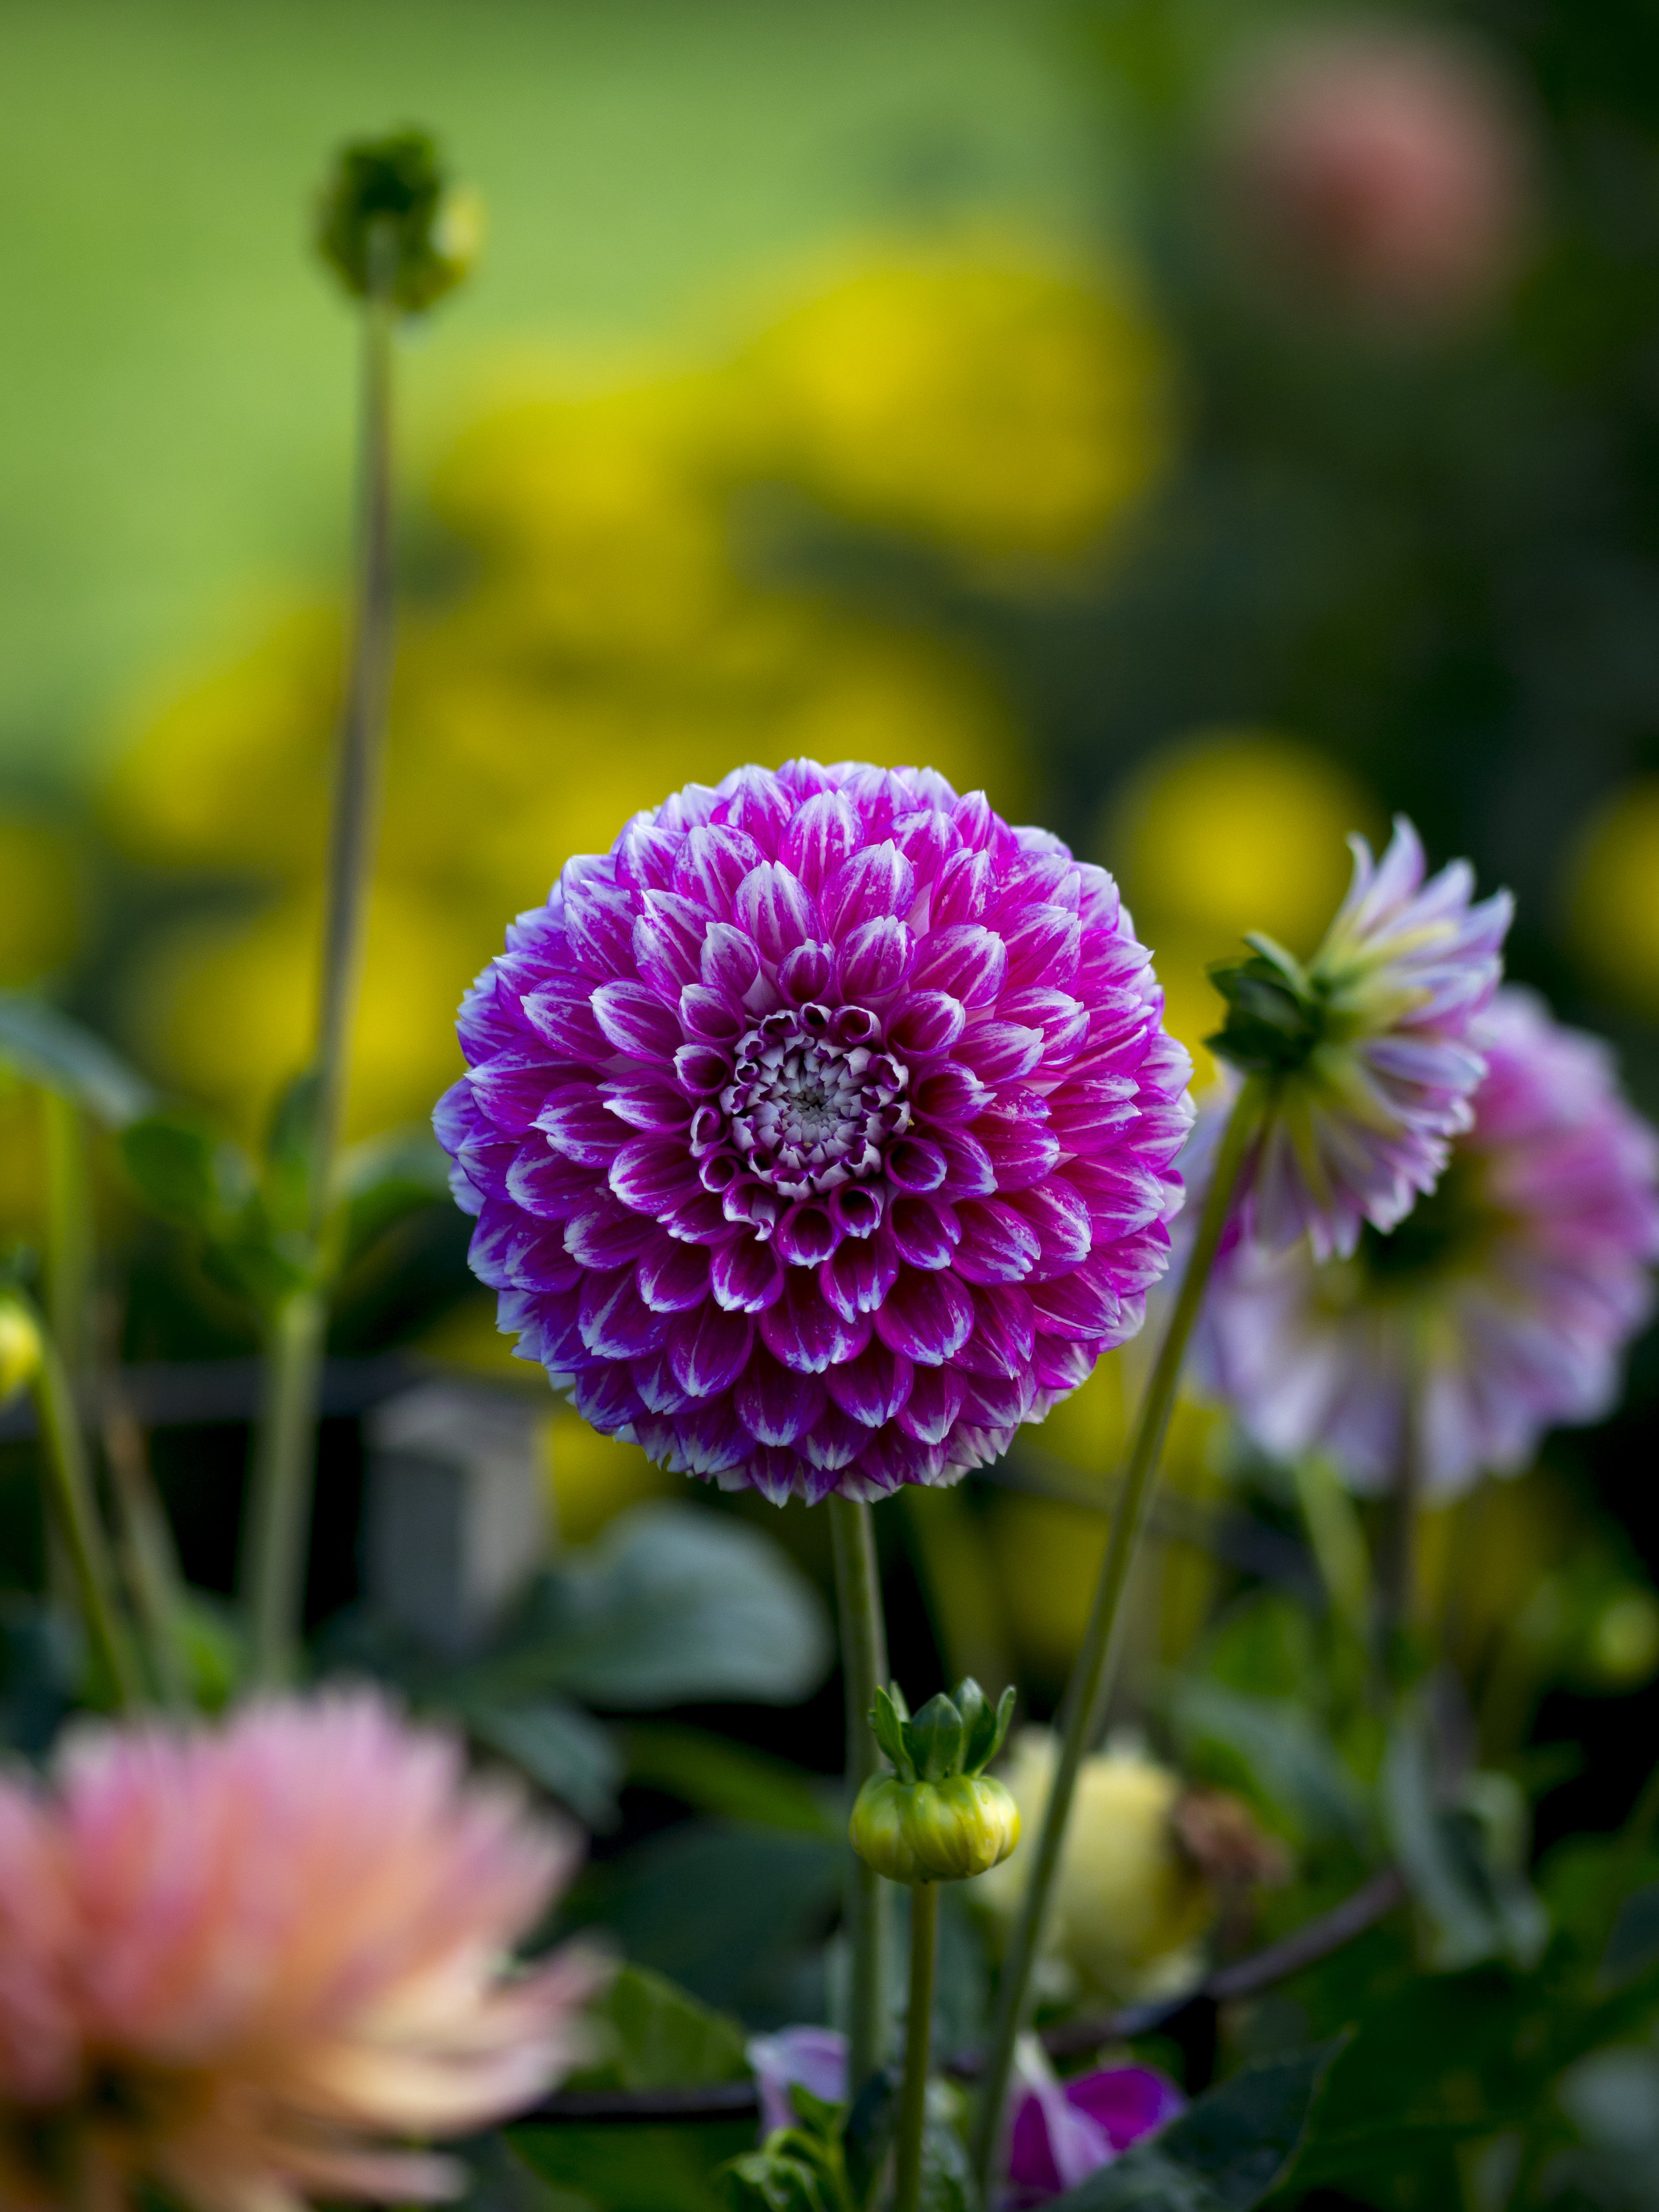
In the set above the first image looks cold and a little dull. The second image, with +20 added blue channel saturation warms it up and adds some brilliance. The colours could be played with individually, but this simple fix usually suits and I feel it does a lot more to the base colour than is obvious.

Black/White sliders. These two, again for the EM5 mk1’s add a richness and bite to the files that the simple contrast control cannot. Darkened blacks and lightened white make the files more contrasty and brilliant fashion. Each needs adjustment to compensate with their less aggressive siblings (+ shadows, - highlights). This is not as necessary for the newer sensors, but for the older 16mp sensor, it adds clean punch. I have heard that using the curve tool to do the same is a cleaner application, but I cannot confirm that.

This is my style, applied to my liking. It may be more (or less) than you prefer, but it suits me.


Lets not forget old and faithful friends

Lots of talking about, playing with and thinking on the merits of new cameras, but lets not forget old friends.

I have 3 OMD EM5 mk1 cameras, ranging from 4 to 6, nearly 7 years old, all with a 100k+ frame count, each going well with the following minor “faults” recorded.

  • The second oldest lost the cap off it’s top rear thumb dial about 3 years ago, I stuck it back on with double sided tape and it has been fine since.

  • The youngest and special edition model produced at the end of the production cycle, very occasionally (twice?) had to be turned off/on again to get the sensor to power up, although this may be a lens contacts issue.

  • The oldest one, purchased out of the first batch we received, had a spot on the sensor once very early on (oh the horror!), but it disappeared next on/off cycle and has never happened again. It is also sporting two pretty deep gashes on it’s top plate, with no known after effects.

The two older ones have not had their firmware updated since purchase, but it does not worry me.

What they are still great at;

The sensor/processor combination creates beautiful, uncomplicated, cleanly sharp and rich images especially in strong light. They really love late afternoon sun, shiny things and strong contrast with deep blacks, reminding me of how film rendered the same.

75-300 at 75mm. The two make an amazingly capable combo.

75-300 at 75mm. The two make an amazingly capable combo.

17mm at f5.6

17mm at f5.6

45mm. Kyoto has a series of odd chrome buildings in and around the city centre.

45mm. Kyoto has a series of odd chrome buildings in and around the city centre.

75mm. Building detail Tokyo Japan.

75mm. Building detail Tokyo Japan.

25mm

25mm

75mm at f1.8. The slight “CA” on the dog tag was actually from a green tinted, hardened glass window, not the lens, but it could/should have been cleared up anyway.

75mm at f1.8. The slight “CA” on the dog tag was actually from a green tinted, hardened glass window, not the lens, but it could/should have been cleared up anyway.

I just love the simple 70’s film glow that some files have.

I just love the simple 70’s film glow that some files have.

The image above was taken “loosely” on a day when both Fuji and Canon FF were in the final mix. This file was the only one that came easily and well (the Canon missed focus and Fuji at that time was just too slow and “detached”). I had at that point decided to go back to full frame. After trying this image on an XE-1 and 6D mk1, I added a couple of lazy grab shots from the Olympus . On examination, these 2-3 files were the best focussed, easiest to manipulate and fastest/surest to take. This one ended up printed as an A2 for work, helping sell a lot of M43 cameras.

40-150 f2.8 through a hazy window.

40-150 f2.8 through a hazy window.

75mm at f2 through a reflective window.

75mm at f2 through a reflective window.

The controlled highlight rendering matched with good shadow recovery combine to make post processing surefooted and consistent.

45mm

45mm

75mm

75mm

They are still quick to fire, reassuring in operation and low profile enough to go under the radar more often than not.

17mm. this set is jut a small showing as a brilliant day in Tokyo. Hitting a real winning streak, I captured 20+ “keepers” in an hour.

17mm. this set is jut a small showing as a brilliant day in Tokyo. Hitting a real winning streak, I captured 20+ “keepers” in an hour.

untitled-040305.jpg

The first acquisition AF is still cutting edge, surprising me still to this day, as long as you do not need tracking.

17mm. One of many hip level snaps, using the tilted-up rear screen.

17mm. One of many hip level snaps, using the tilted-up rear screen.

tokyo summer 2-010366.jpg

High ISO performance is still good as long as the lens used has strong micro contrast and the exposure is accurate.

Shot with the 40-150 pro and a slight crop. This lens allowed me to use ISO 3200 cleanly for a series of images shot in on unlit stage, without flash.

Shot with the 40-150 pro and a slight crop. This lens allowed me to use ISO 3200 cleanly for a series of images shot in on unlit stage, without flash.

One of the big advantages of M43 cameras is the combination of format (rendering better depth of field at lens wider apertures), and stabiliser means you do not have to use high ISO’s as often.

17mm wide open. Taken in near darkness, this was one of my first revelatory images with the new (then) EM5. The combination of a lower than expected ISO due to an excellent stabiliser, good shadow recovery, natural “filmy” grain and the ability to s…

17mm wide open. Taken in near darkness, this was one of my first revelatory images with the new (then) EM5. The combination of a lower than expected ISO due to an excellent stabiliser, good shadow recovery, natural “filmy” grain and the ability to shoot with a 17mm lens wide open made this possible.

Black and whites can be either smooth and very tonally pleasing of have a very film like and natural grain.

75mm

75mm

17mm

17mm

45mm

45mm

From early on I found myself keen to shoot in available darkness.

From early on I found myself keen to shoot in available darkness.

What I feel needs addressing for best results.

I personally do not like the colour straight out of the camera. Jpeg’s need the warm tone setting taken off then -1 magenta in the tonal slider (camera back).

RAW files get a pretty strong Lightroom pre-set applied (Darkened blacks, lightened whites, reduced highlights, increased shadows and added blue saturation in the camera calibration window). This gives me a cleaner, cooler-neutral and richer look without the yellow/magenta caste the base images tend to show. I also find the brush* with a little added sharpness/clarity/contrast really makes important parts of the image jump out. Although highlights recover well, I lean on under exposure to make the shadows deeper or stronger, knowing I can recover them if needed.

*Generally I lay off global sharpening, saturation and contrast/clarity. You get better results by locally brush-tool applying these.

Images on bad light days can be a little flat and dark, almost too literal. This is to be expected, so Fuji cameras, compared at the time were my go-to’s for poor light quality shooting as their jpegs added a little (possibly fake) brilliance to dull day images. I think part of the problem comes from the expectation you can get something useable from every file and sometimes, the simple, honest images form the Em5’s are just too honest. Often reviewing them later, they look better than their first impression. Another thing I need to remember is the blue saturation slider in camera calibration trick came later, after the first two trips to Japan that were plagued with cool, wet spring light.

untitled-1240519-2.jpg
The basic adjustments outlined above, quickly (too quickly probably) applied. Sometimes I feel the more I dig, the more I will find.

The basic adjustments outlined above, quickly (too quickly probably) applied. Sometimes I feel the more I dig, the more I will find.

As above, nothing added, only found and enhanced. All the colour in both images is natural to them. Post processing need only strengthen the better elements and reduce the weaker ones.

As above, nothing added, only found and enhanced. All the colour in both images is natural to them. Post processing need only strengthen the better elements and reduce the weaker ones.

In comparison to the Canon sensors I came from using (5D2, 550D, 50D) 6 years ago, they held much better highlight detail and were generally more robust in processing. Canon’s issues with burned out highlights, lens calibration and accuracy issues and general “softness” in operation really pushed me over the edge and at the time and Olympus/Panasonic were the only viable alternative if you wanted to swap fully into mirrorless, not just fiddle.

Many of the little niggles I had with the EM5’s have now been addressed and the new sensor and processors have raised the bar, but there is still much to like in the older cameras.

Exciting times.

The 4 Stages of Street photography (according to me)

You may or may not have heard of the 5 stages of photography? If not, they are the recognised developmental steps (most) photographers go through from beginning, accumulating, adapting and finally settling on their gear and technique. I cannot say it is bunkum as I recognise myself, sometimes repetitively in these steps.

Street photography, I feel has a similar set of recognisable stages.

Stage 1. Recognition.

The first is often the step that creates interest for the budding street photographer. Full of the desire to experiment, but lacking direction, the enthusiastic and increasingly competent early shooter may be aware of all sorts of things on a purely photographic, compositional level and may naturally find human interactions, observed normality or urban detritus draws them. The moment they recognise this as a recognised form, they have started their journey as a street photographer. This may come early or late in the photographers journey, depending on their interests.

Stage 2. Luck and effort.

One of thousands of grabs taken over 5, 2 week trips to Japan. Sometimes the frame fills itself with balance and interest, creating the organised chaos style I favour, often not. (EM5 mk1 17mm Kyoto Japan)

One of thousands of grabs taken over 5, 2 week trips to Japan. Sometimes the frame fills itself with balance and interest, creating the organised chaos style I favour, often not. (EM5 mk1 17mm Kyoto Japan)

Once recognised, more concentrated effort is directed at fast accumulation of images. The new adherent now has to decide what style of street photography they are going to subscribe to. This is often subconscious, maybe an extension of what has worked before, but if they have also become a deep researcher on the subject, then maybe more deliberate. The reality is though, at this early stage, luck and dedication will determine the volume and then the overall look and feel will come from habit. This constant practice will come easily as long as the feeling of excitement and exploration lasts. Often the most satisfying images at this stage are the “coincidental” or clever ones, which often come down to saturation of the subject coughing up the odd perfect image.

Stage 3 The divergence.

One of many potential images from a series of Japanese shop windows I am working on. (EM5 mk1 25mm Kyoto Japan)

One of many potential images from a series of Japanese shop windows I am working on. (EM5 mk1 25mm Kyoto Japan)

As the practitioner gains confidence and accumulates a library of images (including a reasonable set of favourites), they pair down their gear to just what is needed rather than what they may need (street shooters usually find simplicity and self discipline their best friends, not a heavy bag full of options), they start to gravitate to a clearer path, often in contrast to other styles that also fall under the banner of “street”. Unfortunately this where many become judgemental of others work citing theirs as the only true form. For those I feel their journey often ends here.

  • The Portraitist will approach their subject, taking candid, but fully cooperative environmental (or not) portraits, often with a short introduction or story to provide context. This is a modern style that is so recognisable with movements like “Occupy Wall Street” or the work of Robin Wong or Eric Kim. Their style is inclusive and completely overt, more about community than documentation. The photographer needs to built confidence (courage) and good communication skills. They may find language their biggest barrier, but they have the advantage of time. This also includes the documentary shooter, who will include other images to fully flesh out the story, but their anchor will be the portrait. Of course the biggest problem portraitists face is one of variety. People come in all shapes and sizes, but portrait image tend not to, so unless they rely on gimmicks, the portraitist must always find relevance for their work.

  • The Watcher on the other hand will try to stay invisible. Choosing not to intervene or interrupt their subject, the watcher is trying to capture fleeting moments of life without their presence influencing it. To this practitioner, the unadorned, natural and intimate moment with emotions stripped bare, is like gold. This style has it’s roots very much in the dawn of street photography and went all but unnoticed, for most of the 1950’s to 2000’s, classed loosely as documentary photography. Among my favourites here are Kenneth Tanaka, David H Wells (especially his early mono work), Hiroki Fujitani, Saul Leiter, Ernst Haas (most of the early colourists), Vivian Maier, Helen Levitt, Alex Webb just to name a few. Although each very different from the next, all share the same desire to see, capture and move on invisibly, non-destructively. The detached nature of this style runs the risk of alienating the viewer, relying on composition, clever message and technique rather than an engaged subject to anchor it, and it can be seen as invasive or sneaky by the subject. Personally I love it. I want to see the natural way of life people live.

  • The Rule breaker who carves out a style alien to some (often shunned by the “purer” forms above), but adhere to the basic, broader precepts of street shooting. Kate Kirkwood, substituting streets for country lanes and cityscapes for hills and cow spines or Phil Borges making the landscape look like a studio for his thrid world portrait subjects and even Jan Meissner making New York streets look like carefully managed stage productions are all exceptions to the rule. These photographers are hard to categorise and often do not even get included under the broad umbrella of street photography. Strict rules are contradictory to the street shooting ethos which since day one has been filled with rule breakers.

Very much in the watcher’s style (EM5 mk1, 17mm, Nara Japan).

Very much in the watcher’s style (EM5 mk1, 17mm, Nara Japan).

Stage 4. The Deep Connector is the fully developed street photographer. No longer relying on luck, coincidence, nervous approaches or subterfuge, this photographer is style agnostic and very adaptable. They are now fully immersed in their subject and embrace any and all styles. Their guiding force is to connect on a level they have not reached before and continue to develop that connection. Peter Turnley is a good example of the fully developed, mixed style street shooter as is Eugene Smith. This also includes the bulk of National Geographic travel-doc photographers such as Sam Abel, David Alan Harvey or Steve McCurry.

Again the watcher at work. EM5 mk1 25mm Kyoto Japan.

Again the watcher at work. EM5 mk1 25mm Kyoto Japan.

The journey may be shorter or longer with each photographer, but for many this is the shape of a street photographers development.

Personally I feel I am at a transition point between stage 2 and a stage 3 watcher with a dash of rule breaker. My “Kensho”* is stage 4. I can only hope.

*Kensho is a buddhist term meaning roughly the initial “seeing” or understanding of one’s true nature, but not yet reaching the perfect form of it.

Some thoughts on two zooms

Not a big fan of zooms. When I do have one I usually fear the worst, to the point of more often than not thinking myself out of them in reasonably short order.

The 75-300 is a different story. It has never owed me much (even after my second one), but has delivered well out of proportion to it’s cost.

300 f6.7. Too long and too slow? It never fails to deliver.

300 f6.7. Too long and too slow? It never fails to deliver.

A surprise jpeg from a burst I took testing one of the EM1’s wonder features (maybe Pro capture?). Something I have noticed about the new cameras is that I import the files with a much gentler pre-set and often cannot automatically pick their proces…

A surprise jpeg from a burst I took testing one of the EM1’s wonder features (maybe Pro capture?). Something I have noticed about the new cameras is that I import the files with a much gentler pre-set and often cannot automatically pick their processed RAW files from their jpegs as I could with the EM5’s.

Good enough? I think so. It is this regular over achieving that makes me grateful to have this lens around. Keep in mind also, this was shot in poor, early morning diffused light.

Good enough? I think so. It is this regular over achieving that makes me grateful to have this lens around. Keep in mind also, this was shot in poor, early morning diffused light.

Time after time wide open at the long end. It is sharper at f8 and even sharper at 200mm or shorter (I even found it to be effectively indistinguishable from the 40-150 Pro and the 75 prime at the short end). Notice the nice Bokeh, often difficult t…

Time after time wide open at the long end. It is sharper at f8 and even sharper at 200mm or shorter (I even found it to be effectively indistinguishable from the 40-150 Pro and the 75 prime at the short end). Notice the nice Bokeh, often difficult to achieve with a slow lens.

The tight lens cropping and reasonable quality allows for even tighter cropping after. This bird was about the size of a seagull at about 10 meters away. A little gentle brush work and some mild contrast correction and noise reduction.

The tight lens cropping and reasonable quality allows for even tighter cropping after. This bird was about the size of a seagull at about 10 meters away. A little gentle brush work and some mild contrast correction and noise reduction.

The 12-100 has a lot more work to do to convince me. It cost a bomb compared to my current kit (I have had dearer, but not by much and not anymore), it is out of my comfort zone weight and size wise and it is my enemy of enemies, a superzoom.

Nice rendering, but nervous Bokeh.

Nice rendering, but nervous Bokeh.

Similar cropping and post processing to the one above, showing the benefit of the long lens. At 100mm f4 this was quite soft before processing, but that is not a scientifically provable observation due to “field” factors.

Similar cropping and post processing to the one above, showing the benefit of the long lens. At 100mm f4 this was quite soft before processing, but that is not a scientifically provable observation due to “field” factors.

untitled-130187-2.jpg

The 100 f4 seems to be about on par with the 75-300. Is that a compliment to the cheap lens or a disappointing result from the pro lens? I tested the 12-100 against a bunch of good to great lenses at 12-45mm focal lengths and it did well against the pack, beating most, but I did not test it at the long end.

Very sharp image taken with the Pen F. Maybe these two like each other more? I will investigate.

Very sharp image taken with the Pen F. Maybe these two like each other more? I will investigate.

I will do some more scientific testing soon, mainly out of curiosity, not necessarily fear of a dud. I know it will do the job it was bought for (landscape), I just need to get back to using my primes more for general stuff and stop using this lens out of laziness. It was specifically bought for another purpose.

The lens seems to take processing well, a little like the 17mm but without the soft corners. The Bokeh is a little distracting. EM5 100 f4.

The lens seems to take processing well, a little like the 17mm but without the soft corners. The Bokeh is a little distracting. EM5 100 f4.

This image shows a nice level of snappy focus plane and pleasant Bokeh, but nothing on the level of either the 75-300 or 75mm prime.

This image shows a nice level of snappy focus plane and pleasant Bokeh, but nothing on the level of either the 75-300 or 75mm prime.

Focussing is generally spot on and a little faster than the 75’s. Colour is good (rich, neutral and contrasty without being over the top) Bokeh is fair without being spectacular.

Focussing is generally spot on and a little faster than the 75’s. Colour is good (rich, neutral and contrasty without being over the top) Bokeh is fair without being spectacular.

I purchased this lens as a work horse do-it-all landscape and semi macro lens, with added AF benefits if needed for paid work. That is what it is good at and that is what I have to remember when choosing my gear. It takes months, often years before I can fully settle down with a lens and my expectations seem to be ever higher*. Early jitters have to be worked through. The reward is a reliable friend with a known personality.

*It seems I have already moved on from the relatively fine 16mp files of the EM5’s. How quickly we forget.

See the technical section for a more recent field test of the 12-100 f4 on the Pen F.

The power of f1.8 and the little 17mm

I have often talked about the usefulness of the Olympus 17mm f1.8 at wider apertures. It seems to share a similar characteristic to the 17mmm Pro in that it keeps background Bokeh very coherent, letting you use it compositionally rather than avoid it as useless. Useless could mean messy, too strongly blurred or simply visually unsettling in some way.

Where the Pro lens uses it as a way of creating harmony in a shallow depth image, the little 17 uses it more for inclusiveness. It’s less perfect wide open sharpness helps with this inclusive nature. You do not have two forces working at odds, but rather in support of one another.

It also has the benefit of the point of best focus seeming to gently “pop” out of the frame, but only when you are looking directly at it, not stealing the show.

When used with black and white, it becomes a creative tool like texture or tone, so important to mono images.

All images taken with an EM5 mk1 with the 17mm at f1.8. The combo was used with auto focus applied for the more distant subjects (bottom 2), manual focus for the nearer ones. I have never known a lens to be so supportive of focus misses as a deliberate (or not) tool.

Notice also that the top left image, even with a little motion blur is still sharp on the main subject. This lens suffers from a fair share of lack lustre reviews. I find it an interesting balance of contemporary and old fashioned design. I feel it was designed with street photographers in mind, where it’s application of elongated transition and useful “non” modern super smooth Bokeh will be often be lost in review quantifying*. The result is a lens that reviewers often treat poorly but many users love more and more over time.

Recently I tried out the 15mm Leica again as a landscape alternative. It was indeed sharper across the frame and it had a brightness I found appealing. The Bokeh, for street work would be too “nice”, dropping off smoothly far too fast, like a good portrait lens.

Bokeh seems to be viewed as either a deliberate tool, where more is always more, or an unfortunate side effect to avoided if possible. The 17mm makes me feel like using it against the trend. It is the only lens I have that makes me look excitedly into the transitional areas and treat them as fully useful part of the frame, not just as lost or dead spots.

With my 25, 45 and 75 lenses out of focus areas may be used, but only occasionally and more deliberately.

45mm at f1.8 used in a role that is less common for me.

45mm at f1.8 used in a role that is less common for me.

*Ming Thien is the only reviewer I have seen that commented on and compared the Bokeh to similar lenses, highlighting the extended transition.

late evening Shibuya

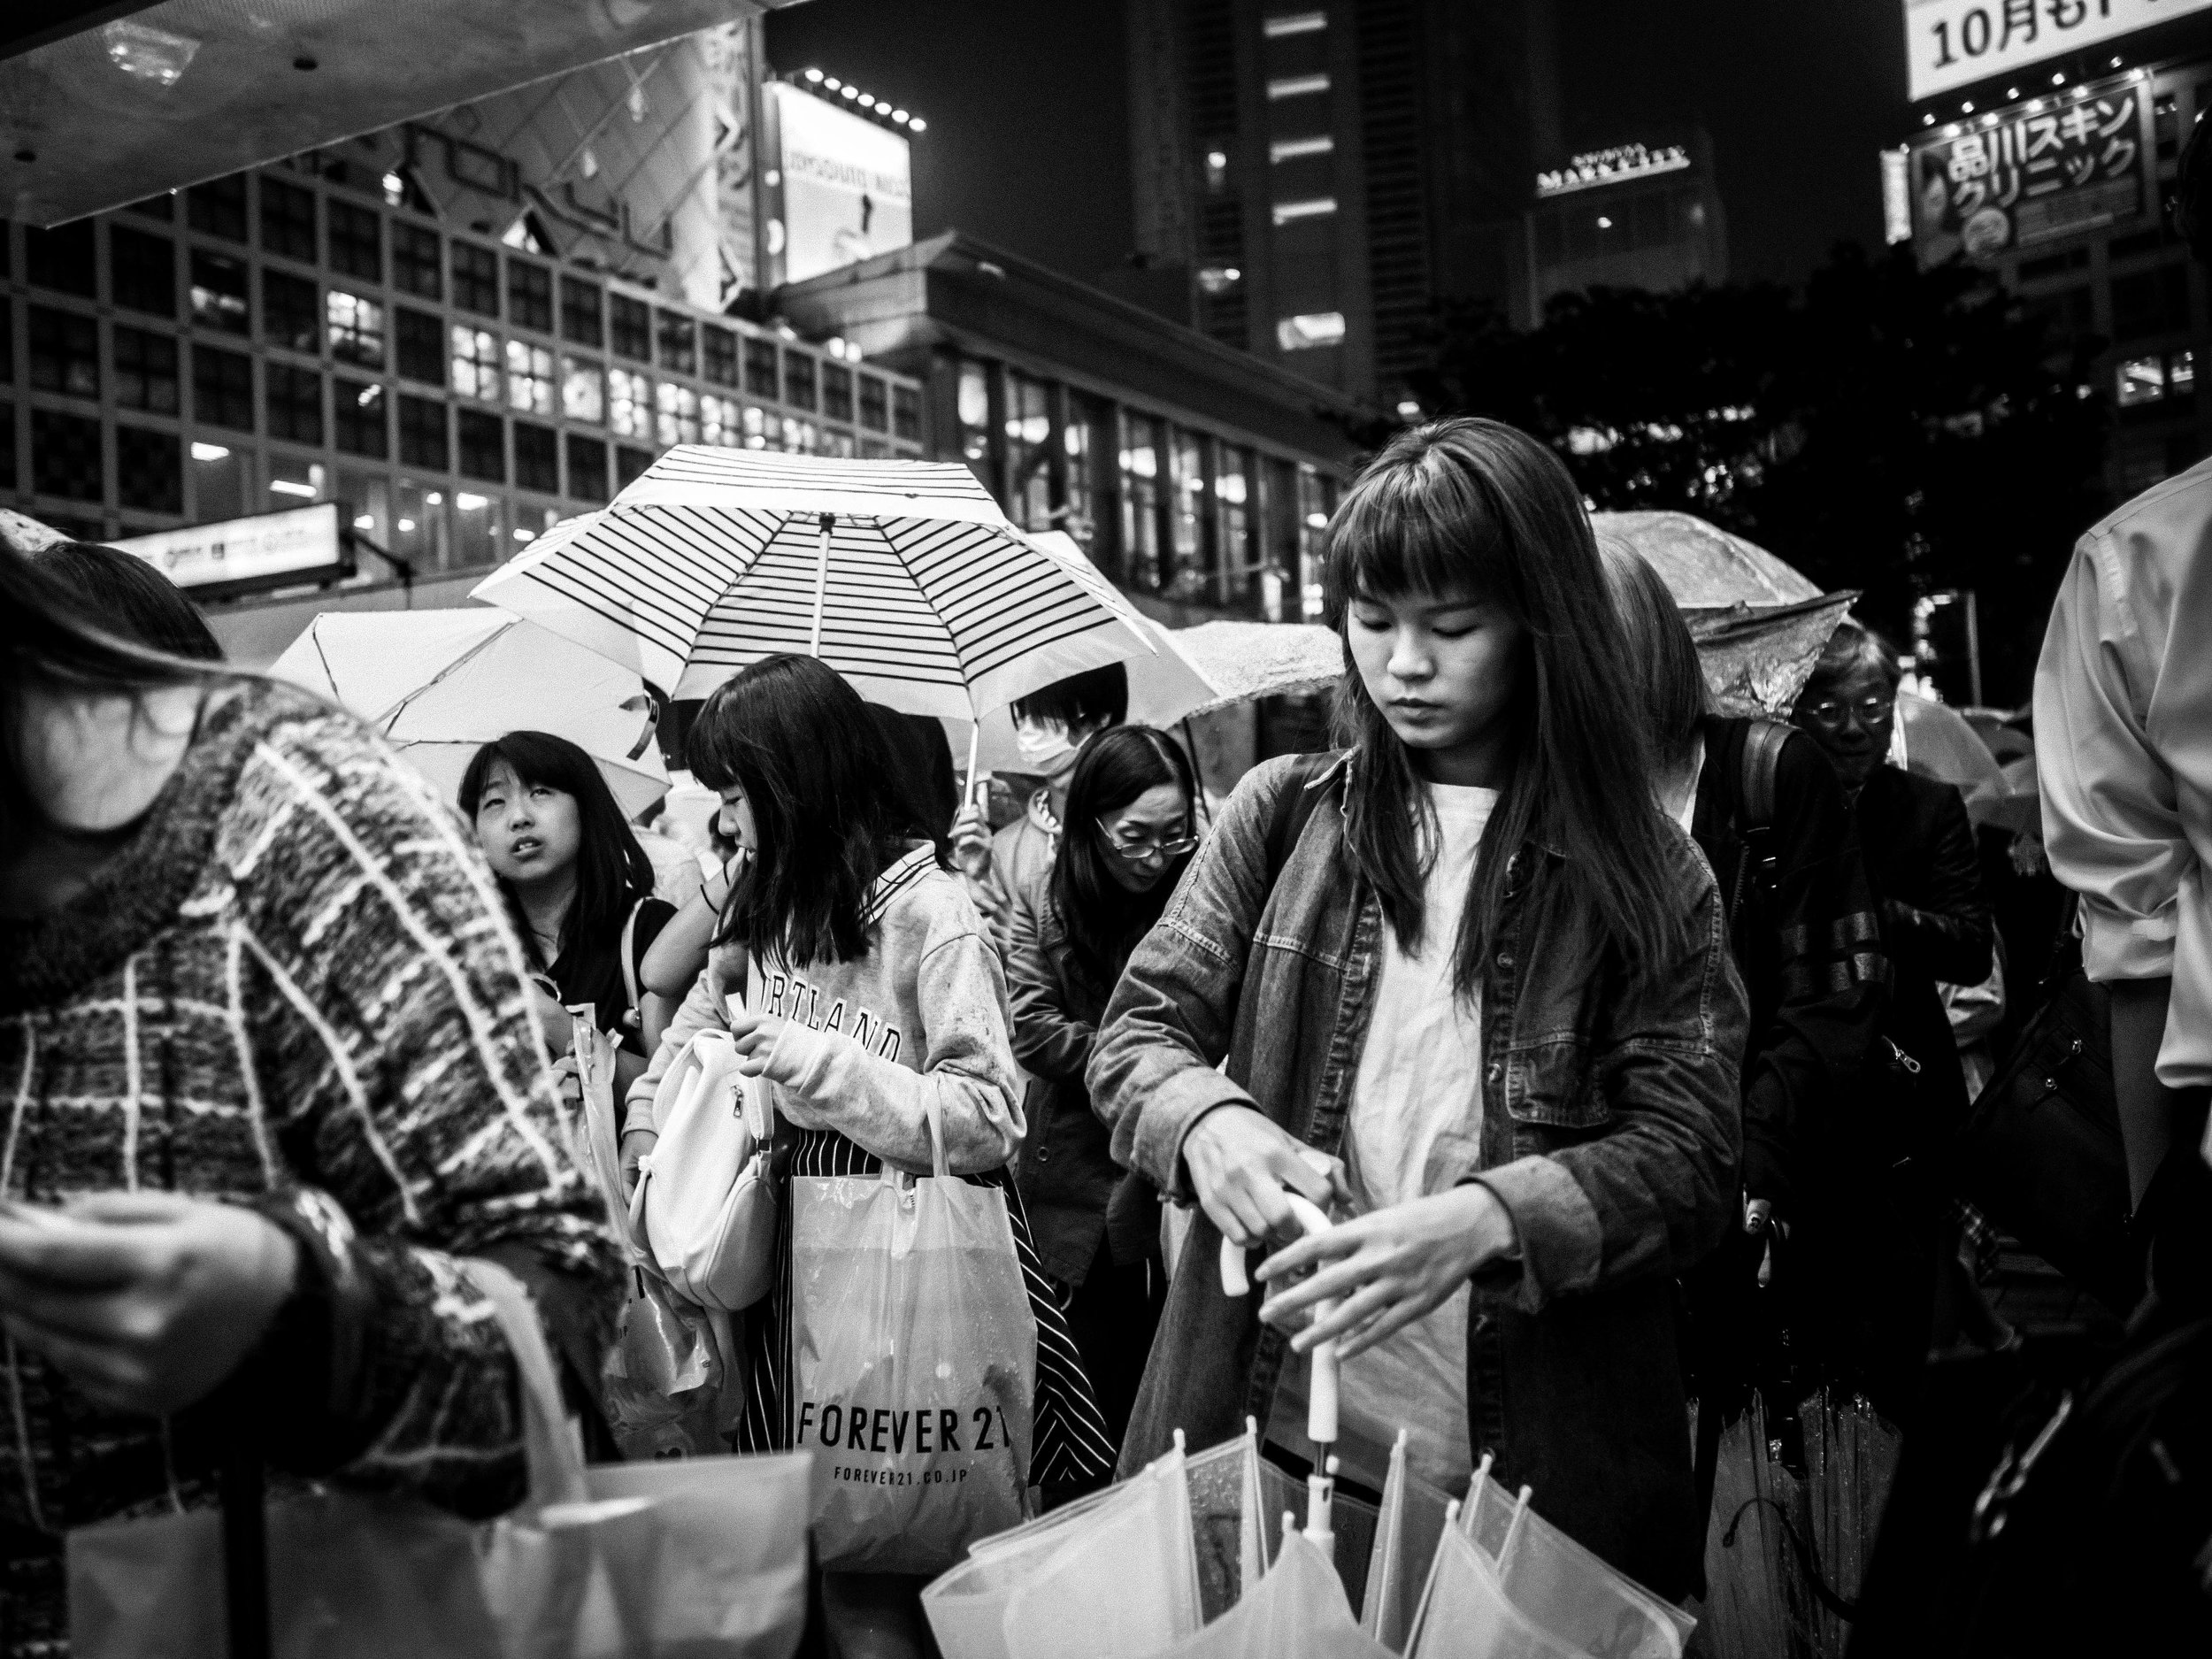
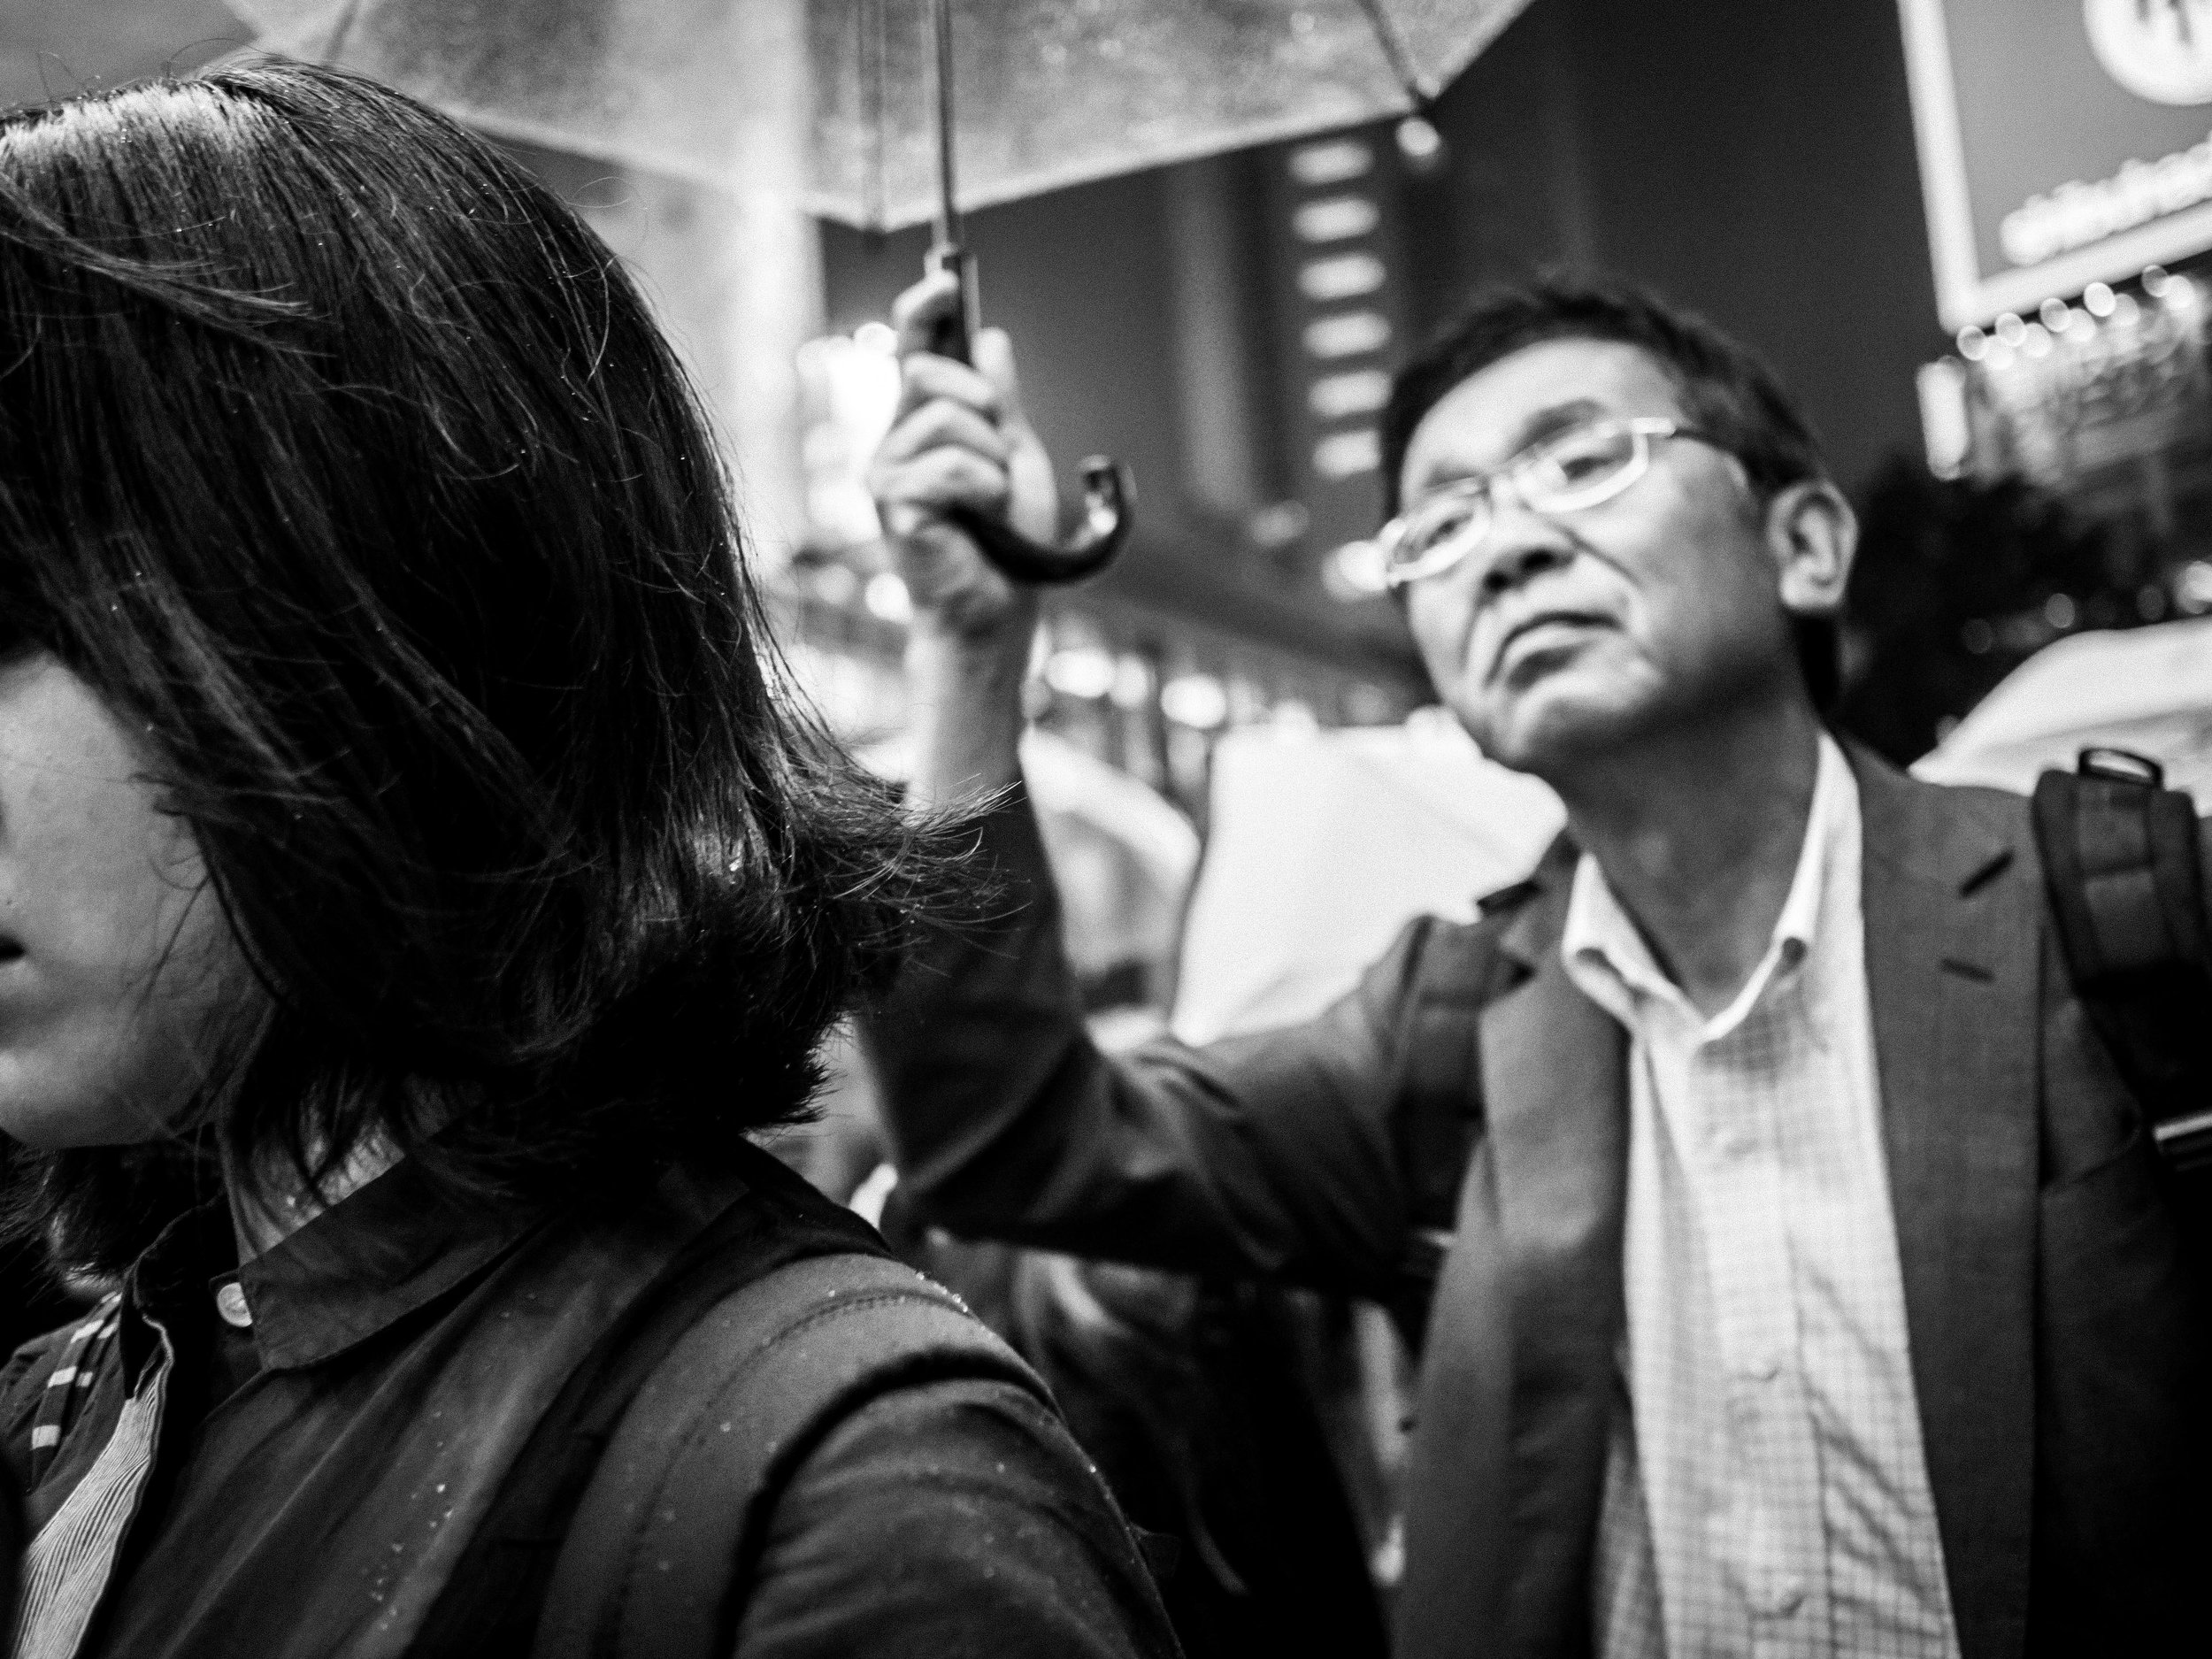
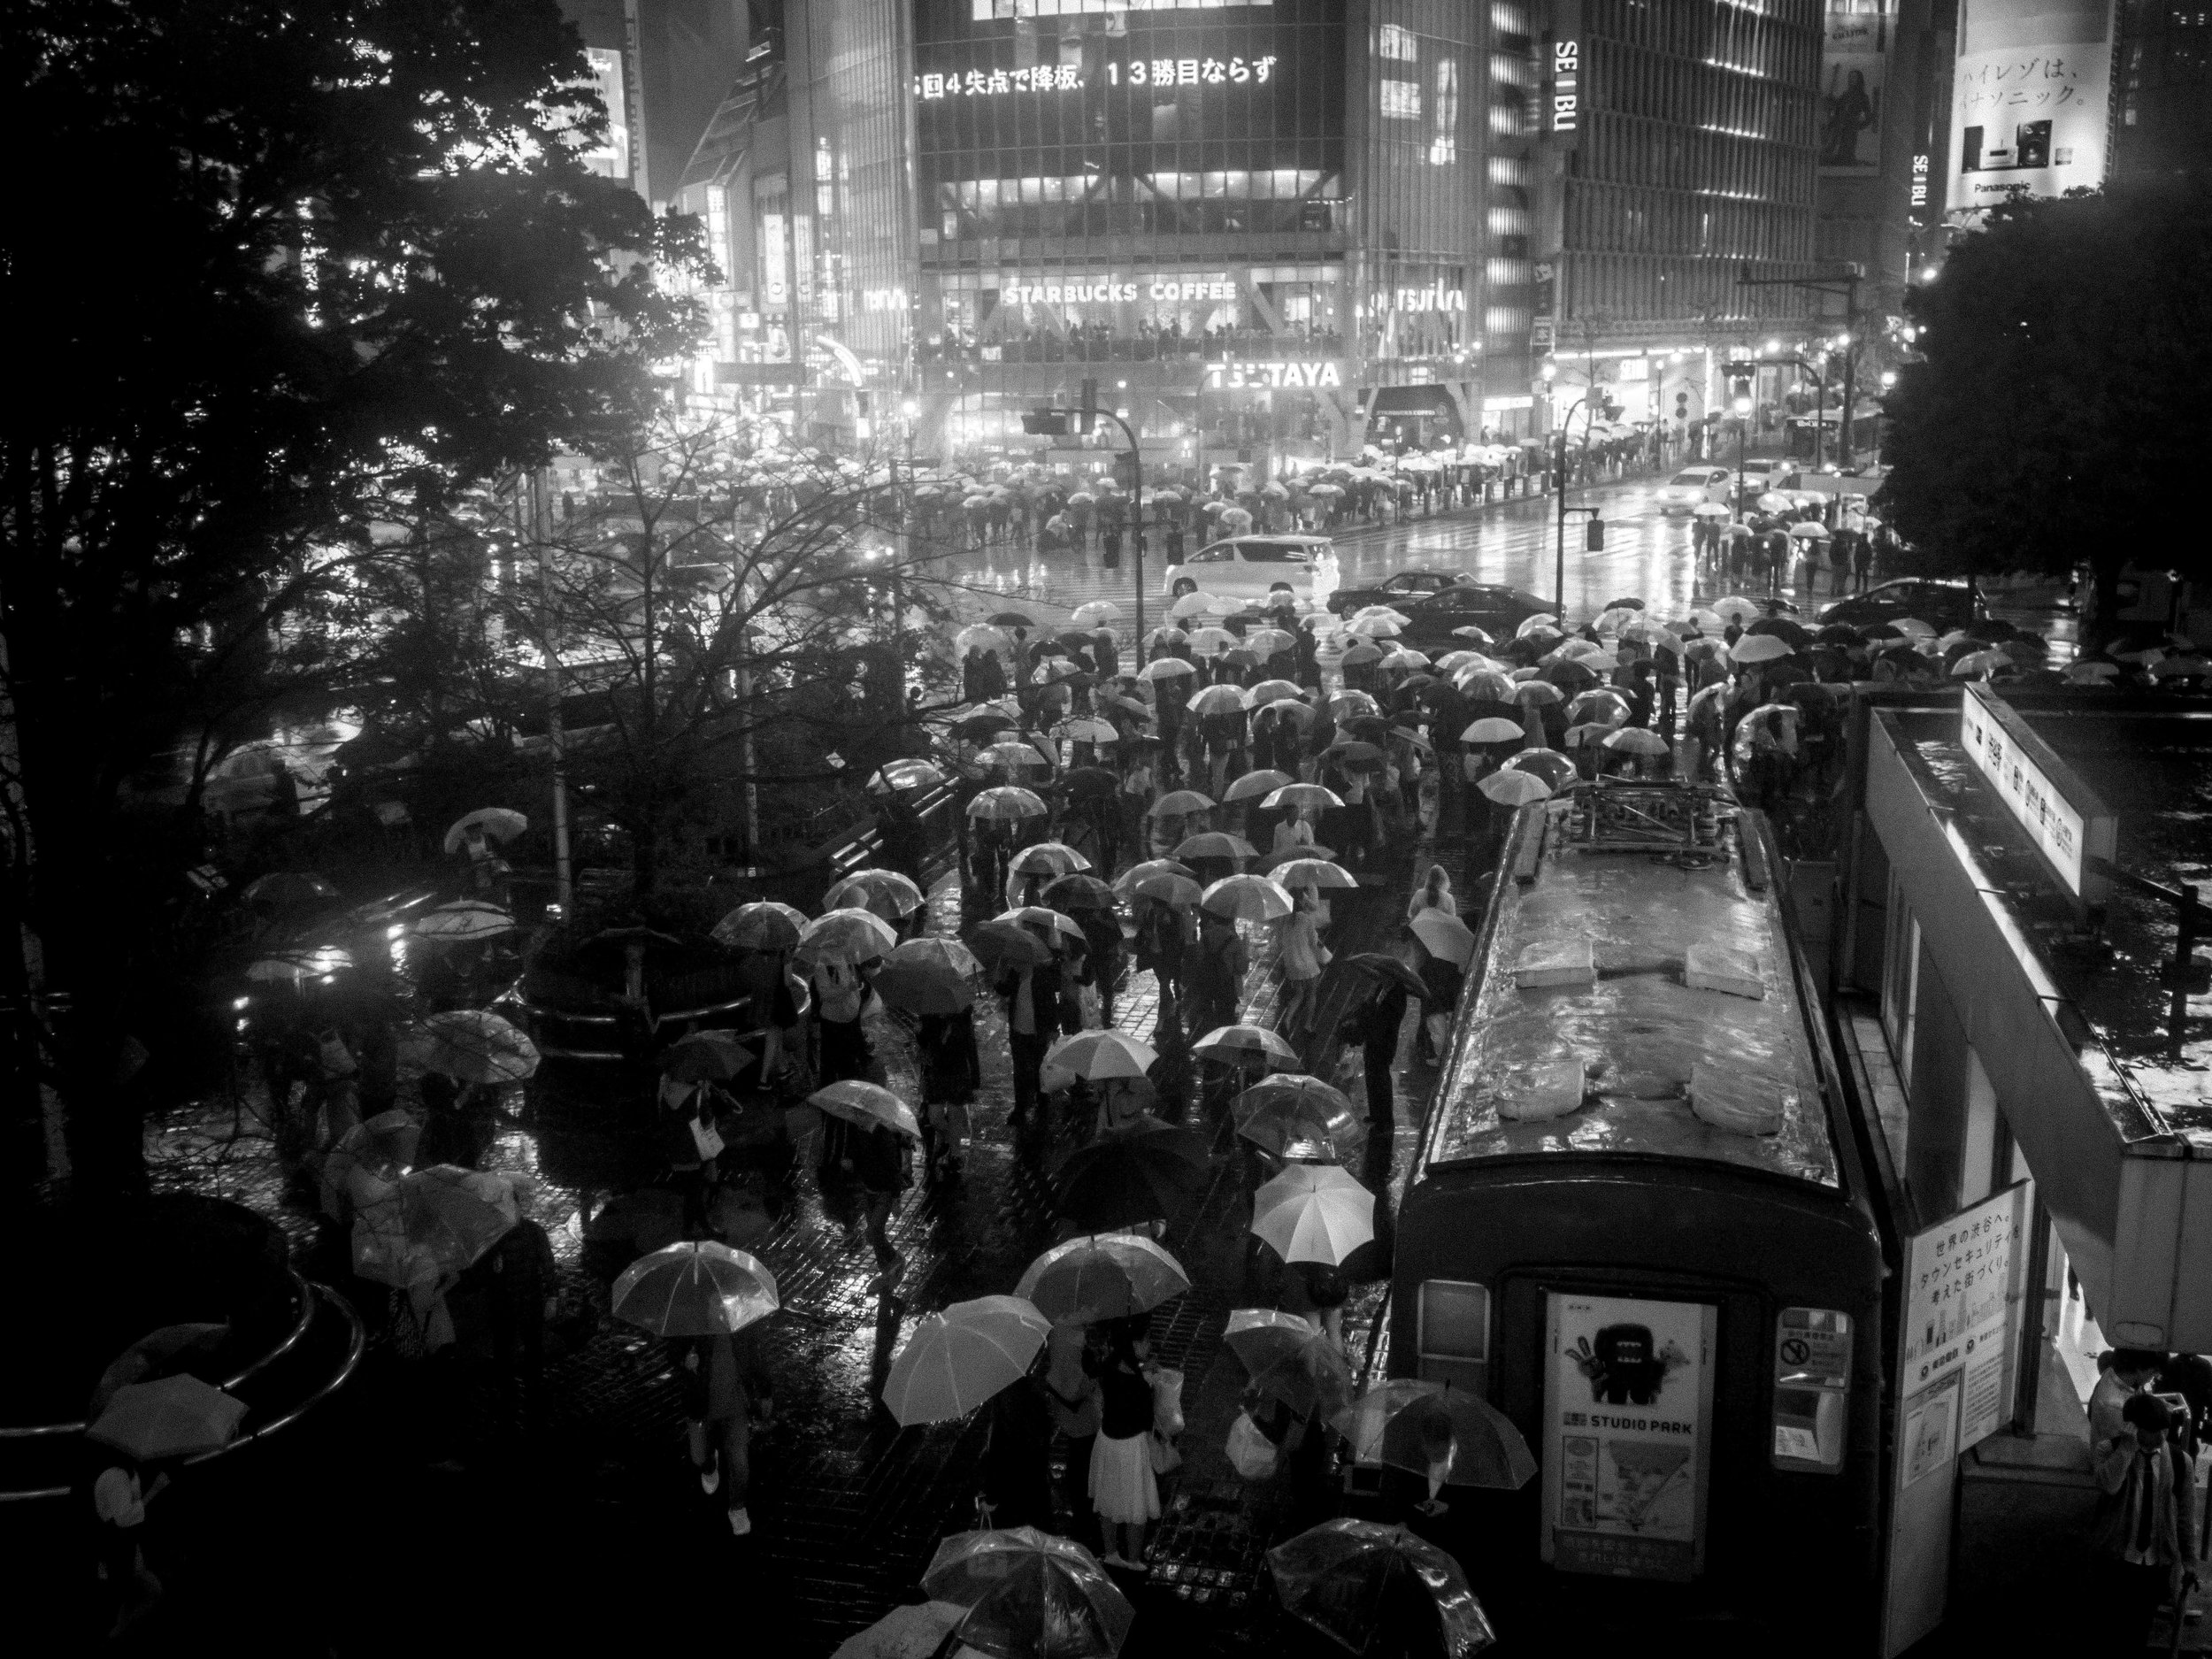
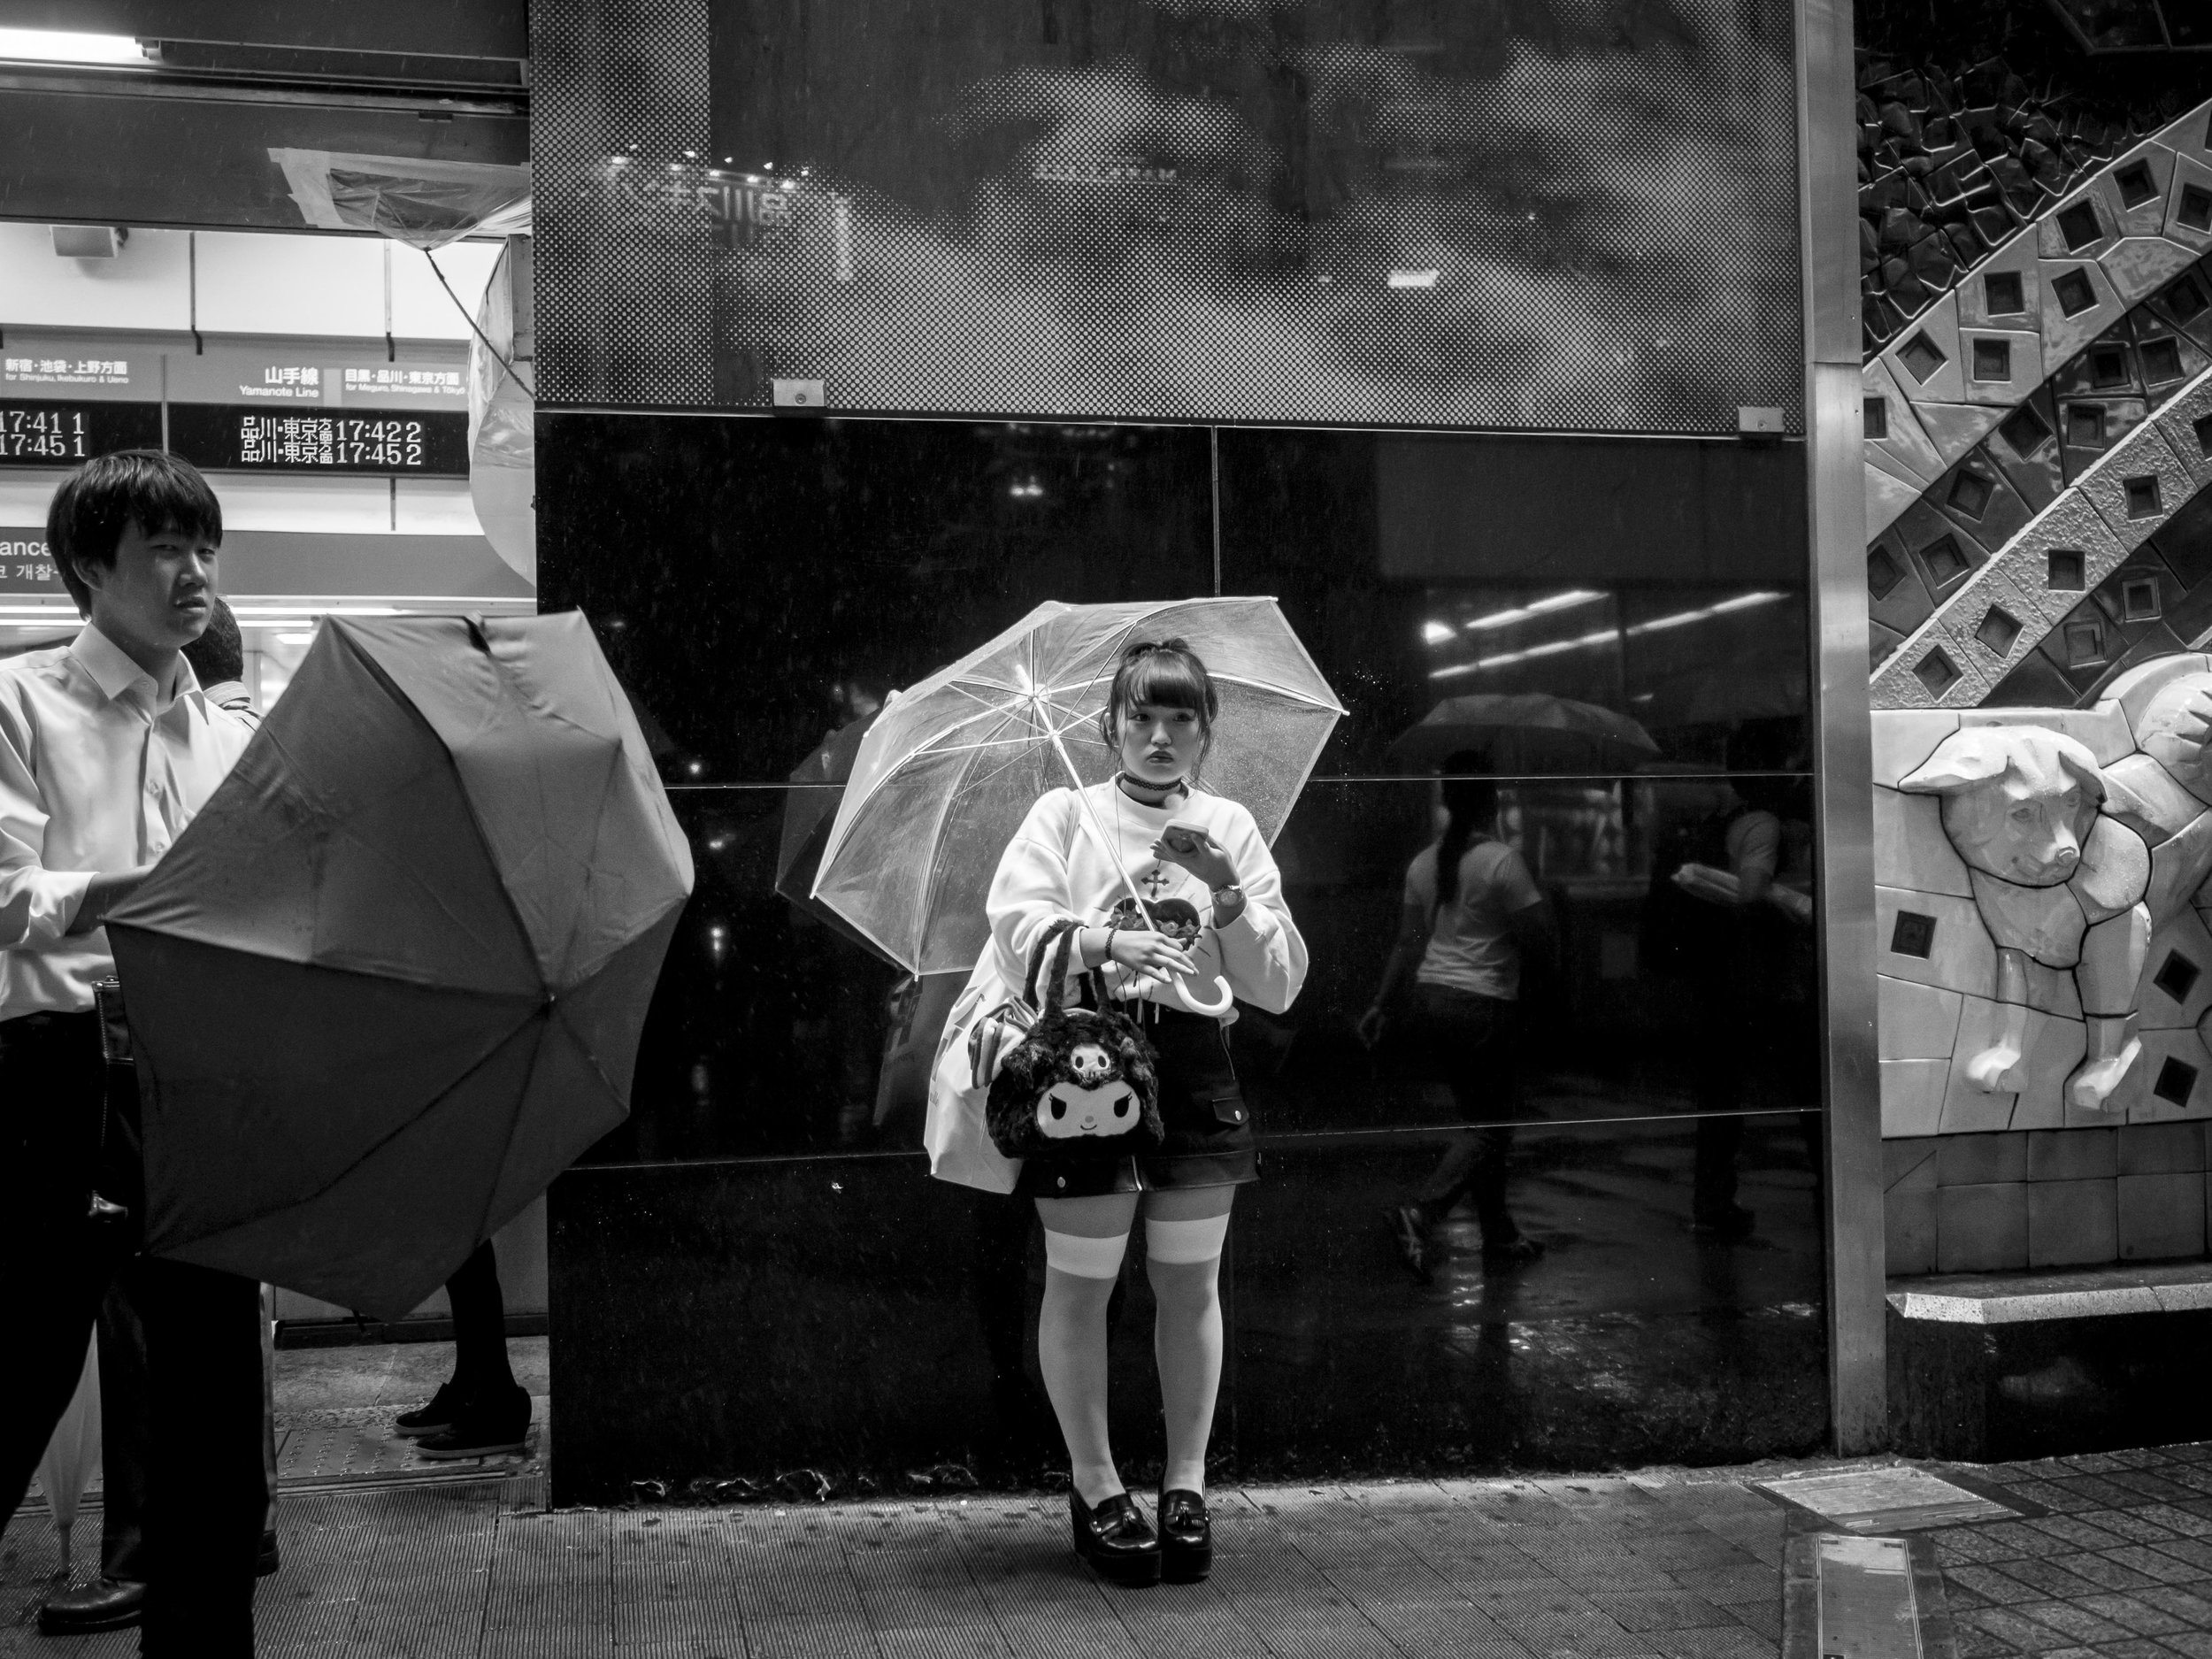
Wet, blustery and all together too late in the evening to work, a twilight stroll through Shibuya in spring is always as close to the stereo-typical bustle of Tokyo as you will get.

The images are all taken with an EM5 mk1 and 17, 25 or (top right) 45mm lenses. Using mono allowed me to make the images more about the people than the environment.

How dark was it in reality?

mono and colour contradiction.

We are all trying to find our niche. Some latch onto a trend or fashion, milk it for all it is worth, then try to adapt to the next look. I have done this as have most of us. I think it may be one of the “5 steps” of photography.

Stubborn as I am, I tend to come back to traditions, even if they are traditions of my own making, possibly making what I do irrelevant at any specific point in time, but hopefully staying relevant over the longer draw of time.

For street photography I prefer colour to look at and to take. Black and white is easier as it eliminates colour tone, exposure and contrast issues to a great extent, but the images that have the greatest effect on me (taken by others or myself) are colour. The early colourists were my early inspiration and in more recent times, colour shooters have again been preferred. Colour stuck.

I have tried mono and even have series of work that ended up as black and white, but the early adoption of mono was usually because it allowed a release from technical issues (usually colour).

Why colour in a traditionally black and white friendly genre? I like the compositional depth it adds, the mystery and emotion id engenders. I also feel colour is more relevant to the subject (capturing reality), where mono is an artistic interpretation. Mono to me strips the image too bare. It becomes all and only about interplay of the main forces in the image and is far too democratic (faces often jump out more). I am after a deliberate complication that it does not offer.

As much as I appreciate the simple and clean message that a mono image can deliver, I would miss the more complicated power of colour.

Why not mono? I tend to shoot my black and white “straight” without any adopted gimmick . I turned my back on faux grain, toning and other cosmetic adornments a while back and find that the beauty and glow of a vanilla mono image is often at odds with the added dimension of colour.

A strong composition in mono, highlighting the personal moment taken by the central figure. The colour image adds the depth indicators that only contrasting colours can. The yellow line, red shirt and the deep shadow vs. the warmth of the sun light complicate the image, making (I feel) the main subject stand out against the chaos. Opinions differ on this one, which makes the choice all the more personal. The colour image is just more balanced.


Landscapes on the other hand are more problematic. I will usually gravitate towards black and white, using the clean strength of mono to empower the composition. The draw of colour is still strong. The process is often reversed to above. Intent on finding a good mono image, sometimes the colour one just jumps out, refusing to be ignored.

As much as a mono image was the intent, the colour one is just more, emotionally. It seems to have a stronger effect on people (warmth against cool, light against dark) and is more balanced visually. The black and white is just an exercise in tones and textures. Interesting that the cropping even changed when editing these two. I revisited them after uploading and the cropping suits each best. The band of darker seaweed in the frame complicates the mono image.

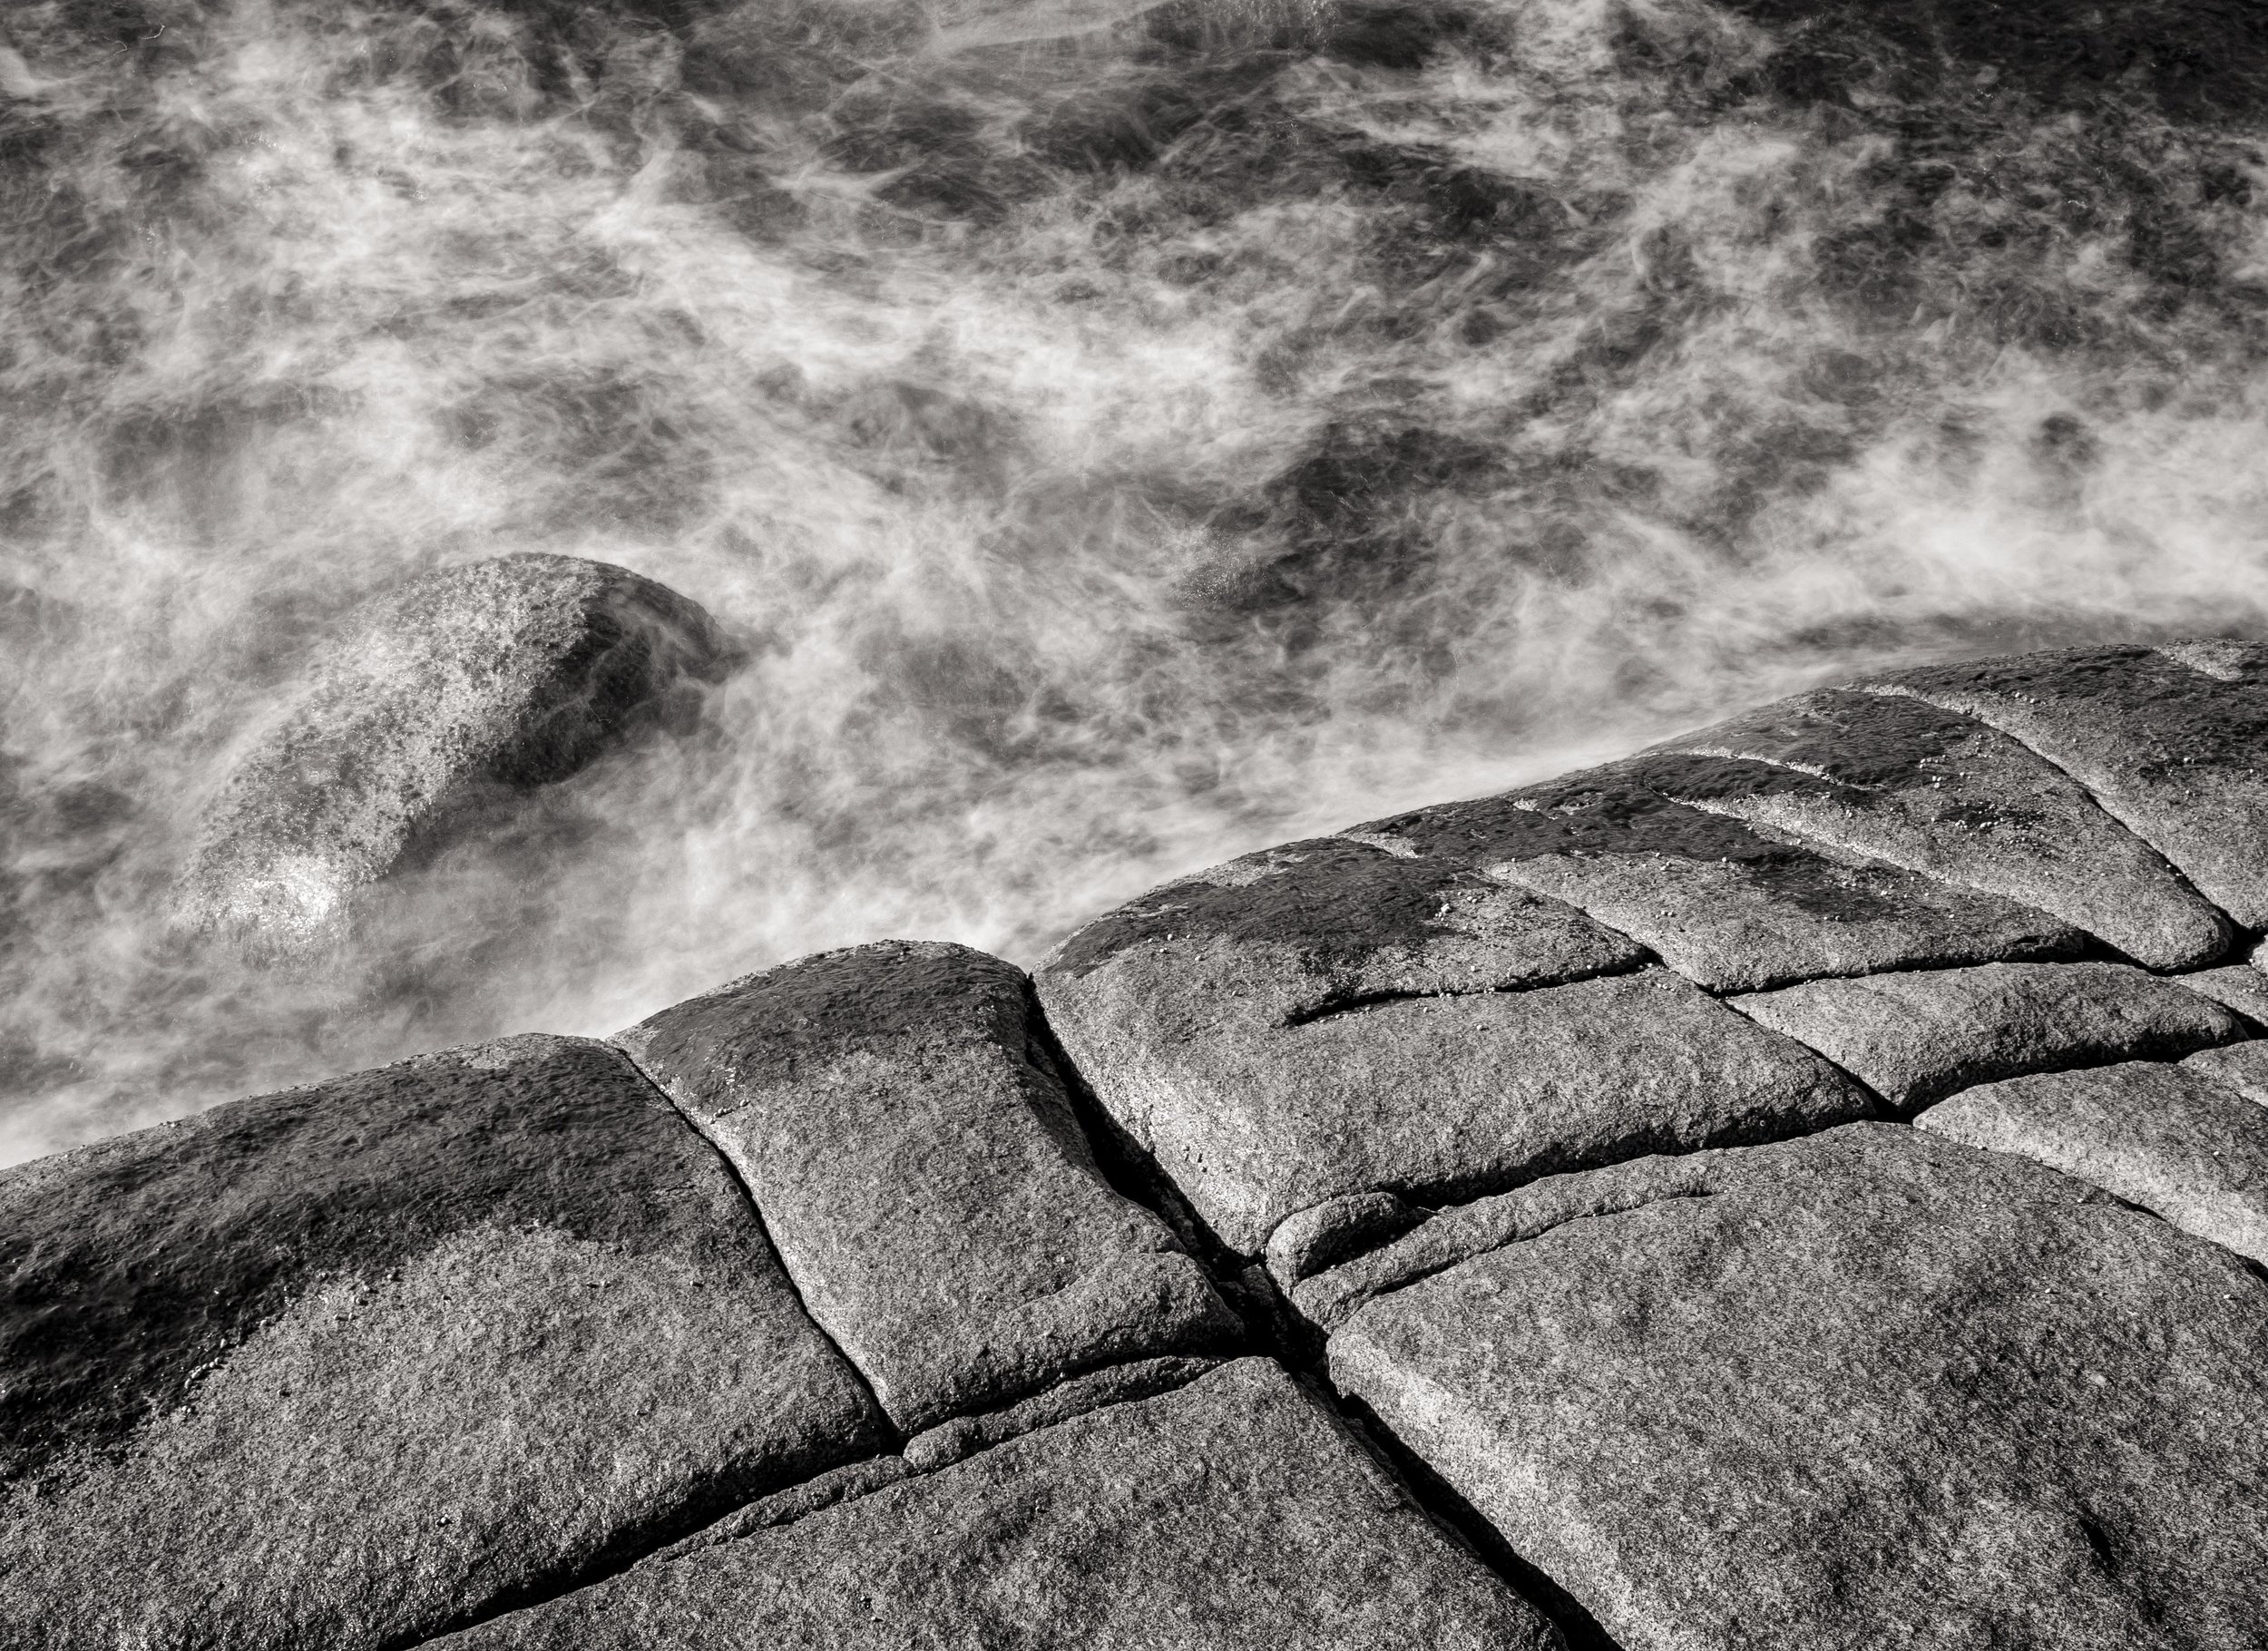
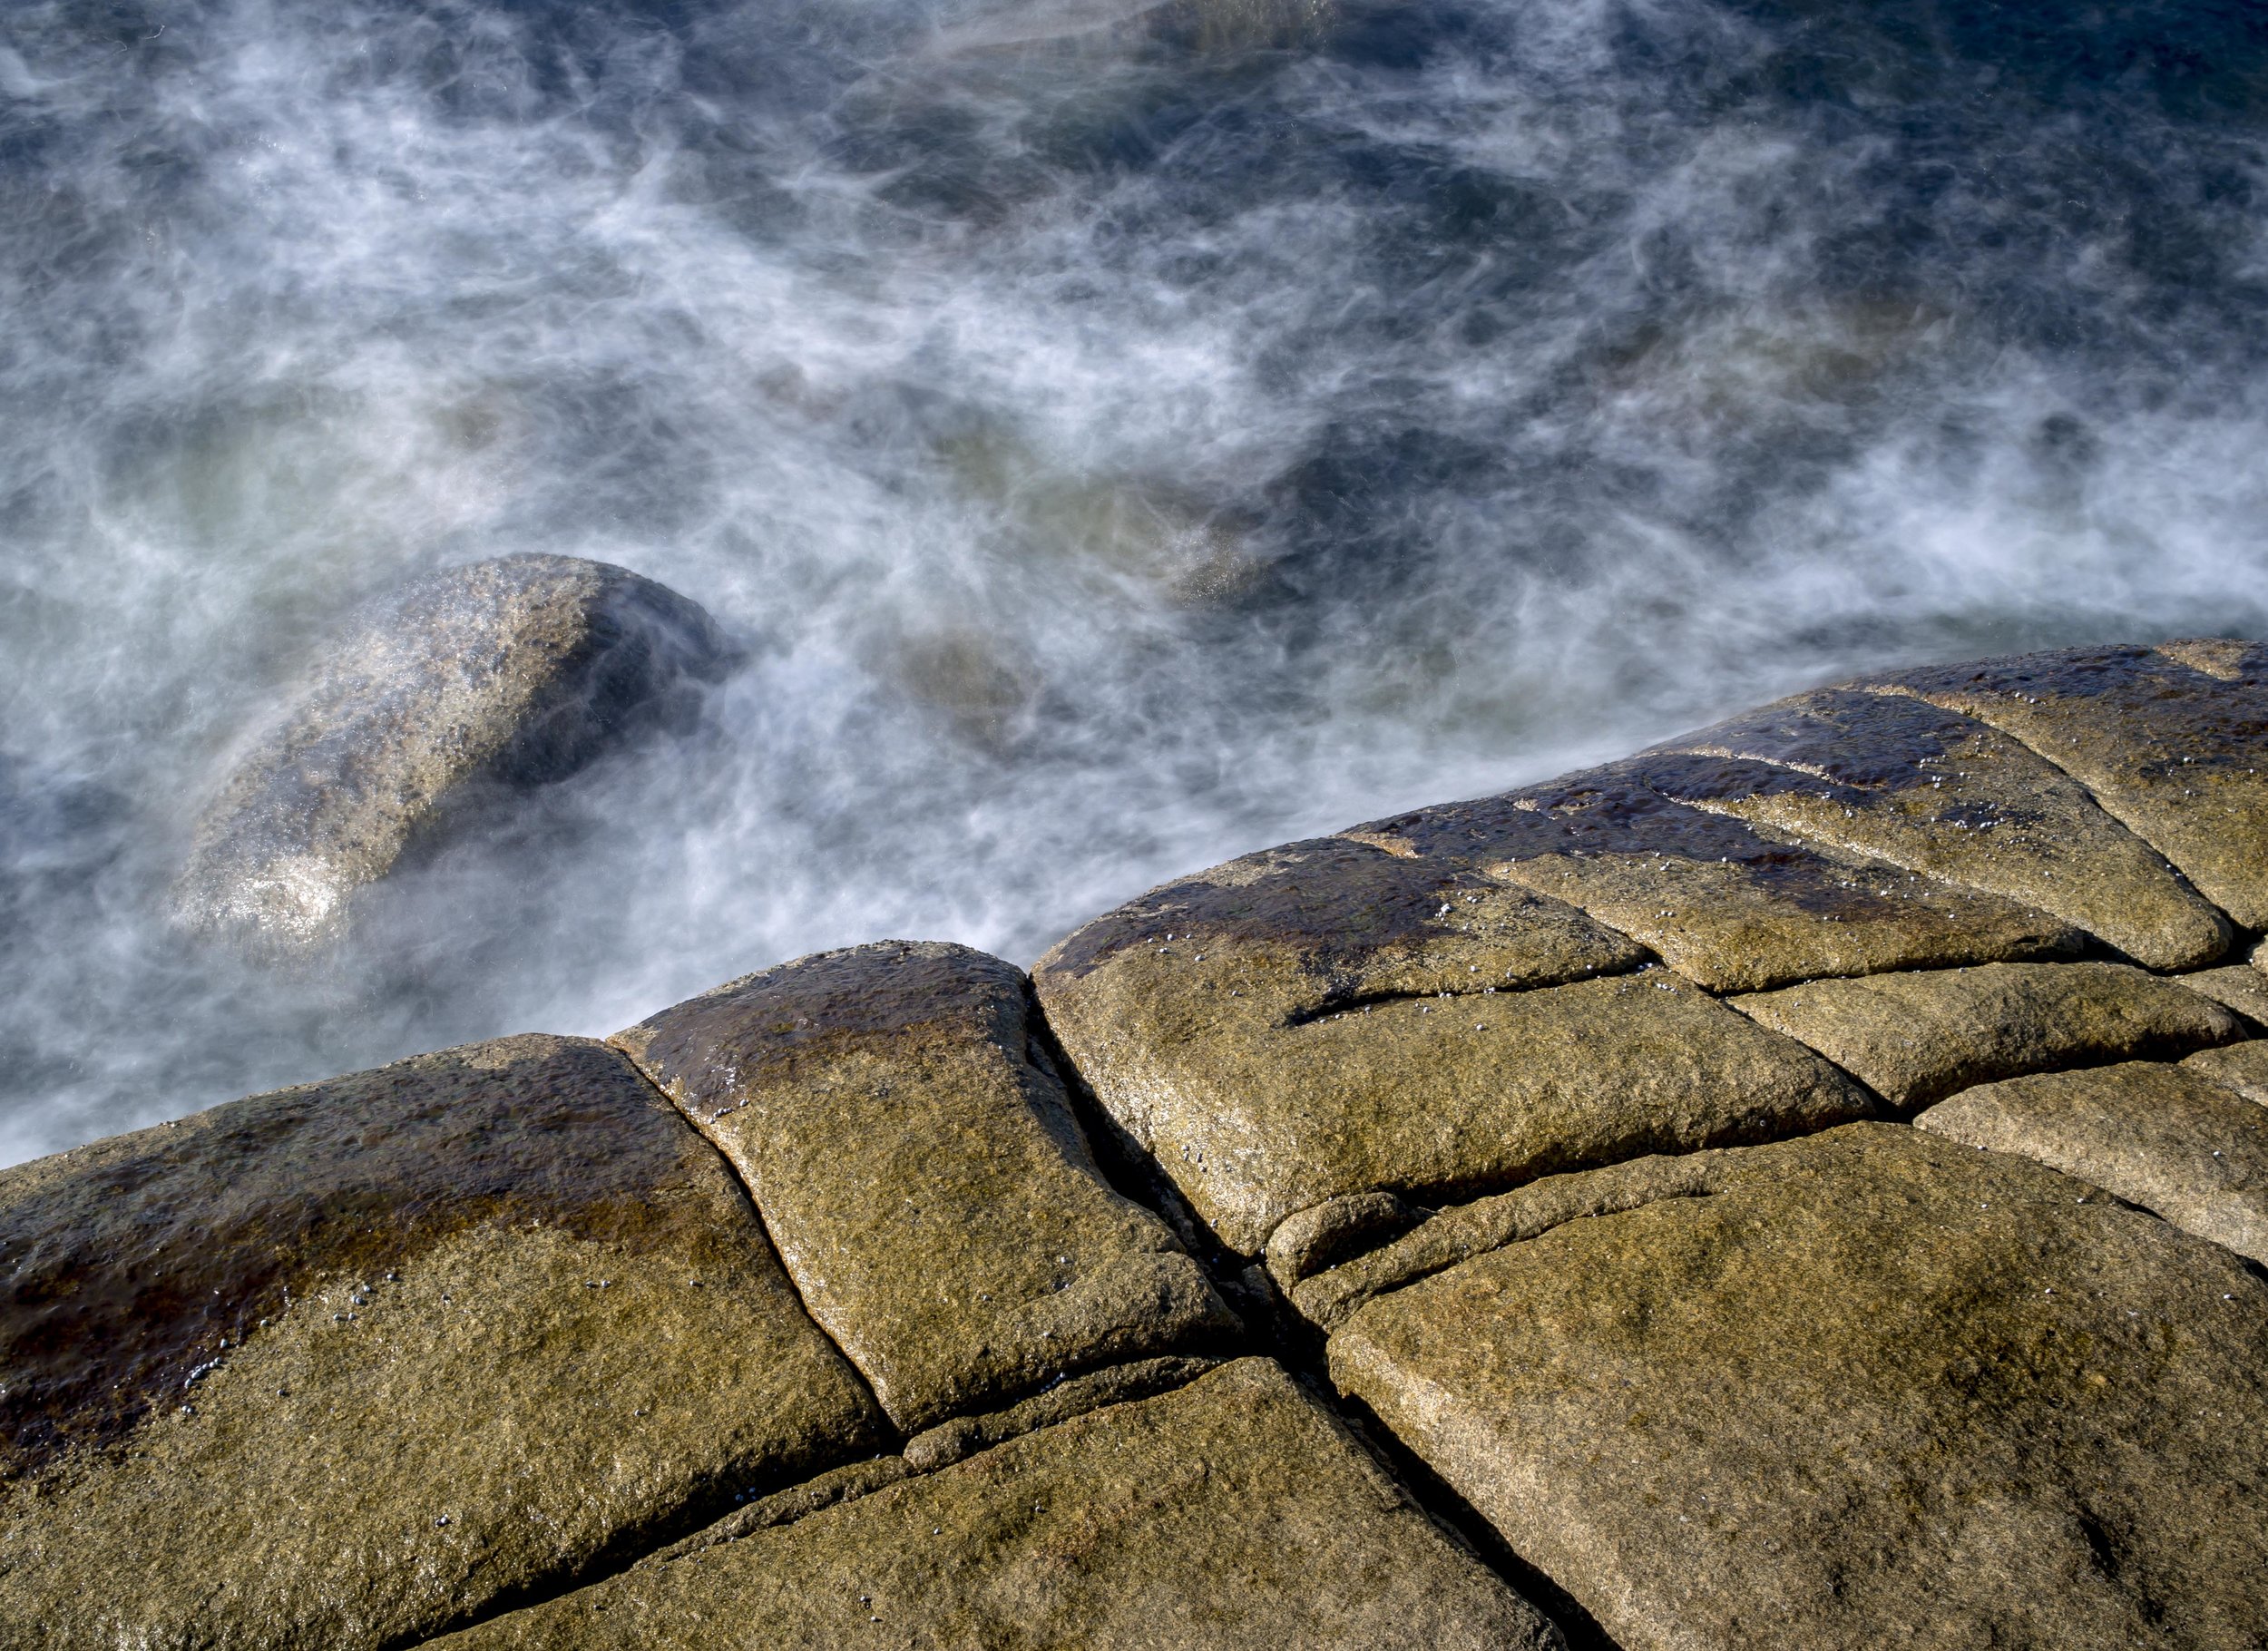
The above set is much easier. The colour just fails to excite, where the mono image has drama in abundance. Actually I prefer the water in the colour image. I feel it has a more mysterious look, but the mono splits the frame evenly and makes the water look more tumultuous against the immovable rocks.

Traditions can be a trap. Old traditions can be seen as a “reinvention” of a classic ideal or simply someone unable to let go. I think there is a little of both in this for me, but I am happy personally to continue as I am, because at some point you have to choose or nothing ever gets done.

If you are not shooting for your self it will show in your work. I would hate to be one of those photographers who shoots to fill their customers needs, ignoring their own.

put down the monkey (or stop chimping)

“Chimping”, or the habit of checking the image on your screen so you can, detect errors, or bask in the glow of your success, is a big creative disconnect, but a habit many of us are guilty of.

One of the best features of a digital camera is the screen provided for instant review, or optionally pre-shutter fire modifications. The big problem is the disconnect it can cause by being too often viewed, sometimes after every frame.

Imagine you were reading a book and had to look up a work or term every sentence. The book would easily loose it’s appeal as you break your flow. An even better example may be a conversation being translated into another language every few words and back again. How well would you be able to keep your train of though, your empathic and creative connection?

Chimping has much the same effect.

You emotionally connect with your subject, take an image or two, then break that connection to look at the resulting images, effectively closing the circuit. Even worse is the dreaded magnification of specific points, where you can become engrossed in the screen, forgetting where you are. You have broken not only your creative connection to your subject, but they have possibly broken their connection with you, feeling like they are trying to have a conversation with someone distracted by their mobile phone. It may even be they loose confidence in you, due to your constant need to second guess yourself.

Each time you break and come back you loose the ability to move into the image. You literally take a step away from the process, paying more attention to things that are more the provence of post processing. When a job is important, it is very tempting to double or triple check your results. I know there is no excuse for walking away obliviously without the image in the digital age, but better images come from deeper involvement. Save your reviewing until after the shoot, not during.

Good technique and a strong visual connection should allow you to feel confident you are getting the image (mirrorless cameras add the more empathic benefit of “pre-chimping”), allowing you to stay immersed in the subject or “in the zone”. You can creatively move forward* image by image, taking multiple, connected steps towards a better composition.

This image came a split second after a a couple of shots of the group before. I was tempted to “chimp” to see if I had grabbed anything of worth and would have completely missed this girl (dancing to a tune only she could hear, at odds with the stoi…

This image came a split second after a a couple of shots of the group before. I was tempted to “chimp” to see if I had grabbed anything of worth and would have completely missed this girl (dancing to a tune only she could hear, at odds with the stoic faces around her). Shame I missed the front foot, but at least I got the moment.

The perfect shot can be elusive. It is surely a lot more elusive when you continually interrupt the process.

Street photography in the style I adhere to is a release from this. Grabbing fleeting moments often does not allow a second bite at the cherry. It is freeing and satisfying. I get the shot and move on. No point in checking until I get back to my hotel room or home, because I cannot repeat the fleeting compositional “shape” of the image. This often allows me to be satisfied with what I do get also, perfect or not.

*A vision of a photographer with a strong cockney accent saying “work it baby, work it” comes to mind.

Getting There

After my “smaller is better (or is enough anyway)” rant yesterday, I got to thinking about the end product for most of us in terms of accuracy of representation and satisfaction in our work.

My favourite form of presentation and the one form that I think heightens photographic work when well handled, is printing. Printing adds the element of tangibility and longevity like no other form. All things digital are transient, but a a good print can actually become part of a living space for many years, immune to break downs, financial upkeep and in compatibility issues.

I think one of the things that stops many photographers from printing their work, is the lack of control they have over the end product. Ironic considering that it is exactly that control that makes the print transcend digital media.

The reality is, prints do not look like digital renderings. You can calibrate hardware, soft proof and install the best paper to printer profiles, but 1:70 contrast ratio, reflective only, paper prints will never look like 1:1000 ratio, backlit screens.

Their magic is that they don’t. What paper prints bring to the table is the subtler but no less powerful strength of image depth and reliable permanence. The screen catches the eye, the print holds it.

There is also the not insignificant aspect of viewing location. A screen image is encountered in a chair, in bed, a train or on a couch while you are searching for it (like inspiration) and many others like it. You do not find it and leave the screen locked to it permanently, you move on to the next, then the next.

The paper print is encountered in a hall or a wall space in a living room* on it’s own or amongst matching friends. It is usually where the light is the best and distractions of other media are eliminated. They become part of our identity and your living space like the books on our shelves or the clothes we wear.

To get the best out of your images in print you have to process with these differences in mind. If you go to a lab for your printing it is unlikely you will be satisfied by the result you get unless;

The lab is a pro lab, capable of adapting to your requirements or,

The lab is consistent in output, allowing you to adapt to it,

You then pay attention to presentation (location, framing, mounting etc.)

The best approach for some is to home print. This gives you a steep learning curve (one I am not an expert at by any means), but allows you to experiment, then be consistent in your own processes and control the important variables such as paper type and presentation.

This image is a case of random experimentation creating a pleasing nostalgic 1970’s look. This would be hard for the printer to get right as provided. If I was really keen to get the image on paper, I would print it first in a small size, then adjus…

This image is a case of random experimentation creating a pleasing nostalgic 1970’s look. This would be hard for the printer to get right as provided. If I was really keen to get the image on paper, I would print it first in a small size, then adjust the image until the adjusted print copy matched the unadjusted screen one, or even grew past it in the process. There are more scientific ways that this I am sure (half a dozen books on the subject within reach where I sit), but the reality is, I like to “intuit” the best feel out it like I would in the darkroom. I would use a sheet of the same larger paper intended for the big print, to insure batch consistency.

I can only recommend printing at home from the perspective of someone who has had some mild success doing so. That success has completely over shadowed the prints I have had from a lab, proving to me that small but critical choices in tone, colour, exposure, size/shape and paper can make all the difference, even if you are technically fumbling.

Although technically flawed to my mind there are 30 odd prints hanging in the class rooms and halls of my wife’s school supporting their student wellbeing movement. This is my greatest achievement simply by being physically real. All of my other work relies on the limited longevity of the digital age.

If you never print your work, all of it has the life span of your internet accounts, your hard drives and your updating and back up habits, while the humble print sits on a wall, being seen by those close enough to you to be in their space, for many, many years.

We should surround ourselves with their gentle visual stimulus. Screens are a distraction, useful for information gathering, but they lacking the stasis required to influence us passively, as we pass by or stay and discover.

*Each afternoon, a print (not a photograph) that we picked up in Japan “comes alive” as the low evening sun strikes it. Every so often that print catches my attention and can take my breath away as a series of yellow windows in an otherwise mono-tonal image take on an obvious glow. I might visit this image if it was a book marked page on the web, but it would not have the ability to get my attention, relying totally on me deliberate searching for it. It always feels to me that I do not take possession of an image in any true sense unless it is in print form or in a book. This goes for my own images also.


enough?

I have been on a bit of an anti technology or more specifically an anti technology vs emotional and artistic connection bent over the last week or two.

I thought it might be worth looking at the realities of the argument a little closer.

First up, what do you (we) do with your images?

As this is surely the end of the process, what do you do with your images. If any endeavour is to be undertaken, surely the point of sufficiency must be determined first so you know whether you have reached or exceeded it and by how much. Lets look at the likely end point for most images, what is required to capture the images and how relevant a super camera would be in that circumstance (assume a state of the art full frame 24-30mp or similar).

The social media upload. By far the most common type of public sharing of art, in many forms, is the social media upload. It is realistically where most images will end up, so lets look at it’s requirements. Technical requirements. A 2+ megapixel image that is taken quickly and efficiently, with good enough lighting and a subject that will hold the viewers attention for the required time. The main contributor, the mobile phone is getting ever better at doing just this. The forced limit of a (usually) fixed lens with a reasonable aperture helps the user by limiting their choices and training their eye, making them learn their device and it’s limits. Ironically this is what most of us should do with our “better” cameras. The super camera? Total overkill in every way unless the camera helped facilitate the capture of a particularly difficult image or the intention is for a file that can do more (see below). Probably the perfect social media device would be a mobile phone with a semi wide lens, clip on-flip over portrait/macro and a 2-3mp sensor with huge pixels for clean low light shooting.

The non-photographic web page. This is a the next step up from the above, requiring a better and more relevant image with decent to excellent creative technique. The image is expected to have a longer viewing life and will be accompanied by relevant text, hoping the combination will invoke a deeper connection with the reader. The image becomes the grab or visual example to the written concept. Requirements. A camera with enough controls to give the photographer creative freedom, good performance in poor lighting if required and enough file quality to print bigger, again only if required. Generally 4-8 mp would do, in a 1” sensor “super compact” and a reasonable lens or a basic mirrorless/SLR. The actual capture size could easily be a small jpeg if the web page is all it will be used for as most down size images anyway (I expert my files at 50% from Lightroom and this web host still down sizes). The super camera. It again may allow some tougher shots to be captured, but would be overkill in file size.

The Fine Art Print. Ok, so how many of us really print our work? When we do print how big do we go? Then when we do print that big, what viewing environment are we printing for? I will take a wild guess here and say that most serious, hobbyist digital photographers only print on demand for their family or friends and then only print up to a certain comfortable size (maybe 16x20” before framing), and let a lab do their printing. I work in a lab/shop environment and see a lot of images that are important to the owner, printed to a size based on the importance of the image to them, regardless of technical quality. The irony of selling high pixel cameras with all their virtues at the shop front and then more often than not trying to lift a reasonable image from an important (often old) phone file to make a massive canvas print of a loved one, in the lab is not lost.

If you are a serious fine art printer, then other realities come home to roost. Personally I can max out the visual quality of my A3+ printer (an ink jet Canon Pixma 9000 mk2 which is slightly finer rendering than an equivalent pigment dye model) with a mildly cropped 16mp image. Ctein, known as one of the premier colour printers from the wet process era through to digital, made a 17x20” fine art print from a 12mp Olympus Pen file (the first model, with the softer/stronger AA filter configuration) and sold it on cheaply to anyone interested, just to prove a point. You can count the rivets on the bridge used as the main subject. He has also gone on record as saying the 16mp sensor in the EM5 mk1 is equal to a Pentax 67 medium format camera when comparing print quality.

Sure there are those who legitimately need prints measured in feet rather than inches, but they are the few and they would likely argue that their work is no less relevant for the want of a few megapixels previously unavailable. Printing allows the artist many many choices in texture, colour rendering and presentation. The base quality of the file is just one of these factors. Requirements. A controllable camera with a mid sized sensor (1”+) and 16mp+ resolution if you intend to print big, less if not. Good photographic, post processing and printing technique and of course a relevant subject. The super camera could of course help, especially if colour, ISO and dynamic range are to be pushed to available limits (for now anyway), but they have been dealt with in the past, so surely we can get around some minor technical difficulties?

The photographic web page. Finally we have found a use for all of those pixels. 100-400% comparison shots between new cameras and seemingly good-enough-yesterday-but-no-longer ones, lenses/process/noise etc. and simply the bragging rights of better being better are the most common destination for big pixel files. Requirements. What ever floats your boat. The photographic web page is probably to only place where every camera is relevant, for better or worse. Where else can the actual process be examined so closely. Who else would care? Super camera? Why not? bring them all and lets pull apart what they can do. Lets take these wonders of modern engineering and find fault by comparison. The whole industry relies on this to stay alive. Pity really. Conversely, try to convince a non photographer it matters.

*

If we only post images at normal sizes, print to the sizes that will hang on a normal wall for an extended period of time and do not pixel peep, the basic requirements for good photographic imaging are suddenly most devices old and new. There have only been a few periods in photography since it’s earliest days where quality was a genuinely limiting factor to the photographers vision. I will embrace useful camera advancements when they come. I am not going to look that gift horse in the mouth, but bigger pixel counts do not impress me. Anything that will help me get a better image is fine, but there is nothing tangible in more pixels for their own sake.
I am not pushing or recommending the use of 3 mp images as the norm, but before we get too caught up in the pixel race, maybe enough is easily reached for most uses.

A few years ago I had the chance to compare the Fuji 23mm f1.4 and Olympus 17mm f1.8 on their respective cameras for the time (XE-1 and EM5). Stupidly I had the XE-1 set to small jpeg (3-4 mp) for some ebay shots I was taking. I did not realise unti…

A few years ago I had the chance to compare the Fuji 23mm f1.4 and Olympus 17mm f1.8 on their respective cameras for the time (XE-1 and EM5). Stupidly I had the XE-1 set to small jpeg (3-4 mp) for some ebay shots I was taking. I did not realise until I clicked on the images for a closer look and basically nothing happened. They filled my 29” screen beautifully, printed really well, but had nothing in the tank for bigger sizes. They also looked a little sharper than usual.

The quality was every bit as good as (but different to) the RAW files from the EM5 on a screen from these sizes,

The quality was every bit as good as (but different to) the RAW files from the EM5 on a screen from these sizes,

but started to fall apart when cropped heavily. The lesson I learned that day was, size is not quality, just quantity. I could have printed 16x20” (exhibition) sized prints off these files with a little careful post processing, allowing the paper me…

but started to fall apart when cropped heavily. The lesson I learned that day was, size is not quality, just quantity. I could have printed 16x20” (exhibition) sized prints off these files with a little careful post processing, allowing the paper medium to hide some of the mild crunchiness.

The glassiness of the image is truly beautiful and part of the Fuji signature. Size is only one part of the overall equation.

The glassiness of the image is truly beautiful and part of the Fuji signature. Size is only one part of the overall equation.

This is a 1400x1700 crop from a 1D2 mk2 16mp file (the full image shows the full monkey and surroundings). It can print well enough to fool most up to A3+ print size. As an aside it was taken with a “budget” 400mm f5.6L and 1.4x teleconverter, hand …

This is a 1400x1700 crop from a 1D2 mk2 16mp file (the full image shows the full monkey and surroundings). It can print well enough to fool most up to A3+ print size. As an aside it was taken with a “budget” 400mm f5.6L and 1.4x teleconverter, hand held at 1/125th without any stabilisers.

A new club, membership is open.

Want to join a new club?

It has the following benefits;

Going against the trend.

Going against commonly held beliefs.

Creative freedom in a way you may not have (deliberately) tried before.

It’s called the “Anti Bokeh” club.

The name is a bit misleading, because any image in any format in any circumstances with any transitional or fully out of focus areas has Bokeh, but the common thinking is more is more and less is irrelevant, so the “anti Bokeh as we know it” club.

What you need.

A (prime) lens or two set to an aperture that is 1-2 stops past it’s expected diffraction limitation (f8-11 on a M43 camera, 16-22 on a full frame). This will have the effect of increasing depth of field*, allowing reactive manual focus with a wide latitude for error and will gently soften the image in a pleasantly old fashioned way. There will still be some shallow depth when you are really close to things, but generally images will tell a story from front to back.

An ISO set a little too high for the camera’s comfort (if possible), but not so high that movement blur is impossible in poor light (1600 on an EM5 mk1, don’t bother on an A7s). This will have the dual benefits of desaturating colour a little and add a little texture (noise/grain) to the image. No noise reduction required unless excess colour blotching looks decidedly ugly and digital.

Manual focus (see above), allowing for some slight focus misses. Pay attention to the characteristics of your chosen lens.

Lean a little on negative exposure compensation for a little added mystery, saturated colour and deeper shadows and also to protect highlights.

A purposefully gentle, but determined post processing work flow, designed to find the hidden beauty inside the image, not the more overt digital perfection on the surface. It is up to you whether you use colour or black and white, but try to avoid “perfecting” either. Just go with the beauty.


*Remember, Bokeh is not just wide open performance. It is the rendering of any transitional or out of focus element in any image that does not have perfect focus everywhere.

Poor old Pepper is my muse again. This is the look I am after, just a little more interesting subject (sorry Pep). Depth of focus from front to back, with some transitional softness at the extremes. Imagine the photo is of a migrant or refugee looki…

Poor old Pepper is my muse again. This is the look I am after, just a little more interesting subject (sorry Pep). Depth of focus from front to back, with some transitional softness at the extremes. Imagine the photo is of a migrant or refugee looking wistfully towards their destination, their salvation. Dramatic I know, but the compositional and cosmetic seeds are there.

EM5 ISO 3200, 17mm f11, +35 red, orange and blue channel, no added anything else (+0 sharpening).

Like many a famous film image, grain, close in softness (movement blur and diffraction), but at normal distances a pleasant and natural look. In a book sized print, the texture added by the grain would be preferred, not shunned and visual acuity wou…

Like many a famous film image, grain, close in softness (movement blur and diffraction), but at normal distances a pleasant and natural look. In a book sized print, the texture added by the grain would be preferred, not shunned and visual acuity would not suffer.

My normal processing and style. Pushing the little 17’s comfort envelope (and the EM5 sensor), I would shoot wide open and process to a more modern clean/punchy style. The same hypothetical scenario as above, shot in the modern style, making the pri…

My normal processing and style. Pushing the little 17’s comfort envelope (and the EM5 sensor), I would shoot wide open and process to a more modern clean/punchy style. The same hypothetical scenario as above, shot in the modern style, making the primary subject a portrait subject, blurring out the background. Maybe no less powerful, but different and over used. This single dimensional look is strong, but it is also lacking layers of story telling elements.

My normal import processing and a little brushwork on the focus point. Notice the texture on the blanket is effectively gone, removing a story telling element, adding a solid colour block.

My normal import processing and a little brushwork on the focus point. Notice the texture on the blanket is effectively gone, removing a story telling element, adding a solid colour block.

Result?

Hopefully a deeper image emotionally, less fixated on technical perfection or technique, freeing up unused parts of the compositional brain.

And a little bit of do it yourself film camera therapy.

Still Feeling it

Really impressed with the 12-100 lens.

500x400 uber crop, standard res, hand held, normal shutter.

500x400 uber crop, standard res, hand held, normal shutter.

Pushing the Envelope

Ok, so you have a slow telephoto on your new EM1 mk2 and feel a need to shoot at 1/1500th indoors in poor light. Not a realistic scenario probably, but what the heck.

ISO 25600, no processing applied other than Lightroom default settings.

ISO 25600, no processing applied other than Lightroom default settings.

Good impression of detail, but obvious Olympus “film grain” noise.

Good impression of detail, but obvious Olympus “film grain” noise.

Processed for a pleasing balance of smoothness and detail. Colour has gone off a bit.

Processed for a pleasing balance of smoothness and detail. Colour has gone off a bit.

The crop of above showing a loss of implied detail in favour of visual cleanness.

The crop of above showing a loss of implied detail in favour of visual cleanness.

This is an unprocessed ISO 6400 image. It shows much the same detail and noise, but the colour is more accurate. Up to 12800 the colour stayed pretty true, but at 25600 it went into cold hues.

This is an unprocessed ISO 6400 image. It shows much the same detail and noise, but the colour is more accurate. Up to 12800 the colour stayed pretty true, but at 25600 it went into cold hues.

The truer colour

The truer colour

what is true quality and where do we find it.

Back working in a camera shop, I find myself knee deep in specs and stats and have already started questioning self held beliefs that enough is truly enough. Questions abound. Is “A” sharper than “B”, does it have too much CA (what is CA?), does this have greater dynamic range (what is dynamic range?), how many frames can it fire, will the video win me an oscar? Most of these are questions of quantity.

The only true question to ask is one of quality.

Not measurable sensor and pixel quality or even lens quality, but a quality that has the ability to transport the viewer. The special something that is more than sum of it’s parts, but at the same time ignores, even transcends trivial aspects such as resolution, noise, movement blur and colour accuracy. This is very much about end product as a result of applied technique, but at all not about technique alone.

If I cast my mind back to images that manage to blinker me to process in favour of emotional appreciation, most come from the film era, most are colour and most are from smaller format cameras*. There are many digital exceptions such as Jan Meissner, or Kate Kirkwood, who manage to avoid gimmicks and would have fit in well with the film crowd.

Is this because in my case, it was a time when I was more open to suggestion, more awed by accomplishment, even overpowered by subjects I had not encountered before? If this is the case, then many of us may be locked in to appreciating most our “first contact” with these influences.

It could be the delivery. A beautifully printed book like they used to do, (before the over saturated “photoshopped to hell” look took hold), is a thing to experience. “Stay the Moment” by Sam Abell, “Ansell Adams in Color”, Stephen Shore’s “Uncommon Places”, Alex Webb’s “The Suffering of Light”, “Here Far Away” by Pentti Sammallahti, to mention only a few of many, many beautiful tomes available. They are a much more satisfying viewing, handling and owning experience than a screen (and they last longer).

untitled-270004.jpg

Possibly it is purely a technical thing. Colour saturation, contrast, deeper depth of field, a little motion blur for drama? If so then these are just the styles and gimmicks of the time, much as we use now.

Regardless, these images have the same strong and lasting effect on me years after first viewing, even when digital perfection and processes have hijacked my own world. Plenty have been forgotten and discarded, but the truly resonant images have stuck, hard.

It is not just a matter of technical proficiency. I respect the technically spectacular work of Adams, but it does not sweep me away (my favourite of his is a colour image…heresy!), where many a Michael Kenna or Salgado image made using grainy 35mm film can make my jaw drop, haunt me even years later.

In this digital age, we are after better, faster, cleaner, sharper. Are we still looking for deeper, more substantial, transcendent and fundamentally moving? I hope so. Styles change, often with technical advancement. Does that mean we must relinquish past styles even if they have legitimate creative value?

The images that really effect me are often of small things, insignificant moments, ordinary people and places captured with an emotional maturity that makes them monumental. How can an image of a park swing, a cowboy’s back, an old mans hands, a towel holder on a cafe table, a scotch glass on an aircraft serving table have so much power? What is the magic sauce that brings these photos into our hearts before they are dissected by our heads?

Ironically, the period that has the greatest effect on me is the post-grand landscape and still life era of the 1930-50’s, where colour and small format photography were taking hold. Many of the old masters, with their attention to detail and their finely tuned, cutting edge processes leave me a cold. It is the era of the experimenter, the anti-perfectionist that resonates. These photographers were telling a story barely within their limits, rather than choosing subjects that their techniques could easily handle. Not saying that the work of Adams, Weston etc were easily made, but the reality is, they had the technical resources to make perfection of their craft a realistic goal. Compare that to the processes of early colour users (Leiter, Haas, Herzog) with their small format cameras, chasing elusive and fickle light with little acceptance by their peers.

The photographers work at the time (1960-2000) was measured by pure visual accomplishment. Made for publications that sold based on the quality of their output, not sensationalism or up to the second relevance.

Maybe the period of time an image is made is always going to be the primary determinant of it’s true quality. It certainly has been an obsession over the last 15 years. Attitudes of the photographer and subject, technical limitations, fashions and relevance must all have some effect, but how much? Can it (should it) be re-discovered in the digital age? Can we as image makers keep ourselves separate from the mass movements that control the industry of image making?

Another factor may be the volume of imaging, that makes us look only at the technically proficient, discarding near misses, the non perfect. These are often the images with mystery and sublime timing. A trend I fear is the automatic lightning edit that we all do due to the tidal wave of social media. Is this the time and place for the lasting image to return, to stand out against the avalanche of sameness?

Working within parameters of low ISO’s, limited available frames and processes often out of their control, makes the image maker think more, push harder, take chances and accept technically sub par images, as long as they stayed strong in message. Many of these very images have become classics. Saul Leiter for example used to shoot ASA 25 colour film on medium format, hand held at night! The images came stacked high with back story and depth.

Conversely, will we look back in 20 years lamenting the loss of the way we see now as still imaging becomes ever more threatened by video capture or will that very change in out technique bring us full circle, capturing life around us with a natural ease that permits total creative freedom?

Or maybe I just miss Kodachrome.

* Nick Brandt’s drinking elephant, Salgado’s Ethiopia images, Nathan Benn’s New Haven, Bill Allards’s Benedetta Buccellato, Sam Abell’s Hagi Japan (and many others), Leiter’s Worker 1956, many Michael Kenna images, lots of forgotten images in old books and magazines now discarded etc.

New gear trial run

So…EM1 mk2, 12-100 and a new tripod head (Promaster SPH45P) for my old Manfrotto 190.

First field trial run at my usual haunt (Launceston’s Cataphract Gorge).

What worked?

The zoom lens reduced fiddle substantially. 2 filters (Polariser and 9 stop ND), 24-200 equivalent range without changing. Too good.

The EM1 has wonderful, boisterous colour and great dynamic range (highlights recover really well). The two new cameras have the ability to make less than ideal light look good, something the Fuji and Canon are both good at and I have missed. The mono conversions also have taken me back to my happiest times with film.

24mm (equiv) wide angle,

24mm (equiv) wide angle,

to 200mm (equiv) semi-macro from the same place, different direction.

to 200mm (equiv) semi-macro from the same place, different direction.

What needs looking at.

The Bokeh from the lens is OK, not spectacular. On the flip side, the lens seems to have a very inclusive transition, ideal for deeper landscape images, much like my 17mm, but less perfect for shallow DOF separation.

The EM1 does not have a silent/electronic self timer mode (or at least I cannot find it*). The shutter is gentle, obviously the height of Olympus’s engineering ability, but no electronic self timer option. I purchased the Pen F to get the electronic self timer and was surprised to find the EM1 does not have it. It does have a custom timer release length allowing an ideal 4 second delay, but no electronic delayed shutter.

Did that matter?

*ed. Found it. Buried in the amazing custom menu, there is an exhaustive range of custom release settings, but electronic shutter self timer was not set as a standard option.

This…

This…

..from this. Not bad considering I forgot to turn off the lens and camera stabilisers and did not use the electronic timer release or high res mode! Bokeh is an interesting mix of coherent to a little rough.

..from this. Not bad considering I forgot to turn off the lens and camera stabilisers and did not use the electronic timer release or high res mode! Bokeh is an interesting mix of coherent to a little rough.

Probably not it seems, but the total lack of sound and vibration (where there is sound there is vibration) of the electronic shutter is reassuring.

The EM1 is the ideal in-hand camera. It has a beautiful operational dynamic for hand held work, be it fast or slow. On a tripod it went well, but the mechanical screw in cable release, electronic delayed shutter and slightly smaller high res RAW files of the Pen F, combined with it’s own less perfect in hand feel have decided me to use that camera for tripod work. I also feel the files from the Pen are a hair sharper head to head, possibly the due to a less AF tweaked sensor or maybe that electronic shutter?

The EM1 will be used for hand held and long lens work with the 75-300 for now but something longer/better soon (150-400 Oly rumoured!).

ed. Back to the one camera, one lens for important work as I found the electronic release option. The Pen will be the portrait and street camera, the older ones reserved for travel and tooling around.

Much more it’s cup of tea.

Much more it’s cup of tea.

Some more from this morning.

Colour that reminds me very much of Canon’s lush warm/cool balance.

Colour that reminds me very much of Canon’s lush warm/cool balance.

Mono images process like high grade film. I find myself working contrast in a more retrospective way. The processing trend with black and white from digital has been to pull or punch the broader contrast range, but with these files I coerced the mid tones, generally lowering the overall contrast.

This reminds me very much of the better end of high res mono film imagery from the 1990’s, something I wasted far too much time trying to perfect. The actual light was very contrasty. This type of mono image traditionally prints well.

This reminds me very much of the better end of high res mono film imagery from the 1990’s, something I wasted far too much time trying to perfect. The actual light was very contrasty. This type of mono image traditionally prints well.

Even extremely high contrast can be tamed, without loosing texture and detail.

Even extremely high contrast can be tamed, without loosing texture and detail.

The shadows on the original file were solid black to the eye.

The shadows on the original file were solid black to the eye.

High res RAW’s next.

Happy days.

Connections to the past

I love a bit of irony.

Something that I do find ironic is that the further away from traditional camera designs the latest crop of mirrorless get, the easier some older, lost processes and techniques get.

Manual focus is one. SLR/DSLR cameras have prioritised auto focus so much over the last few decades that manual focus has become, not only less popular, but also harder to do. Focussing screens optimised for auto focus lack the accuracy needed for good manual focus, especially if you like to use the whole frame to compose with. Thumb toggles etc aside, you cannot create an AF system that reads a creative mind.

Not only this, but using focus confirmation or AF and re-composing is for me far too distracting. I often like to use deep transitional bokeh in my images, using the better characteristic of my 17mm lens in particular to it’s fullest. AF makes this more of a black and white process, the forced preciseness is to me more distracting than beneficial.

Manual focus for this style of shooting is gentler, more deliberate and calmer. Placing transitional blurring is not a matter of accuracy and speed, but rather instinct and connection to an idea. Looking into the “middle distance”*, instinctively feeling the framing come together is simply harder when fighting with or being aware of possibly fighting with AF. It is a little more like hanging on to a bronco than moving with a thoroughbred.

Something I liked to do with my Canon cameras was to tae the AF off the shooting button. This at least allowed me to short circuit the AF when it was not cooperating. I missed this feature at first with the EM5’s, but I have come to realise that it was as much a distraction as any AF limitation.

Is it possible, that auto focus has changed the way we have started to compose our images? I for one have felt for a while that focussing has become more a matter of camera limitations that creative needs. Did past masters habitually use the whole frame to shoot with more than we do now? Another bit of irony is possibly the attention spent on lens edges and corners in an age where possibly we use them less, allowing the AF system concentrate on the more logical middle of the frame or do we use them more to help recover our misses?

In the modern age of strong Bokeh effects, is the subtle art of deeper transition under even more threat. We are so obsessed with the amount of Bokeh, maybe the more practical and less creatively one dimensional types are not used enough. Third ironic thought; For most of photographies short life, more depth of field was craved. Now we can achieve it easily we want less, or is that just how fashions work.

I like a smooth background as much as the next person, but I do get tired of it’s over use. It is harder to fill a frame with harmoniously interactive details, but using too much blur to hide the bulk of the frame can feel like a cop out after a while.

Complicated, even messy compositions with often illogical placement and framing. Bring it on!

*A martial arts term for looking into the middle space between you and your adversary so you do not look at anything, but everything at once.

micro four thirds and romance

It occurred to me as I was penning (!) that last post, that two of the reasons I have connected to Olympus and the Micro Four Thirds format, are visual but also very different. They are the look of the cameras and lenses and the look produced by the camera and lenses.

The EM5 mk1’s took me straight back to my roots. At first it was a connection to everything old, older even than my first actual cameras (Canon T90’s). They took me back to the 70’s and 80’s, to the creators of my first influences.

The second visual attraction came from the slightly flawed, less than digitally perfect, but still very capable files. They were not afraid of a little grain, if the end result has added clarity, acutance and tonal range. I felt for the first time in a long time that I had a film-like, semi limited imaging process that could produce beautiful images within an envelope of realistic expectations.

untitled-0187.jpg

Ironically, the handling of the cameras lacked the simplicity of a true film camera, but my first impression of them stuck all the way through, and still does six years later.

The file charm has also stuck with me. Not a huge fan of the base colour of Olympus files (possibly a product of their adaption of the Sony made sensors that have a few issues natively with colour), I adapted and found plenty of room for improvement, the digital equivalent of darkroom tweaking.

Natural skin tones, with vibrant colour on a palette of smooth detail.

Natural skin tones, with vibrant colour on a palette of smooth detail.

The newer cameras have added both greater charm and performance and the sensors are better, but I have not forgotten the natural, restrained beauty of the first 16mp sensor.

Very film like to my eye (Kodachrome 200 maybe)

Very film like to my eye (Kodachrome 200 maybe)

The designers wanted to make an impression with the first OMD cameras and they did cosmetically, but I feel the real hook was in the results. How many times has something been dressed up to look like something that has worked in the past, but failed to follow through?

Shades of the colour and tones I was influenced by in magazines such as Camera and Darkroom at the hight of film’s relevance. There is an honest realism to them. I came from Canon and am record as saying I miss Canon colour, as well as Fuji and even…

Shades of the colour and tones I was influenced by in magazines such as Camera and Darkroom at the hight of film’s relevance. There is an honest realism to them. I came from Canon and am record as saying I miss Canon colour, as well as Fuji and even Sony, but cutting the others loose has allowed me to appreciate the Olympus rendering fully.

Of all of the brands out there, I feel Fuji has the most direct connection to modern photographies roots, with film algorithms literally built in and handling closer than most others to tradition. The Olympus files however seem even more old fashioned. They remind me of National Geographic style Kodachrome more than any other files I see. Being technically better than 35mm film (closer to 6x7 in quality and ration) does not hurt, but not being 40+ mp super files keeps their feet firmly grounded.

Their handling of deep shadows with gentle highlights is particularly nice.

Their handling of deep shadows with gentle highlights is particularly nice.

No slouch with mono tones either

No slouch with mono tones either

For me the future is here. I do not want time to stand still, but I will hold on to what I have for as long as I can, as it satisfies my creative soul on a deeper level than It has been for many years.

Is the romance gone?

Cleaning out my old camera closet (much diminished already, but still some surprises), a wave of nostalgia hit me. This is not the regret laden “wish time would stand still” or even go in reverse thinking that I and many others have felt in the past, but rather a sense that a way of feeling about photography has passed.

The young seem to be in tune with the romance of the past, but I am not sure they are connecting to the same sense of anticipation ad achievement I know I felt or even the sense of belonging to a group of people who knew how to do something that was not always easy, cheap or sometimes even much fun. The challenges of photography were more immediate but also more gratifying.

The good signs to me are the adoption of film cameras* (older the better) rather than the fake film simulations available through post. The other lure of this is of course the retro chick cool factor that comes with them. Don’t get me started on the polaroid resurgence.

*This is mainly restricted to the mass consumer colour negative/print process as it is easy and well supported. Gone are the days of dark rooms and colour transparency printing.

Like the car industry, the camera industry has reached a level of manufacturing near perfection. It is no longer a matter of the reliable brand or the one that does that “one unique thing” that the others cannot* (Japanese marking strategy still drives this as a design necessity), but rather a loyalty to a fraternity, a memory of past identity. Why one brand over another when the differences are becoming more and more irrelevant? The camera industry at the moment is offering up so much variety of form and function, it is impossible to say any brand is best, even good at most things, but what they all have in common is a sameness of quality.

*It amazes me that Canon and Nikon have allowed there to be such an obvious point of difference between them and the rest of the industry in such short order.

To stand out, the main manufacturers have fallen back almost completely on bigger/faster/sharper, but I feel the industry as a whole is on the cusp of change.

The sheer quantity of quality has been addressed (for most, some are never satisfied), so I feel the hole needing to be filled is a uniqueness and preciousness of that quality. Good image makers are always looking for the extra something. That something is rarely found in the homogenising of perfect tools. What happens when everyone is equipped with more pixels than they can possibly use, automatic depth of field/focus and dynamic range fixes that always work and near bottomless battery charge and storage? The subject will become more important than ever, indeed it will be the only important thing. The ability to tell a story with a unique look and feel will be entirely creative, not a product of technical limitations.

When film was king, technical short comings limited or caused many variables, so finding solutions created character. Overcoming imperfections added connection to it’s processes. I had a friend who would process his film in paper developer for very short hits, at precise, slightly hot temperatures, then print through the extremely sharp pebble sized grain with a modified enlarger. Solution to a perceived problem = character. I used an entirely different approach (Rodinal at 1:200, with hardly any agitation over extended periods for maximum physical edge development to establish my “look” and a modified light source based on a trick picked up from the very last issue of Camera and Darkroom magazine). Two contrasting roads to the same end.

All darkroom users had their own tricks and secrets with glass, chemicals and light and there laid the romance.

Therefore film, what ever the real process, is not dead and will have a relatively long if niche life. It is not technically better, but it is different and it’s exponents talk a different language. As time marches on, common traits become less common, making anything to do with film “mysterious”. The uniqueness of the light leaking camera or poorly processed film is also falling away as genuine artists are starting (or continuing) to seek the better characteristics of film not just it’s fault filled faux character. The later user is after that alternative contrast and time stamped chemical look of film in all it’s ordinariness.

Is it just this physical rendering we pine for or are we trying to connect with a lost romance?

I feel that, like music, cars and other pursuits, the tangible nature of an analogue or mechanical process promotes connection, where digital separates us from process, making us focus heavily on end output. Without a connection to process, we stifle, even remove the romance. No one out there is trying to emulate the sound of early CD or digi cam look, but the quest to re capture the feel and look of film or sound of an LP goes ever on.

The retro bunch. All working and all probably going for cheap sale to people who will use them. The P67 belonged to a well known local photographic icon and the C33 to an equally well known local artist. Already a bunch of Nikons have gone to a frie…

The retro bunch. All working and all probably going for cheap sale to people who will use them. The P67 belonged to a well known local photographic icon and the C33 to an equally well known local artist. Already a bunch of Nikons have gone to a friend and a Contax or two also. There is even the odd EOS in the background. The Zenit is mint if a bit (ironically) dusty.

I no longer have any romance for photography, but maybe that comes with age.

Musings

This post is a little out of order as it was started before I bought the EM1, but the thinking is still relevant.

I hope my thought processes are of some value to my readers. The fact is, I am not comfortable talking about myself ad nauseam, but I am also aware how hard it is to get deeper, neutral information on processes and choices.

This was proven to me when I posted a review of the Filson field camera bag.

I had trouble finding more than passing thoughts or a couple of nice, feel good reviews that lacked useful specifics when looking at one and the purchase price (in Australia) was prohibitive for a blind purchase. This is common with bag reviews. many will talk about what fits, but not the usability of the stowed gear. I do not want a bag that just fits me gear packed tightly. I want to know what will actually work.

As soon as I received my blind purchase, I thought about a review to help the next review chasers get some more useful information. It proved to be my most popular post.

The next most popular was a review on the Domke f802 satchel. Also popular, even though this bag has been around for a while. It seems that no one had previously talked about the Tenba insert other than in passing or how to fit the extra lens bags. Simple stuff but so hard to find without internet fatigue.

Self indulgent it may be, but I hope that saying what I am thinking out loud can help my own thought processes and by sharing my thinking I may help others with a similar dilemma.

*

For me, the missing link in my gear has been tracking AF and to a lesser extent improved AF and MF application with some lenses that play critical roles in my kit. The 75 f1.8 for example is a powerful compositional tool, but it’s focussing on an older camera is slower and less predictable than my other prime lenses and it has a tendency to get “stuck” on a subject, then hunt. It’s stable mate, the 75-300 is a great lens but also not the fastest in either AF or aperture choice. In effect I do not have a fast/long enough option for sports/action, especially indoors.

The 40-150 was a revelation here. It not only focussed more consistently, but it was so fast, I felt like I had passive tracking on an old OMD.

Selling that lens in response to wanting to get back to basics, reduced certain capabilities in my kit.

Options for me at this stage were two fold.

If I buy an EM1 mk2 (great special going with $500 off with a free battery grip and a voucher that would cover a second battery, I assume in response to the flood of new camera releases), all of my lenses are elevated to at least a slightly higher level. The 75 on an Mk2 at work tracked quite well when I tested the older non firmware updated demo one. The 75-300 will probably gain the same boost or maybe better. The 12-100 will be at the cutting edge for M43 and it’s better weather seals will be matched by the camera. The other primes will all benefit to one degree or another. Waiting for the EM5 mk3 may be frustrating as Olympus will most likely wait until next year and the specs may be less practical, falling somewhere between the Pen F and the EM5 mk2. The current price (with free grip) is probably cheaper than a new EM5 3 anyway.

+ I would give my whole kit a focussing upgrade, some lenses performing to a level I have not enjoyed since the 5d3. My 12-100 especially would be perfectly matched in all areas to the camera it was released with.

- I would have 5 (!) working cameras and the added features are not things I have missed much for my current work (although I am aware of a direct connection between the subject matter I tackle and the gear I have).

Old camera, cheap lens.

Old camera, cheap lens.

If I retrace my steps and get the 40-150 again, I avoid some camera obsolescence and regain the AF performance I enjoyed before, but will know there is still much more to be gained in camera upgrades currently available. Selling that lens was partly due to stepping back from pro work and a lack of connection to it’s standard lens partner. Weight was under question also, but I was not in a great place personally at the time.

+ I would gain a quicker focussing, faster, longer, slightly sharper mid range telephoto. With my 12-100 it would give me back my “pro” level confidence. The 75 would become a portrait/travel specialist and the 75-300 a travel/distant sport option.

- I would be relying on old model cameras for the bulk of my work, granted, cameras that have never really failed me and a newer “serious amateur” Pen F camera for some of the things the oldies cannot do as well.

Old camera, new lens, ISO 3200 and cropped 50%.

Old camera, new lens, ISO 3200 and cropped 50%.

The thought of ditching my EM5’s (placing them “in reserve” at least) for a new work horse is a little disturbing. The Pen F was more of an exercise in pin-pointing specific kit weaknesses and addressing them in a non destructive way. Loyalty to an object for it’s own sake is pointless, but they have served me well. I may be a little touchy at the moment as we are caring for an elderly dog and my thinking is becoming habitually protective.

The logical option was the camera upgrade. It added tangibly to my capabilities and fixes known issues. The deal is also very good at the moment, while the lens is on a mild special that will undoubtedly be repeated again soon. I also have a sneaking suspicion that if I recommit to the older cameras, they will start to fail (each has 100k+ frames on them and 6 years of constant handling), while Murphy’s law says if I replace them, they will likely plug along for ever.

The older cameras? They will be ideal for travel as they now owe me nothing and have proven to be tough and reliable. 16mp on an older sensor/processor has been my base line for so long when travelling that I would have no trouble sticking to then for that alone. They will also do duty as back-ups and save me hundreds, even thousands of wasted frames on the newer cameras for general grab shots, extending their lives also. I may even get one Infrared adapted.

What if a camera comes along that makes even the newer ones look redundant? I reckon by then the OMD’s will be falling away naturally though wear alone.

It would be a commitment to more serious work, but that is my lot. Whenever I drift away from photography, I am called back. There has been a lack of satisfaction in my photographic life for a while. This is due in part to a paired down, single dimensional kit (in response to not wishing to work as much commercially and concentrate on other things).

No macro, no wide angle, poor tracking AF, no weather proof support for my WP bodies, then no high res weather proofed camera for my new WP lens etc , etc have all made me feel thinly resourced, even unbalanced.

More involvement and constant gear upgrades seem to be interrelated, so why fight it. I am probably the most serious photographer who has not upgraded recently that I personally know and although I am no Kirk Tuck, ignoring the improvements made over the last 5-6 years seems regressive.

Musings done.

Thanks for reading.

When do you see

Yesterday’s post stirred up in me some procedural self analysis, even healthy self doubt.

When do I “see” an image and how does the process effect my compositional choices?

Before (predictive)

With experience and familiarisation with their gear, photographers get better and better at predicting the magnification and perspective of their lenses. This “pre-visualisation” is a benefit, but can also lead to habits and restrained expectations. A photographer’s style is tied directly to a combination of deliberate decision making, and reacting to changes. We cannot succeed without a pre-conceived idea of what to expect and what may be required to overcome obstacles. It is human nature to repeat what works. Here also lies the path or repetition.

Prime lenses force a certain amount of pre-visualisation due to their limited perspective. Choices made before a lens is mounted on a camera are based on these expectations. They have the effect of settling me (personally) into a comfortable rhythm, working within known constraints. This settling process gives me the solid bedrock I need to work quickly. Your mileage may vary.

This process requires regular re-exploration otherwise the same shots keep getting taken. One of the reasons I find the excellent 75mm a bit limiting to use is I feel it offers limit compositional choices, but maybe I am limiting what and how I choose to see with it?

Taken late evening with the 75mm. The f1.8 aperture helped both gather light and create the shallow DOF that defines the image. Did I see the image because of the forced compositional limitations and light gathering/DOF benefits of the lens or would…

Taken late evening with the 75mm. The f1.8 aperture helped both gather light and create the shallow DOF that defines the image. Did I see the image because of the forced compositional limitations and light gathering/DOF benefits of the lens or would I (could I) have found a workable composition using a zoom and different settings? Did I create the image because of the lens or did the lens only control some of the choices made when making the image?

Using a zoom effectively changes this thought process. With an effectively free floating focal length range, choosing a set perspective must be general at best, but with the subtle refinements they allow, perfect framing is always possible.

When using a zoom I tend to approach the subject with a whirlwind of options, usually too many to be helpful, which explains my reluctance to use zoom lenses in dynamic situations. A trend I have noticed in my process is to use the extremes of the zoom’s range almost as if the two ends (tight or wide) are prime lens choices. Something else I have found is I prefer wide or tele only zooms, I think because they are limited to one perspective or look, just more or less magnification within it. In other words, I would find a 16-35/70-200 combo preferable to a 24-70 or to be more precise a 35/70-200. To be even more precise, what I really use is a 35/90 or 150 (equiv) combo on two cameras.

If I tip this on it’s head and pre-select a focal length (literally choosing one on the lens barrel), the process stays much as above, but if I let the visual stimulus of the subject control my thinking, there is a reactive freedom, possibly at the cost of deliberate control. It is just that the options are so many.

It strikes me that the process of zooming vs the process of finding a framing option with a fixed lens length with movement are much the same in theory, but for me personally, the cleanness of the prime wins. I think this is definitely prediction-adaption dominating reaction. I certainly find it faster and less distracting and often more creative.

Prime lenses are (for me) cleaner to use if you like to pre-visualise an image before putting the camera to the eye, then working within that frame work.

During (reactive)

This is where the zoom shines. If we can fully immerse ourselves in the process, then the zoom gives instant satisfaction, changing framing precisely based on how we respond to what we see. All of the variables except for very shallow depth of field are available to us (f2 on the new full frame Canon may be an exception).

Working from a tripod is a logical application of zoom lens use, hence my purchase.

Tough to frame well without a zoom or choice of primes and time to sift through them (or heavy cropping). This is definitely a case of zooming being the better option.

Tough to frame well without a zoom or choice of primes and time to sift through them (or heavy cropping). This is definitely a case of zooming being the better option.

A prime reduces the variables by fixing the magnification and perspective, making the photographer move their feet, change angle and control depth of field (here the prime has the edge). The skill comes from practicing and predicting the anticipated image, or images.

So, zoom lenses may be better if you prefer to react to your subject after the camera is up to the eye, working the composition from one creative step back, adding in magnification last.

After (post process)

I am often surprised what I find using my post processing editors hat, not my photographers.

Not one to shoot loosely and fix later, I still reserve final judgement until after uploading.

If the body of work is strong and varied enough, there are always surprises to be found. Sensor size/pixels, good technique and edge to edge lens sharpness can all contribute to the quantity and quality of the usable frame and files. Editing software is of course a very powerful tool if not over used.

A complete write off as a colour image (shot through a dirty, hazy window into the sun), this is as heavily processed and cropped as I have ever needed to go, but is also a lesson to me to look harder and with an open mind. This image was shot using…

A complete write off as a colour image (shot through a dirty, hazy window into the sun), this is as heavily processed and cropped as I have ever needed to go, but is also a lesson to me to look harder and with an open mind. This image was shot using a fixed 400mm, so framing was based on this one perspective. A zoom may have resulted in a different composition, so the skill here is in seeing an image within the limited options.


The Steps for me are;

See a potential image using your personal image memory bank of workable situations to draw from. As the image is seen the choice of what type of image it will be must be interwoven in the process. Here is where pre-conceptions and exploring fresh directions collide.

Assuming a lens of the correct magnification/perspective is available, the image is taken as visualised and as circumstances allow. Primes may force movement, where zooms allow framing options, but may (?) distract from moving to a better angle. If the wrong lens choice is all that is available, compensations are made or the image given up on if time is limited (part of step one directly related to knowing what options are available?).

Part of this must be muscle memory and instinctive as many images are taken that I honestly do not remember getting at the time. I suppose if the process is practiced enough, much of it will take care of itself.

I remember feeling that the frame became generally balanced at the point of shooting, but the facial expressions and their “generational” relation to each other was pretty much in the lap of the gods.

I remember feeling that the frame became generally balanced at the point of shooting, but the facial expressions and their “generational” relation to each other was pretty much in the lap of the gods.

Again, a bit of luck that came with preparation, awareness and timing, but there was no way that I could arrange these elements with full control “on the fly”.

Again, a bit of luck that came with preparation, awareness and timing, but there was no way that I could arrange these elements with full control “on the fly”.

A third from a series taken on a day the stars aligned for me.

A third from a series taken on a day the stars aligned for me.

In this case the placement of the people balanced the frame and the girls look added animation, but the t-shirt characters looking directly at the girl, seemingly in surprise was just lucky. Again effort and preparedness brings luck, but lucky just …

In this case the placement of the people balanced the frame and the girls look added animation, but the t-shirt characters looking directly at the girl, seemingly in surprise was just lucky. Again effort and preparedness brings luck, but lucky just the same.

This is a much easier process. On identifying the strength of the image (repetitious patterns of the tiles and clean lines), compression and a tight abstractness came to mind. The mono processing really only cleared up an idea that the minimal colou…

This is a much easier process. On identifying the strength of the image (repetitious patterns of the tiles and clean lines), compression and a tight abstractness came to mind. The mono processing really only cleared up an idea that the minimal colour version lacked.

If the image can be, it is improved in post processing along with any others that are discovered. Sometimes the improvements are based on the original concept, sometimes not.

How about you?