The Reality Of Noise

Digital noise is a limitation we, as photographers, have been fighting in one form or another for a very longtime.

There is no doubt that noise and film grain before it, can cripple an image, or at the very least force you into a look that may be at odds with your vision.

Excessive noise is probably the first thing that comes to mind for M43 shooters or at least those looking in from the outside. I must admit, I have never really been overly sensitive to it coming from 1980’2 to newer film, early digital, then mid to later full frame, Fuji APS-C, then finally into M43, all with Adobe Lightroom (except film). Noise was for much of the time, pretty much fully in line with my expectations. Nothing to worry about up to ISO 800-1600, take care up to 3200, use 6400 when a little desperate and ignore anything beyond as basically “unhelpful”.

M43 does have some advantages over larger formats, providing faster and longer lenses in smaller and cheaper packages (sometimes even providing lenses simply unavailable to FF shooters), as any lens is effectively double the actual focal length but still acts like it’s true focal length, improving the performance of applied stabilisers.

What happens though when a higher ISO is the only way to get the job done?

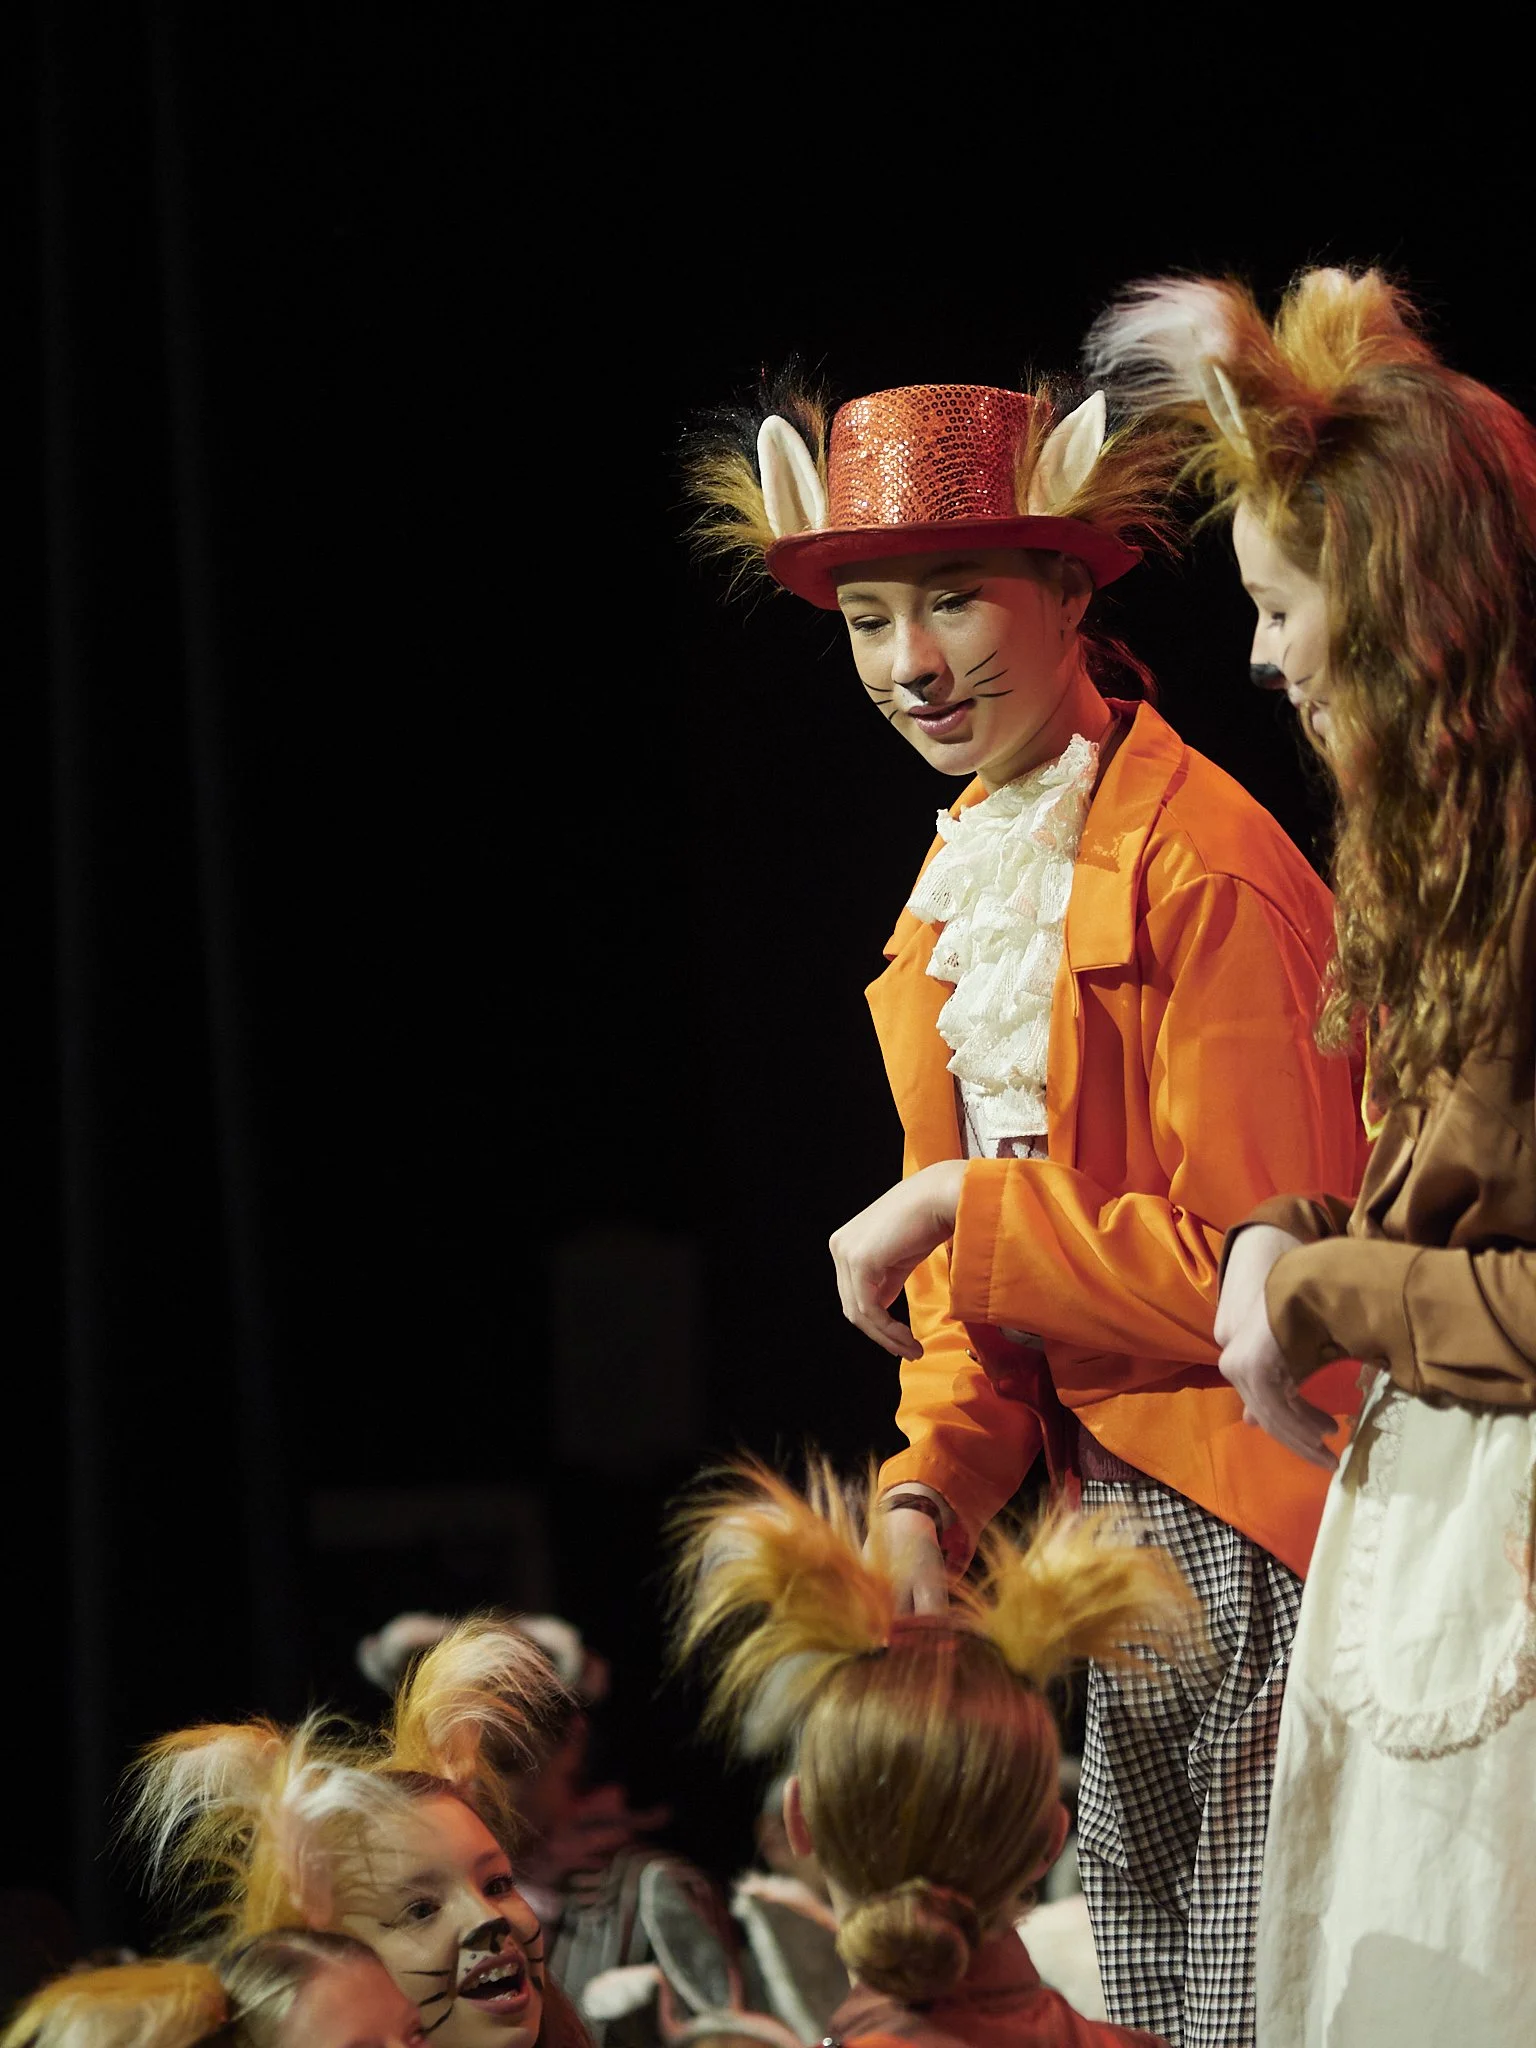
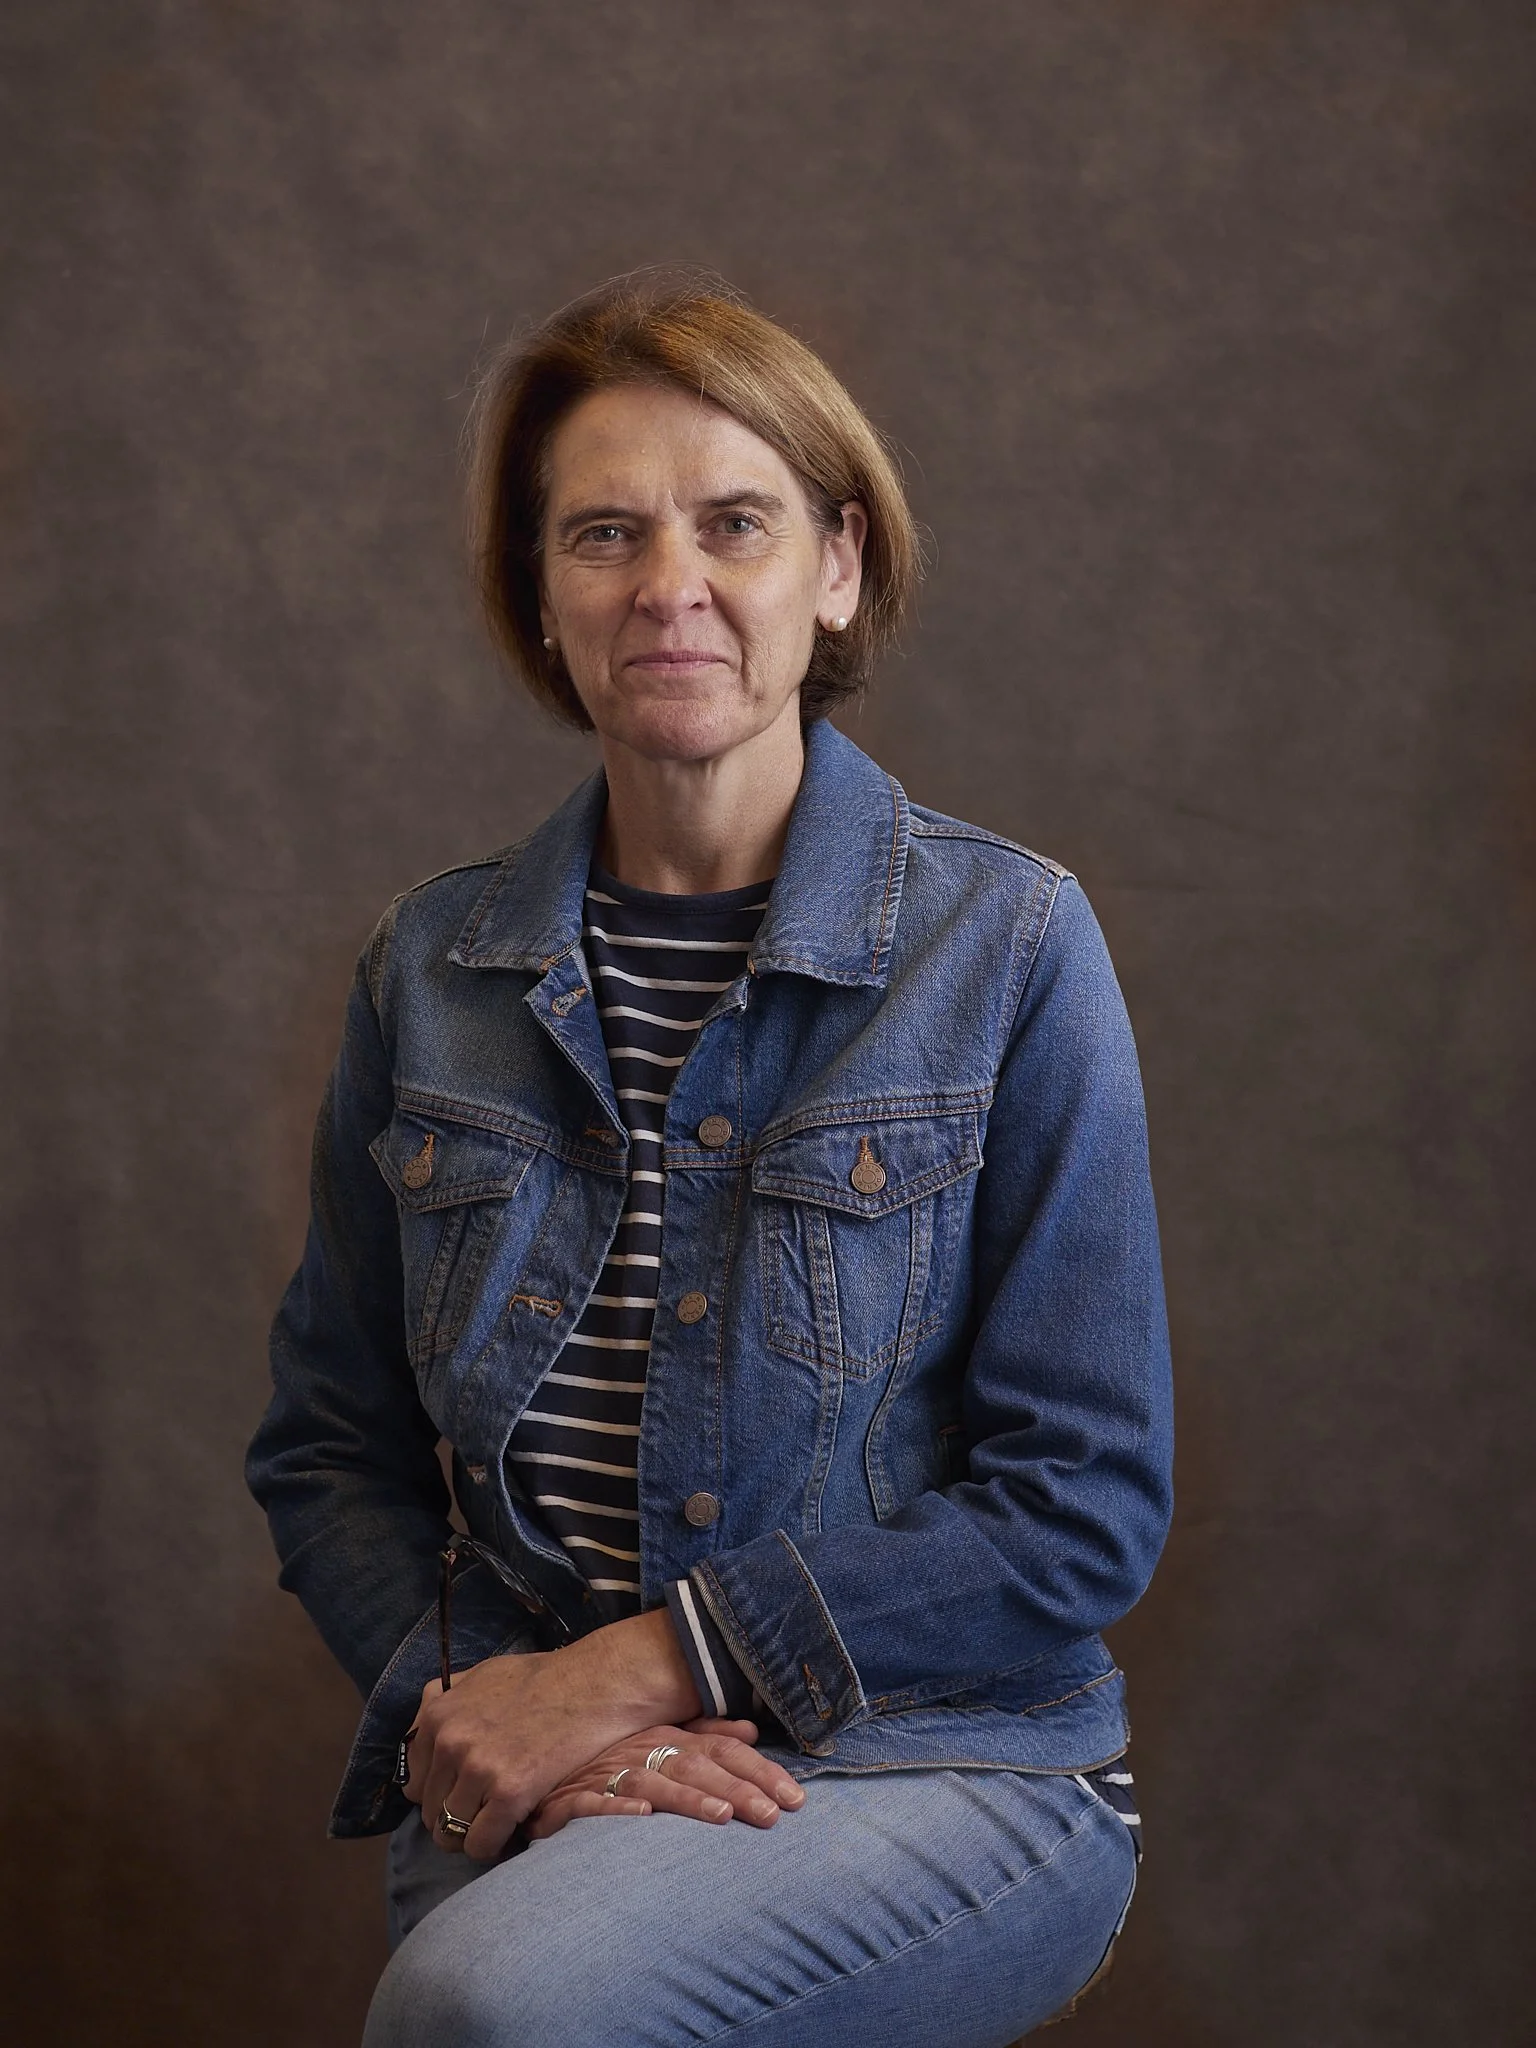
The three files above and the one below and their close-ups were taken with a M43 camera at ISO 12,800, processed first in Capture 1, then popped across to ON1 for a clean-up. Interestingly, one of the files needed very little work, one was a bit better and one cleaned up more noticeably, but was still useable.

My main concern is not visible noise, but other quality stealing factors like washed out colour and mushy detail. Even Bokeh is effected by noise. At first some more noise smooths Bokeh and noise reduction even helps, then it steals away the sharpness, which tends to blur Bokeh….if that’s a thing.

C1 seems to keep the colour strong, ON1 holds sharpness while removing noise to acceptable levels. I have used ON1 with Lightroom, but the M43 file that goes across is less clean, so the resulting file, although it looks very close at first, is the result of more aggressive processing.

Colour is a little cool and flat, but that is the horrible day here and I was not keen to mess with my samples too much.

The fact is, and I know this from real world use, this much noise disappears in many scenarios and is acceptable in most others. Printing in particular tends to even things out, as does small screen viewing (see the images above).

I also know that for real world use, an f1.8 to 2.8 lens and a decent shutter speed is achievable in most lighting conditions, which is where the M43 advantage kicks in.

The very rare times 12,800 is actually needed, it is not horrific by any means. I may even go higher.


Editing, Culling And Fresh Eyes

There is such a thing as being too close to something to be able to see it clearly.

I have started one of those tasks that is very much a punishment for being lay last holiday break. I an gonf through 2500+ images that have stacked up in my catalogue, that should really have been looked at before now, but to be honest, in some cases I am happy I have had to go back with fresh eyes.

One of the first things I noticed was the base quality of the files. The 17mm f1.8 lens took pretty much every single shot on a trip to Melbourne recently. This lens came out early in M43’s relatively short lifespan and reviews “back then” (several years ago) tended to be very math based. Charts for resolution, chromatic aberration, vignetting and contrast can often hide the true nature of a lens. I have noticed that lately, this lens more often than not comes up on M43 top ten lens lists, even making the top spot of one.

As a street lens, I feel the combination of the format, the characteristics of this lens and a choice of camera form factors, make this as good as it gets. There are specialist street cameras out there, but to be honest, I can match any of them, and have the versatility of drawing from a full system.

Next, cropping changes. Small, niggling suspicions that files are not strong enough, are addressed.

While culling three quarters of the files (the tough bit, but necessary), colour also gets re-assessed.

Often an overlooked file can re-surface, or a favourite re-processed with fresh eyes.

This one was lightened and brightened.

Some just reinforce their appeal.

The unique perspective and character of the 17mm.

The 17mm f1.8 was the only lens for this kit I bought semi-reluctantly. Basically, in the early days of M43, the options were few. This one was the only workable choice, but even then, it felt like a filler until something “better” came along. Well others did come, but I will not part with it now. Almost every image taken on the Melbourne trip was shot with this lens at f2.8.

Camera Choice Getting Harder Or Easier?

I am still tentatively looking at new camera options.

The Black Magic 4k have largely fallen away, not being considered generally practical enough, even though its value is by far the best. I feel I would fall back on the G9 or EM1x far too often to justify a great, but largely “dumb” video camera, with poor or no AF and no stabiliser. My logic may be flawed.Isn’t it better to have a few cameras that do different jobs than the same thing done differently?

  • With a 4k BM I would have the ideal tripod/studio/pro grade camera,

  • the G9 for general video and optional stills use with better than ok stabilising and AF options,

  • the EM1x for solid semi-gimbal hand held movement with the best AF and finally,

  • the OSMO for genuine gimbal smoothhness and many other creative options.

All offer similar quality 4k, which in most cases would be down sized to 1080 or smaller.

Ok. May have befuddled myself there. Having four specialists makes plenty of sense, seeing as I already have three of them.

An unrelated filler image from a recent insurance shoot.

The OM-1 is appealing more now as a stills and genuine video option. It has no limits in shooting time and no annoying breaks in its footage. It seem to be nearly faultless with video AF and has much sharper 1080p. For stills, I will give it to the Oly overall for AF and low light performance, but both it and the GH6 are excellent.

It looks to have some better video customisation options, something the other Oly’s are poor at, making on the go switching between roles difficult. AF for both shooting forms comes with the very real consideration that most of my lenses are Olympus.

On this, I could buy with the OM-1 and possibly a kitted 12-100, 12-45, the new 12-40, 8-25 or 20 f1.4. So many choices.

The GH6 on the other hand has better hand held high res (100mp with better subject movement control and sharpness), which gives me a surprising stills benefit and ties in well with my Pana/Leica wide angle. Olympus seems to be better at 50mp than 80mp. I do not use this much now, but for the odd group shot with genuine single face lift-outs, it might be handy. There is also the advantage of a few more pixels natively.

For video, it lifts the Pana into the same realm as the BM’s, offerring genuine LOG, 120 4k, in camera cooling, 10 bit in most formats and much better AF. I also like the synergy of the G9 as backup to the GH6 as primary.

Lens options for the GH6 are the unlikely 10-25 f1.4 video or the 12-60 Leica. Both appeal, but being Pana lenses, they may lack some AF compatibility with my Oly cameras, but offers better compatibility with the Panas and dual IS.

So where am I now?

My gut says the OM-1, because I like the 4k video, would usually use the stills functions more and have found the video focus and stabiliser on the EM-1x very solid, so slight improvements would be more than adequate. Having said that, for many of my real needs, the EM1x is plenty and it does not get a lot of work overall. This and all of my video cameras could also get an upgrade by adding the Ninja V (G9 becomes a true 4k beast, Oly’s get RAW etc).

My head says the BM 4k (studio or compact cinema?), for the value. For the same price as an older OM or GH camera, I would have a very good specialist 4k RAW video camera with better processsing options (with free Premium Da Vinci for life), which is perfectly calibrated to the camera and is real RAW. This is my preferred stills processing option. The OSMO, G9 and various EM-1’s are all valid options with strengths of their own. The BM would be the premium static camera and the pro video camera with an eye to upskilling into pro grade cameras.

Lenses are out of the picture, pushing the overall price up again, but I have saved enough to choose what I want or even look at some of the cinema specific ones. Accessories are also a consideration. Smallrig frames are up to three times the price of Pana ones (so I would likely skip one, using another camera), and Gimbals, a real consideration, push the camera closer to the others in overall cost, but again, this where the others come in. In it’s envisaged role, I think it would be best left as is (I favour the studio anyway), being relegated to the serious tripod camera.

My heart says the GH6. This camera continues my transition into a mixed Pana/Olympus system, gives me some new features and harmonises well with the G9 as both a backup stills and video camera. Dual ISO, more stills pixels, better hand held high res, a cooling fan, two record buttons and VLOG are on the plus side. My only concerns are the slight shortfall in AF compared to the OM-1, but it is still more capable than the G9 and likely equal to the OM’s I have. The EM1x could then be sidelined as a video camera.

Operation would be nearly identical to my G9 set-up and the video, even though it is overkill, is likely as good as the BM 4k in real terms. The lens options are also tempting. I have had wonderful results out of my Oly stable, but I must admit, the Leica/Pana 8-18 does have a special look that I appreciate. The handy premium 12-60 is the likely one, or the excellent 12-60 kit or even the 15 1.7, all available kitted with the camera.

*

The other more balanced (Head/Gut/Heart) and probably realistic option is to get another cheap G9 the Ninja V, making all my existing video cameras better. The second G9 would let me carry one as a second EM1 level stills camera with better video ready to go, which is harder with Oly cameras as they do not let you set video specific custom modes.

A G9 with a 12-60 kit lens (or maybe a specialist video lens as the 1080 cropping options effectively make it a dual lens) and the Ninja V would come in under the price of the BM4k with accessories and get rid of the one thing that annoys me - 30 minute time limits. I already have rig options, accessories and consistency of operation. I could even add a full gimbal with little fear of blowing out the budget advantage.

A Monster Calls

The ARTDNA 48” soft box arrived today hot on the heels of the 36'“. It does not at first seem that much larger, but in comparison to the other already decently sized one, it is a monster. It actually blocks out the ceiling light.

The 36” is a self assemble model with, 14 ribs inserted into the Bowens S-mount. To break it down requires some real dis-assembly, but unlike when you recieved it, the assembly is not too tedious and the diffuser panels do not need to be removed. Out of the bag, each rib has to be inserted, but after, they only need to be taken out of the Bowens mount.

14 ribs and 14 fiddly little clips, but only the first time.

The 48” is umbrella-like in assembly, that is you don’t have to insert all of the ribs. Unlike my other 120cm brolly soft boxes though, it is a shoot through from the Bowens S-mount, not a shoot from inside reflector. It is pre-made, assembled into working form by pushing down the stem from the inside. Rather than clipping in the diffuser, it simply velcros into place taking a few seconds, so easier overall than the 36”, but different.

A sturdy umbrella mechanism. The 36” is broken down by taking most of the ribs out of the Bowens mount under tension, this one just pops shut.

My main concern is its weight. The thing is huge and by its very nature, fairly front heavy. There is no way I would attach it to front of one of my cheaper COB lights, but a plastic Bowens bracket held it happily on an angle for an hour or so. The smaller one can just fit through a standard door assembled, the bigger one has no hope.

The big question for me is whether there is any real advantage in these over the reflector 48” soft box brollies I have. They are physically heavier and bigger by design, harder to assemble and generally dearer (not in this case, but generally), so they will have to offer something. There are easier to change on the fly, but that assumes they are assembled and the lights used will take them.

The 36” on the left has a nice brilliance to it (no processing applied, not even exposue). It is also about a stop brighter (1/16, f5.6, ISO 200 with a YN560 III). The bigger unit has a more neutral, softer look and more open shadows, similar to my 7’ white brolly (it is also a tie for unwieldiness). Apart from the lack of brilliance, this thing manages the magical one light portrait. Maybe with a hair light?

I prefer the colour and brighness of smaller one, but the larger one more pleasantly shapes Meg’s face. The difference in magnification is because the smaller one actually sticks out further, forcing me to move closer or catch its edge.

The Fantastic Capture 1 (oh, and Mr Fox)

I am on record saying that Capture 1, especially for a Micro Four Thirds user, has been a revelation. With Lightroom, an acceptable balance between sharpness and noise control was regularly unachievable past ISO 1600, but with C1, I cannot remember the last time I needed to use noise reduction, worried about import sharpening or clarity, unless I had pushed a file to stratospheric heights above ISO 6400 or under exposed badly. Then I will drop it into ON1 No Noise from C1, expecting premium results and usually getting them.

There was a transitional adjustment to be made, something that I have really only recently come to fully understand, but now I understand the best process pathways, my results are regulalry more to my liking.

Brilliance, the control I missed early on, is a whole other fish to Exposure control. LR relied on a natural (un-natural?) lushness to its colour and contrast and it looks good, very “Hollywood”, but comes at a cost. C1 comes with a more mature and honest base-line. I felt early on that it lacked any form of natural punch or glow, but on discovering the Brilliance slider, I not only found that punch, but a better way of controlling exposure also.

In the sets above the first, flatter original files are nicely boosted and cleaned up using a little added Brilliance control and the snap and glow comes out, colours benefitting most. It is almost as if the glow comes out from within the file rather than a global layer of brightness across it.

The third file has the same amount of Exposure applied, weakening contrast and colour. It is just lighter, not better. In Lightroom, my usual process would be boosting Whites, dropping out Blacks and adding Exposure overall. This would have the effect of boosting contrast more gently than just adding Exposure or Contrast. It took two or three sliders and the base line brightness of the file would not change fundamentally.

How do I use it?

I will apply Brightness to a dull or dark image before the Exposure, Contrast or Highlight/Whites sliders. The placement of it in C1 lower down the pecking order than most is annoying, but workable. If I use Exposure first, then Brightness used to balance. Brightness is one of those few festures I use in both a positive and negative context. Often though I tend to drop Exposure back to where it was and I find the Contrast slider too aggressive for normal files.

Dehaze is the next most useful to my work flow.

I found Dehaze in LR (possibly limited by the age of my computer curtailing LR upgrades) was a little crude and simplistic. Doing what it was designed for, it was fine when needed, but that made it an emergency measure like noise reduction, not something with a wider utility.

In C1, the Dehaze slider has become for me the little “snap” enhancer that many files appreciate and is rarely destructive. It can in extreme cases, even add a feeling of three-dimensionality.

In the first file below, C1 has retained decent balance between noise reduction and sharpness on import, so where to next? Add Contrast, Exposure, maybe Brightness? Perhaps Shadows lifted and Highlights dropped back?

In the middle file some Exposure was added, generally lightening, but also slightly washing out the file.

Dehaze was added to the right hand file and this is the secret. Once you have caressed a troublesome file, Dehaze puts back in the normal, the strength. This allows you to work a file a little more aggressively, knowing you have a wonder tool that can gently add back in what other things have erroded.

When do I use it?

Any time a file is a bit flat, I first apply the needed fixes, then use Dehaze to put back the needed contrast. Like Brightness, the Dehaze control seems to add from within, not just layer over the surface. It is especially good at fighting the “HDR” look that strong use of the Highlight or Shadow sliders can create.

The only down side is colour tends to intensify, with Olympus files anyway, often towards Magenta, but that is fixable. This is likely a response to the core colours in the files, so others may find different behaviour.

I also use it when the file is hazey, but I guess that is in the name and never if the actual image requires a hazey look.

Keep in mind, C1 reduces the need for many controls I used automatically in LR like Noise Reduction, Sharpeing (often locally applied), the Blue channel in Camera Calibration for better portrait colour and Clarity (again often locally applied with the brush tool).

So;

My Lightroom work flow was;

  • Import with boosted Blue channel, some Sharpening and if the preset required it some Noise Reduction,

  • deal with White Balance issues,

  • locally apply with the brush tool, Sharpening, Noise reduction and Negative sharpenning into semi-soft areas,

  • apply Clarity or Blacks were used for more “snap”, Highlights often recovered as able and I found them quite bright in LR.

My C1 basic workflow is;

  • Import with base settings,

  • pause before getting too excited,

  • adjust Brilliance or less often Exposure and White Balance if needed, less often Shadows or Highlights ,

  • use the brush or gradient filter etc if needed for localised Dodging, Sharpening/De-sharpening,

  • add Dehaze to taste, less often Contrast or Clarity (these get more of a go in mono).

I almost never touch Noise Reduction or Sharpening, my two bug-bears in LR.

When you are processing over a thousand images like I did this weekend (school ball), having the files import basically “good enough to go”, means I can concentrate on minor improvements if needed. I spend more time removing pesky photo bombers than worrying about noise etc, which would have been my first thought with LR. I have effectively removed a couple of steps from my flow.

Different Roads, Different Tools

Mine is a life of diversity.

One day I will be asked to photograph large groups, the next, I will be covering sport, maybe later the same day a social event, some drama or an after hours excursion.

Diverse, fun, challenging.

The gear requirements are heav. II am not a true pro, but experienced and widely equipped. However, each year I learn a little more, making some things easier and sometimes focing wholesale changes on my gear and processes.

If I had to rank the difficulty of each style I need to employ, I would use two criteria;

Gear, which is obvious but needs to be looked at,

and,

process or the knowledge, experience and control needed.

I will rank them from 1 (easy-amateur) to 3 (serious commitment).

Sport Indoor (3/3). Fast medium teles, through to equally fast shorter lenses, f1.8 on MFT is fine, 2.8 on a full frame. Good ISO performance through the camera or post processing and good AF. My EM1 mk2’s are fine, the EM1x just a little better with ON1 No Noise if needed. EM1’s, 4x f1.8 primes, 40-150 and 12-40 f2.8’s.

The sport that defined my thinking, indoor swimming. Poor light and long distances.

Field Sport (2-3/2). Long glass, with faster shorter lenses as the action moves closer or the light goes f4 being the outer limit. The enemy is poorly lit night games which can even rival indoor sports for difficulty. Fast cameras are also a requirement. After a horror night game exerience at the local hockey centre, I discovered ON1 No Noise in combination with C1 and they literally changed my thinking on what is “low light”. I now use 6400 confidently and 12800 if needed, where once 3200 gave me the jitters. EM1’s 40-150 f2.8, 300 f4 or the 75-300 if the light is good and the action slower, 1.4x converter and something wider for half time.

Large Groups (1 or 3 with lights/1). If light is good, a basic camera and standard zoom lens are all you need. If shooting indoors, a faster lens is useful as long as you can get back far enough to use the wider aperture, or lots and lots of light. MFT gives me a 2 stop depth advantage, but I still struggle to light up large areas. The main thing is to be on top of the process, i.e. crowd control. Any camera, 12-40 f2.8 or f1.8 prime, 4+ flash units with silver reflectors and constant lights if needed.

Portraiture (1/3). This is one of the easiest gear wise, with any camera and a fast(ish) prime generally all that is needed, generally f2.8 on a full frame or 1.8 on MFT, with a basic kit lens being ok if flash is used in a studio, where depth of field is largely controlled by light, not aperture. Lighting can be cheap and easy or as crazy as you want. This is one of those areas though where experience and communication out shine gear. Any camera, any MFT f1.8 prime for available light or any lens if in a studio. 1-2 lights, with mods and reflectors, which could be as easy as 2x 33” brollies on cheap stands with cheap flash units and lots of experimentation.

Performances (3/3). Poor light, movement, distance, limited angles, all the good stuff. I usually use primes, but sometimes if the light is strong enough an f2.8 zoom can work or even my longest lens at f4. Any camera (EM1’s for movement), any longer fast lens.

On a well lit stage, most lenses can be used, even the 300 f4.

Field trips (2/3). These include any trip outside of the school, but not camps or sporting events. A pair of zooms, one wide, one long with a TC or longer slower zoom on a good light day and a camera and maybe a fast prime. 2x anything, but generally a basic camera for the wide and an EM1 for the tele, 8-18, 40-150 pro or 75-300/40-150 kit and a 45 f1.8.

Camps (2/2). These can be tricky and specific, but generally weather proofing is the main priority, then coverage. Again a pair of zooms, one wide, one long and a camera for each (avoid changng if possible) and maybe a fast prime for low light candids. 2x EM1’s 8-18, 40-150 pro and a 25 f1.8. I may take a flash, but will generally avoid lighting in favour of authenticity and have had need of the 300. The OSMO also comes in handy in its water proof housing.

Social events (2/1). These are usually a formal entrance area and some on the fly, so I use an EM1 and 17mm with flash for the mobile stuff and my “lucky” EM10 with the 12-40 for the flash kit. Formal kit; A specific EM10, 12-40, YN 560 with reversed brolly (and a second one ready for larger groups), an LED for fill and to help focus. The on the go kit, EM1 with Godox TTL flash and black foamy thing for bounce, a 17 and occassionally 75 for stage work. Lots of backups especially backups.

Video Interviews (2/2). This settled quickly through working and not being messed with. A single prime lens, the 25mm f1.8 (wide open) and the G9 or EM1x. I usually run the SSH-6 mic in close on its own stand if static or off camera if not and use a single light or natural light when able with a little LED for rim and a reflector for fill. G9 for set spaces or EM1x if less controlled for better focus, 25 f1.8, F1 and SSH-6

Freestyle video (2/3+). Hand held, follow focus, patchy sound, make it up as you go along. This is tough to master and the province of full time videographers, but it is also tons of fun. It also covers the creative side of set video production. Gimbals are recommended, so my OSMO and EM1x are the go to’s. I have had success with the caged EM1x and 25mm and the OSMO is a given, just needing better sound (which is coming).

Group/Event video (3/2). This one is different to interviews becasue you have more to contend with with sound, but usually stereo sound will work. Any lens needed will work, from 17 to 45, with the H5 running a pair of condenser mics or its XY or SSH capsule (as well). G9, any lens, H5 and XLR condenser mics, XY capsule, SSH capsule, lots of light, a backup rig of the EM1x and F1 for second angles or just backup and even a third camera for same.

Event video (3/2). As a rule I shoot stills unless specifically tasked otherwise, but occasionally I will try to cobble together a little video while shooting. My primary video camera for this is the OSMO, the secondary camera is either an EM1 in dual role or the G9 specifically. Always the OSMO, a mini tripod, sometimes the weatherproof housing and occasionally the G9 and 12-40.

My own travel and street (1/3). I generally stick to light weight and easy to use and gear that I trust completely. Needless to say, if not working in this space, I could pack my entire camera kit up into a small bag! Pen F, Pen Mini, 17, 40-150 kit, 45.


Sport Back And A Chance To Stretch My Legs

For those with no idea what you are looking at, this is Australia’s winter obsession, Australian Rules Football or “Footy”. It is an interesting sport to shoot. It moves faster than most, with long range, any direction kicking and fast hand work, criss-crossing the large field almost continuously, so long, then quickly not so long lenses are a must.

“The Ruck”, starting a play sequence after a goal or time period end.

I was lucky, having the boys and girls senior teams playing at the same time.

Faster glass is good. This shot was taken late in the afternoon in mid Autumn gloom (f4, 1/500, 3200). You need decent shutter speeds and reach, which can be expensive (yay for M43).

Solid wins to both teams have cemented them in as early contenders (the boys made the state final last year and I swear they are even taller this year!).

A “hand ball”, designed to stop rampant “chucking”. Getting lower increases drama.

Truly a game for anyone, the tall, the fast, the tough and the tenacious all get a go.

On the technical side, I use a 300 f4 on the EM1x for as much as I can, the EM1 mk2 and 40-150 for closer, both on straps, ready to go. Even at this level, the game can move too quickly for camera changes, so I have some very tight 300 (600mm eq) shots that I like, but fail to tell the story.

Next Camera?

So, a micro 43 user who is always looking for the next camera is suddenly spoilt for choice.

The condenders are;

Black Magic Cinema Pocket or Studio 4k. This one is the video only option and really only on the list because;

  • It has RAW video.

  • Is made and not surprisingly supported by Da Vinci (and comes with lifetime support).

  • The Studio has a pro grade screen.

  • The Studio interfaces with the schools Black magic multi command unit.

  • It has a video specific sensor. Fewer pixels, equals better ISO performance.

  • It has cinema grade colour and that special look.

  • It is under $2000au.

but, it has no stabiliser or AF, nor is it a stills camera and it is huge, although I have other options.

The new OM Solutions OM-1 because;

  • It is a slight improvement for stills performance across the board even compared to the EM1x. Noise and dynamic range looks to be even better, otherwise the same on paper.

  • It has the best AF for stills and video, of the three.

  • It has improvements for video to do what I need, getting rid of the pesky breaks in footage and (unconformed) improving 1080p.

  • It has better lens compatibility for my kit (which is mostly Oly).

  • I could buy it with one of several desirable lenses (12-100, 8-25, 12-40, 12-45 etc).

but, it is not the strongest video camera, but then again it is enough for my needs (good 1080 is the key).

The Panasonic GH6 because;

  • It is fully featured as a video/stills hybrid especially for 1080p.

  • It has a dual ISO sensor for better low light performance and dynamic range.

  • It has the highest standard resolution for still capture and is the first to break the 20mp barrier.

  • It is an improvement to the G9 and others without changing that Pana look.

but, although it is better for AF, it is still not perfect and it is overkill in video specs*. There is no way I would ever use the top end features (6k etc), so a lot of money for some better 1080p, without perfect performance otherwise.

Other options, for when I come back to earth are another G9 for $1000 with an Atomos Ninja V, which would upgrade the G9 to a continuous 4k 422 beast and the EM1x as well (one upgrade, several better cameras). This would come close to giving me a Cinema 4k in real terms, with AF, IS and better compatability with my existing kit.

A GH5, G95 or G7 for full time recording at 1080 or 4k, which is also fixed with the Atomos, so tough one.

An OM1 mk3 or EM1x on special.

Looking at my video capabilites I already have;

  • 4k/30p 422 or 1080/180p 10 bit in several formats for short stints, with AF/IS, which is plenty for very high quality capture. The Ninja upgrades this to continuous capture.

  • Even better AF and IS with the heavier EM1x with nice C4k 8 bit, that is sharp and exceeds my basic needs, which is to down res it to 1080p. The Ninja upgrades this to RAW.

  • 4k/60p with true gimbal stab, versatile application and handling, including under water with the OSMO Pocket.

  • There are also slo-mo, time lapse, on sensor shift and a few other bits to master.

Do I need a new camera?.

Better AF is tempting, but the EM1x with touch or for interviews is fine and the G9 is good enough also, but I usually use MF. My output os 1080p, nothing more.

*One reviewer, who shoots day long weddings, worked out he would need several thousand dollars worth of cards to run the camera at full res for a single day.


Few More Inches, Big Difference

So what is the difference between a 26” and 36” soft box made by the same company with every other variable mitigated?

The left image on the larger mod is considerably more open, warmer and softer. Brightness was close to the same (1/2 stop to the little one, but I also aimed it straighter, where the 36” was feathered).

Depth of coverage is also excellent, better than my depth of field!

The smaller one is better for this type of thing though.

Another Win For Neewer...ARTDNA......Neewer, whatever.

I received a large box today. A large, light weight box.

Inside was a Chinese puzzle. It is one of those shoot through soft-boxes that needs a little construction. 14 (!) spines inserted and pushed into the bowens ring, then 14 inner baffle clips (pesky little things) and what do you have?

Probably something a little big for a small studio, especially with the construction process involved.

The soft box, all 34.5” of it, was bought as an ARTDNA, but came in a sealed Neewer bag. This was not a huge surprise as the same softbox is listed that way also. What is a surprise is the price. I paid half the Neewer price ($42au), just as I did with my 26” and the massive 48” I ordered just after this one for even less! I can only just get this out the door, so the 48” may not get a heap of use.

Nicely made, went together as it should have. The 26” is on the floor below and unfortunately you can see both corners of the room so pretty cosy!

So, a win for Neewer by proxy?

A win for me ;).


The Budget Logic Revisited

I consider myself a lucky hobbiest when it comes to my current employment. I kind of fell into a job that is a perfect fit for my varied photographic experience and in turn I offer the benefits of this depth to a school that can use any and all parts of it. Some things neither of us new at the time would surface.

The flip side is, I have had to upgrade my gear in several directions at once, as I came into my current employment after a kit scale down and was basically only equipped for street and travel. I am only casually employed so my income can be inconsistent.

My saviours are the brands that are classed as “beginner” or copy brands, but there is more to it than that.

Yongnuo was the first of the original “heart breakers”. In a time dominated by name brands and older after-markets, like Metz or Nissin, YN entered the market with reliable, powerful and solidly made alternatives. To the best of my knowledge, they were the first of the straight-from-China brands and quickly carved a grudging respected name for themselves. I started with a YN 560 III have since purchased five YN560 IV’s and they have been solid and reliable, one has even been dropped three times (!) and is still going well.

I bought the 560 III at a time when I had little use for one, but it was cheap and I trusted the brand. I simply did not have a need or interest in an expensive Olympus unit, much the same as my time with Canon.

Godox came on the scene a little later and quickly overtook YN as the “smarter” alternative. Yongnuo seemed to slip into a less aggressive role as the second option both on price and technical advancement, but still had its supporters especially in the semi-smart flash range. YN are also coming back now with a great LED range. I purchased a couple of Godox “smart” flashes (685/860), simply because their reputation in this space was very strong at the time and the similar YN’s slipped under the radar.

These two brands sit in the “respected cheaper option” bracket. Many top shooters recommend them and they are reliable and honest in their offerrings. They have earned their place in the market. I personally prefer them to the reasonably cheap, bottom end name brand options like the Apurture Amaran COB lights, that are better, but still much dearer.

*

The next step down is a personal favourite and the brand that I feel sits at the very top of the “cheap knock off” brands, pushing hard to be in the same league as Godox/YongNuo. I have found Neewer to be predictable and generally honest in their advertising, but you have to be realistic and shop around. there is a bit of “creative” pricing as the name grows. As a testiment to their quality, they seem to be an Amazon favoured brand.

They are often offered and reviewed as great value options, but can suffer from a reputaion for manufacturing inconsistencies with some products. That can make even their great value seem less appealing*. This has meant that I tend to lean towards their non-electronic items, with the exception of their LED panels and COB lights. Neewer products tend to stand out, sometimes sharing their products with other brands, but more often having their own cosmetic touches and features. I did just jump at a air on NL140’s, based on some new reviews, before finding out they are a little twitchy around poor power consistency, but we will see.

An example of Neewer’s value are their COB video lights. I bought two of these recently for $85au each. It occurred to me this morning that I bought two of these and a similar no-brand one (getting to that), for the same price as a single well respected, but still budget friendly Godox SL-60 (about $260au).

The Godox SL-60w and Neewer SL-60w are often directly compared (go figure), with the Godox coming in as the slightly better made option (slightly quieter fan, slightly nicer accessories, slightly better build), but producing basically the same light (I actually prefer the Neewer’s slightly more even and warmer output) and importantly for Neewer, similar reliability.

A win for Neewer.

In a second example, I bought a pair of the new Godox 120cm soft boxes for $100 recently, assuming they would be much the same as the two Neewers I bought last year for about the same, but they seem better in many respects and came with grids. Both do the same job, but the Godox just looks and feels a little better built for the same money and, I am going to test them, but will assume better light also.

From the Neewer in my first studio test group. Really like this light, regardless of price.

A win for Godox.

Below Neewer sit the “transient” brands, the brands that access the huge Chinese manufacturing base, often sourcing the same parts, even the same items or are cobbled together as copies of the copies, sometimes with surprising results…...both ways. Brands like Selens, Abeststudio etc are a mixed bag. Some will claw their way into respectability, others will come and go and some will stay locked into a single product type, doing what they do well and sticking to it. No matter their business model, you pays your money and you takes your chances.

The Selens COB light I bought most recently is a good example of a better result. It was dearer than the Neewer, but promised to be up to three times more powerful. In actuality it is maybe 20% more powerful, but it is heavier, quieter and has nicer accessories. In this class of gear, the reassuring Neewer “punch above their weight” vibe changes to “read between the lines” or “take with a grain of salt”.

The Selens (not even branded as such on the box or unit) looks to be a hybrid of parts from other models. The outer shell is identical to the Neewer SL-60, but the internals and accessories are different and heavier. The front end actually looks like the older Neewer 60w or even the Godox and the output looks similar to the Godox (slightly “hotter” and a little stronger than the Neewer), so who knows.

The Selens 150w has been a good find, but it could have gone either way and for more than a Neewer ($109), it’s value is just on the right side of the ledger.

A narrow win to Selens (representing no-name brands).

The reality is, if the option is nothing or these, I will bring these brands on board. After a while you get a feel for them. For example I cannot pull the trigger on Neewer mics due to a reputation for poor build consistency*, no matter how good their happy user reviews are and the price difference between their base model flash units compared to the bullet proof YN’s is so little it does not count (I found a YN560 IV for $71 after a quick search, $60 for the Neewer), but for lights, they are just too good for the money right now and light is light.

Are they reliable? I have three for the price of one so, reliability by depth.

*

*The Neewer matched condenser mics, their XLR cables, their large diaphragm condenser mics all review well for quality of output, but not manufacturing consistency. I bought a pack of 6 cables and they are all identical, but others have said about 1-2 per set are poor. That’s a win, but I decided against the Condensers after a spate of negative recent reviews on Amazon. I will watch that space.

The Future

Today was a strange day.

I had a meeting with my current employer regarding a job for a friend of his, and conversation wandered to my role, my future and my needs. It turns out I am worth more than I thought I was.

Nice to know.

The afternoon was filled with real estate photography, tagging along with an experienced team trying out their processes, some of their gear, including a drone, and generally learning and sharing some ideas.

To be completely honest, the whole thing left me cold and is obviously bothering me as it’s 3:40am here.

It took me a while to work out why, but I resisted the process from the get-go. To be clear here, I have embraced change in my current role, taking on video, new programmes and processes, but something about this took me straight back to my old job in the camera shop. A job I found my self resisting more and more.

The primary stake holder insisted on using a tripod for accurate framing and edge straightness. Good advice. The sort of advice I would give and did for 20+ years. There is also the valid consideration of customer perceptions. I even had the same tripod they were using in my car boot.

I resisted and continued hand holding because nothing I was doing fell into my current “zone of fear”, although I was a little sloppy, taking half considered snaps, not realising that my images were going to be used as “live” ones.

Flash was used by the photographer I shadowed, mostly to make up for the short comings of their Canon 17-40L and the usual SLR realities (how quickly these have become “old school”). A great old lens but a good example of a film era “pro” lens, one that would pass muster to the eye with decent contrast and colour, but falls short these days of high res screen critique. I had four of the same YN560 flash units in my car boot.

I resisted again, relying on the better quality of my 8-18 Leica and C1 processing. This proved to be enough.

Hand held single capture, no flash. This file was not pushed to the limit either.

There was also a push for bracketing (with flash), to allow the off-site processors (based in India?), to do their magic. The EM1x can do this easily enough in a single capture, even hand held.

I resisted, continuing to shoot single RAW files within histogram indicated limits and processing with C1, which gave me all the brilliance, dynamic range and detail I need.

Then there was the drone. I have no issue with them, possibly even getting one myself soon, but there is a push for me to be the pilot of one, where others have resisted. Not sure why. It actually looked like fun if not that compelling.

I am resisting, realising that I would basically be specialising in a few areas of little interest like returning to Photoshop processing, Drone piloting, going back to old habits of rigid SLR landscape photographer, working for a selling based business, all that I have little interest in, just to earn minimum wage.

I am resisting!

Why did I not just do what the others did?

I am pretty sure that the whole process could be done quicker and more efficiently my way, especially with processing that could concievably be done on the spot and finalised in the same time the shoot alone took. From a value to agent perspectie, does using more gear slower, with a heightened deception of complication and slow processing pathways make more sense than much the same result faster?

“Know thy self” comes very much to mind and “read the signs”, but so does “belligerent old bastard”.

Is it wrong at my age, which is old enough to know what I like, but young enough to still have to think to my future path, to turn down an opportunity to do a little work in a field adjacent to what I like, but one I really dislike, to help keep the job I like? Should I take the hint from my current and prospective employers and back myself, sticking to the job I love and seek more of the same?

To be honest I would just as happy doing ten hours a week in a shop.

Give me people, movement and purpose or don’t bother.

My future has to include a better income and more security and both of these paths could lead that way, but I expect some friction in the near future if I try to juggle both and I will certainly bias towards my current employer.

Always looking for something new. This was a three shot in camera HDR, not my usual thing, but interesting to try (hand held!). I think this is easily achieved with a single shot and C1.

Life is better when there is balance. Taking on new things is also important, but retaining balance is the key.

I have seen many people for example take promotions, only to find their job is no longer what they enjoy or are good at. What they lost, they gave away, often unable to see the solution or feel it is a retrograde step.

As you get older you realise that you can easily pass your point of maximum happiness without realising it. It is not a lack of ambition, because isn’t ambition to find happiness?

Be careful what you wish for.

Constant Light Portraits

I love people,

I love photography,

I love portraiture of all types,

I do not love the guessing game that is flash photography when dealing with the controlled but fluid environment that portraiture should be.

Moments grabbed with flash can be powerful and seemingly perfectly timed, but in reality, unless the subject is wotking with the photographer knowingly, holding a pose, the process can be one of luck or manipulation.

The problem is, you get a good look, a perfect moment and you have to guess what that look will be like the split second you take the shot or worse still, you don’t get the shot if your light is recharging (rare but it happens). Even if recharging is not an issue, multiple flash fires can be intense. Unfriendly even.

Control is theoretically easy, but not for every shot, every time.

Another small point, but possibly significnt, is the look. Flash lighting can be perfect, boringly perfect. Lots of depth, guaranteed frozen movement, sharp, contrasty and white balanced.

Shot with a single flash and some reflected fill, this image owes its softness not so much to the modifier (26” double soft), but more to post processing. Flash gives you tons of depth, movment freezing assurance and clarity, but softness comes more from modifier size and post processing.

Not a small issue, although this is sometimes a benefit also, is subject awareness of the process. A good model with set themselves between each exposure, following the shutter sound and flash fire.

A first timer however, may react quite the other way and may find the whole thing very invasive.

The answer may be continuous light.

The new “faux” Oliphant grey Jonah leather-look fabric (colour number 4), “tanned” up. The f1.8 aperture on a 45mm still provides sharpness on the eye, but softens all else making the background texture only a gentle suggestion. The Neewer SL-60 pushed through a 42” shoot-through brolly at only 30% looks very natural and the background lighting was a known commodity pre-shot.

Constant light would allow me to see before I shoot, to use the silent shutter, which also gives me the option of hand held high res images (50 or 80mp). This really doesn’t make much difference……until it does.

Finally, and this is a biggie, constant lighting allows for video to be captured or even for the same lighting set-ups to be used at different times, for different purposes, using the same formulas.

So, from the perspective of a sitter, no flash, no camera noise, just conversation and connection. For the shooter, what you see is what you get, more connection to the process and and more control. May be a thing.

Actually a focus miss due to subject movement, but the animation conveyed adds more than technical perfection. It is all about the eyes sharp and clean, or is it.

The main issue with constant lights is in the name.

To be powerful enough to provide clean and powerful light, giving equally clean and colourful exposures at “safe” smaller apertures, the light has to strong. Strong light can be uncomfortable.

This relatively low quality image is a lift from some 1080 video (2mp). The point is though, Daisy the dog is not keen on flash, but ignored the large modified constant light. Conversely, the same light through my 26” double baffle was too bright and needed to be too close for softness.

To shoot with subdued constant light means higher ISO’s and/or wider apertures. Not ideal for quality? My MFT cameras and lenses may give me enough room. With f1.8 performing similarly to f2.8 on a full frame I can have a Mark Mann style shallow depth, which is intriguing, as well as keeping other quality issues under control. It may even introduce “a quality” in and of itself.

The two constant light images above (not the video lift), were taken at f1.8, 1/60-80th, ISO 200 at 35% power. Meg said it was not uncomfortable and the flash “popping” was gone. Silent shutter closes the loop, taking away all process sounds, except the quiet hum of the Neewer light.

There is also the possibility I can control light spill better.

My two kits are plenty for the two jobs they are designed for.

For stills, I have potentially* 7x GN 60 flash units, which in MFT format are 2 stops more powerful thanks to the DOF advantage, so it’s like having 7x Godox AD200’s for a full frame. I have a ton of mods for these, a few of which are not constant light compatible, but most are.

For video, I have probably 400w output total from a wide range of COB and LED lights. For these, I have a couple of dedicated mods, most of the flash ones can work and they often (in my kit), provide more even and open light. Something I struggle with on the “square” flash units. This is not really enough to promise good quality stills if used conventionally. F4 to f8 and ISO 100-200 need a lot of light. F1.8 to 2.8 on the other hand is quite do-able.


*5 from one system, 2 from another, but slave firing is possible.

Nanah, nanah, nanah, nanah....Tom-man)

Super hero cape, two mini drills and Tom-man is born (aka “The Fixer”).

On lighting.

This was taken using a Neewer 43” umbrella soft box (one of my oldest and cheapest mods) in butterfly mode, in front and slightly above me and a medium Neewer strip box underneath for fill. EM1 mk2 and 45mm at f4.

Next Step And Some Thoughts On New Lights

I feel an urge to get the light grey in the same fabric as my brown backdrop, so I can do a mixed drop style image, have a lighter colour to start with and a back-up. For $120au 2.8x4m coverage with matching textures, just different shades. Alternately, I may just get a second 3 or 4mtr piece, so I can do a joined 3x3m with off-set panels (or not).

In other news;

The Neewer NL140’s arrived today.

I was trying to put off getting the second Selens 150w and managed to spend more on two of these lights, but they were cheaper per light.

First impressions;

Very cheap.

The body is very light, very plasticky. The barn doors are plasticky-stiff, the pivot locks etc feel like they will not take much punishment and the design, in two parts, seem overly complicated and quite large. The cases they came in could each easily accomodate both of my other LED panels or indeed, two COB lights..

The lights are bright, but not much more so than my 480 RGB, which to be fair did cost twice as much and like a lot of things, is getting even dearer in this troubled world. They are quite comfortable to be in front of though, so maybe they will fill a niche.

They do run a fan, which is quieter than the Neewer COB’s, but not as quiet as the Selens.

Another small thing, likely related to their app-run nature, they are always set to 3200k, 0% when I turn them on.

The limitation of wall power only without a V-mount battery or optional V-mount to NP adapter is ok I guess, but I have to wonder how many people would have multi hundred dollar V-mount batteries and buy these cheap lights, and the adapter costs half as much as the light! NP slots would make a lot more sense.

The known issue of (repairable) power spike capacitor blow-outs may be a pain, so I will use a spike protector on them.

All up not my best Neewer purchase (although I am glad I did not pay $250+ea RRP on the Neewer site) , I guess they will be used as studio fill lights, maybe head shot specialists, but will not get much other use and in reality the second Selens (bought anyway), would have been a better purchase.

Next Day Review

Am I deluding myself with my cheap Oliphant?

Who would know this is not heavy duty canvas skillfully textured?

The length in particular does something unexpected. It makes my tiny 8’ studio floor seem irrelevant. It could be a corner of an aircraft hanger or a New York loft as far as viewers are concerned, so it can be added to the range of “small studio tricks”.

So far my brush mask manipulations have been crude, but the image above was produced with minimum intrusion.

With a little more work the results can be seamless.

An easy conversion to mono.

Realistically this is itch scratched. I did not ever envisage heavy use of this type of backdrop, but it is awesome to be able to just literally roll it out.

The whole 4m length is easy to roll up, stores well, is easy to maintain, being furniture grade covering, is light to carry, but heavy enough so wrinkles fall out easily. If it came in 4m wide bolts, it would be perfect. Surface texture is very close to my Kate microfibre, with a similar mild sheen and softness, but unlike the Kate, wrinkles do fall out of it within minutes of hanging, leaving a fake, but hard to pick worn-canvas look.

Art? No, just fun.

Noise......What Noise?

I was cleaning out an old card the other day and found some images taken on the EM1x. The lens was a 45mm f1.8 wide open.

Happily processing the files, with no real application in mind, but they were of the dogs, who have been neglected a bit lately, I happened to notice the meta data. ISO 3200.

They are clean, bright, saturated and delicate.

Delicate, unlike Daisy’s treatment of her long suffering sister.

Nothing to obviouslty alert me they were in the upper end of the usable ISO range.

Clean and sharp, even in close.

Just a Captue 1 import, a little post and still with ON1 up my sleeve. I have a rule these days, that no RAW file should take more than half a minute to get right unless I am working towards fine art level images or it needs special treatment like ON1, then I will stretch to a minute.

Maybe boring to users of full frame cameras, but a nice reminder how far I have come with MFT and with the OM-1 avaialble, how much further I could go.

If the only hurdle that MFT genuinely has to beat is noise in comparison to larger sensor cameras, then for all practical purposes, the format is nearly there. If the real benefits of the system, which mainly come down to lenses, are fully exploited, there are really no real world situations where it cannot produce at pro level, but the secret is in the lenses (as it is for most systems). The point where the real benefits of full frame sensors in low light conditions pull away are testably find-able, but from a user perspective, effectively irrelevant.

Nikon Z series are in a similar space, only reversed. The benefits they have with a wider mouthed full frame mount mean that yuu can have an f4 kit lens, with effective depth of field of a full frame f2.8 lens, so where their format works against you DOF-wise for exposure (less depth at each stop so more exposure needed for the same depth), it allows you to buy their excellent kit glass for pro looking results.

So, MFT ca give you f2.8 full frame DOF while using f1.8 light gathering and Nikon Z can give you f2.8 looking DOF at f4. Two paths, same result.

Conversely, a Z series with their f0.95 lens or MFT at f16 produce extreme results at the other end of the spectrum.

Pick yuor poison or play it safe with Sony or Canon etc.

And The Oliphant In The Room Is.........

My wife is the practical, clear headed one of us. She cuts through to the core of things while I dream big, often getting nowhere but broke (but I have fun).

Backdrops have been doing my head in, and she knows it. I have an order in for the 1.8x2.1 Lastolite collapsible grey/black, which, being on short term back order so not despatched yet, I have requested be changed to the 1.5x1.8 Walnut/Pewter, but being the Easter holidays, I have not heard back yet either way. To be honest, I would be happy either way, I will leave it up to them to make up my mind for me!

I looked at the Westcott Joel Grimes* and Glyn Dewis Drops, the Eziframe’s, some double sided Kate’s and even post processing (bringing back Photoshop into the fold). Nothing felt right, or was realistically available or practical, so it was a Lastolite (which one still to be determined) or nothing.

The issue is, I can easily change colours, but texture is proving harder to achieve without total replacement. If I have texture, I can change the colour, the hardness and grit, but with no texture at all, I only have tones and colour to manipulate.

By the nose I was dragged to a local fabric supplier, although my long honed intuition when it come to things to do with Meg also allows for some quiet anticipation. Sure enough, amongst the furniture coverings, ideal for width at 1.5m, we found a faux leather, semi matt mottled vinyl in a not brown, nor grey, but neutral tone on sale and several rolls to boot.

It is hard to pass on how excited I was. It instanlty bought to mind Oliphant, Lastolite and Grimes textures. It is gently done, even and subtle. Perfect.

Four takes on a single shot, so easily done. All the images were taken with the 25mm at f2.8, using ambient light or shot through a 26” soft box, then two more levels of diffusion for that Leibovitz “book light” look.

So for $60au, we grabded a 4x1.5m section and I will go back and get a 3m long one as backup and for just hanging. I also like the idea of the two section, “The Last Jedi” shot taken for Vanity Fair.

There is a little sheen to the fabric, but nothing lighting and a little post cannot fix. It has a few packing wrinkles, but the fabric is quite heavy and soft, so they are falling out already and stool feet etc don’t leave permanent marks. It also hangs well, so the edges, neat as they are, can be included. The back is even a decent soft brown felt.

So many variations on a theme, so easily applied.

Using the Dehaze and Clarity tools in reverse, adds an antiqueness overall, or if applied to the backdrop only you can increase or decrease texture. The middle image below is close to “as shot”, the right hand one “full noise” the left, “milky”.

I could even use two sections horizontally for a 3m wide shot, with a little healing brush joint removal (or not).

One of the benefits of this system is the subject is neutrally captured, then the background colour can be shifted, without colour failure.

Can this be a workable solution?

The “Jonah” leather look upholstery fabric, comes in three shades, the darker grey-brown above and a beige and light grey, so maybe a couple of metres of the light grey would add options.

Unlike the Kate, the pattern comes out more with some extra clarity, but is otherwise quite subtle. The Kate is more obvious, which to me feels less pro looking. The art in the Oliphant, Savage, Lastolite and Westcott backdrops is in their deep colour, layered look and subtlety.

If this works out, based really only on light reflection control, I can get solid colours, other textures, even patterns, all at any length I want and for roughly $30-80 per piece. All the fabrics are high grade furniture fabrics so they are tough, resistant and long lasting and generally heavier than most. I may even be able to find some wider ones!

*I confess, I have never seen a more extreme set of reviews than those on B&H’s site for the Grimes backdrops. Either 5 or 1 star, nothing much in between.


The Art Of Subtlety In A World Of Grey

The grey (and black) Lastolite backdrop is coming and I am a little excited.

The potential is nearly endless, even if the actual item is bland, utilitarian even. The lure of the Pewter/Walnut is still strong and I may still get one if this experiment works out, but my gut says my burgeoning “style” will be catered for here.

In my minds eye the frame is tight, full and animated, therefore the background is only a support to the subject. This support can come in a few forms, from manipulation of the background colour or tone, to vignetting or shaping and even wholesale replacement.

The next element is framing.

I will not be stubborn adout it, but if I can, I will push to make the humble square my framing shape of choice. The square is again subtle in application, but strong in effect. It invokes in me a compositional freedom that no other shape can.

Any one of these images works on some level, which cannot be said for a rectangle which is too opinionated and is not possible with a vertical, which is the most restricting shape.

The square allows for relaxed horizontal shooting, then square framing after. An easy and ideal work flow.

Tight cropping is also powerful in this format.

The third element of my style may be the triptych.

Above is a simple example of this, but a true triptych can tell a story using more abstract elements mixed with standard portraits.

The triptych gives me the ability to show three sides of the same subject, either as a matching set of images or a deliberately different set, exaggrating the disperate moods, interests, props or poses of the subject.

The square facilitates the triptych, being the perfect shape to form an elongated rectangle (my other favourite format) and then the grey base allows subtle background shifts to bring these elements together harmoniously.

Lots And Lots Of Light

I just ordered another Selens 150w (?) light from the same seller, who had one left at a discount.

The casing is identical to the Neewer, but that’s where the similarities end.

In a test I just ran (see tech and processes), it looks like it is the only single constant light I have that is capable of fighting daylight* and without making objectionable noise. Two guarantees this and doubles output. More output also means softer light. The Neewers are fine for darker rooms etc, but the fan noise is obvious at higher outputs.

The trick is exposing the background to within post-processable levels, then brighten up the main subject to match with soft, shaped light.

I also grabbed an ART DNA 36” double diffused soft box at a great price, making any of these bowens mount lights more useful.

Sufferig a little purchasing amnesia, I remember I also grabbed a couple of Neewer NL140’s the other day. These new LED’s with a good power to cost ratio, but possibly a design flaw (very power surge sensitive), but they will be good studio lights. Embarassingly, that makes 2x60w, 2x 80ish-w, 2x 50w, 2x 35w, 2x 200 Led.

*daylight back-lighting when shooting against a window without any reflected light available aka airport window silhouette syndrome.