On workflow and software choices

I would like to share my thoughts on sticking to Lightroom, after a year of research and occasional experimentation with other programmes.

Software is now an equal partner in the photographers image making process. Once, your choice of film medium decided whether you would share the image making with a darkroom (black and white) , a lab (print film) or accept the end product as taken (transparency film). There were exceptions, but they were at the pointy end of the business.

Processing is now the second step of an interconnected two step process. If the photographer does not post process, they are either committed to jpeg shooting, which is not impossible given the excellent processing engines now found in most cameras, or they are ignoring the elephant in the room. That elephant is the inescapable fact that a RAW image is designed to be processed. Until processed it is a half baked cake or in film shooters terminology it's a roll of exposed film, without the development choices being made and processing completed.

Sometimes an image is only viable after heavy post processing and sometimes the images only needs the slightest push to be considered finished. If I were to put a numerical value to my images from capture to processing, it would go something like this.

image grade 1. Ouch. Off to the electronic bin. Poorly conceived, executed and deleted on sight.

image grade 2-4. Not a good effort, but maybe the best that I could do at the time. Poor technically, but may have some value after a lot of work. Rarely is the work done and the image is usually dumped after import unless it is an important or unrepeatable file. If the image is worth the effort, requiring Herculean efforts and some out of the box thinking, it may still be bordering on gimmicky effects.

image grade 5-6. Close, but far from perfect. An average image. Good subject matter with some cropping or exposure manipulation to get it close. Post will make something of this, maybe something good.

image grade 8-9. Great subject supported by everything coming together, a good day at the office. This is as good as I can do and is vanishingly rare. Post processing adds icing to the already good cake. 

image grade 10. Never happens. History has provided us with many of these and they are often less than perfect technically. What they do have is context and composition that transcends all other factors.

What post processing must do is bring an image, no matter where it sits in the food chain up to at least a 6. 

My feelings on the difference between Lightroom, Pro 1, DXO (assuming they are well used) is that certain images can vary by maybe a full 1 value, but often it is less and to get that full 1. To get the benefit, all of them must be used in the same work flow. Not practical.

What I found is that work flow is the difference between bothering or not. Lightroom fills me with excitement and anticipation because everything I need, including features I rely on that the others do not offer, is in one place or is a direct plug in to Lightroom. it is a comfort thing, but when I asked myself what could I live without, Lightroom had too many things that I rely on.

Below are some examples with values attributed based purely on my own perceptions.              I obviously don't use this rating system as I go, but if my more abstract thinking was to be numerically graded in retrospect, these numbers feel pretty close.

A poor 2, only saved by the subject matter and the difficulty of returning to the location.  After post I would give it a 6 in the right circumstances, say as part of a series.

As above, a poor grade 3 image, lacking contrast and connection to the subject. After processing, maybe a 6 for effort or to some people, especially on seeing the print an 8.

Lots of promise here, maybe a 4-5. The image is slightly soft, but the framing was the best of a set. After post, a strong 8.

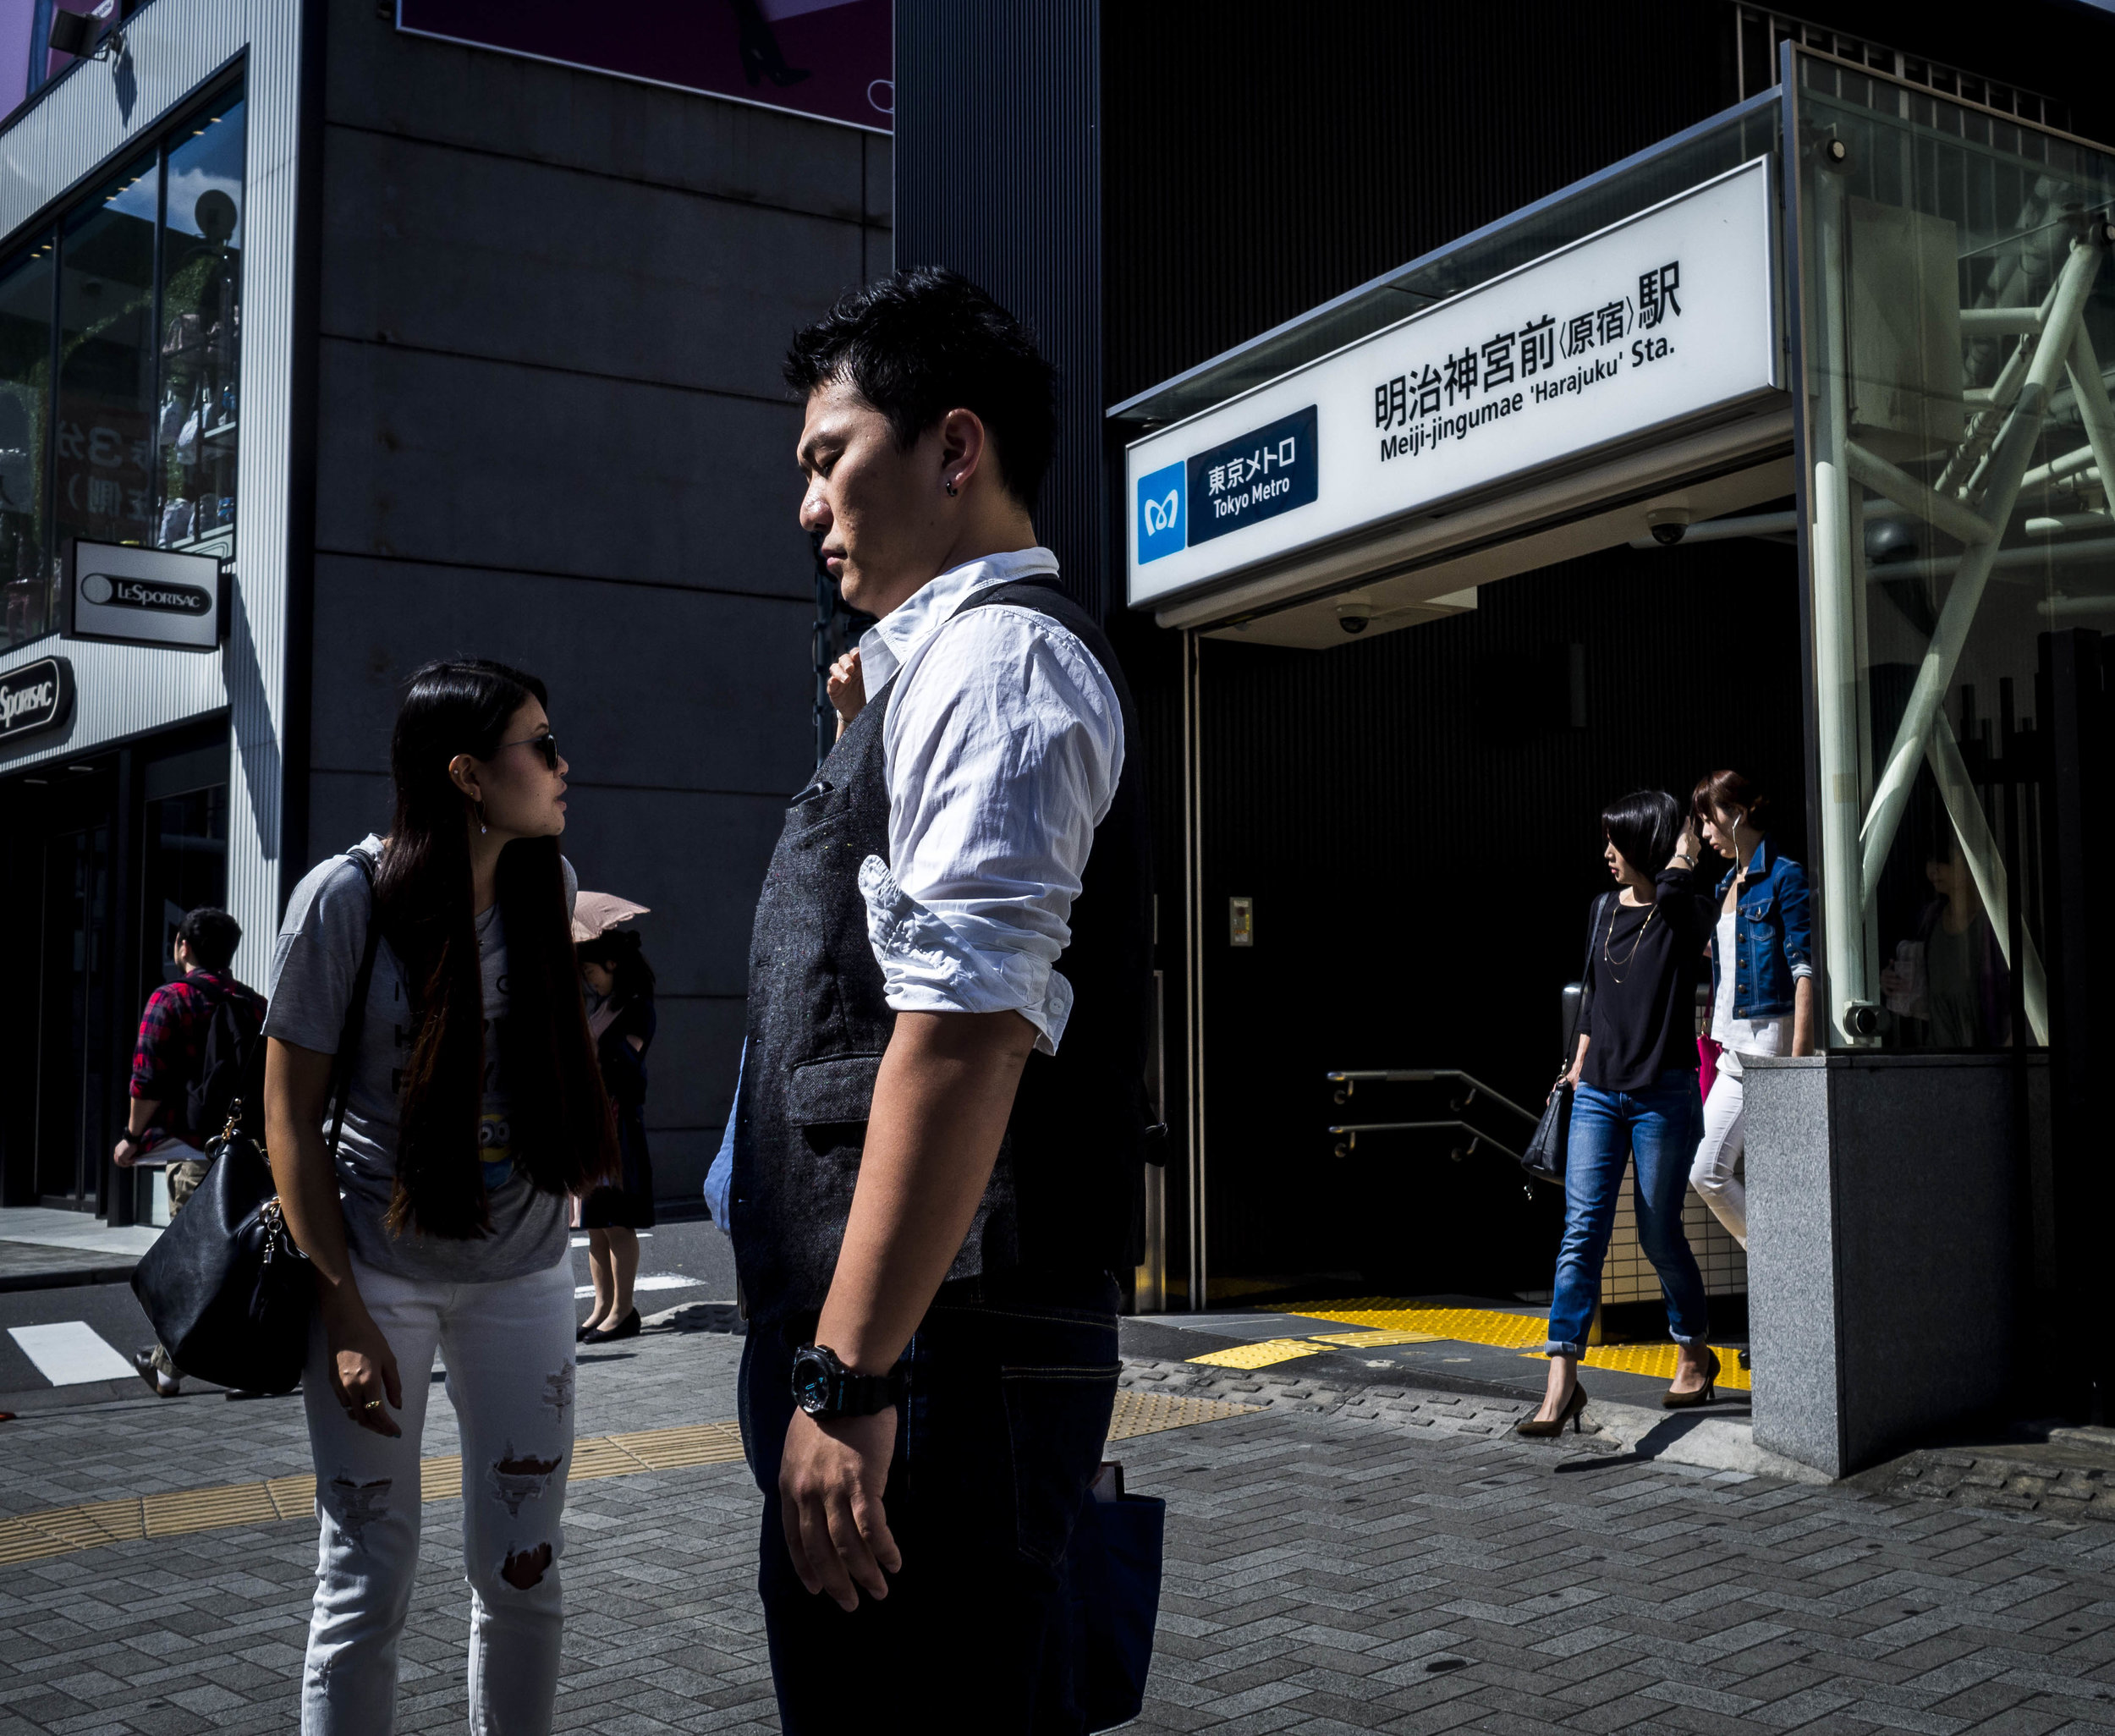
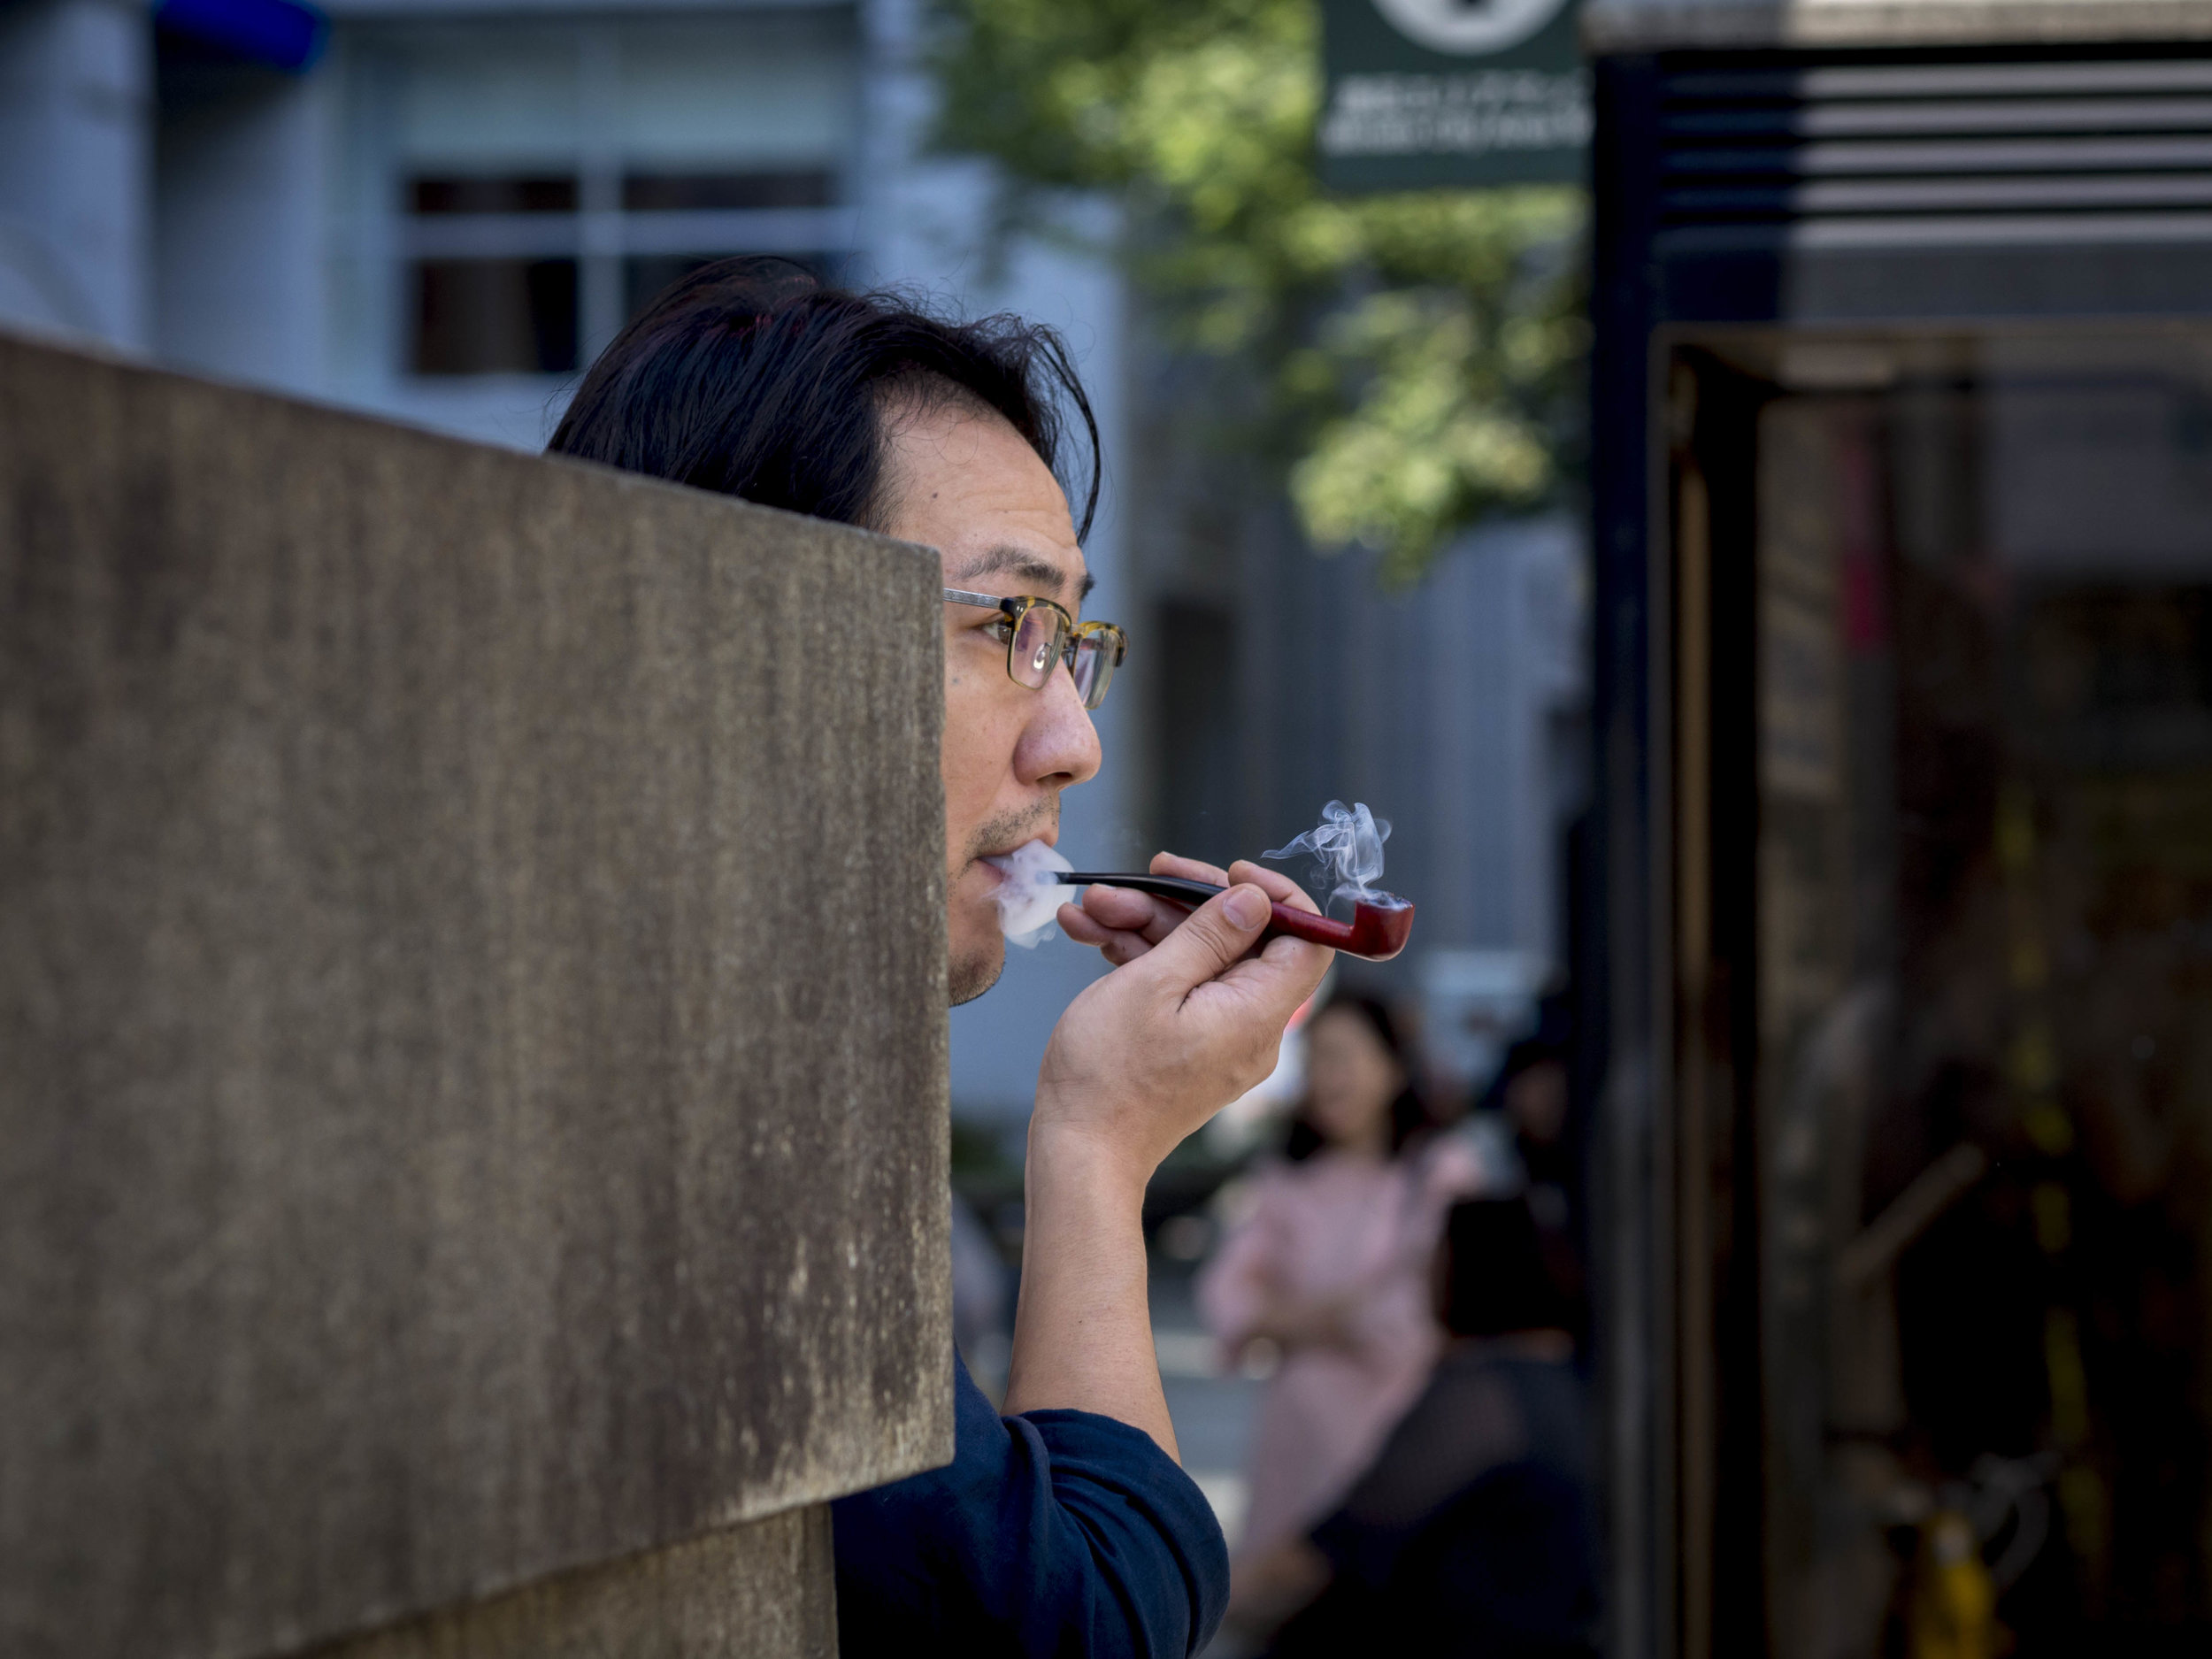
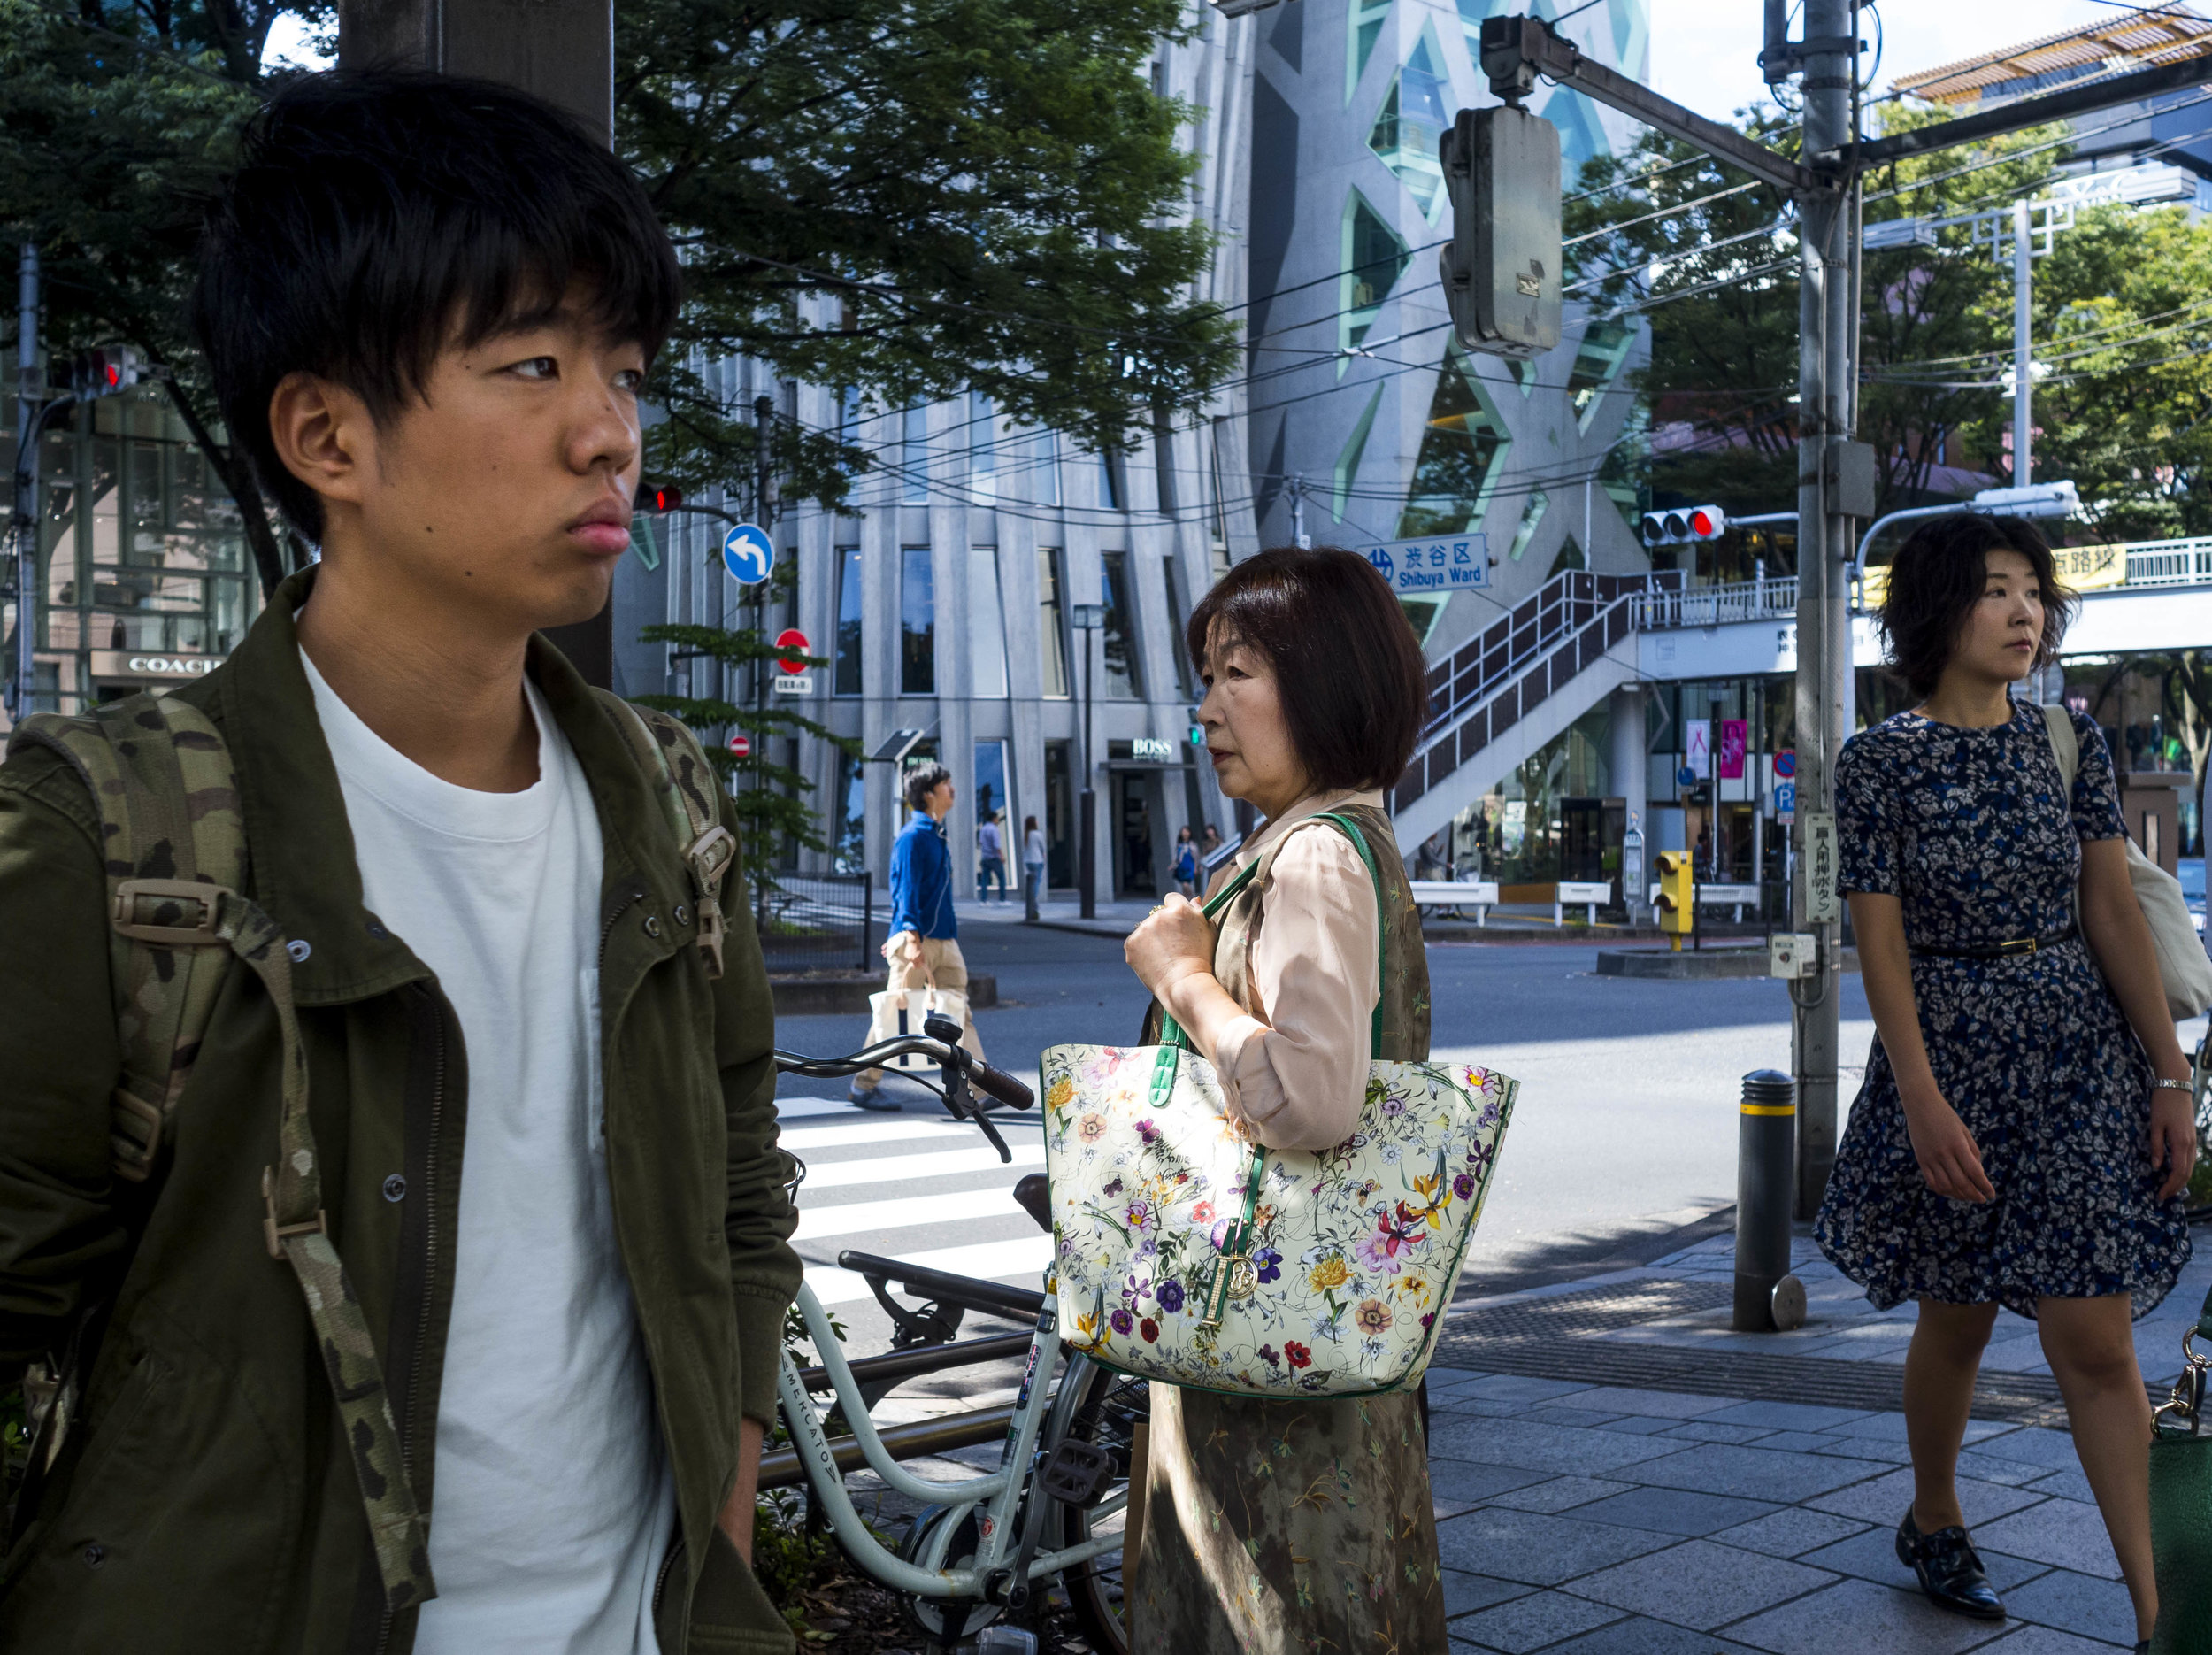
With memories of the American mid 20th century masters in mind, I rated this series as probably a 6 in my head. The resulting images (as a set) probably got a 7 over all. Cliched, but consistent. Good office adornment.  

Part of the above set, but my favourite. the original is a good 6 and I was torn between a colour or mono edit. To fit with the rest, it got the Silver FX treatment and maybe shifted to a 7. 

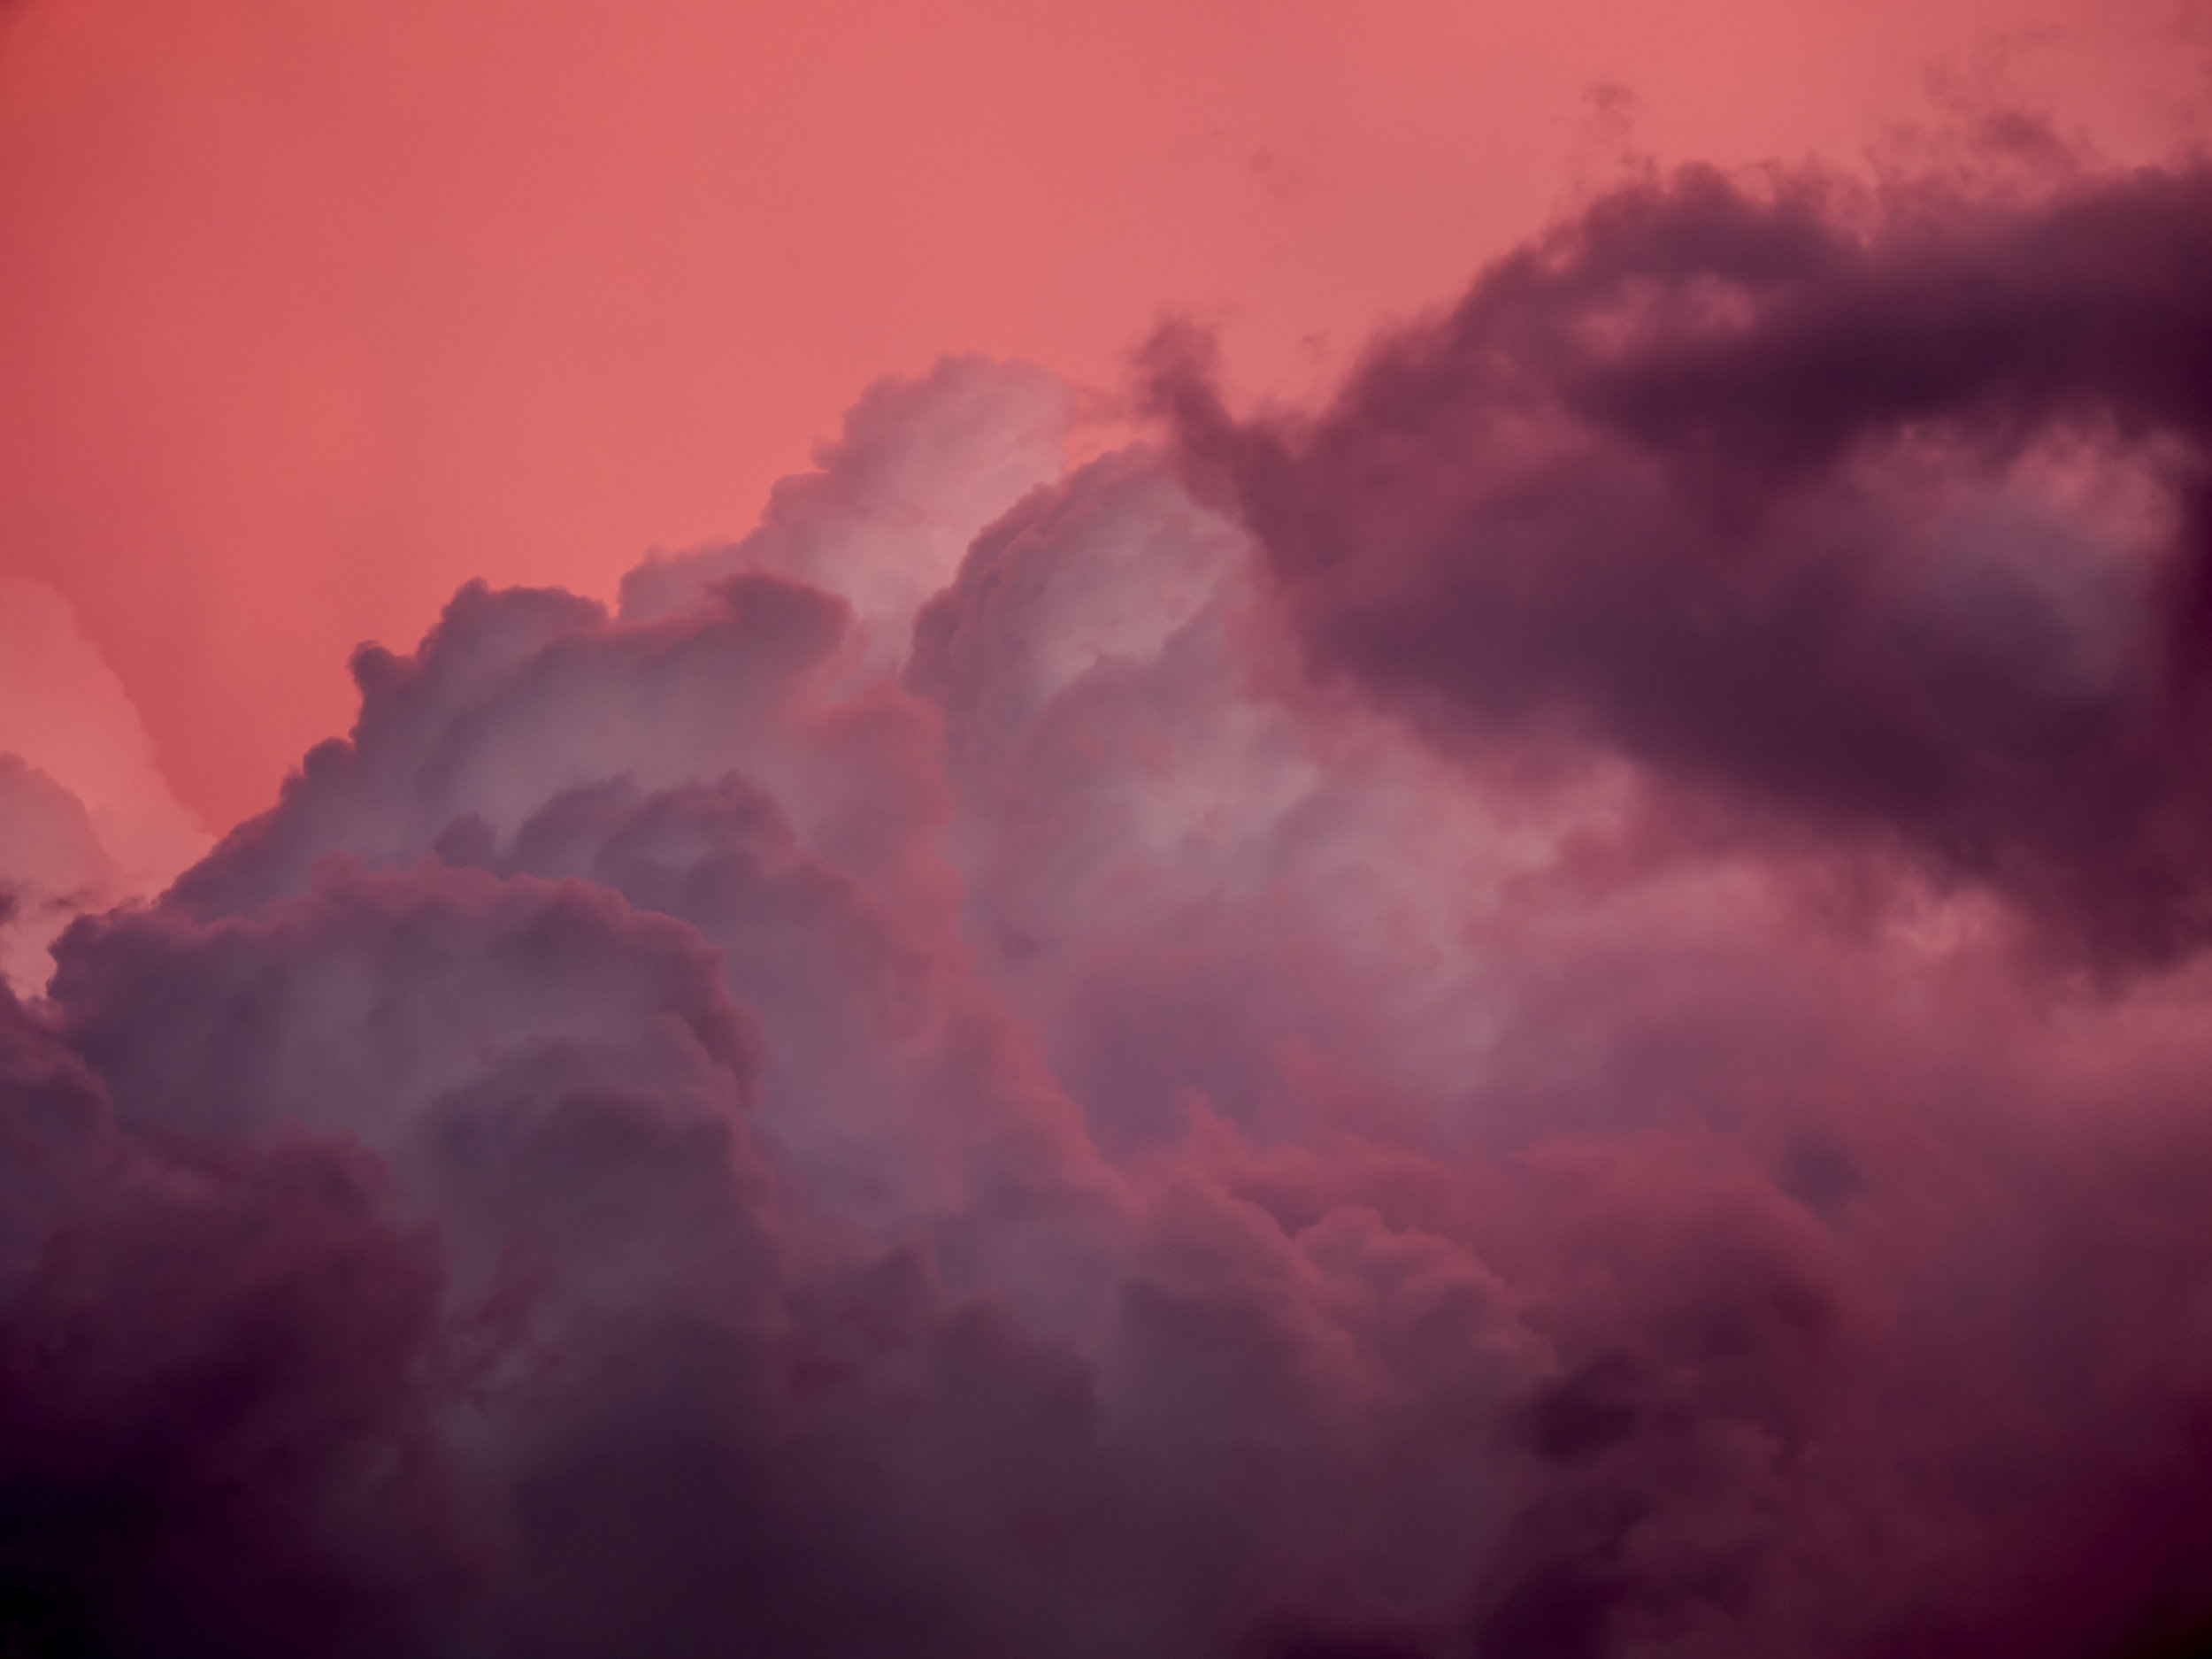
This one came out of the can with an excited 6 as the capture did not do the actual event justice (I was a second or two late to get the best natural light). The edit jumps it to maybe an 8 and is closer to my perception of the light as I saw it just seconds before. Maybe something between the two images would be better on comparison as the subtlety in the clouds is lost.

What I am getting at here, is that any post processing will add substantially more to an image than the differences between similar programmes. Sometime you will want the noise reduction of DXO, or the in built upload corrections of Pro-1, but if any of these programmes is used to the best of their capacity, then real differences are minimal. Workflow on the other hand is crucial to get right as it directly effects productivity and circumvents future issues.

When reading reviews, I would often find myself screaming at the reviewers comments on one feature or another as they completely overlooked an available fix provided by the programme and focussed on a simple comparison of a single slider. In fairness, most pointed out that there were other options available and an experienced user would know some tricks to get things done, and many stated that any of these programmes would do the job, but blanket statements based on initial upload "looks" were pointless and misleading.
On organising luck

I have a confession.

When shooting street photos, I rely on luck as much as control.

Most street photographers will identify with this, the thrill of everything coming together in layers that cannot be planned, but can be planned for. cameras do not go out and take images themselves, but there is only so much the photographer can do. Like sport photography, you can control the framing, the shutter fire and other creative steps, but not what will happen.

I once wrote a post on the difference between "making and taking" a photo. The two styles both require preparation and practice, but they both also rely on luck to some extent. Sometimes my efforts are rewarded more than others. I used to put this down to just good and bad days or to the results experiments with different gear configurations or technique. I do not know.

These things must have some bearing, but luck comes when I just let it flow.  I honestly cannot say that I have known the results of many of my stronger shots until after a shoot when the are uploaded. I can also say with confidence though, that my compositions have a level of conscious control, being aware of a "middle distance"* view of the elements coming together, forming a balance that triggers an intuitive need to push the shutter button.

Some compositions have hidden additives that make up the extra layer depth that sets them apart, others are very much the sum of their parts, no more, no less. I am getting better over time, so practice is definitely a contributing factor.

Very much deliberate, this is the third in a fast set, that failed to net the decisive composition before one lady dropped her arm. The composition that caught my eye had all three women shading their eyes, but two were obscured. In response to the …

Very much deliberate, this is the third in a fast set, that failed to net the decisive composition before one lady dropped her arm. The composition that caught my eye had all three women shading their eyes, but two were obscured. In response to the women converging and loosing the original composition, I rebalanced automatically with the two men on the left. It still kind of works on a basic level, but lacks the clarity of composition needed. 

When luck adds the extra element, you must take it humbly. No, you did not fully understand what you had, but you made it happen by controlling everything up to that point. Maybe on some level intuition does add awareness, like the moment you catch a ball. Do you really think about every micro movement that makes up the catch or, just let instinct take over?

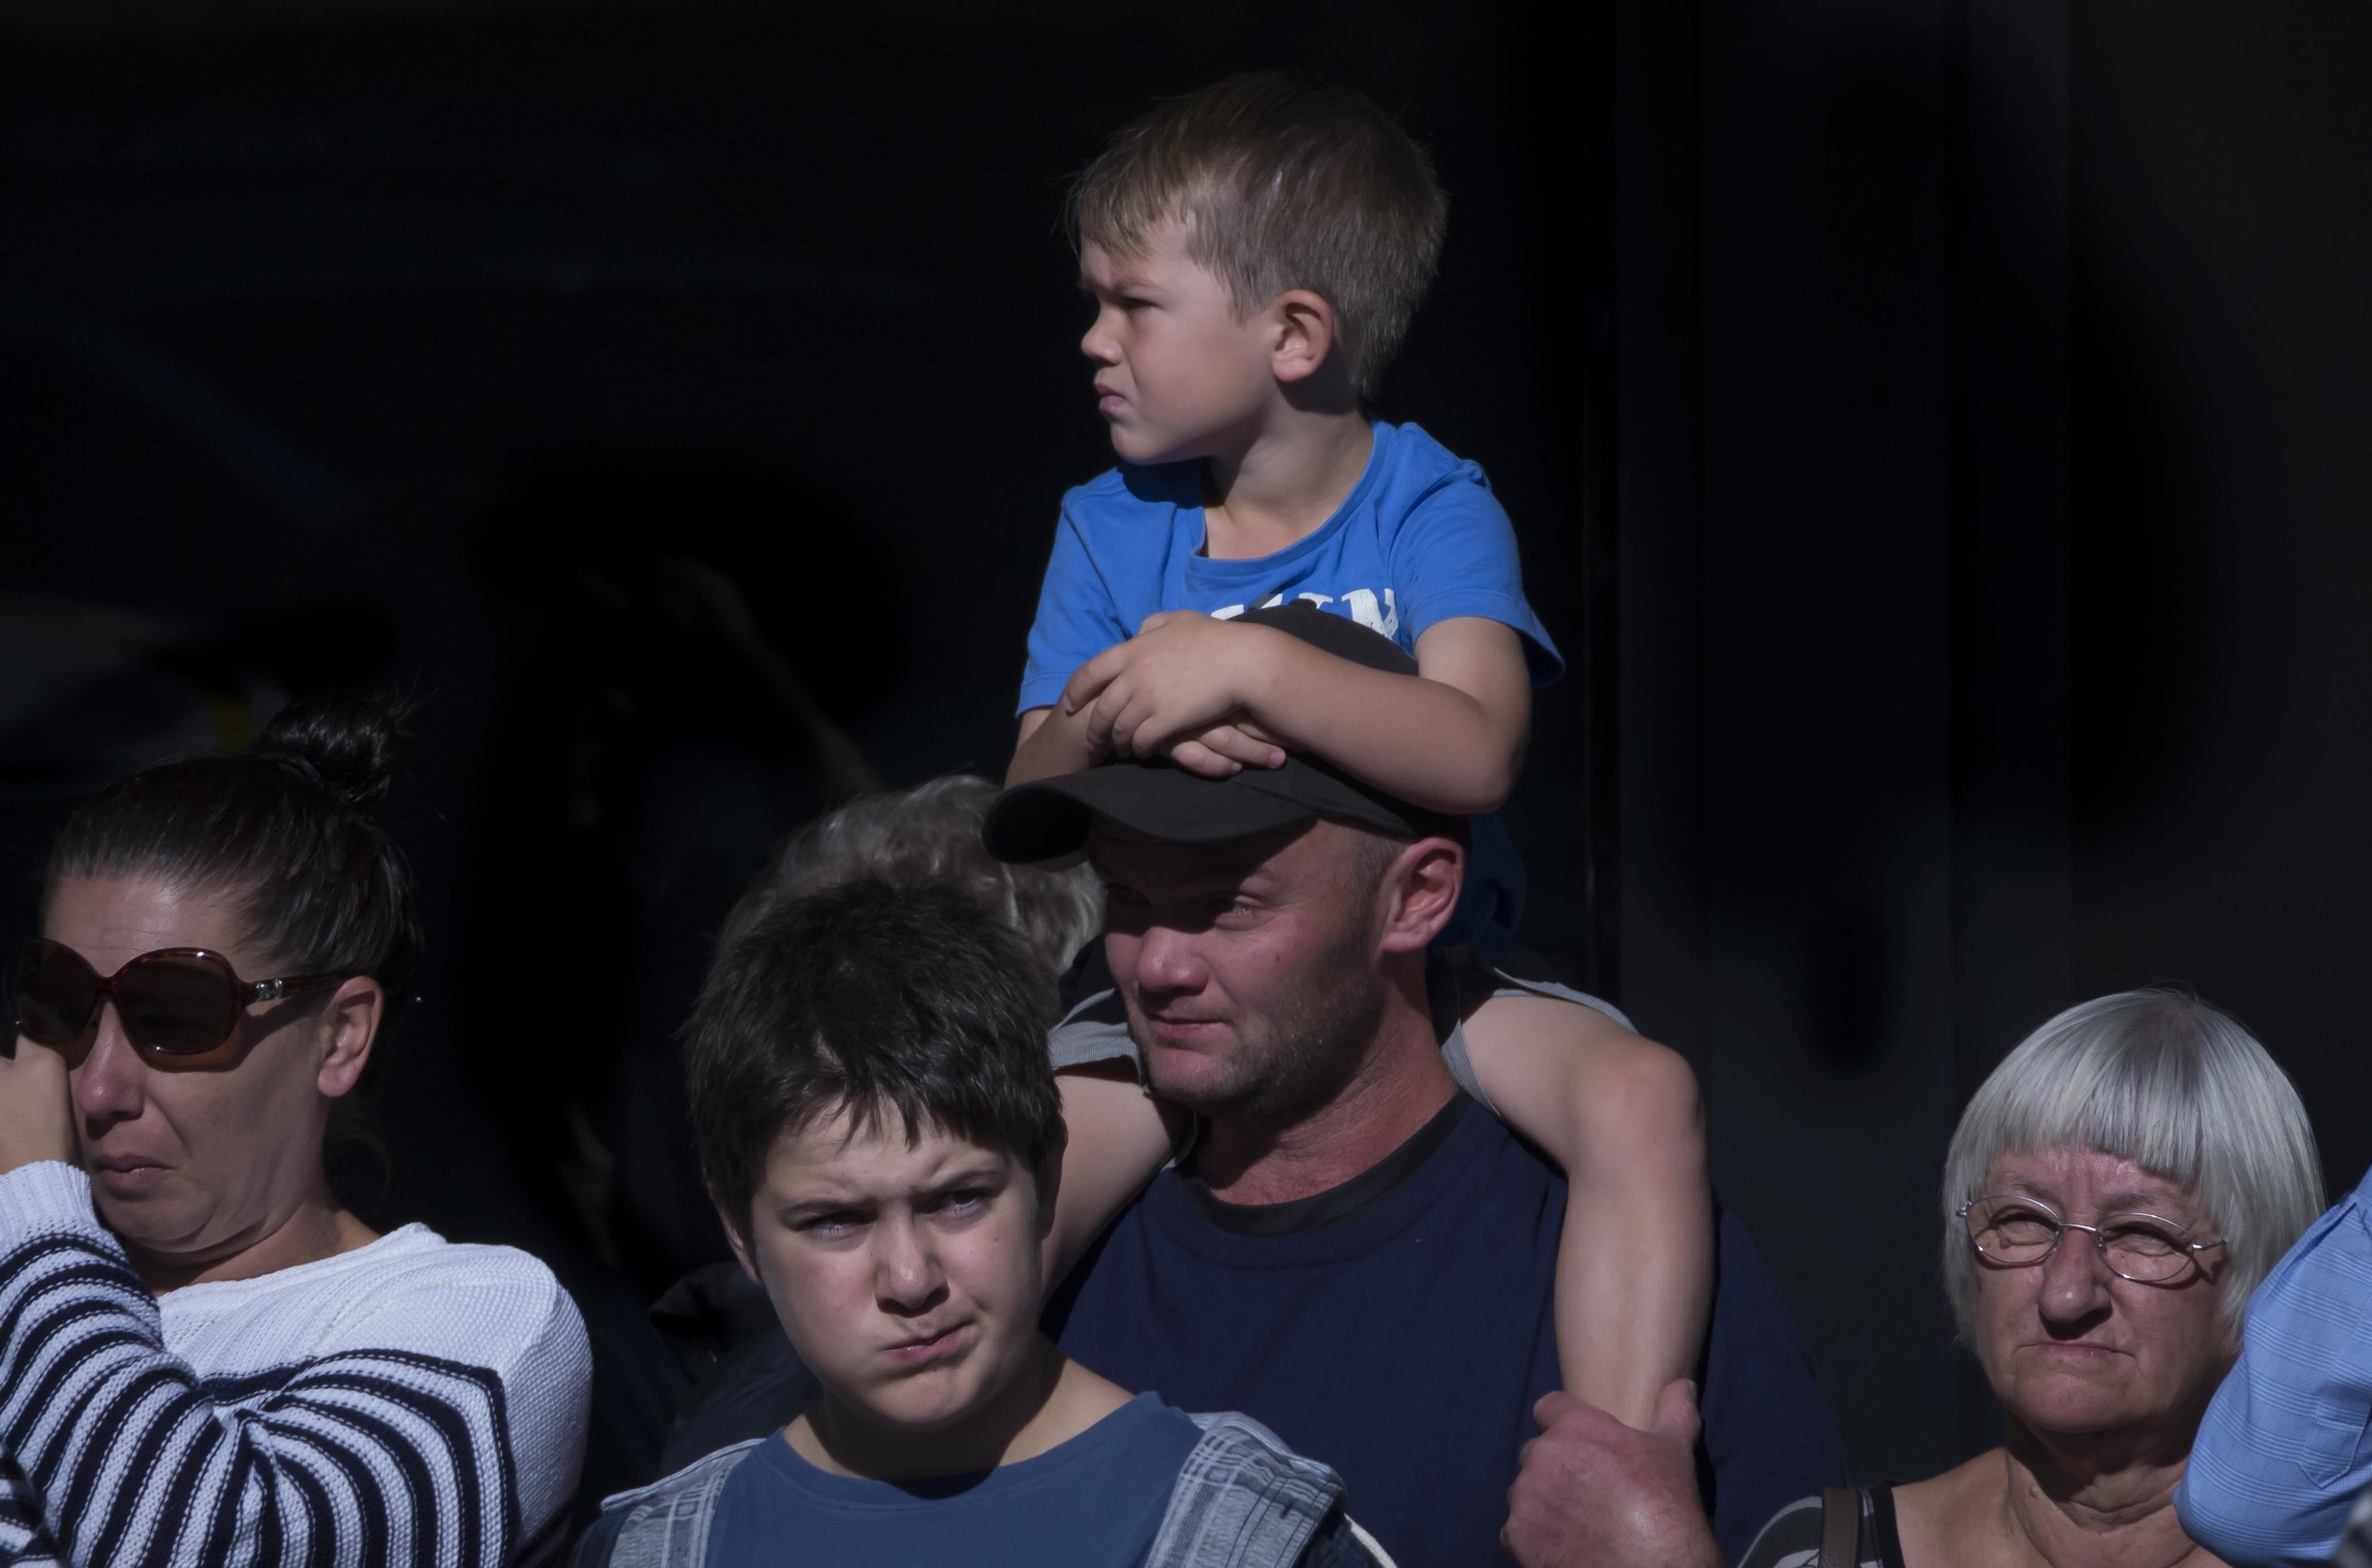
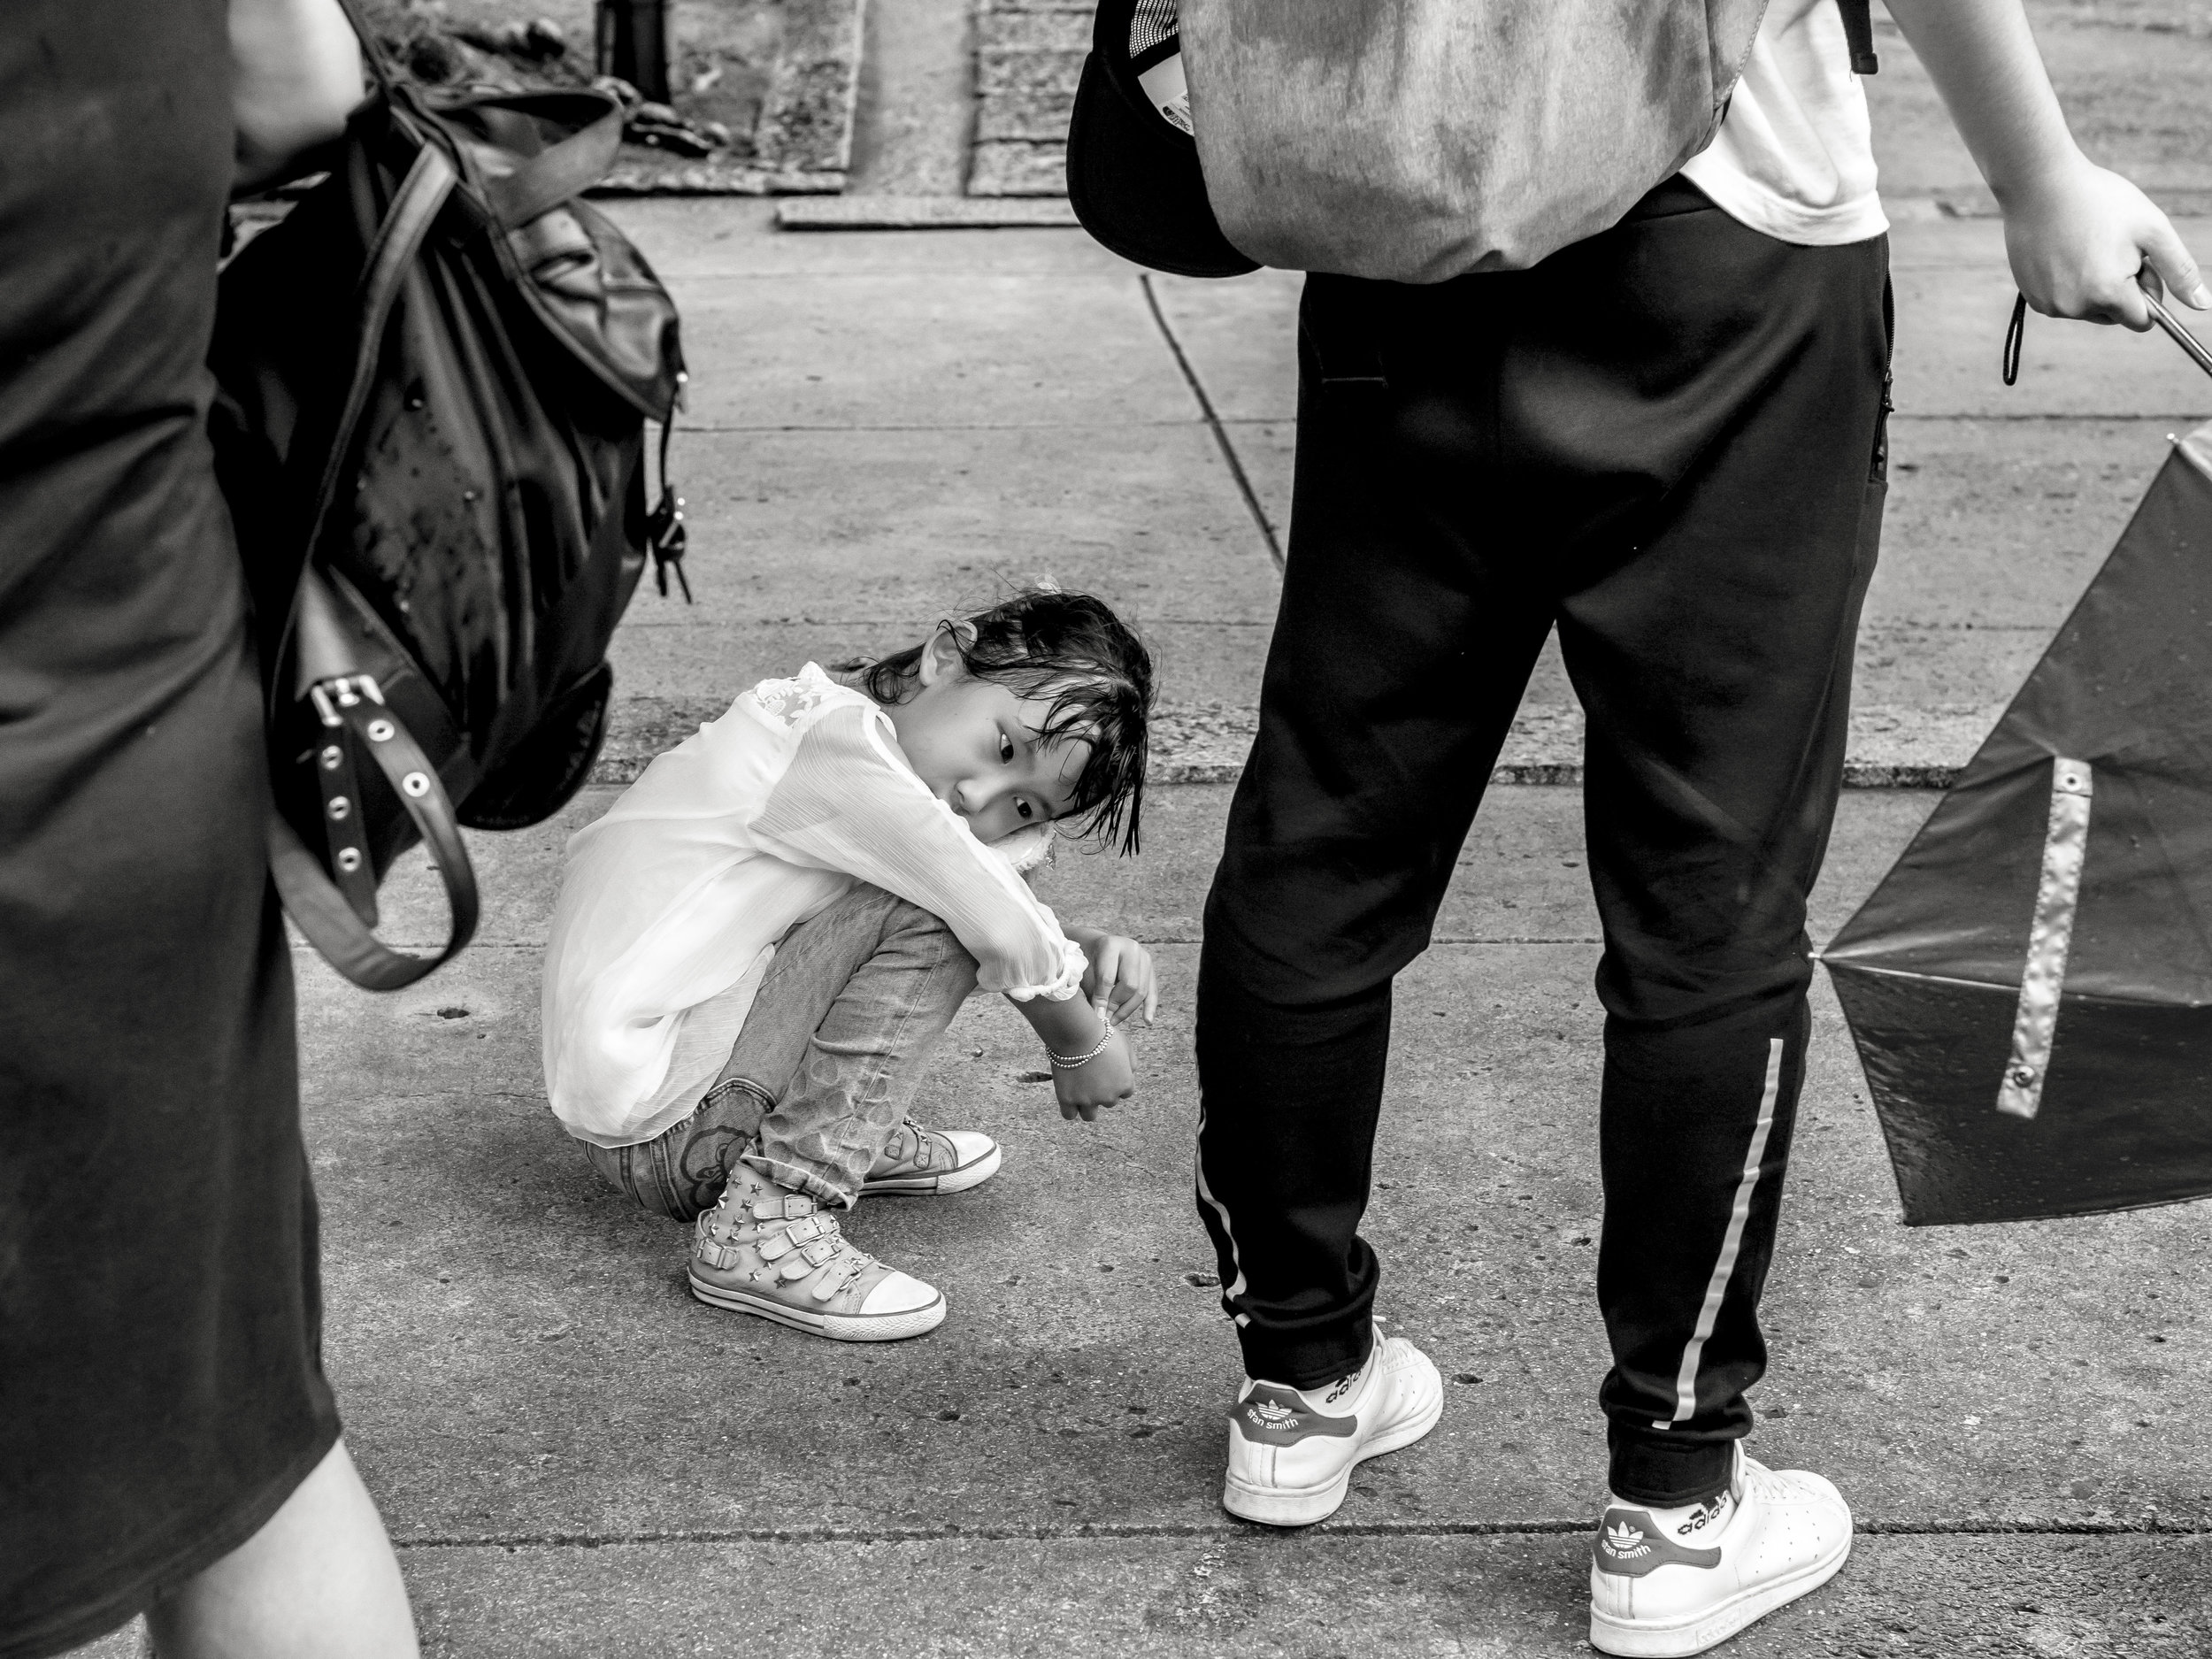
This image was captured for pleasing shape the two adults gave to the framing of the girls face, on a morning of better than normal good luck. The T-shirt, adding the extra two sets of eyes looking at the girl, making everyone look as if they are wa…

This image was captured for pleasing shape the two adults gave to the framing of the girls face, on a morning of better than normal good luck. The T-shirt, adding the extra two sets of eyes looking at the girl, making everyone look as if they are waiting for some profound decision, could not have been planned.

I believe if a photographer is well organised, always looking for solid compositions and shoots with freedom and instinct, then they will often reap the rewards of any good luck coming their way. I have noticed that if I am a bit rusty, or too excited about my location, there is little the cosmos is willing to supply. It is only when I can relax and simply see in an environment that is rich with subject matter, that the rest falls into place. Self consciousness tends to drop away also when you are in "the zone".

Much as the image above, the line of active people caught my eye, offering possibilities. The timing of the shutter fire was deliberate with the look a dash of luck.

Much as the image above, the line of active people caught my eye, offering possibilities. The timing of the shutter fire was deliberate with the look a dash of luck.

Organisation is partly getting your gear sorted and partly getting your head sorted. If you have a too many things going on at different distances and with different compositional tools (cameras or lenses), you will see lots of images forming, but never get them in time. There is little more unsettling than thinking of images forming in front of and having the extricate a lens from the bottom of a bag, or turn on a camera and change settings. Cap off, hood on, camera on standby and all settings sorted first. Composition and shutter release are all you will get time to do. Think ahead and learn to anticipate what is changing around you.

The best I can do is a camera on a strap (preferably with a flip screen for waist high viewing), a manually pre focussed, 17mm lens and settings that are capable of giving good results with one hand operation and without hesitation. A second body is in my left hand set to centre point AF with a 45 or 75mm attached. I would be lying if I said these can be controlled equally and that my thoughts/vision/attention is truly double barrelled, but as the environment changes I can adapt without loosing flow, using one of my two preferred techniques (close and layered or tight detail). I will sometimes deliberately switch to the other camera/lens combination to look differently at things, but usually I let the world in front of me determine what feels right.

The above images were taken within minutes of each other using the "two cameras" technique. The first is with a 17mm at waist height, using the flip screen to compose, the second is with the left hand body up to the eye using a 75mm and the last, back to the 17mm again. This particular afternoon I had a high success rate, getting over 20 images that I genuinely like. In the tighter side streets, the 17mm ruled, but out on the wider boulevard, honours were even.

You must decide on your own needs, but remember the most important thing. Be able to take your image instantly. If you cannot, you will be limited to slow moving or static subjects or posed images.

* A martial arts term for being calm and seeing all, but nothing specifically, by looking "in the middle distance" between you and what is around you.

On Lightroom practice part 1

Lightroom has become my "all I need" programme. Are there better programmes for certain image manipulations? Yes, absolutely, but there is no programme that I am more comfortable with (not a big computer nerd, I do struggle sometimes), or one that is more complete as a work flow or that overall handles my Olympus files any better.

I thought I might share my work flow with interested readers as I know the learning curve for all of these programmes can be slow and frustration. The things I will talk about will be Olympus biased, but are applicable to all cameras, just a bit differently.

I am not an expert, but get what I want/need out of the programme, always learning as I go. Things marked with an * are often used in a series of presets and applied on import or in batches sometimes after, although I am tending to start from clean, unprocessed images or my "gentle" preset more these days and use the more aggressive pre sets only to try different looks (to add your own preset just process how you want it, then hit the "+" symbol at the top of the presets bar).

From the top, but in the order I use. Note; the surrounding area of the screen around the image is set to black for web processing, but white for print processing, do a right click to change it as suits.

The (Quick) Global controls.

Temperature and Tint. Adjust these as needed, remembering to also use them creatively, not just as correction tools. The cool Fuji look and Canon colour brilliance can be achieved with a very small little bit of blue (but there is a better way).

Colder tones usually do not sit well with viewers, but can add mood and mystery.


Exposure and Contrast. The relationship between the exposure, contrast and the more specific tonal controls below them is important. My usual habit with Olympus files is to adjust the finer controls first, using the exp/cont controls to balance these, unless the image is in need of drastic repair.

*Highlight and White controls. I adjust the white control up a bit (+30/50) as this brightens colours and increases vibrancy over all and the Highlight control is then applied to control the blow out (as low as -80). I love the Fuji brilliance and this helps give me that look as opposed to the more natural and muted Olympus highlight look, when appropriate.

*Shadows and Blacks. Like above I tend to drop the Blacks down to increase depth and richness of both the dark regions and colours, compensating by increasing the Shadow control (+20-50), then the Exposure and Contrast is looked at to better balance any inconsistencies. the blacks slider is also a good control for "de hazing" a flat image, but now they have a specific de haze slider. the effects are slightly different however. I find that the combination of the Black and White sliders go a long way to the Canon look/colours I am used to.

The image below has deepened blacks, increased whites, with reduced highlights and a little blue added in camera calibrations (see below).

Clarity, Vibrance and Saturation. These are usually left alone, with the occasional push or pull of the global Clarity control and maybe a +10-20 Saturation as needed. I used to use these more, but prefer to use the brush control or specific colour controls now.

*Split Toning Control. I did not use this much before unless I was doing a mono image, but recently I was shown the benefits of a gentle shadow or highlight tone control to change the density and feel of the image's base colours. warming or cooling down shadows and highlights is one of the more powerful tools when changing the fundamental look of the image, adding depth to the colours. I find Olympus images can sometimes look a bit thin and clean, where Canon often adds depth in highlights. The Canon look benefits from cooler shadows and warmer highlights.

The Precision Controls. These controls are more precise, cleaner and less file intrusive (I.E. better), but more time consuming and harder to use properly.

Tonal Curve. For more precise tonal controls, the tone curve tool can be used, but I find often that the extra effort is not warranted. It is said by Lightroom experts that the Tone curve tool is cleaner and more precise, so if you are wanting the very best, use this and not the global fixes above.

Colo(u)r Sliders. Anything is possible here! Want Canon Reds or Purples, Fuji Skin tones or Olympus Blues, they are all found here. Other side of the same sword though is too much choice. I use a lot of pre sets here, starting with them if I am after a certain look, otherwise adjusting a bit (+/-10-20) is plenty, using both Saturation and Luminance controls in tandem. be aware of the difference though between the camera calibration colour sliders and these. The calibration settings will fundamentally change the base colours, often enough to make the image look like it is from a different camera brand, where the colour sliders allow you to tweak specifics better. Olympus files need little in the way of colour if the above controls are used as the Whites/Blacks/Contrast sliders tend to control colour "pop", but changing one Colour slider can make a huge difference and does not effect other colours. if you want to guarantee the colour you are adjusting is correct, use the little bullseye spot (top left of the colour box) and actually pick the colour out on the image, using the mouse to increase/decrease the setting.

The Brush tool. About now or sometimes earlier I will use the brush tool to increase the "snap" of the image. The brush tool is your ultimate control for very specific, localised manipulation. Noise, clarity and sharpness, saturation and many other features allow very powerful, repeatable and controllable changes. The big advantage of the brush is that it allows editing on an area without forcing the same editing on the rest of the image. Starting with a gentle +05-20 in contrast, clarity, sharpness and a little vibrance (occasionally - exposure also), I will brush over the eye catching parts of an image. It is like a veil has been lifted. I then might do the reverse to less important parts of the image that I want to drop away. This controls the look of DOF (Bokeh), the focal point and increases micro contrast, making small sensor cameras look like full frame ones.

*Lens Corrections and Transform. Rarely used, you know when you need to. The CA control used to be better (easier), but is good enough to get rid of any and all CA that my lenses occasionally cough up. I have started to use the de fringe setting on the brush tool here also as it looks to be stronger and faster.

Sharpening. This is low on the list because it is not often needed with Olympus or Fuji images, is capable of being destructive if over used, is not as good looking as the brush tool and is often not that important to image quality when other manipulations are completed. The sharpening tool is powerful, but easy to get wrong. Less is more. The radius and masking sliders are less well understood, but are the key to natural looking sharpening. Use the Option/Alt key when applying sharpening to help gauge the effect (the screen turns negative grey and highlights just the effected areas). 

Effects. I usually use a touch of vignetting to constrain the edges, but again less is more. if the image is a portrait this is a good emphasising tool.

Camera Calibration. This one is a bit of a revelation to me. When hunting for the secret mixture to get my Olympus files to look like other brands files, I discovered two things. The camera calibration settings, especially the blue saturation slider and split toning colour images controls. these are very powerful on a deeper level than normal manipulations. Increasing the regular red colour slider compared to the red calibration slider is like garnish on a meal as opposed to changing the base recipe. The calibration controls will change the fundamental colour palette of your camera.

The blue slider will add pop to portrait images, by intensifying the contrast between cooler and warmer tones, making the warmer tones look stronger.

The above images are firstly the base image with a preset called "gentle" with only basic noise and sharpening settings, the second image has added blue through the camera calibration slider, notice the added warmth in the skin and finally the blue adjusted only in white balance giving the image an overall cold look.

The above image shows a basic work flow. A preset called "Olympus Bright" was first applied, that generally lightened and brightened the image using more exposure, whiter whites and deeper blacks and adding camera calibration blue with a little sharpening. The brush tool was then used to first, remove some unwanted detail in the shadows that the preset exposed and then it was applied to for extra clarity and contrast to faces. The boy in front looks slightly sharpened by the application of clarity.

Don't be afraid, or ashamed of post processing. It is as much a tool as any camera setting and allows you to show your vision as you want it seen. Where you stop is entirely up to you, but don't think that the path of the purist does anything but sell you and your images short. Even Ansel Adams spent hours in the dark room to perfect his images. Nothing came out of the camera magically perfect.

On Kits

Recently my kit settled down into two supporting outfits, designed to purpose.

Kit 1  

Landscape

Lowe Pro, pro tactic 350 back pack for day trips or an Inverse 100* if using a proper back pack.

Pen F set to (C1) lowest ISO, electronic shutter with delayed, touch release. C2 is set up for high res imaging. This is the ideal for longer lens work so it usually has the 40-150 f2.8 attached. This lens is as sharp as I have at f4-8 through its range and across the frame. The standard collapsable hood is used because of it's convenience when using filters etc. The resulting files are as big and robust as 5D mk2 files, with the bonus of a much gentler shutter release, longer range and lighter weight.

The 12-40 is in the bag or optionally I add;

OMD EM5n (later firmware) set to (myset1) lowest ISO and delayed anti shock which is enough smoothness for the attached 12-40 f2.8. Both lenses have excellent close focus, allowing me to skip a macro lens. This body supplies weather proofing. Myset 2 is set for sport.

ND 10 stop for the 12-40 and ND 6 stop for the long lens, a stepping ring to use them both on the 12-40 and Polarising filters for both lenses. A small TTL flash is added for macro or fill work.

Both cameras have their ideal landscape/tripod work settings set in their custom settings allowing me to set and forget, use other settings and jump back as needed.

My tripod selection these days is a shadow of my past with an incomplete Manfrotto 190/small Gitzo ball head and a light weight Velbon Sherpa, but they are plenty for these gentle little cameras. I am not totally convinced these tripods can do the job in high res mode.

So simple and effective. Note the lack of a macro lens as both lenses have good enough close focus performance.

So simple and effective. Note the lack of a macro lens as both lenses have good enough close focus performance.

*

Work (add to the above)

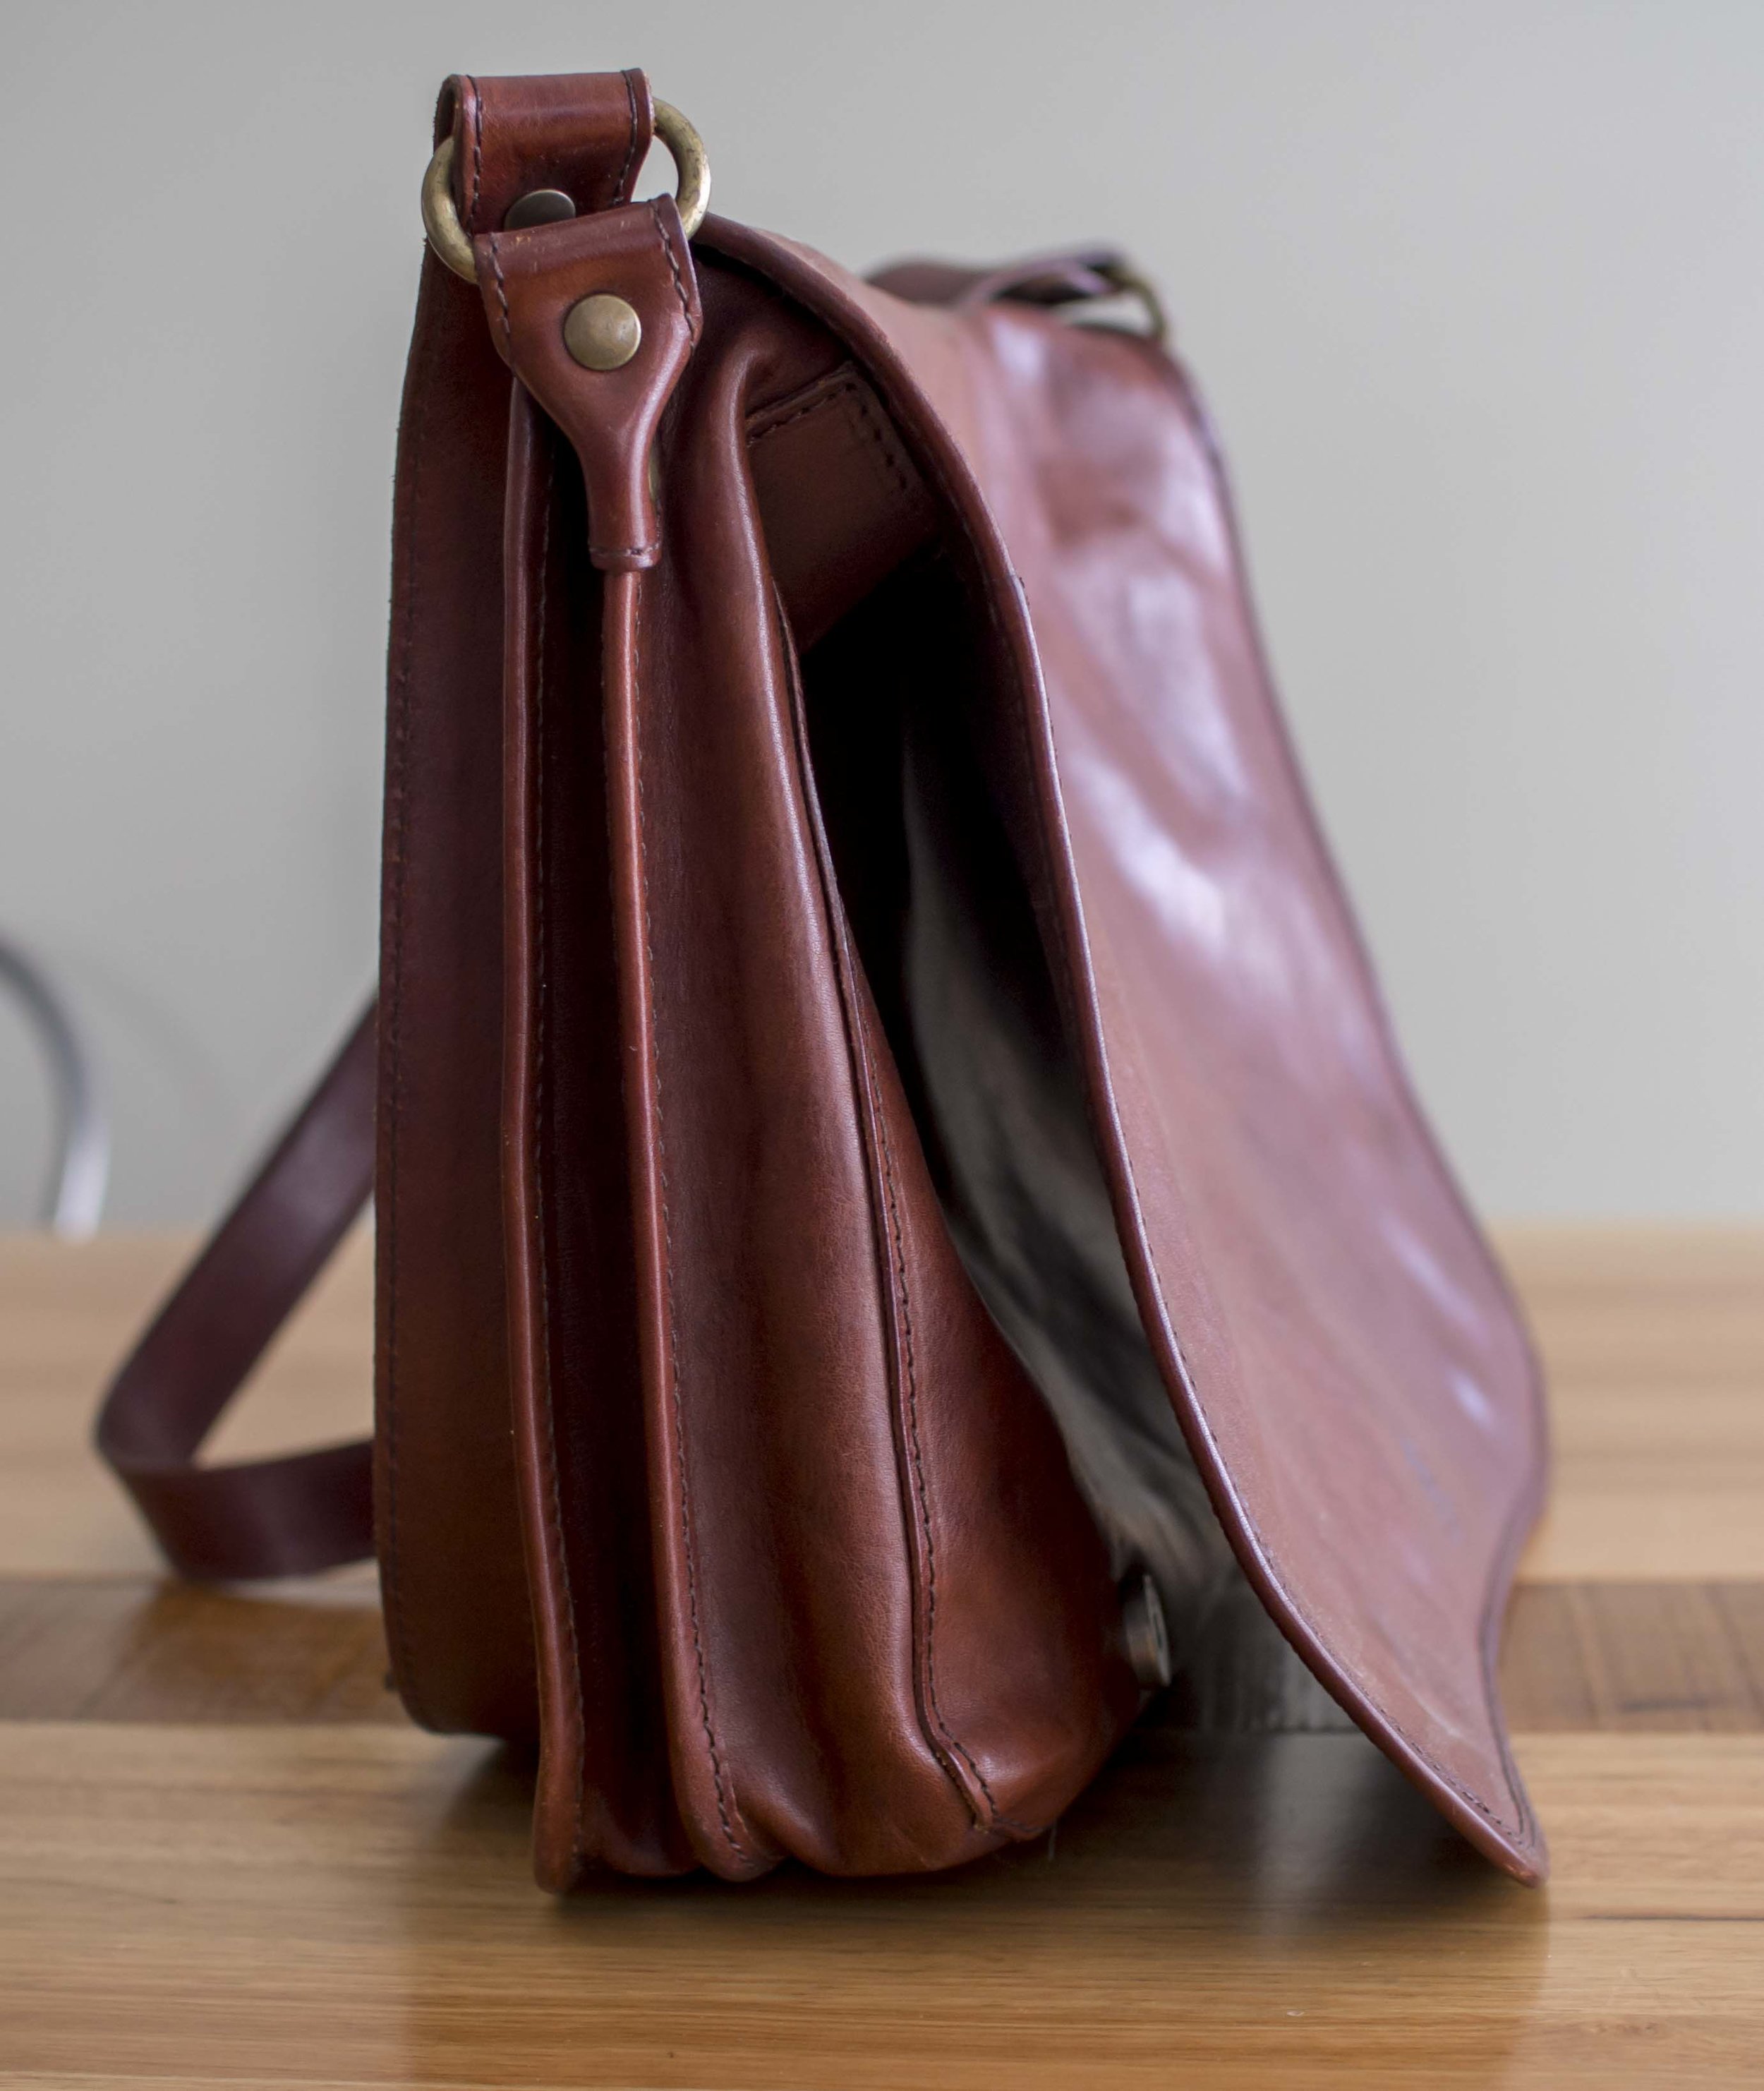
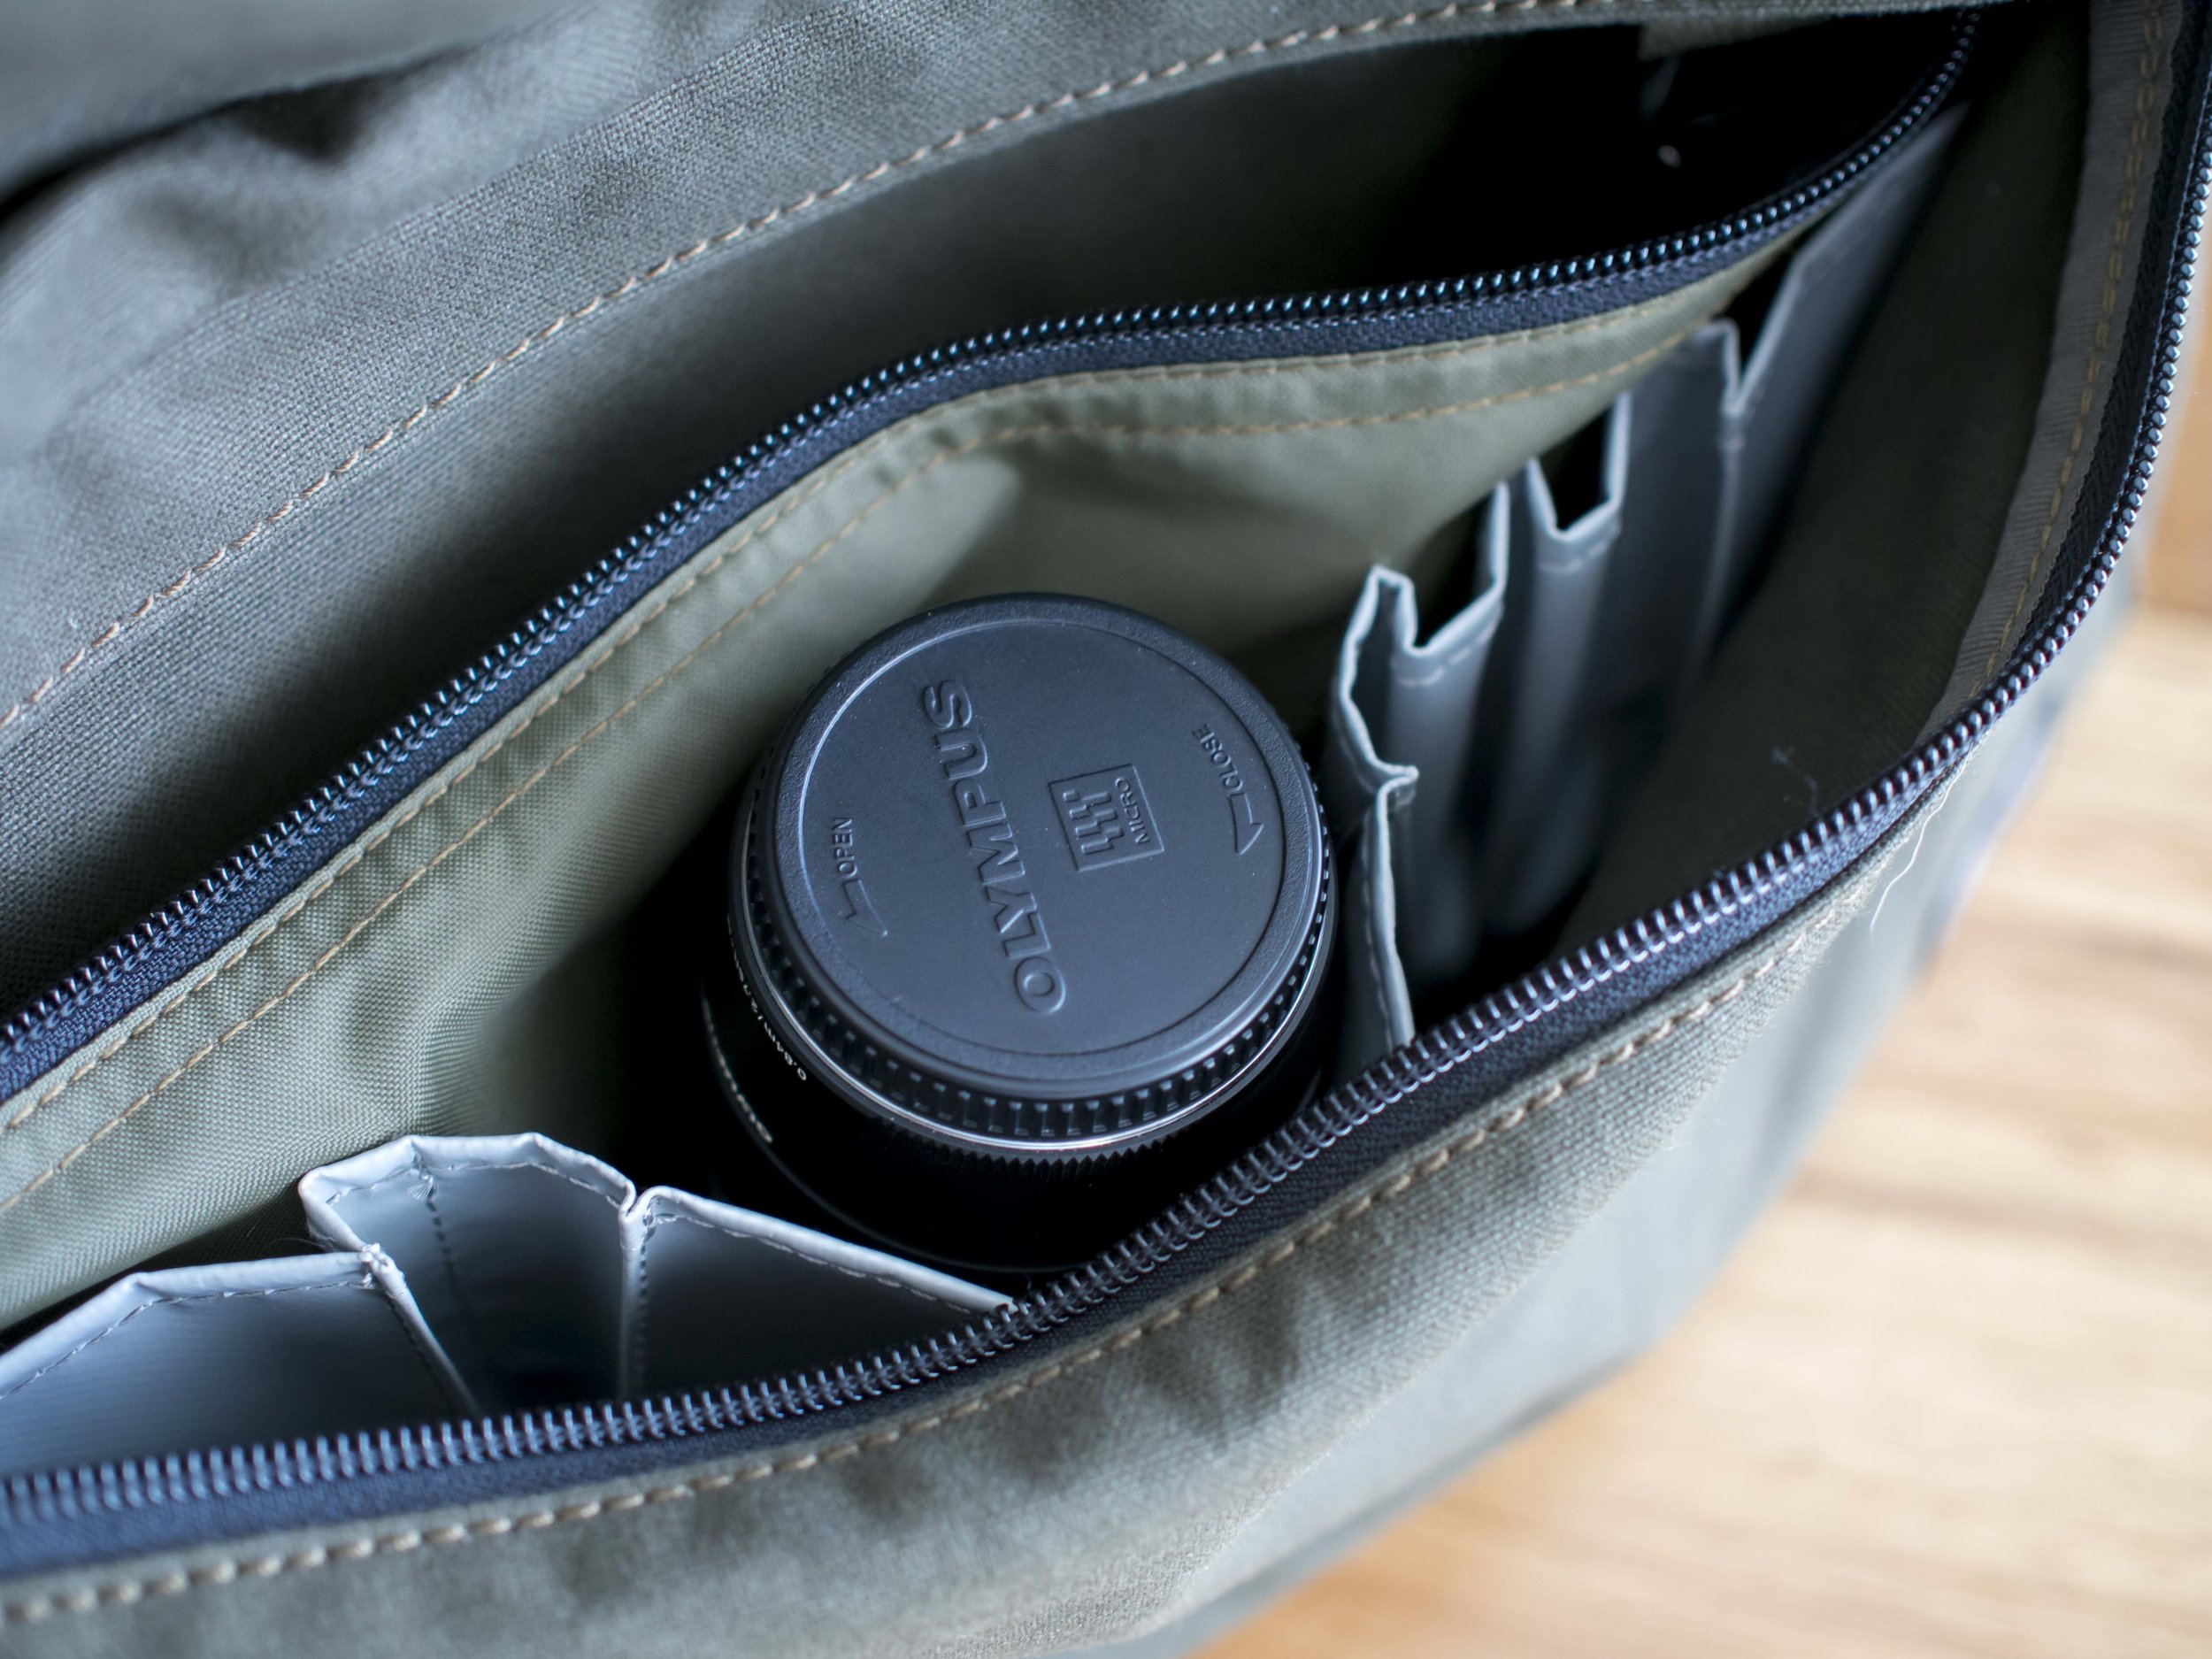
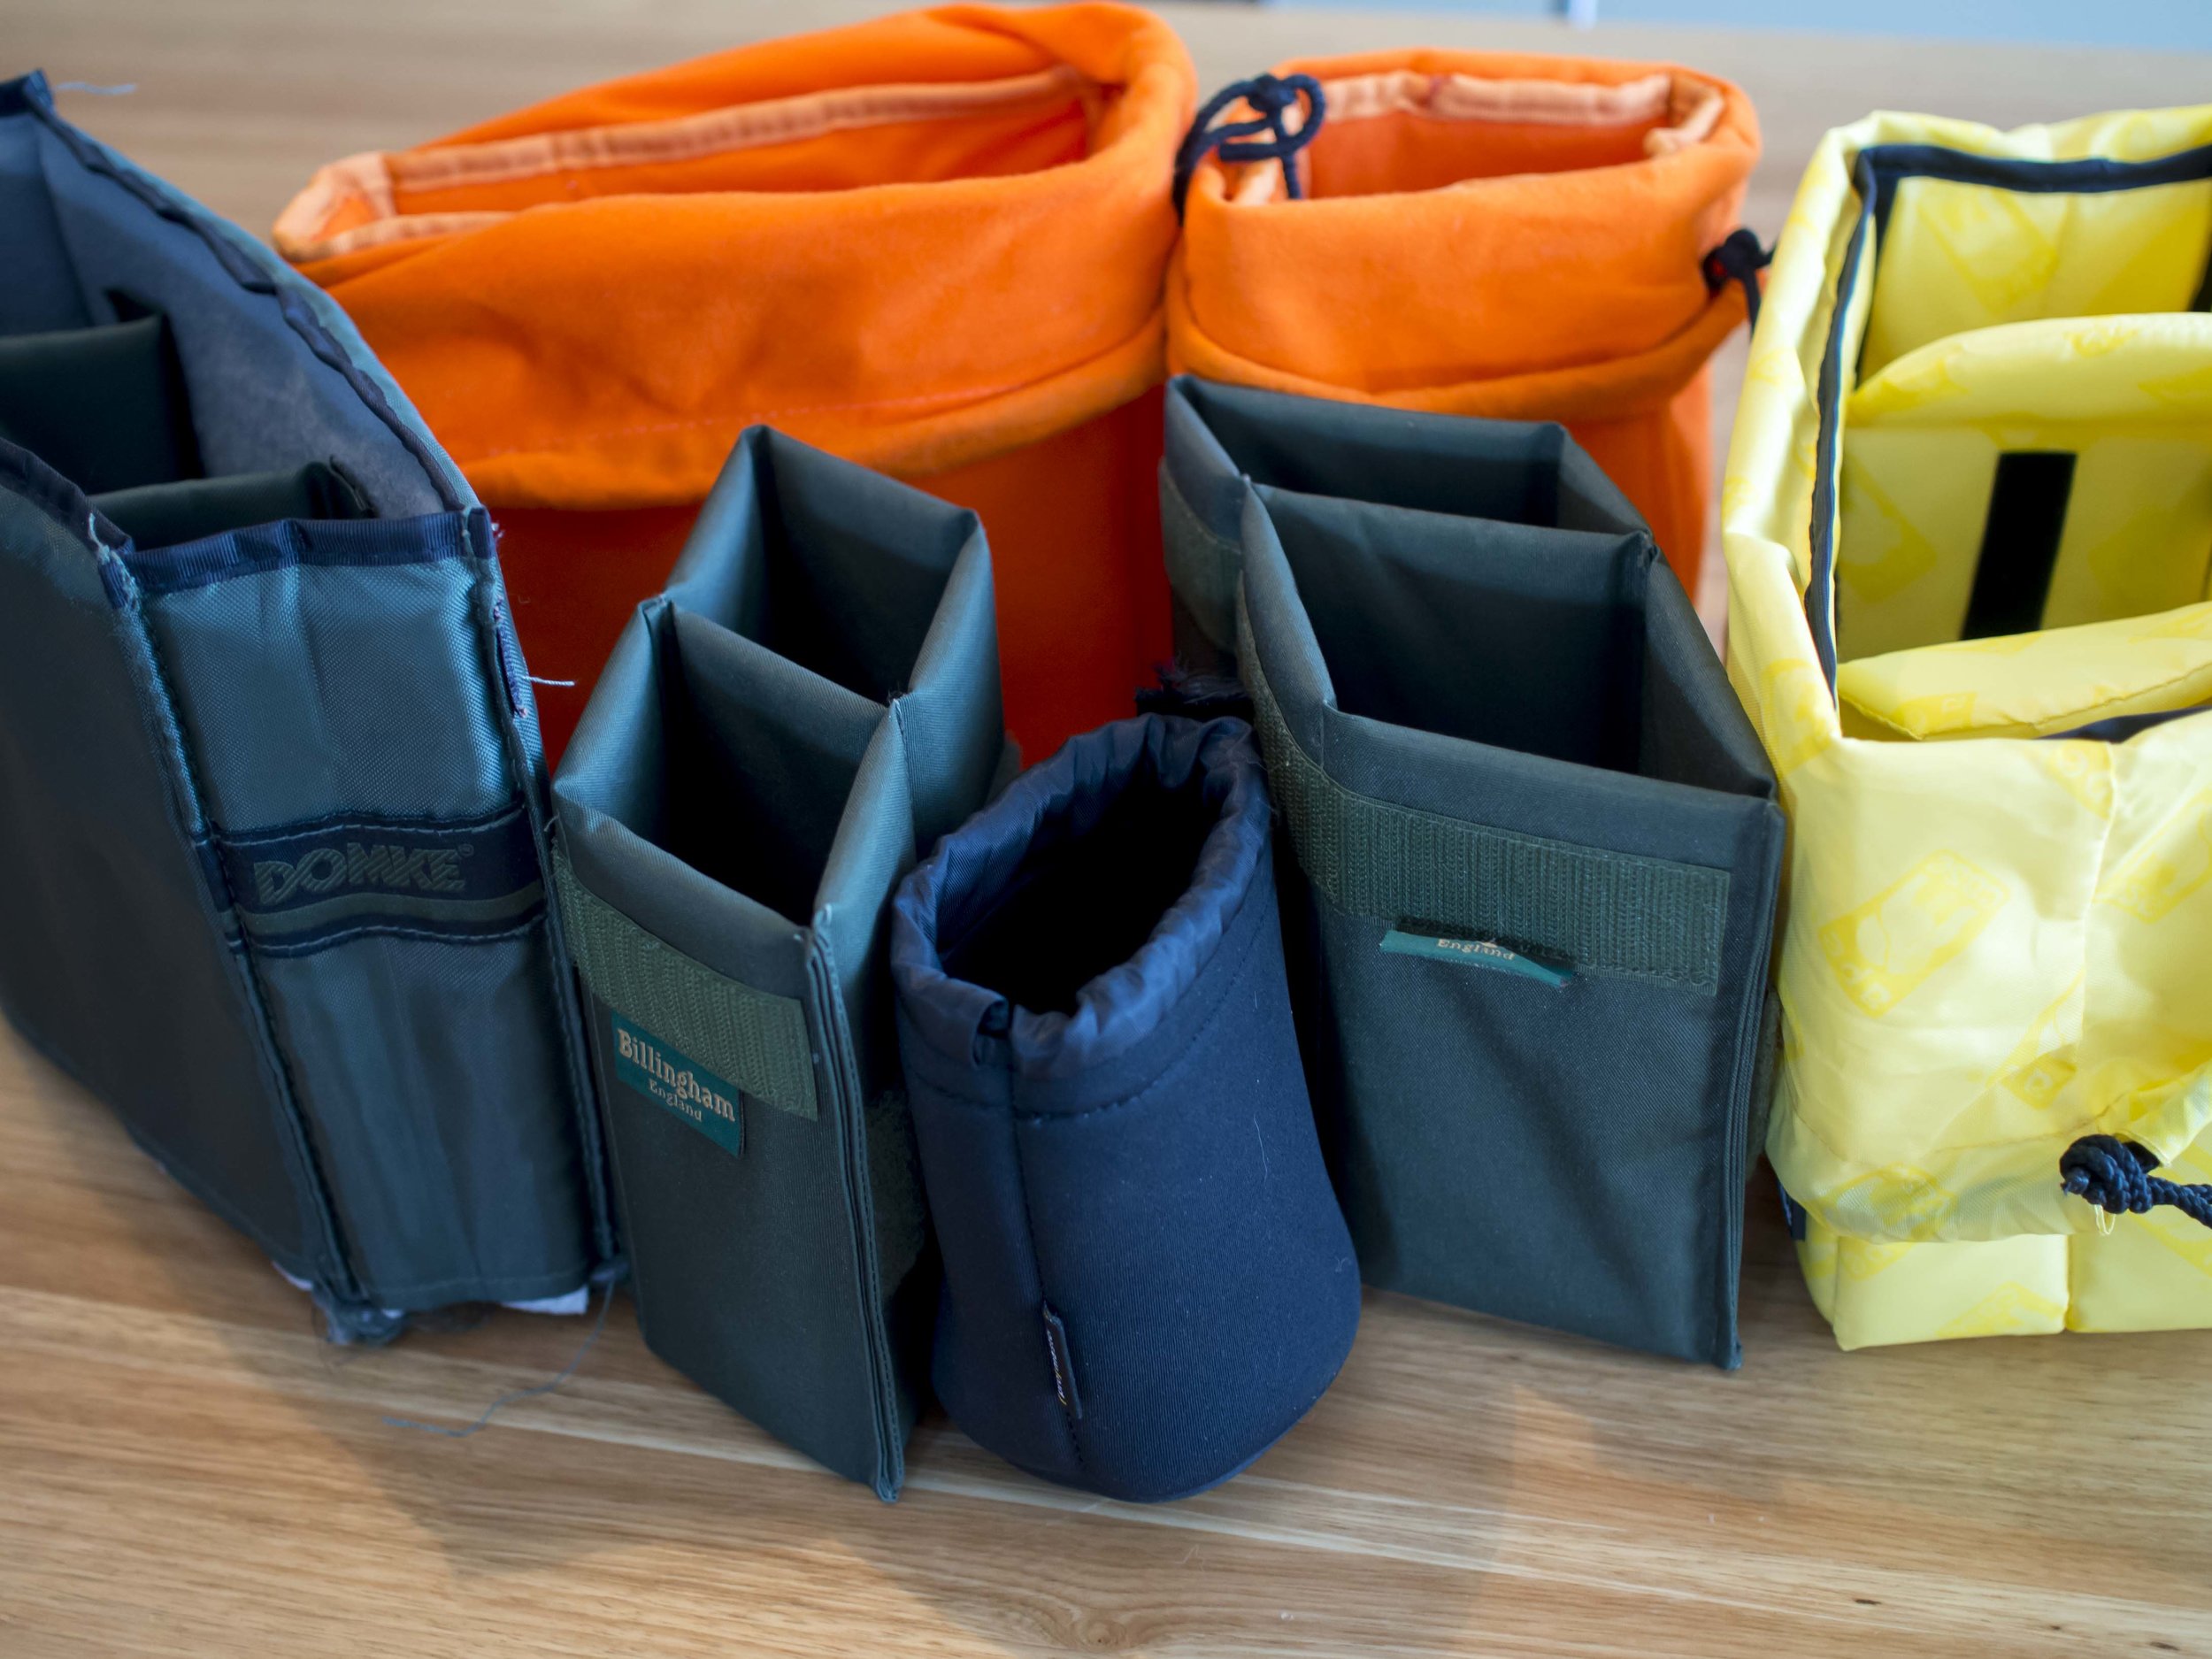
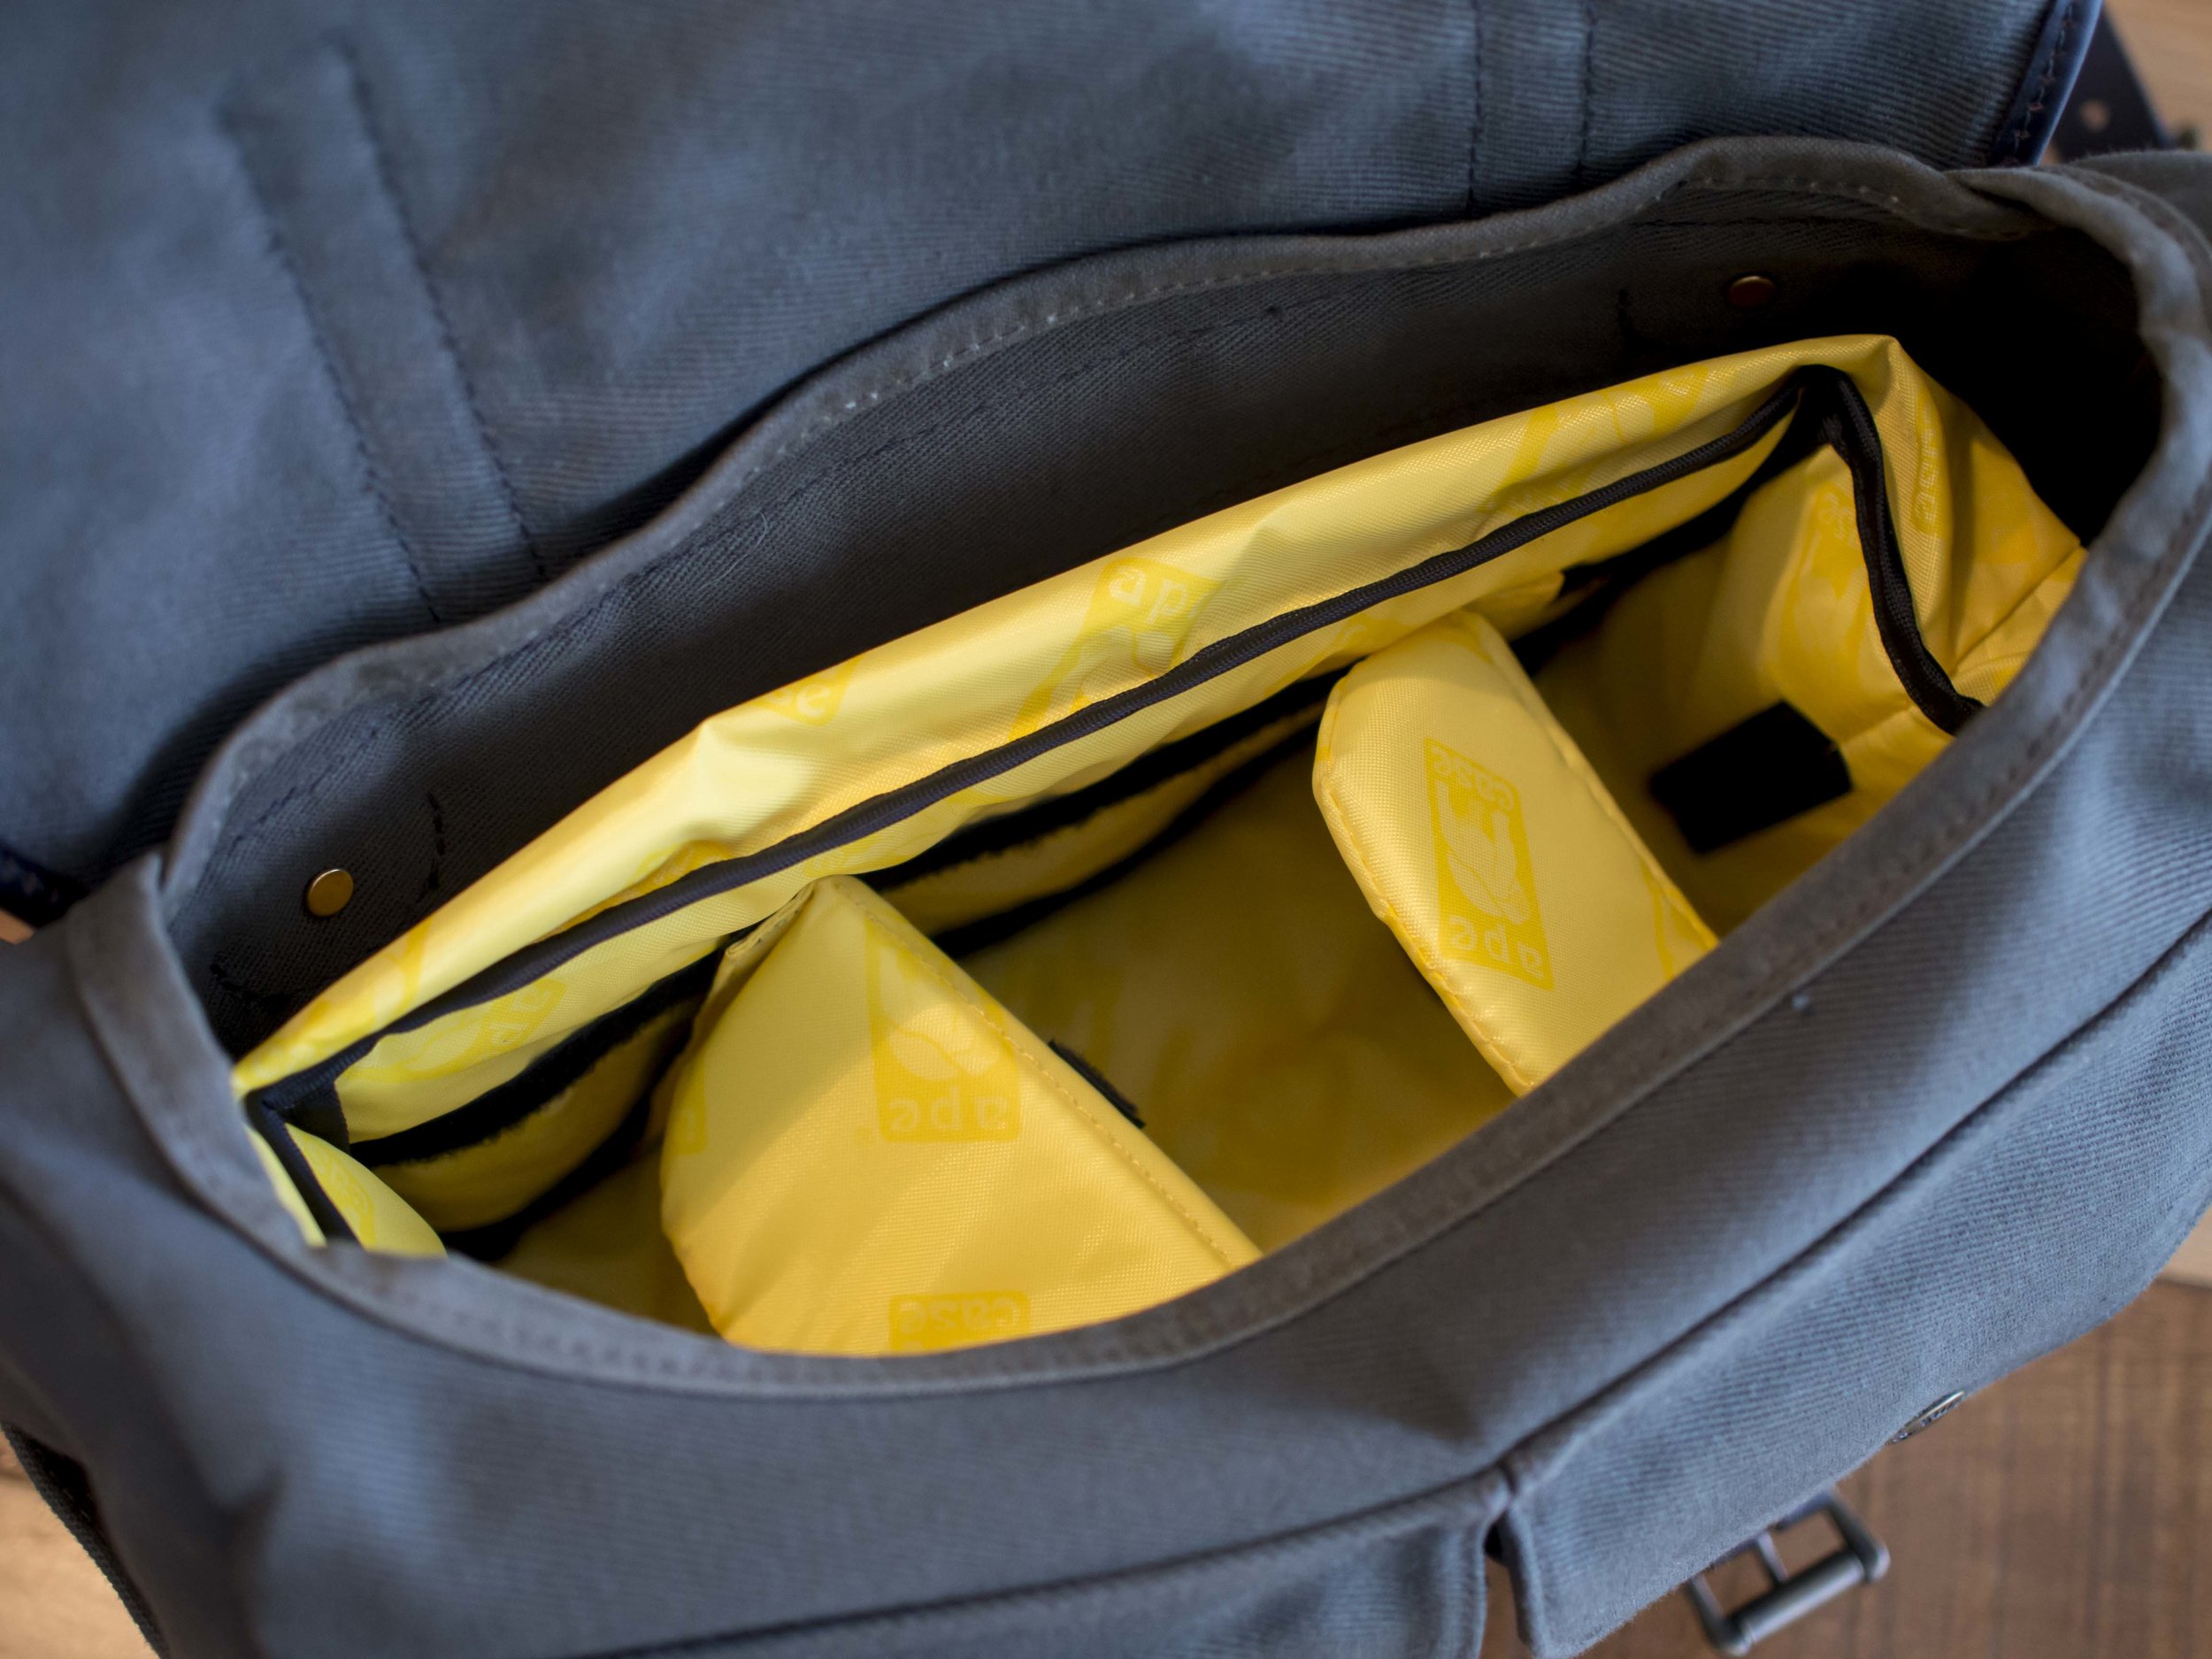
A Domke F802 satchel and Tenba insert (holds everything!) with or without external matching pouches.

Add a second OMD EM5 in place of the Pen F, the 25 f1.8 and 75 f1.8 lenses and a pair of Yong Nuo flashes with controller for a quick studio option. This OMD is set up for flash (myset1) and sport (myset2) . The 40-150 gets a fixed metal hood to allow it to be "at the ready" and stand on it's own on the ground or in the F802 bag.

Looks a lot, but when loaded the whole rig just looks like a slim lap top bag with full pockets.

Looks a lot, but when loaded the whole rig just looks like a slim lap top bag with full pockets.

Kit 2  

Street

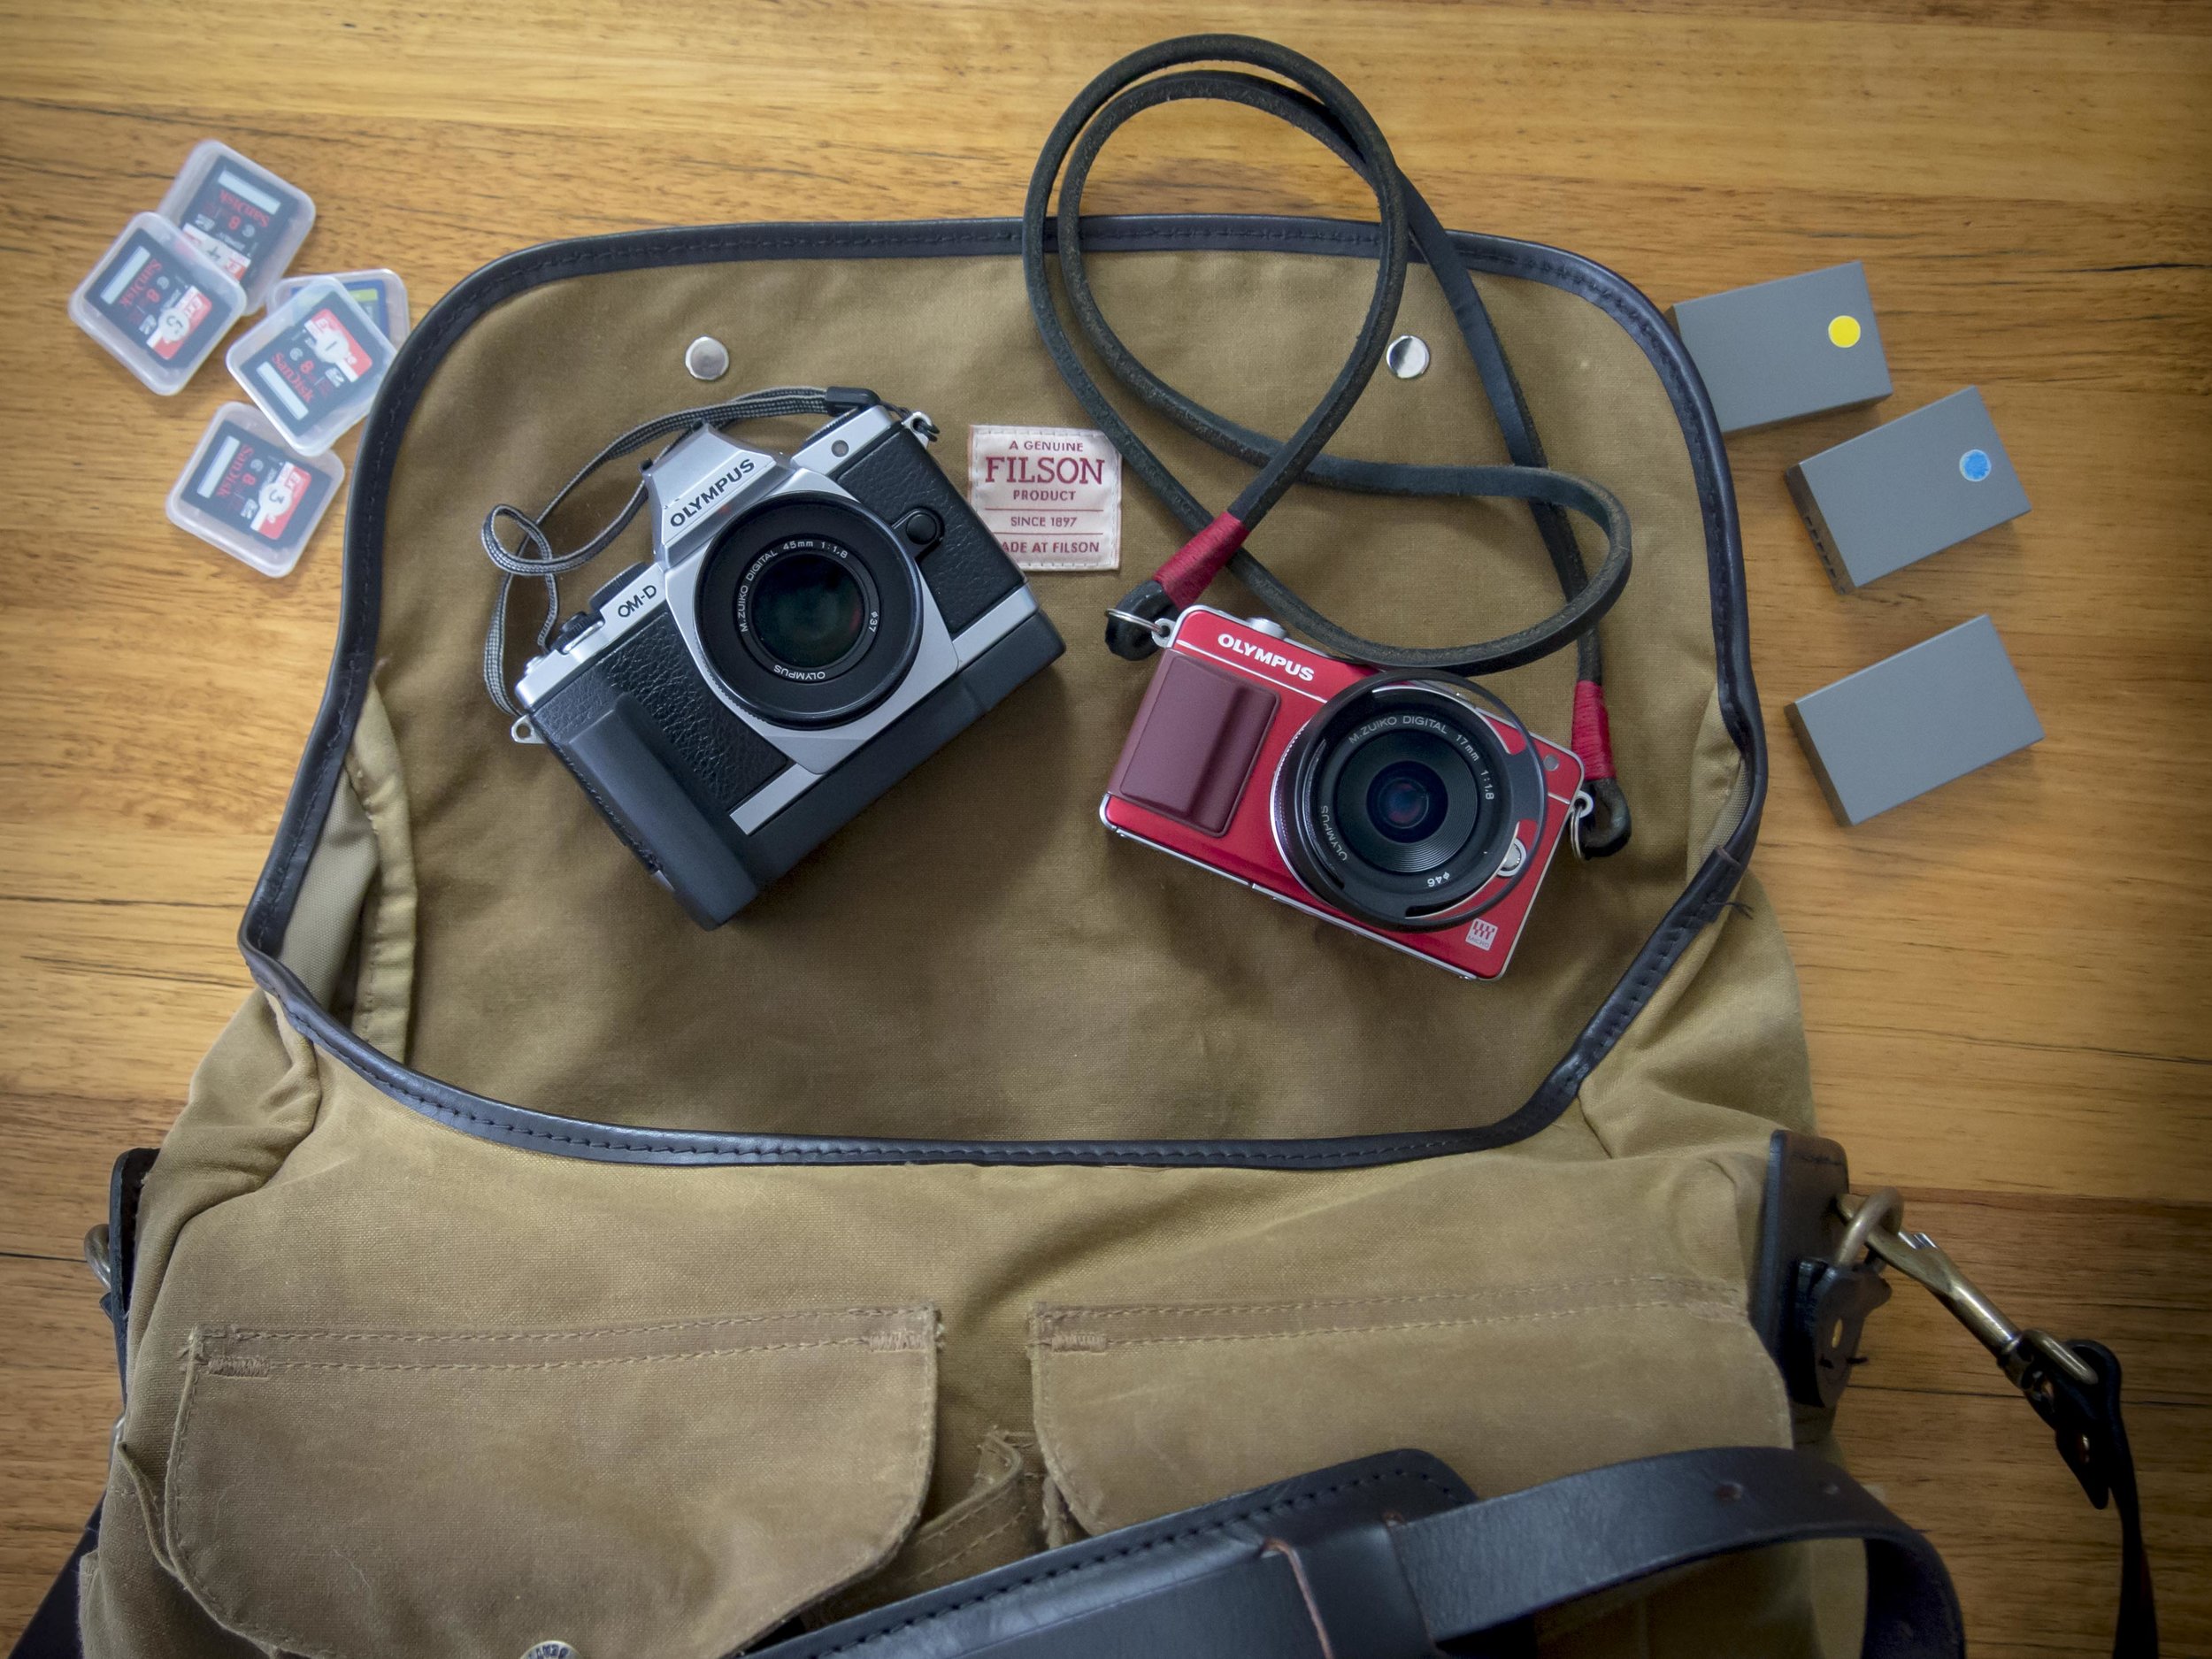
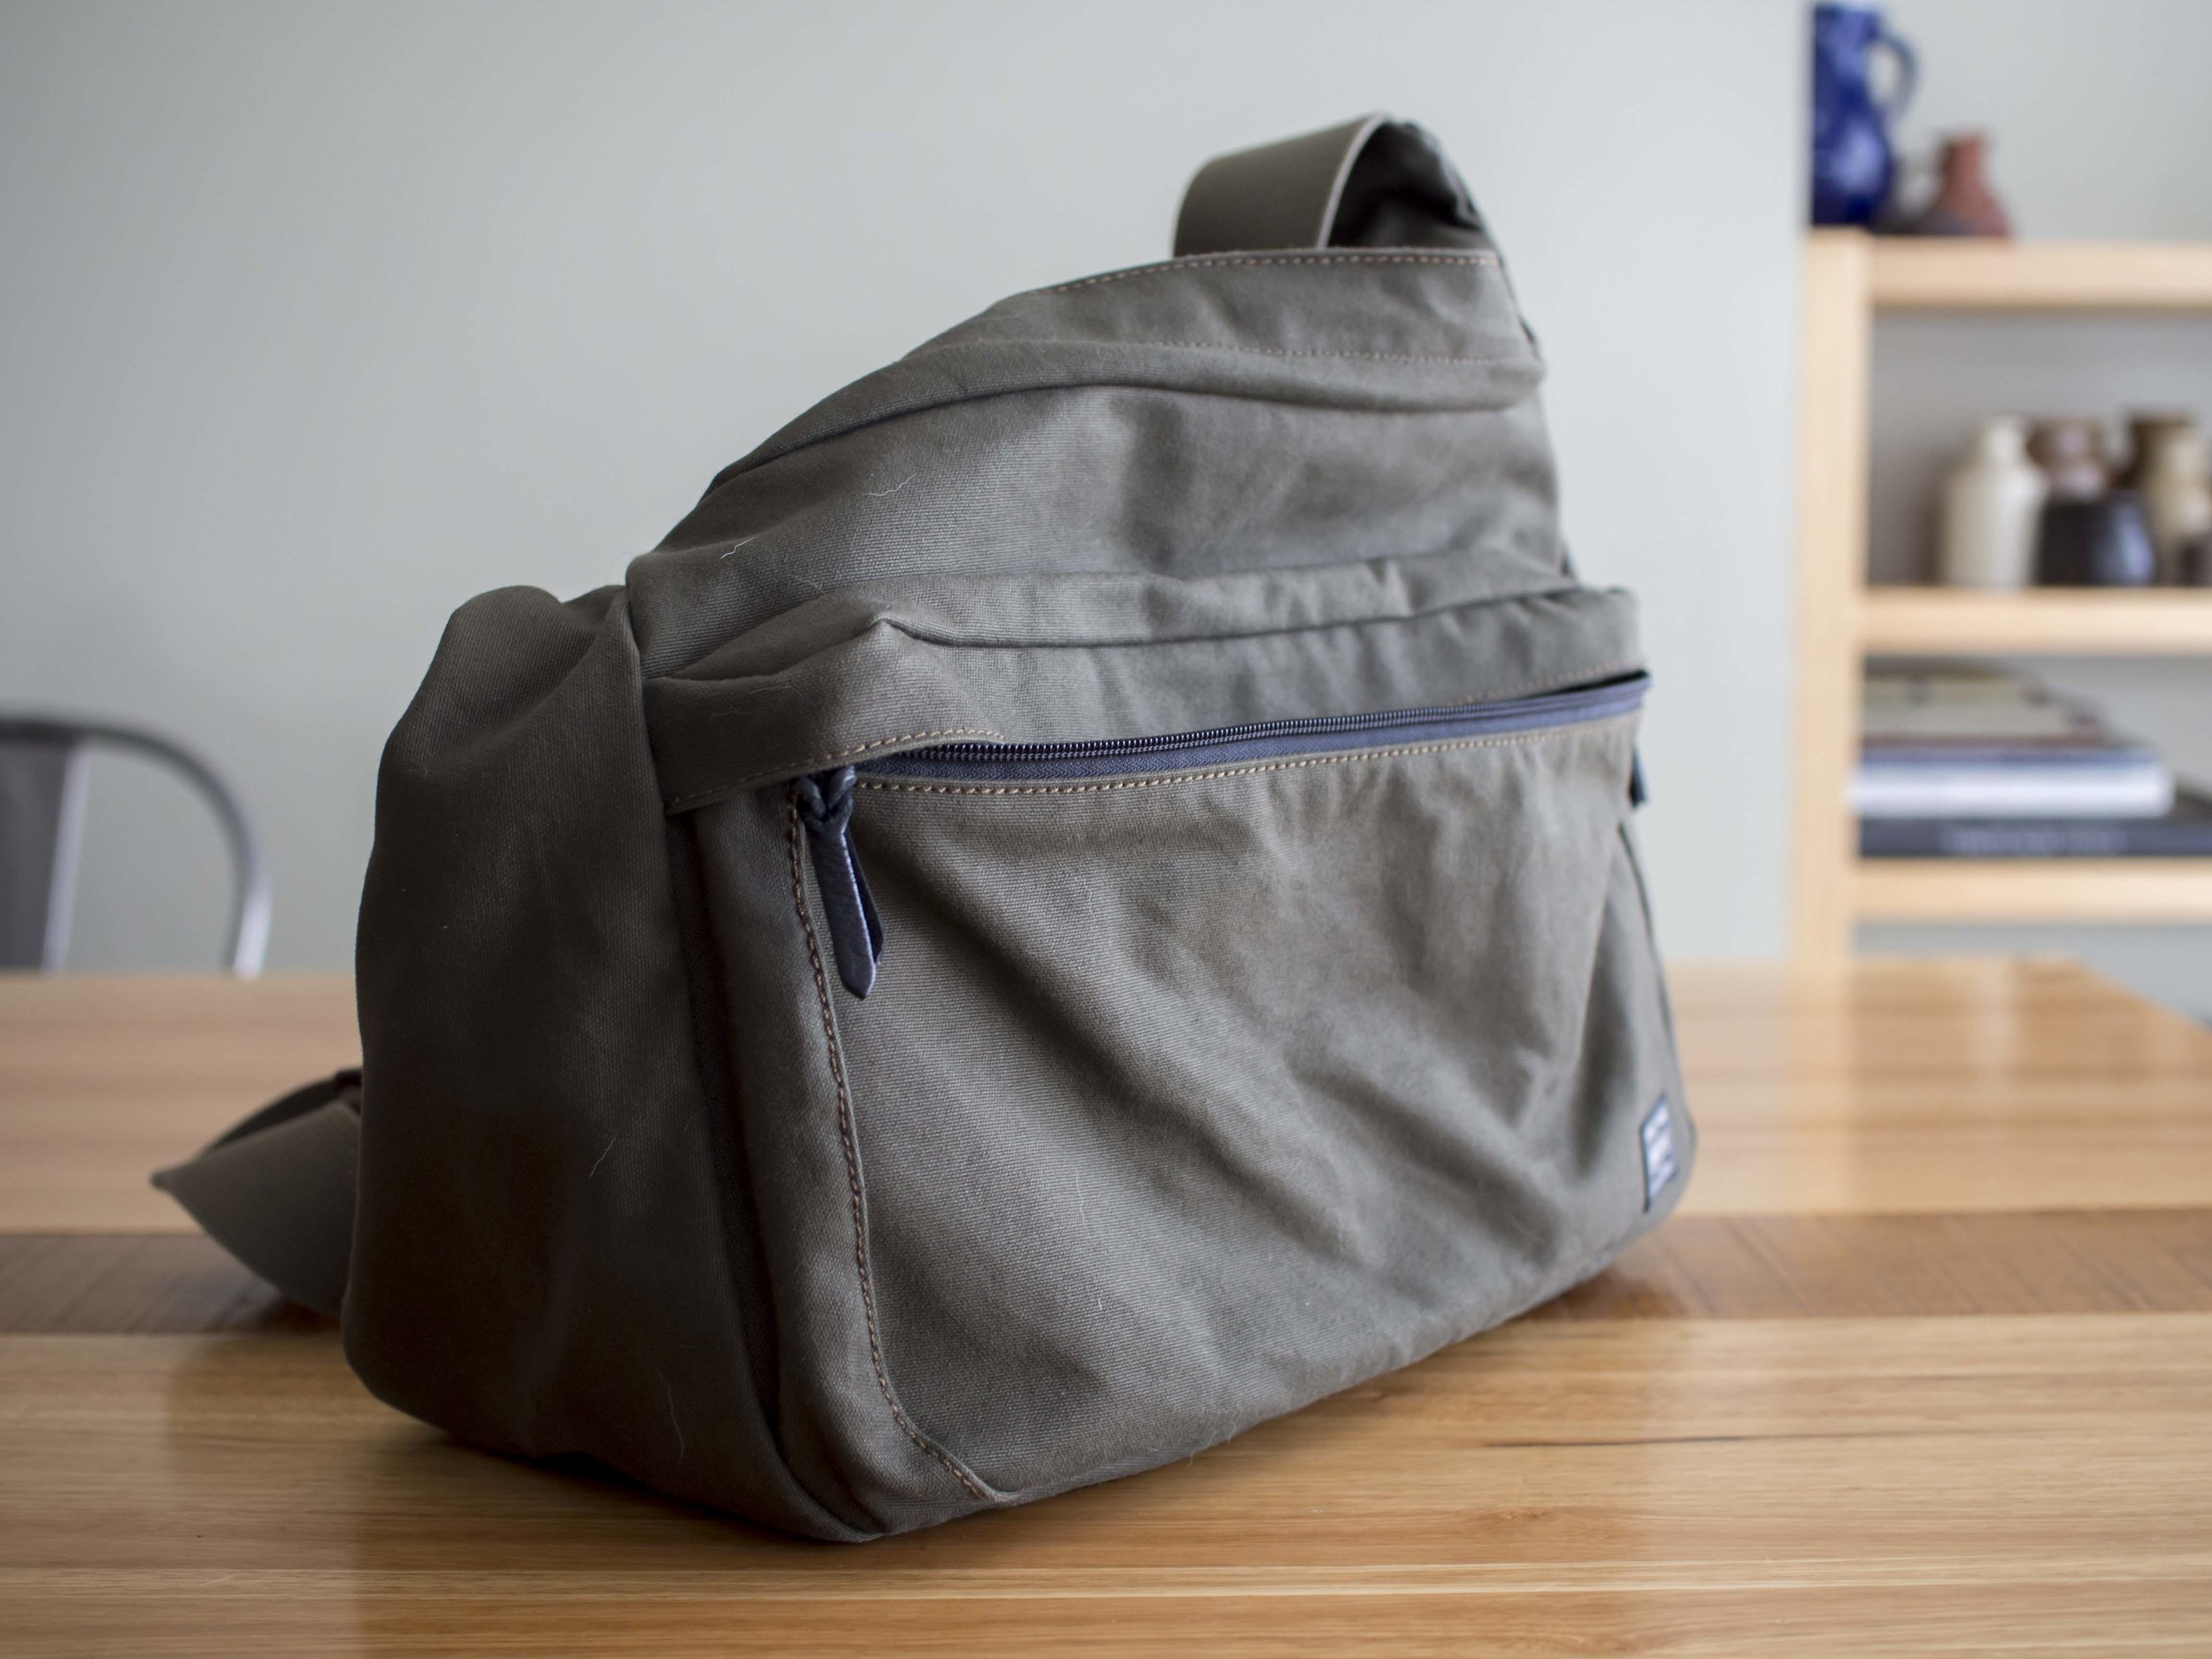
Filson Camera bag (pictured) in winter or Domke F3x in summer, both bags are waxed for weather proofing and there are plenty of other options for this small kit.

EPM-2 with the 17mm f1.8. ISO is either set to automatic with 400-1600 as default range, shutter priority used and the lens set to MF/5 foot. This one is on a 30" Gordy strap as the walking grab shot set up. This camera is small, unassuming, has better shut off's than the other cameras making it hard to bump and the on/off button is on top so all functions can be used by thumb.

OMD EM5 (Silver-less serious looking than black) set (myset1) as above mounted with the 45mm f1.8. This one has a left hand wrist strap and is the candid portrait camera, often using the rear screen at waist height.  

Basic, but effective. The bag is too big, but it is not just for camera gear.

Basic, but effective. The bag is too big, but it is not just for camera gear.

*

Travel (add to the above)

The Tokyo porter (pictured) or Filson bag is used, the Filson for a more travel, less photo or winter trip, the Porter as a summer/street bag. The Porter has a little strap clip to hold the camera's leather strap in place that can also be put on the Domke.

The 75-300 is always taken and the solid 14-42 thrown in as a wide angle option just in case.

Note the small strap clip that holds the camera strap secure and straight. This bag hold heaps, so it is ideal for shopping day trips.

Note the small strap clip that holds the camera strap secure and straight. This bag hold heaps, so it is ideal for shopping day trips.

Too much? probably. The fact is I could function (and have) with either kit for most tasks, but the OMD cameras in particular are a resource I have grown fond of and want good longevity out of. I also like my kits to be set up and ready to go for specific tasks (nothing freaks me out more than pulling a kit together at short notice). The Pen Mini, that cost me $200 S/H is a bonus as each frame it takes, saves me one from the EM5's and the Pen F was bought for a needed feature set. The butchers bill for all of my cameras, with reductions, second hand and swaps is about $4000 au. As for lenses, well, what would I sell? I hate letting good glass go and each has it's place (I just don't carry it all at once).

The future is probably an all purpose EM1 Mk2 to go with the Pen F, but not for awhile.

* The Inverse has it's waist straps removed (unpicked), allowing it to be attached to an actual back pack's waist belt.

** This kit is stored in the pro tactic, which is also used for travelling on a plane as it is an excellent foot rest.

On why autofocus sucks (sometimes)

Got your attention?

Ok, it is a great tool, but like a lot of tools it can be relied on to do things for you when maybe you could or should do them better.

The story of the handsaw.

I used to work in a department store. Part of my job evolved into the planning and implementing of store moves, which sometimes required the modification of fixtures. The problem was, I did not have the qualifications needed to use power tools in the shop and calling in a carpenter to cut a couple of shelves was crazy. When my circular saw and hand drill had to be replaced by a hand saw, hammer and manual screw driver I thought it was a joke, but no. This was the loop hole, no power tools.

It did take me a few tries to get the hang of it, but I got there. Funny thing. No noise complaints, my slight allergy to wood shavings went away and the edges of my melamine shelving cuts did not have that chewed away look (and were often straighter). I was going slower, more carefully and never had to worry about finding power, charging batteries or cutting off my fingers. I became the quiet, calm and measured "Mr Fixit".

Auto focus is similar to the power tool quandary. It was once a curiosity, not taken too seriously. Early advertising was realistic and measured, extolling the benefits of being able to shoot one handed whilst climbing etc, or to help the semi blind or new and untried, but rarely promising to better the speed and accuracy of a practiced photographer. 

Over time this changed as the AF feature became more sure footed. Some exaggerations were caught out, but generally the AF equipped camera could do as promised in skilled hands. Pro's still trusted their own ability first and foremost, seeing AF as another arrow in their quiver, not the whole shebang. The Eos 1 heralded the new age of AF maturity with contributions from Minolta and to a lesser degree Nikon and Pentax. Olympus stuck with MF, as did Leica.

We now live in an age where auto focus is accepted as the first choice for focus, but at what cost to our creativity?

Are we sometimes actually composing images based on the limitations of our focussing options?

My big issue with AF is when you want to use the entire viewing area compositionally, the camera cannot read your mind. The "Canon shuffle" where you see journalists focussing then recomposing then re focussing* is a reality of AF life. To their credit, the makers have been working on fixes for this, like Canon's brilliant, now abandoned "Eye Control", but you can't escape the reality, that truly empathic and creative focus is still a manual thing. You cannot (yet) talk to a machine faster than you can instinctively just do it.

Sure there are times when AF is a boon, like field sports or rodeo images where the speed to just grab anything will effectively get everything important, but not when creativity is key. The images I am talking about are the grab shots of fleeting moments, those that come from deeply immersed viewing and interaction with the subject, where the camera must be an extension of the user, but also completely invisible to them.

A point of focus has to be achieved obviously and the camera makers are coming up with ever more ingenious ways of giving us back control of what we always had control of such as touch screen and moving focus point selection, but are any of these any better than simple look-focus-shoot? Newer Olympus cameras allow you to use a thumb in the back screen while looking through the finder but owning one, I just use manual. It's easier.

5d mk2 35L at f1.4, manually focussed using a laser matte focussing screen fitted (full frame image).

5d mk2 35L at f1.4, manually focussed using a laser matte focussing screen fitted (full frame image).

It does not help that a lot of modern cameras are not providing the minimum requirements for successful manual focus. Most SLR's have screen that show an F4-5.6 view of the world, assuming you want to see more depth of field to see while auto focussing, making manual focus at wider apertures a guessing game. If they offer a screen replacement to assist with MF, it usually comes at the cost of another feature, like accurate AF or view finder brightness. I returned the 5d mk3 when the in built screen could not accurately MF and Canon supplied no option to replace it as they did with the 5D mk2.

One of the biggest frustrations when selling cameras to new users or people coming from older, non/poor AF models, was clearing away the confusion with AF. Metering and exposure are tough enough, but AF is just a nightmare for the new. The OMD, one of my favourite cameras (big surprise), provides the new user with many inventive ways of having a melt down. The options are many, the control options even more prolific and the instruction barely comprehend able (ALL manufacturers have to stop giving people the equivalent of a car users manual in the box and look at providing a "how to drive" manual). Is it any wonder people often prefer their compact cameras!

My OMD's are on centre point, with MF override on the video record button and full time SaF-MF set unless I am shooting street, then they are used in MF, using the zone focus technique. They are not ideal for MF as the screens offer no assistance, but they are better than an SLR as the view can be accurate to the shooting aperture and the depth of field is naturally deeper. The Pen F is a revelation, providing focus peeking (assigned to the front finger button), but I rarely need it, as the eye piece is clearer and larger than the OMD's.

No perfect focus point here, but it was still nice to choose for artistic effect using intuition and emotion rather than technology. The frustration of letting the camera choose, often re choose and then miss all together takes away a lot of the cra…

No perfect focus point here, but it was still nice to choose for artistic effect using intuition and emotion rather than technology. The frustration of letting the camera choose, often re choose and then miss all together takes away a lot of the craft. 1Ds mk2 400 f5.6L

My perfect manual focus application? A bright full frame SLR or equivalent view finder with a laser matte type screen, allowing the actual focus plane to drift across the area of view and also show (intuit) the Bokeh rendering at the actual taking aperture. The only contender I have used recently was my 5D mk2 with the optional laser matte screen fitted, but without the DOF assist. No "jump up" 100% views, no multi coloured peeking fringe, no little indicators to say you are/are not in focus, tugging at your metaphorical trouser leg like a bored five year old, but a completely non distracting, immersive, clear (read empty) window to the world. Oh and while we are at it, no visible stabiliser motion please!

In a nutshell, I don't like it when the camera's functions distract me from the important part of taking a photo by second guessing me. That is to say, I am more willing to accept my misses than the cameras.

Yeah, so there.

Yeah, so there.

The answer is of course coming. Full time, high res video capture is only a few years away, bringing with it the headache of editing a days capture frame by frame for that odd, probably still rare winning image. Great photographers of the future may just be adventurous watchers and equally patient editors.

* A good trick for SLR shooters and something I miss with the OMD cameras as the needed button is not well placed, is to take AF off the shutter button and place it under the thumb (use the "*" button on Canons). With a little practice you will be focussing and firing as two independent, but linked actions.

On olympus lenses part 3

It is about time I completed my three part Olympus lens overview , finishing with the two pro zooms, the 12-40 f2.8 and the 40-150 f2.8

The 12-40, the talented work horse.

I must admit to still not connecting with this lens, but that is personal, not through any short comings of the lens. Originally bought (mint second hand from a former customer), with an OMD EM5 mk1 body for a very reasonable rate*, the lens sat around a lot waiting for a time to shine. The problem was I do not use wide angle lenses often and as a standard lens it was too big and had stiff competition from my clutch of fast primes. On a full frame camera, f2.8 is a god send, but on M43 it does not easily produce super shallow in depth of field at normal working distances, so it is not as fast as you can regularly get away with using. For M43 shooters, f1.8 is f2.8 with bells on.

I mainly had landscape photography in mind, deciding to use the 75-300 and probably the 60mm macro as the complete kit. When regular photography work started happening, I also had the safety net of a wide angle and a fast working zoom for on the go situations, so it grew another foot as the work horse.   

On a tripod, the zoom is a real bonus. 18mm f7.1

On a tripod, the zoom is a real bonus. 18mm f7.1

Some things that have emerged with regular use. Pekka Podka mentioned in an early review (on his now defunct blog), that the lens was designed differently to earlier 4/3 designs, being less about super fine resolution and more about visual smoothness and sharpness. This lens renders very nicely. The Bokeh is extremely smooth, great for portraiture and the images sharpen well. At first I was disappointed that the lack of "snap" I was used to from the fast primes, but what was happening I think was I was reacting to the less shallow depth and the smoother rendering. There is nothing wrong with the images this lens produces, even if the 100% views look a little less sharp before processing than the 25 or 75mm. 

OMD 40mm. Turns out this file is a jpeg taken with the Pen F. The auto corrections that the camera adds really add smoothness and snap. Possibly this is the secret.

OMD 40mm. Turns out this file is a jpeg taken with the Pen F. The auto corrections that the camera adds really add smoothness and snap. Possibly this is the secret.

The lens also has a very good close focus feature. Not true macro, it is more than enough for my needs (this is the first time I have not owned a macro lens**)

OMD 40mm. I love the focus drop off this lens offers. Also a jpeg from the Pen F.

OMD 40mm. I love the focus drop off this lens offers. Also a jpeg from the Pen F.

OMD 40mm with a little on camera flash.

OMD 40mm with a little on camera flash.

The lens is better in the corners by reputation than the 12mm f2 and my own tests confirm that it is sharper (especially corners), though different in rendering than the 17mm, about the same as the 25mm at comparable apertures and slightly less contrasty than the 45mm, but still very pleasing. During my testing I did note however, that the visual difference between 40 and 45mm is a lot more than you would think.

The other lens in the mix was the panasonic 12-35 f2.8. I must admit to a soft spot for this lens. I genuinely like to use it and the smaller filter size (58mm) was an attraction, but I picked up both the Olympus and the OMD body for less than the 12-35. Most reviewers are highly complimentary of the two lenses, but the thread I picked up on was, the Panasonic could be the better lens occasionally, but the Olympus was the more consistent through the range, especially in the corners where I need it. Colour and handling consistency were also considerations. Both are excellent, so go with what ever suits.

OMD with Panasonic 12-35 at 12mm f2.8

OMD with Panasonic 12-35 at 12mm f2.8

A final small thing about this lens. They usually have slight inner barrel movement at the front end. Mine does not, but that was just dumb luck as almost all of them have (while selling them it became my obsession to find one that did not, but I had to buy blind to get one!). If your has a small amount of movement, it is normal.

The 40-150 F2.8 the big ol' hunting knife.

I have posted a lot about this lens. Purchased with a wave of good will to all after a time of sickness and a bit of photographic rebirth My normal new gear jitters then went into over drive. Initial tests showed a very sharp lens even when compared to the excellent 75mm. At the same apertures and off centre the two produced test shots that were almost impossible to split. Recovering from illness, I did a shoot with it on an EM5 with original firmware and something went wrong. the images mostly were in focus, but they were overly bright, soft and almost impossible to correct. I nearly returned it, but thought I would give it one last go. Again it produced beautiful, sharp and clear images. The problem came down to lack of practice, old firmware and the big no no of using unfamiliar gear. Like anything, the more you like and trust what you use, the better your results.

Through a dirty window. 100mm f2.8 OMD

Through a dirty window. 100mm f2.8 OMD

The twin roles it is intended for are indoor stage/sport work and landscapes, offering good wide open and excellent stopped down, edge to edge sharpness.

40mm at F2.8 from my front garden before a thunder storm.

40mm at F2.8 from my front garden before a thunder storm.

150mm f2.8 on a non firmware updated EM5 mk1. Most of this set were in focus using single shot AF aimed at the water just in front of the subject (and with no shooter hesitation). the local paper published some images taken with a D4 and 70-200 f2.8…

150mm f2.8 on a non firmware updated EM5 mk1. Most of this set were in focus using single shot AF aimed at the water just in front of the subject (and with no shooter hesitation). the local paper published some images taken with a D4 and 70-200 f2.8 combo (issued) that look almost identical.

The focussing of this lens is brilliant. After a 6 day shoot, capturing 200 or more 3 to 10 year olds in class room conditions with no flash used, I had a fail rate of less than 1 in 20 over 2000+ images, and that was using the older OMD's.

At the swimming event above, with little recent practice shooting sport (none with Olympus), it managed sequences of single shot AF grabs. Many of my best images were made using older MF techniques, but I was pleasantly surprised when it pulled off images like the one above.

I am now fully confident with the lens. It has shown the reviewed CA issue in the edges at 40mm. No problem, I have other options if this is to prove an issue. It performs better on the updated EM5 and the Pen F than the older two (really need to get those updates done), but not by a great margin. It will probably be responsible for a drop off in use of the 75mm and the longer zoom from now on.

The CA issue can also be eliminated using Pen F jpegs that show a lot of promise.

I really appreciate it's micro contrast at higher ISO settings. ISO 3200 OMD EM5, 150mm f2.8

I really appreciate it's micro contrast at higher ISO settings. ISO 3200 OMD EM5, 150mm f2.8

Like it's little sibling, it is also very versatile. The spider image below was quickly shot while I was covering the above event. It is heavily cropped, but that only shows the lens's optical prowess. 

OMD 150mm f5.6

OMD 150mm f5.6

The lens has been responsible for the purchase of a new bag due to it's size (but that's never a bad thing!) and the extra weight is noticeable after using light primes or cheap zooms. It feels about the same as my old 70-200 f4L Canon and has the same tight and solid feel. The weather proofing is a bonus, the MF clutch is handy and all operations run smoothly.  I also like the easily retractable hood for landscape filter use, but have a rigid metal screw-in one for every day use. What is not to love?

* In Australia we had a last runout of the special edition EM5 mk1 and 12-40 kit for $999, $150 cheaper at the time than the lens alone. A customer and friend bought one off me, but asked to swap it a month or two later for one of my Fuji XE-1's with 18-55 as he loved the idea of using only jpegs!

** I always owned a macro for close focus (obviously) and for their supreme optics, (I can reel off 9 I owned that come easily to mind) and most were favourite lenses, but no more! I do not need serious macro, just good close focus in the 1/2 to 1/4 life size region. The 12-40 provides this.

So here is me, mr "no zooms here" relying on and happily using a pair of zoom lenses for work and pleasure. 

Late edition.

The 14-42 kit lens. The humble little giver.

Not a lens I purchased on it's own, nor a lens I particularly wanted to own (it was a regift when I traded my mother in laws Pen mini for a compact camera). The 14-42 kit lens (later, non electronic zoom) has been a little surprise packet. I have only used it three times, but each time it has come up with some really usable images. 

At the long end.

At the long end.

This had a little gentle post.

This had a little gentle post.

If the subject is strong enough, the only thing the lens can do is reduce it's power. No problem here.

If the subject is strong enough, the only thing the lens can do is reduce it's power. No problem here.

Luscious colour.

Luscious colour.

Nice bokeh transition and some gentle, old fashioned contrast. The last four images were all taken within 30 minutes of each other.

Nice bokeh transition and some gentle, old fashioned contrast. The last four images were all taken within 30 minutes of each other.

It is not amazing in any way, but it is not rubbish either.

On our reliance on the tech and not ourselves

When you have been around something for a while, you see changes happening. It is inevitable and is what makes our world turn. 

My time with cameras spans from manual focus, manual exposure and manual wind on to now. All of the modern advancements are a boon, but I got along without them fine before.

This was bought home to me two days ago, when I was asked to shoot an indoor, high school swimming event. My first reaction was "I am not equipped for this like I used to be when I used SLR cameras". This is the bugbear hanging over me at the moment. Most mirrorless (any that I have used) have poor (read no) actual focus tracking.

The problem stems from the on sensor contrast detection focussing. The sensor has to be able to see the image formed to focus on it and cannot predict what or where that will be. Phase detection (SLR) auto focus system allows the camera to focus independently of the sensor, so they can literally be shooting one image and focussing the next at the same time. The advantage of contrast detection in mirrorless cameras though is their speed and accuracy, including face detection when acquiring the first focus hit.

Newer mirrorless cameras have advanced here adding phase detection or similar into the mix, but none of mine have it.  

The event went well enough. The OMD with the 75-300 managed plenty of slower moving or distant subjects, even in the poor lighting and the non firmware updated OMD with the 40-150 managed to grab a few good single images of faster, nearer subjects, and I had no trouble with side on subjects who stayed in the same focus plane. Even without focus tracking, the old OMD cameras are still fast at first bite.

Hopefully ok to use this as the subject is as well disguised as your average comic book superhero. Single shot AF aimed at a point in the water just in front of the subject, about the edge of the wake. 

Hopefully ok to use this as the subject is as well disguised as your average comic book superhero. Single shot AF aimed at a point in the water just in front of the subject, about the edge of the wake. 

The big problem was the wastage. It took far too many image to get some good ones. That is mostly down to lack of practice, time constraints, getting the feel of the event and needing to be better organised, but could a better AF tracking camera have helped? The research treadmill started straight away. EM1 mk2, EM1 mk1 with latest firmware (dirt cheap), a Panasonic with their DFD focus or another SLR, just for sport? I noticed some familiar feelings surfacing. Auto focus, no matter how fast or clever cannot read your mind* and it reduces good timing skills to tracking speed and frame rates. Literally anyone with a steady hand and a good enough camera can now shoot field sports. They will get better with practice, but the starting point is "competent". My fear was that relying on AF fully would mean the finishing point would also only be competent.

Lets get back to my steely eyed perceptions of the "good old days".

When I started out I used to hang around with a newspaper photographer who could, at the drop of a hat, shoot the front grill of a moving car, three out of three times with manual focus. It was so quick, I could not ever believe I could learn that and in truth never really did, but I did get a lot quicker. Armed with a motor driven Canon F1n or T90 and Tokina 300 f2.8 (really sharp with a very light focus ring), I could follow a seagull in flight or switch from near to far action pretty quickly and slowly learned to trust my timing and instincts. I new that as long as I practiced with my gear, I could beat any early AF system (at least of any camera I could afford) and got to choose the when and where of the image capture, not leave it up to the randomness of AF. This netted me a front page and several back pages of the local paper and plenty of "show off" images for family and friends. Incidentally, manual exposure control also became an art form at this time. These skills were a necessity of being a capable photographer, not an option for the curious.

Even with an Eos 50D or 1Ds mk2 I preferred to use predominantly MF. The hit and miss magic of AF did not feel like it was me. Sure I was a hobbyist with nothing to loose, but still, my go to was full control. Motor sport, canoeing, football and tennis were all possible with MF. Plenty of great and classic images were taken before AF and that was with the limitation of film.

Nothing beats the feeling of the perfectly timed image, that came down to skill.

A bit over processed, but the original is long gone in the great computer melt down of 2010. 50D and 400 f5.6 manually focussed. Most of the images that day were ok to good, with a few misses and a few crackers and no AF.

A bit over processed, but the original is long gone in the great computer melt down of 2010. 50D and 400 f5.6 manually focussed. Most of the images that day were ok to good, with a few misses and a few crackers and no AF.

So when did I wimp out and decide I needed tracking AF to shoot sport? About the time I switched to M43 and I became aware of the perceived weakness these cameras had with tracking (A lay off from sports photography also helped to muddy my perceptions). I had not needed it before, but suddenly I did not have that safety net. All sports photographers will tell you that practice, timing and "reading the game" are their most important skills. A really fast camera makes some shots possible more often, but the fail rate, even with the latest and greatest is still too high to allow laziness in the photographer.

Will I buy a new camera for sports?

No. The EM5's have tons of legs left, allowing me to practice (without wasting film!) and their very high frame rate is helpful for those must get shots. High school sports are not the toughest assignment I have had, so I will make do.

*Another AF issue is with off centre focus choice. One of the reasons I left SLR's behind was the difficulty of focussing them in the corners using the peripheral of my vision, especially at wide apertures. Most modern focus screens are calibrated for f4-5.6 viewing, assuming AF use. This makes near instant, wide open, edge or corner focus difficult. The Pen comes closest to this with the "up to the eye" rear screen touch focus option, but MF is still the best way.

There is no way intuition for a composition can be added to an AF system except, possibly with eye control AF (Canon again? Anyone else?).

On the return of the jitters and a reality call

The other day I did a little job, photographing a group of 3 and 4 year olds. The job was a bust completely. After 30 images, not one had all of the little sweethearts looking at the lens. Lots of photoshop or a reshoot. 

The worrying thing though was some severe (pink and green) CA in the left lower corner at 40mm f5.6 on the 40-150 pro. How bad? The subjects were in direct sunlight, wearing striped blue and white tops, so the issue will appear here if ever. After post the problem was mostly gone, but it worried me I had a lens that was sub par.

The processing was done, the poor choice of images sent in for rejection and the worry set in. For two days, distracted by thoughts of a lens issue, I attended to other things, but I knew the only answer was to research both the lens and the web for answers.

It turns out that the lens has an issue with CA at 40mm until f8 (thanks slrgear). It is also a little soft in the corners, but not too much and that clears up sooner than f8. My copy may bat above average though as it looks to be only a left corner issue, showing much less CA  and softness in the right corner.

The test.

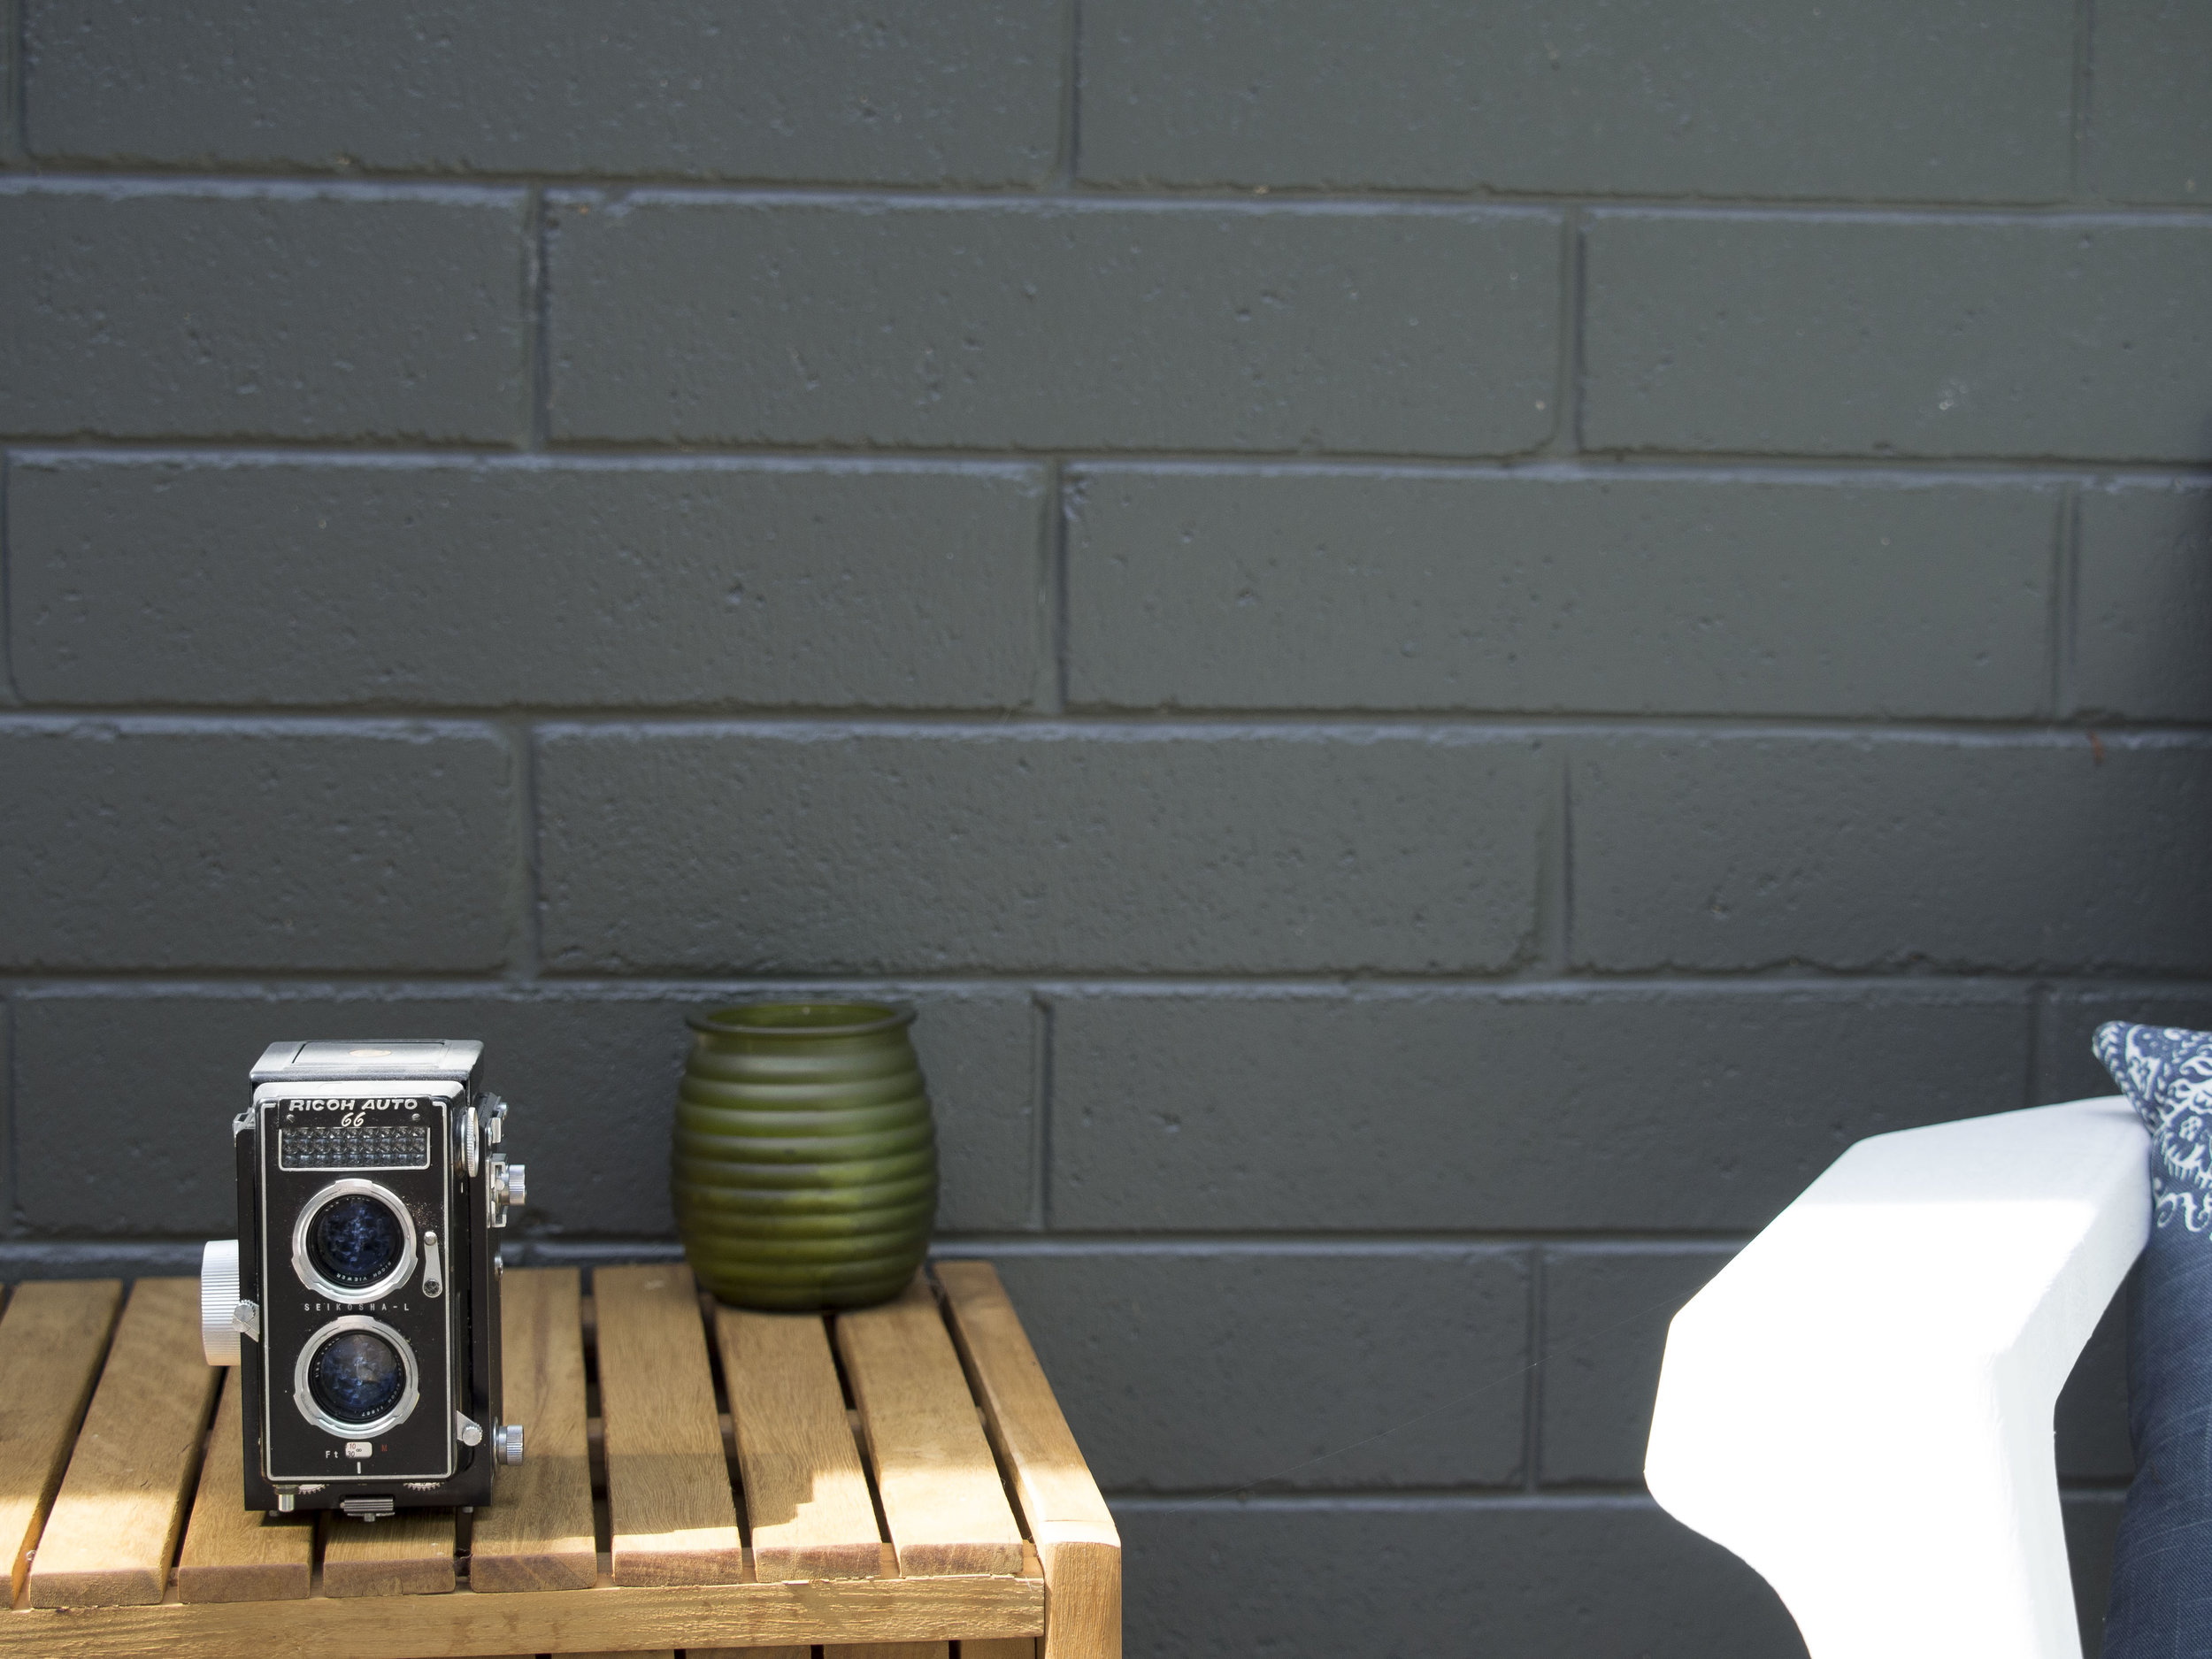
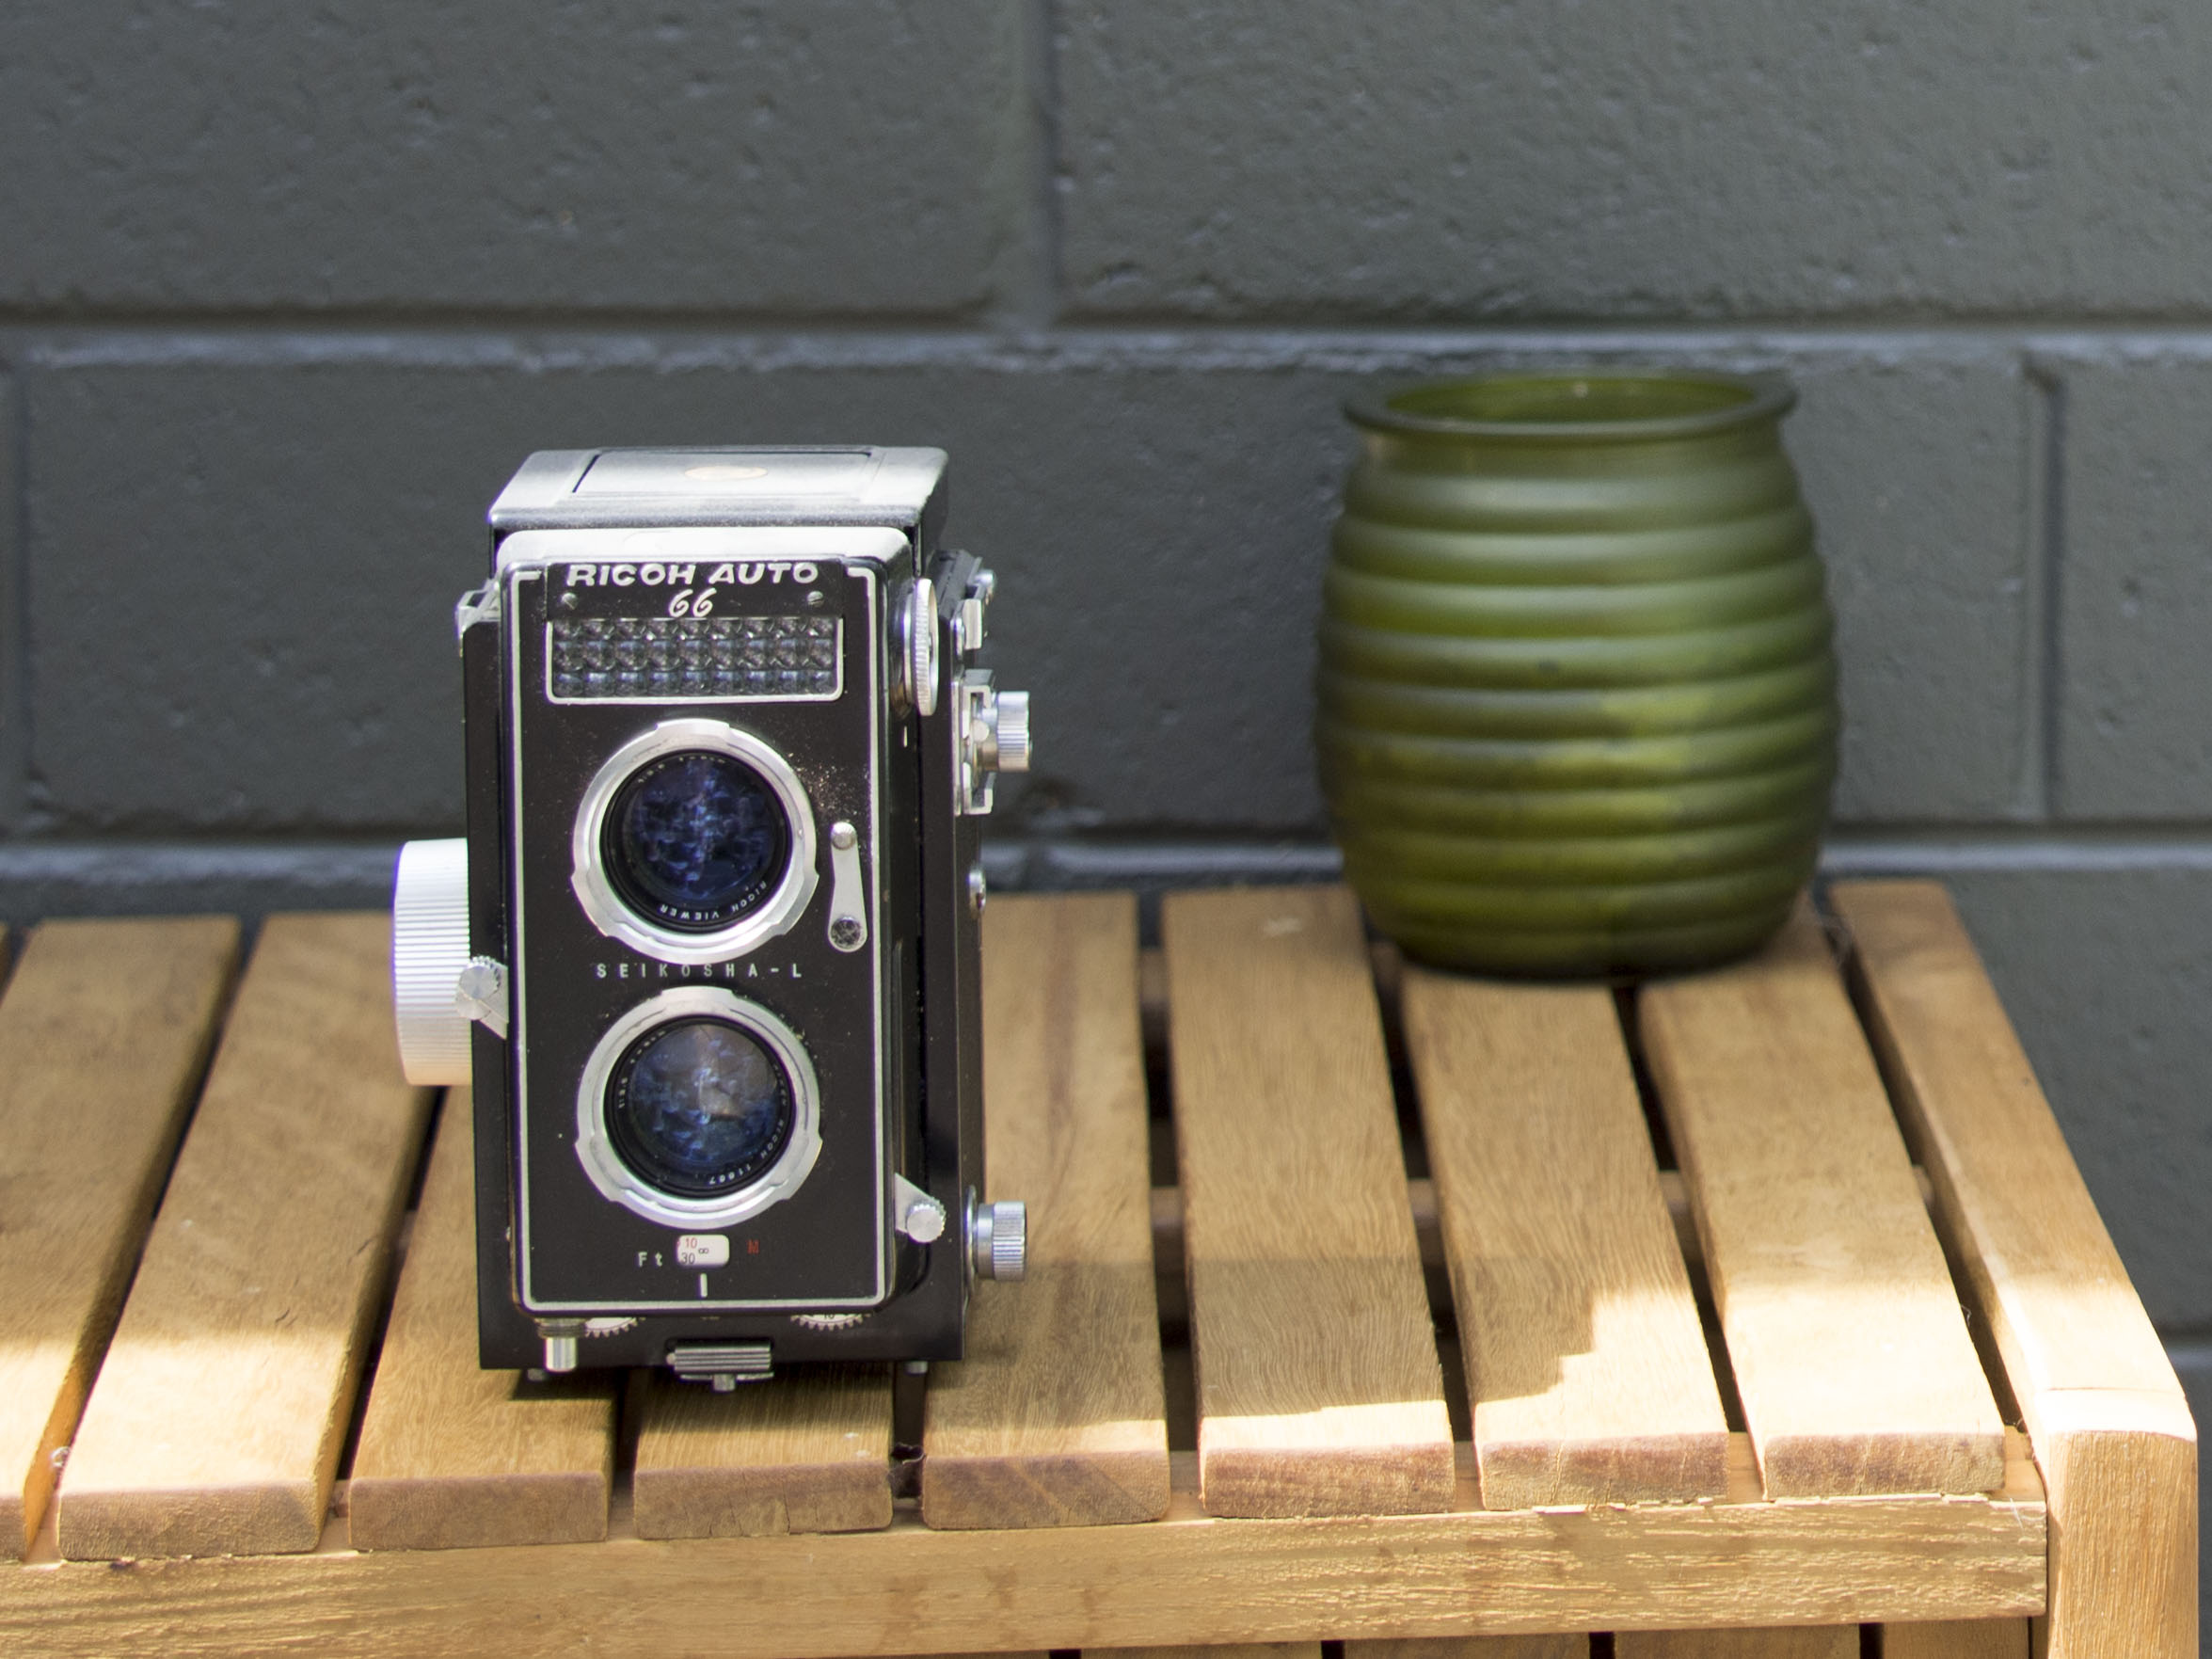
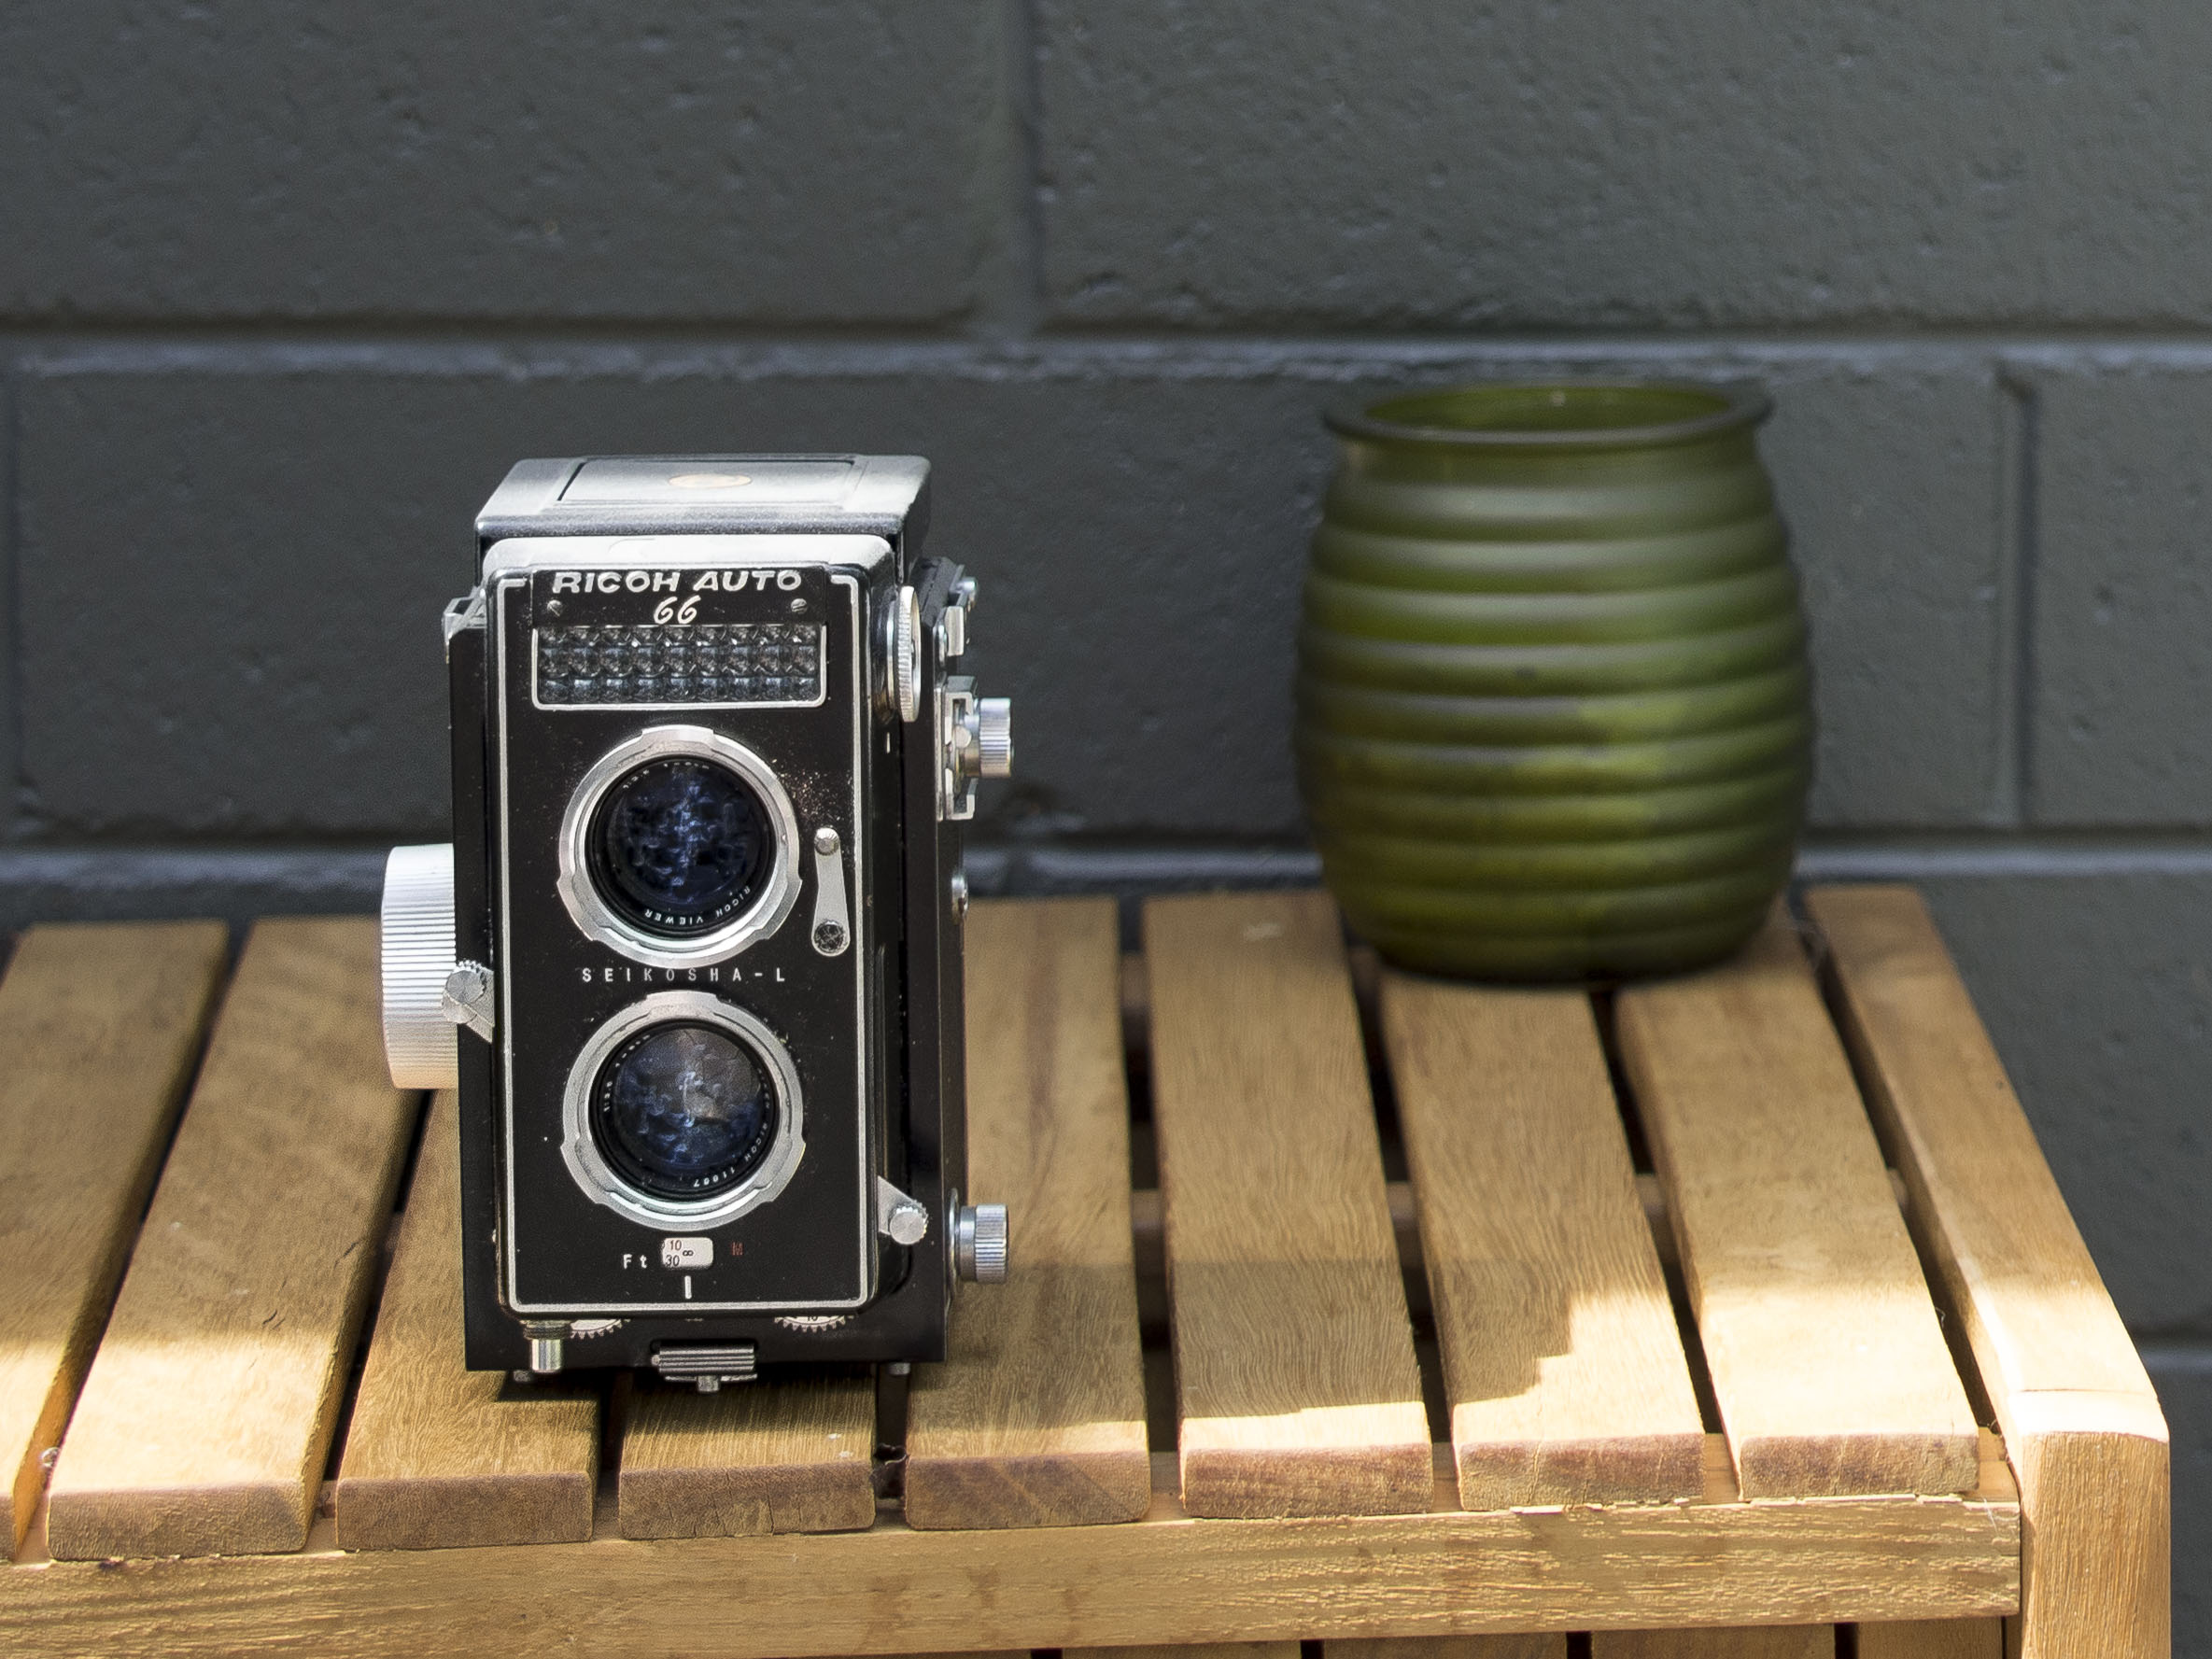
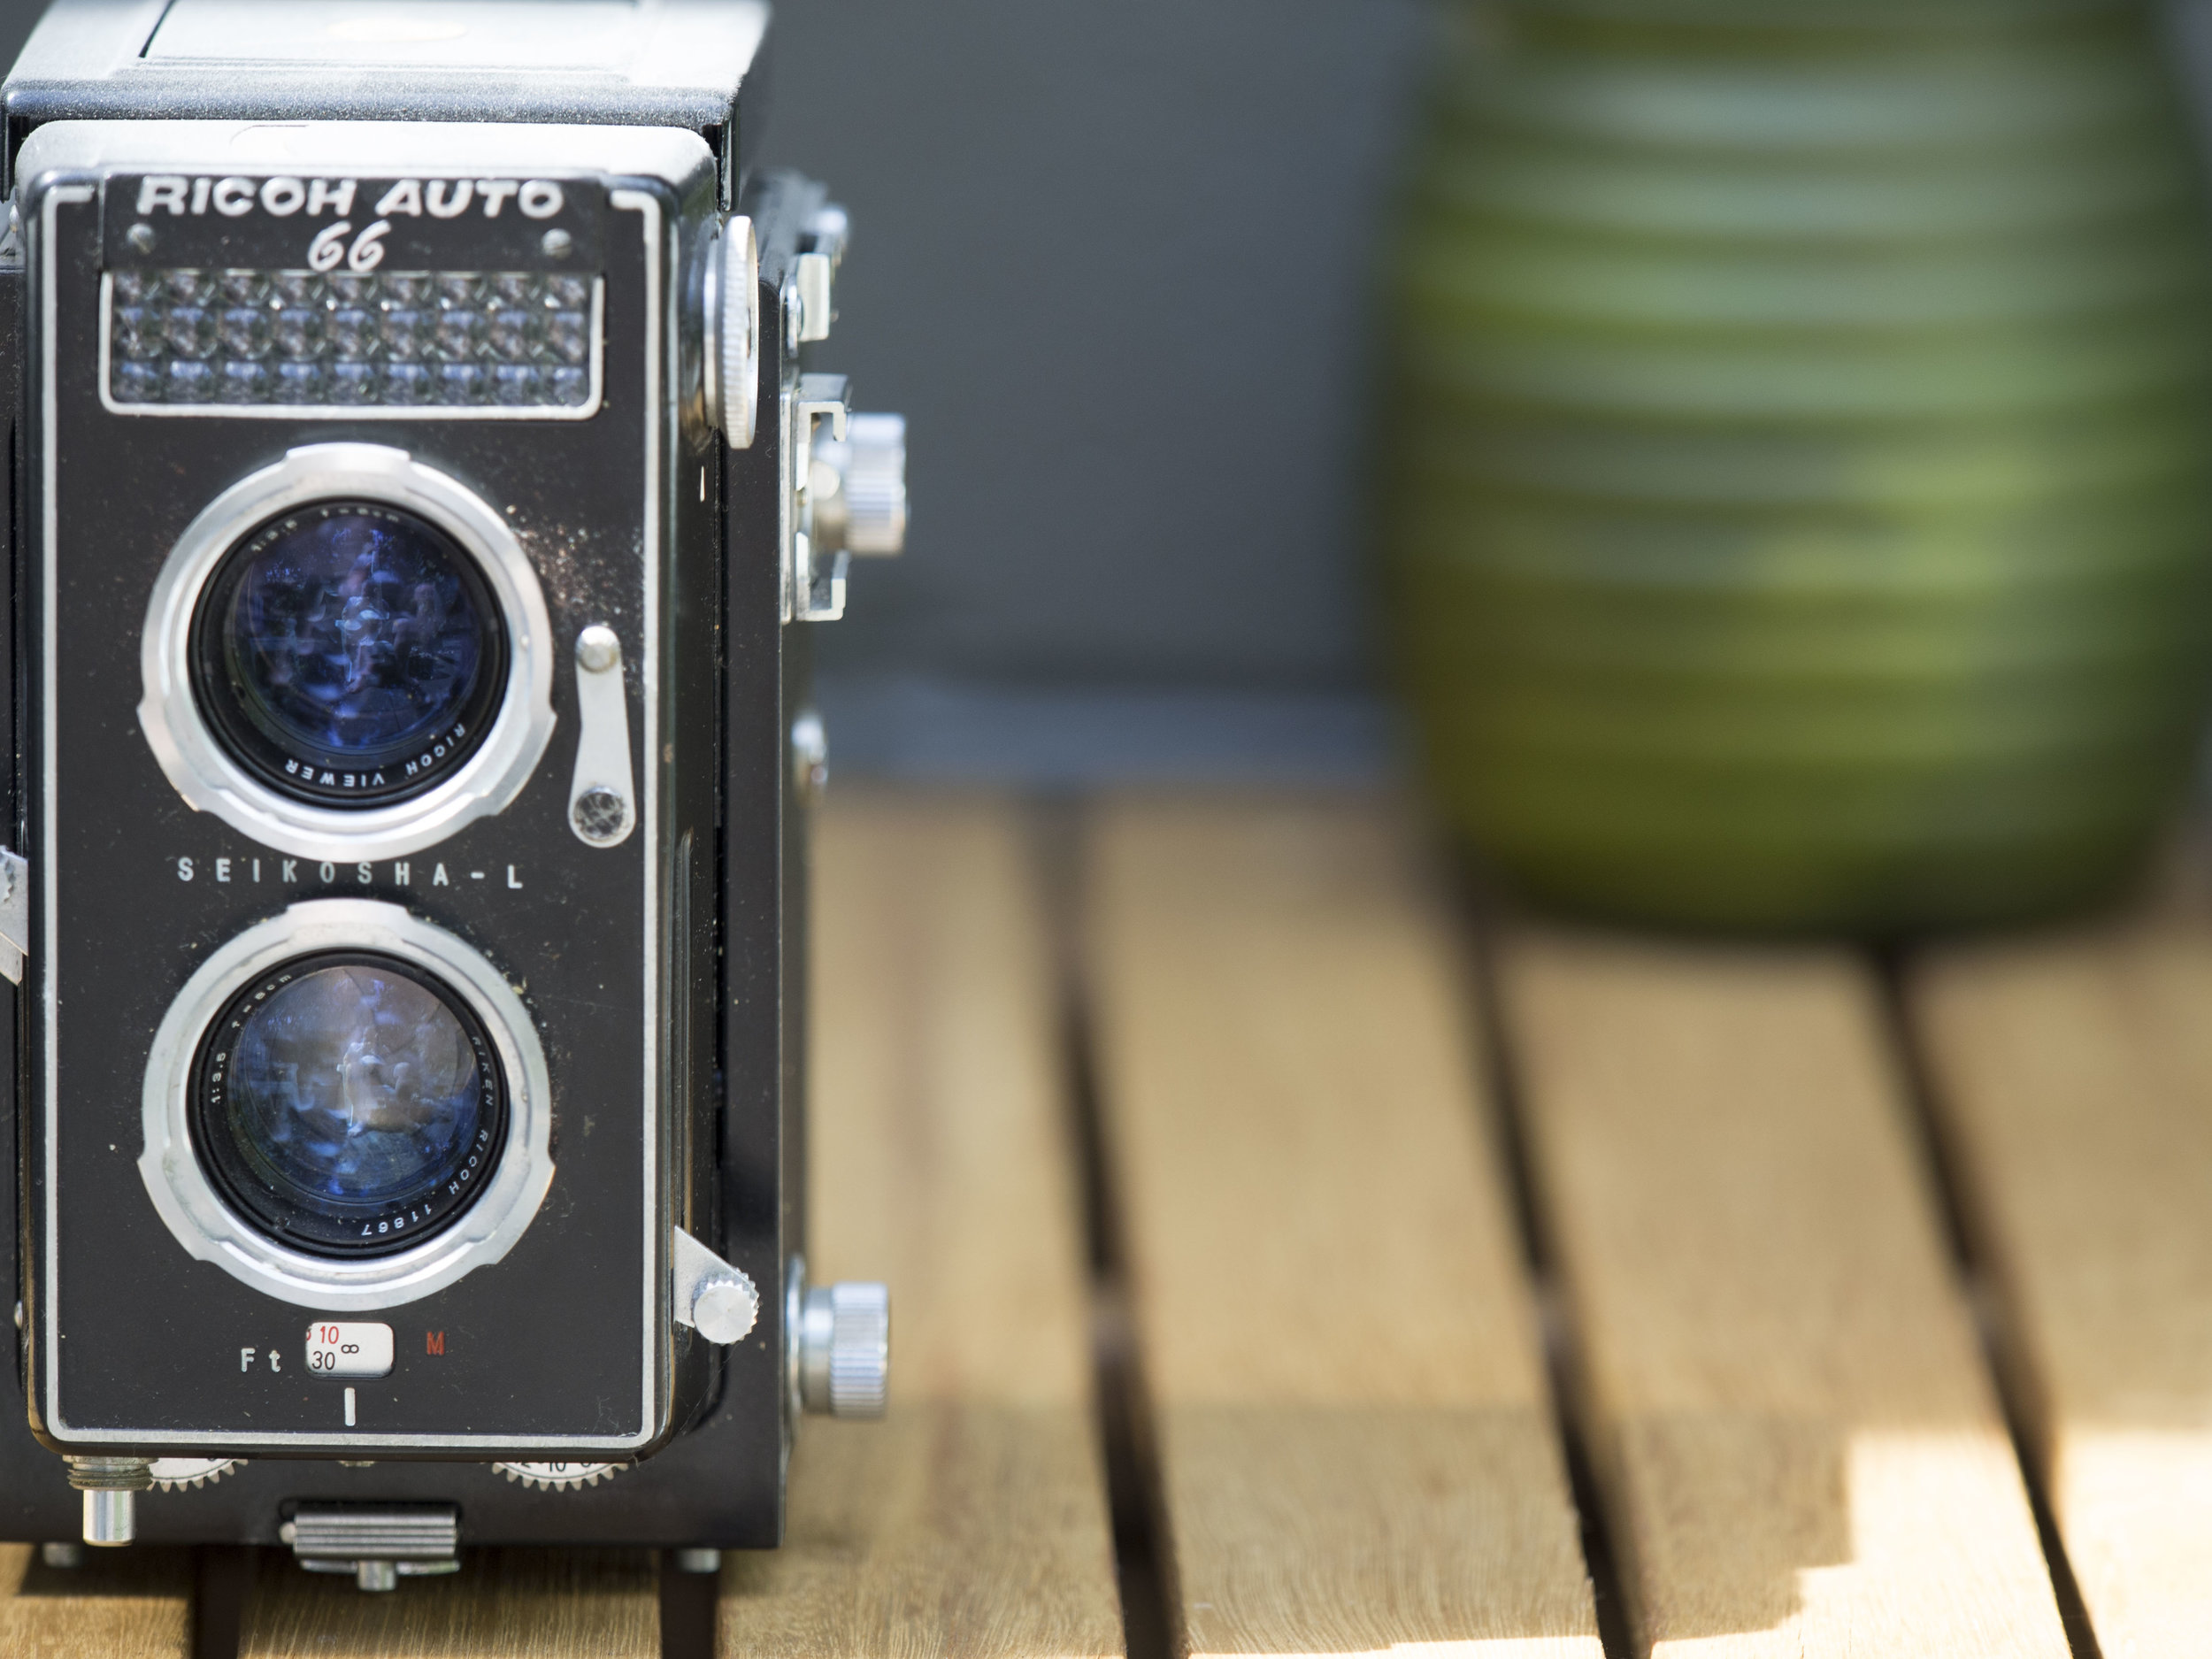
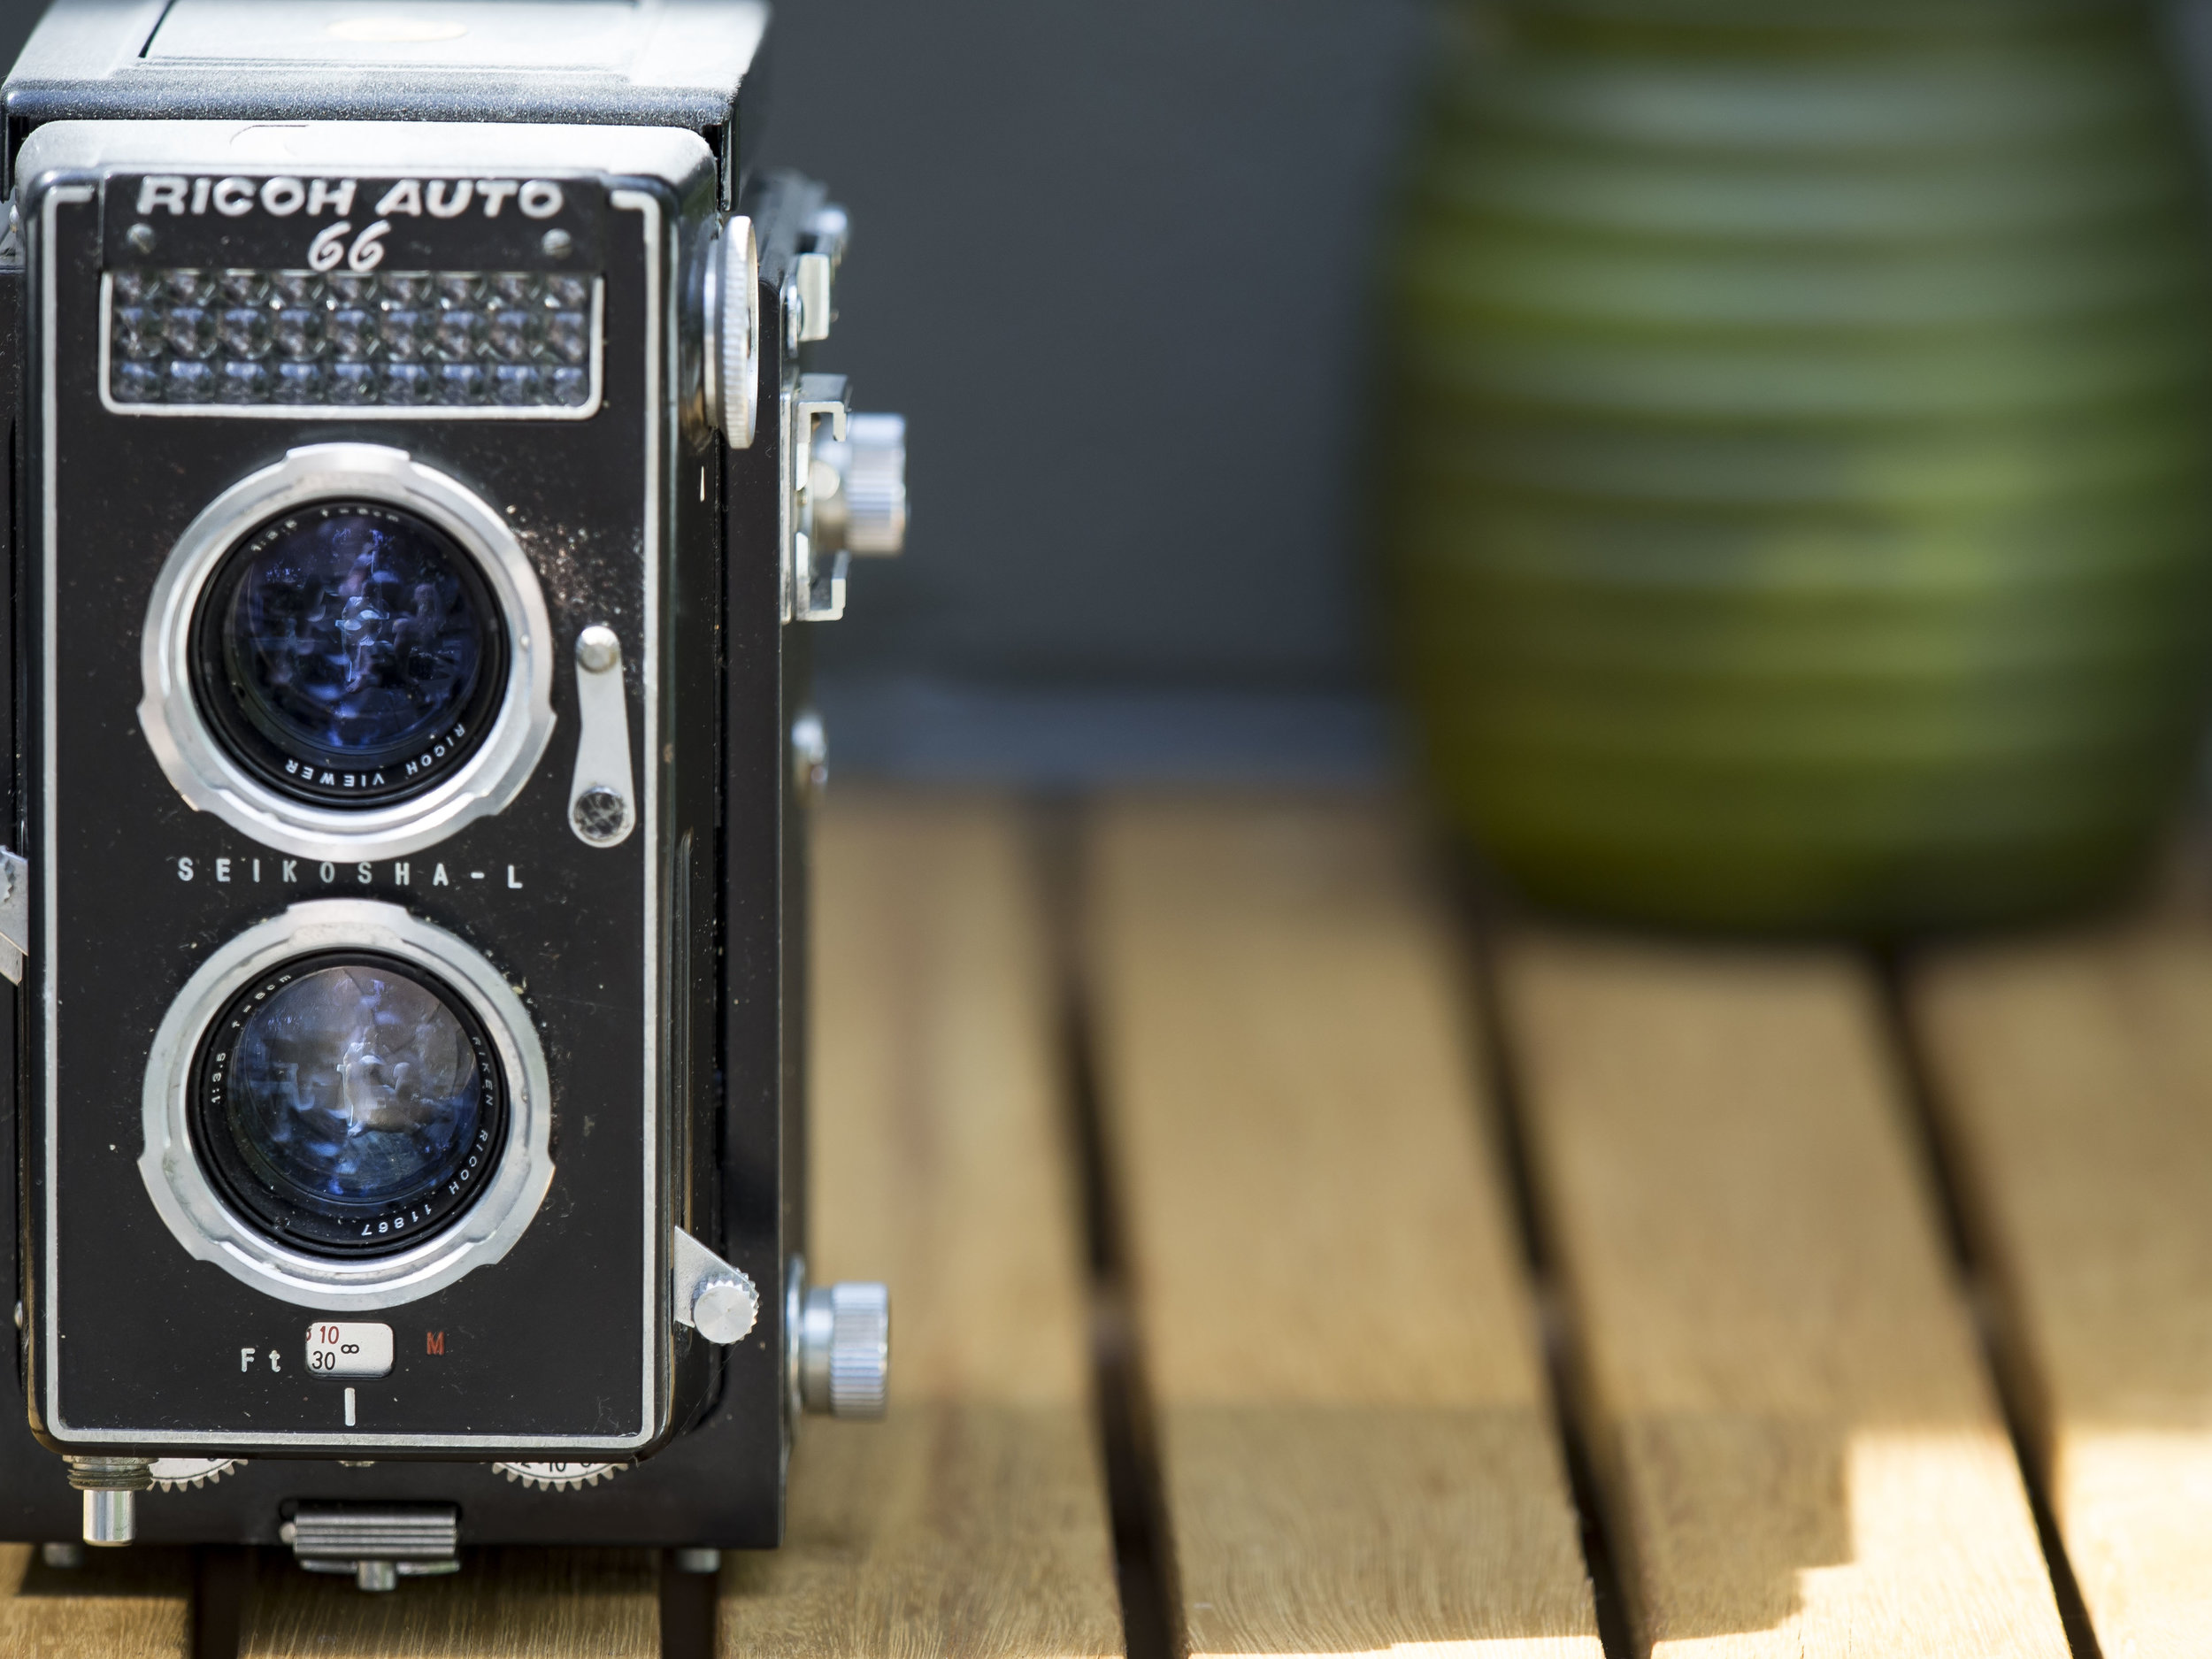
Setting the OMD to the lower left corner focus point, then the right then the centre, I hand shot the Ricoh camera pictured. Hardly scientific, but field equivalent.

The set of images above are the 40mm setting at f2.8. The first is the uncropped image (processed), the second is the cropped but unprocessed image and the last is the cropped and processed image. The crops are sized to show the real issue at a normal print size (12"x18"), not the 200% micro analysis possible, as this is what matters to me in real terms. You can see it at this size and you can fix it at this size, but equally if you go looking for trouble you can always find. The chair arm is also a great CA torture test. remember this is the worst setting the lens has, 40mm in the corner wide open.

The good news for me is the 70-150 settings, where the lens will earn it's keep are free of the CA issue and to a large extent any sharpness drop off in the corners and the lens is within "reviewed" tolerance. When I first got the lens I compared it's corner performance to the 75mm and found them to very close, but I did not look at the 45mm for comparison. 

F2.8 at 150mm un cropped, unprocessed and gently processed. Note, the "66" is slightly out of focus.

The end result is that, yes there is an issue with the 40mm setting in this corner, but no others and it can be fixed with a bit of global CA and sharpening and/or a little brush work with some CA control, added contrast and clarity. A little annoying, but this focal length is also covered by the excellent 45mm and the 12-40, that is slightly less sharp in the corners at 40mm, but has less CA.

One of the things I find less alluring about zooms is they are much harder to get a handle on than primes. One quick test or a few images with a prime and you have a good idea of it's capabilities. Maybe different focal distances or conditions will show different reactions, but generally the norm will prevail. Zoom lenses add a huge group of variables due to different performance through their range. They are harder to make and harder to design, so variation will be more prevalent and perfection less likely (I think zoom manufacturing consistency is about where primes were 20 years ago), but what do we want. Roger Cicala on the excellent lens rentals blog recently wrote at length on this and my simple finding bear out his points; it is there and it seldom matters.

The two zooms were purchased with landscapes in mind, but are increasingly being used for general work. If needed, the tiny 45mm can be added to the bag for piece of mind or the whole thing can be simply ignored and fixed in post as these things are usually too minor to effect a good image!

Remember, post processing is there and will always be part of the making of a digital image, either in camera or on a computer/device. The need to use it is no less relevant than the desire to use it. 

Another thing to consider is that the high res mode in the Pen F (jpeg version) allows the lens specific corrections in the newer cameras to be applied. Olympus, I am sure have included fixes where able to mitigate these issues. Something to look into.


P.S. the same lens was used to shoot the follow up images and they are fine. I am happy that I know more about my lens and what to expect than being blissfully ignorant.

On Why Some Lenses Are So Expensive

Ever wondered why some lenses are a lot bigger, more expensive and often on paper less impressive than other lenses. For example why is one 70-200 mm lens over $2000 and a 55-300 lens can be as cheap as $400? The cheaper lens has a wider and longer range so it stands to reason it would be dearer.....right?

It all has to do with onions! Well "Onion Ring Theory" anyway. 

Onion ring theory (to be honest, up front, not really a thing) states empirically that "each level of complexity (each onion ring out from the middle or base) added to a base formula multiplies the cost and other relevant factors of the item exponentially". Sounds logical, so it needed a name.

Lens designers must compromise with every lens design they make. Some lenses are designed to a price or have a specialised use rather than being more generically useful. Some lenses are "Pro" grade and others just good without being overly showy, or are simple, easily designed and often unchanged in design over long periods. Even if a lens is considered "no holds barred", it will come with other issues such as an extreme price and/or size.

For ease of writing, all lenses focal lengths will be full frame, so you will need to convert to your flavour of crop sensor equivalent.

The first onion ring is the humble 50mm f1.8 or the "nifty" fifty or sometimes the 40mm pancake lens (an old fashioned favourite making a comeback). Their original, more versatile use is a bit out of date on most smaller sensor SLR cameras as they are now a true portrait lens rather than an all rounder on a full frame camera. Always blisteringly sharp (even old ones and cheap ones!), they are so simple in design that size, price and weight are  insignificant. Owning a 50mm f1.8 lens or the like gives the user two things, but takes away one. They are "fast" in maximum aperture, letting in up to 16 times more light down the barrel than a standard zoom and they can provide very shallow depth of field at the same time. What they loose is a zoom function (although they are a great tool for learning composition by moving your feet). The other type of lens in this class is the much maligned standard or "kit" zoom, including the most basic of short telephoto zooms. Optically stable if unexciting, many a modern image maker has kicked a goal or two or started a career with one of these simple wonders.

The second ring introduces the added complication of zooming or making the lens a bit wider or longer in focal length, faster in maximum aperture, wider in zoom range such as the 18-135 or maybe adding close focussing or macro. Sometimes a lens is just optically better. This usually adds substantially to the price, size and weight of the lens and sometimes compromises other features. For example, macro lenses usually only offer f2.8 as their maximum aperture, but in turn many fast portrait lenses have poor close focus capabilities. Some lenses add their own inherent benefits, such as zooms usually having better close focus capabilities than primes, but generally for the extra "onion ring" there is only one benefit offered. 

The third ring is when the lens displays two of the above features. Usually not too crazy, these are the seriously good, but not unfeasibly difficult to make lenses such as the 85 or 28mm f1.8, F2.8 standard pro zooms or the moderately extended range wide angle and long tele zooms . Because the lens is now a premium price bracket and increasingly difficult to make, it is usually better constructed than its cheaper counterparts. Often the best value "semi pro" glass resides here and many brands such as Canon are making lenses such as the excellent 16-35 f4L IS as an option to the dearer 16-35 f2.8L IS.

The fourth ring is the realm of the super lenses. Here the lens can have three or four "rings" of features such as being super wide angle, fast aperture wide and long zooms, long and fast telephotos or just super fast/super sharp wide and short tele primes. Pro build tends to the norm, offering a level of robustness and often weather proofing that matches their high optical talents (and price). Thanks to never ending lens wars, top end zoom lenses have caught up with most regular primes in sharpness (but not maximum aperture and the best primes are still superior in consistency) and lenses unthought of 20 years ago are now readily available. There has even been, thanks to high pixel counts on camera sensors, a push to increase the optics of already good lenses beyond levels seen before. Lenses worthy of mention at this stage are all of the f2.8 pro zooms, the Zeiss and Sigma ART ranges and the very best, long, wide or fast primes from all camera makers.

Note; stabilisers were once considered an "onion ring" of benefit, but are now pretty standard in many lens designs. Makers who put their stabilisers in the camera do however offer this to all lenses where in lens stabilising is not included in many prime lenses.

The thing to remember here is that very good optics are often available in the first to third onion rings. The lesser offerings in many ranges often only compromise lens speed by about one or half of a stop and provide excellent optics in a small, cheap and light package. Some are even better than their dearer stable mates and often with fewer compromises common in more specialised lenses. An f1.8 lens on a Full frame camera will give you the same depth of field as an expensive f1.2 lens on a micro 43 camera and conversely f5.6 on a 17mm (acting as a 35mm in m43) has a lot more depth than f5.6 on a 35mm full frame camera, so also consider the format when working out your lens needs.

The Canon 85 f 1.8 for less than $500 is very sharp, focusses faster than the 85 f1.2L at $2500 and is tiny compared to its "door stopper" cousin. The same goes for the 50mm f1.8 at $149 against the Canon 50 f1.2L at over $2000- the f1.8 is often said to be as sharp or sharper at smaller apertures, but the faster lens has better "Bokeh" and more wow factor.

Some of the very best lenses can be found at reasonable prices also. Olympus and Panasonic are using the smaller M43 sensor size for a variety of reasons, but the first and most important is lens design. The Olympus 75 f1.8 (relatively easy to make well in any format) is equivalent to a 150mm f1.8 on a full frame camera (nearly impossible to make- 135 f1.8 or 200 f2 are the historical maximums). This allows Oly/Pan to create some very powerful lenses without having to break the laws of physics.

Left to right; A first ring 45 f1.8 (the nifty fifty on full frame or short portrait lens of crop format). The second ring (FF), easily corrected and average fast short tele/third ring (CF) fast medium tele 75 f1.8. The second ring 'b…

Left to right; A first ring 45 f1.8 (the nifty fifty on full frame or short portrait lens of crop format). The second ring (FF), easily corrected and average fast short tele/third ring (CF) fast medium tele 75 f1.8. The second ring 'bit better than basic kit 75-300 F slow zoom (all formats) and the fourth ring 40-150 f2.8 pro grade tele zoom.

A sample kit based on the conventional wisdom for a working pro;

Canon 16-35 f2.8, 24-70 f2.8, 100 f2.8 macro and 70-200 f2.8 "L" series lenses. Cover super wide to short telephoto with a constant f2.8 aperture. Cost $8000 au. approx and weigh about 4kg.

or

Canon 17-40L f4L , 70-200 f4L, 85 f1.8 and/or 135 f2, 50 f1.8, 40 f2.8, and macro extension tubes or two element macro filter. Covers the range just as well and can be one or two stops faster where it is needed with a pancake lens for light street shooting. if used with a crop and full frame body combination it covers 17-300mm. Cost is $3000 au and weight (if all is carried) is 2kg roughly. 

What you choose is of course up to you, but before going nuts and getting the top of the line lenses (people who own these lenses always crow loud and clear that they have the best, but you would to if you just spent $1000's on that wonder of engineering and had nothing to compare to).

On appreciation of the EM5 mk1.

A thank you letter to my EM5's, penned after a photo project involving active young children in natural indoor light with a less than 2% image file fail (exposure/focus) rate.

OMD 12-40 at 40mm f2.8. Still sexy.

OMD 12-40 at 40mm f2.8. Still sexy.

To my trio of giant killing OMD cameras.

I would just like to write and express my appreciation for your loyal and consistent service, your excellent, often surprising image quality and pleasurable user dynamic.

You were the camera's that stopped my revolving door habit of Canon SLR's, my constant second guessing of lenses and the continuing problem of size/weight ratio to performance. You have also allowed me to indulge my second hobby of camera (or not) bag collecting, always accommodating my many choices. 

I love your waist level viewing, stabiliser, small form factor, focus options and quiet shutter. These things make many images possible where they once would have required compromises.

Lightroom likes you and I like Lightroom so processing and work flow is ideal.

You have run cleanly. I have only ever noticed one early dust spot on any of the images made by my 6 Olympus M43 cameras* and that disappeared immediately. (A friend has a D750 that has been cleaned twice a year for two years and that replaced a bad D600!)

Your focus has been ground breaking and speed of operation as good as I have used. There have been some frustrations such as the odd placement of the on/off switch and the lack of a suitable button for taking AF off of the shutter button (a favourite Canon trick), but the fixes for these things are now habitual to me, negating their impact. The one dial top that came off (reattached with some double sided tape) has not happened again and no other dial, button or switch has failed (except the sub par grip that let you down, sorry, but that is gone and forgotten).

Averaging 60,000 frames each so far, I expect the three of you will have another few years left before any of you must be replaced and I promise to retire you respectfully. All that I ask is that you continue to serve me as you have for a while longer.

Is your sensor too small or your depth of field too deep? No, not in real life. How big do I need to print (40" at full frame quality as tested by others is bigger than I need), how shallow is too shallow (every aperture provided is practical to use). Even your high ISO performance is acceptably good (taking into account how seldom it is actually needed with your stabiliser and extra depth of field) even five years after your release.

Praise must also be given to the lenses that support you as they have been the most consistent and reliable group of lenses that I have ever had the pleasure of owning and the reason I initially went down the M43 path. No duds, no odd behaviour, or at least none that could not be put down to the user or fixable with firmware and no "don't go there" settings that most lenses suffer. I must not also forget the petite size they all offer for their focal power. Even my new gear jitters have been calmed. I look forward to next time I use any of them, indeed choosing is the problem. No qualms, no misgivings only anticipation.

Would I look at other brands? Once maybe, but not now. If I play the "what if" game, all roads lead back to you. No other brand has all the answers to the questions I would pose (size, quality for price, consistency of performance, lenses, character and handling). If I had more money, maybe Fuji would be in the bag as an option, but I would bet that as last time, I would rely on the Olympus kit most of the time.

Nikon is flagging world wide, Canon is still a slow thinking leviathan, king of the SLR's now, but for how long is that the pinnacle? Both brands can only offer full frame as a temptation. Sony is too inconsistent with their lens and their cameras have no soul, Pentax is an old favourite, but has much of the thinking of Nikon with the range patchiness of Sony.

Fuji is the most alluring, but really it is only the jpg engine cheat and some of the expensive, too large lenses that tempt. I have been there before. Their Lightroom processing issues, evolving form factor and the disconnect I felt when using them (twice now) have put that to bed.

Panasonic, your running mate is of course always in the mix. Maybe some lenses in the future, or not. Heaven forbid I need video, but if I do, I will look to home first before wandering.

The new leader of the pack (the Pen F) is not in spite of you, but because of you. It to is a seminal camera, the first of it's specification and bound to be a classic. Welcome it as I have as a sign of my commitment to you and your kind. There may be an EM1 Mk2 in the future, but that is simply to fill gaps you were never designed to fill.

On a final note, I do hope you find the JB grips comfortable, as I certainly do.

Thank you again, your grateful owner.

* 3x OMD EM5 Mk1, EPL3 (gifted), EPM 2, Pen F (also GH1, GF3, GF2 Panasonics)

On Some Of My Favourite Photographic Things This Year

Lots of bloggers are looking back at the year and showing their best images, favourite new books, new gear or a bit of all of these. I want to do something like this and I will concentrate on the things I did or did not do well and wished could have been better.

Images. Here a few images that I like on first browsing of my library. Some surprised me. None of the Japan images are here as they stand alone. Funny thing. Most are taken with my "lesser" lenses, the 75-300 and 45mm.

My favourite image by someone else;

Meg's image from her amazing Panasonic compact.

Meg's image from her amazing Panasonic compact.

Purchases made this year were few and came mostly in response to an illness that put me in ICU for a week. I awoke from my malaise to a photo magazine my mother had left for me (even she said it was an odd choice from her to me). It reminded me that photography never really changes, only the fashions and implementation. Something I had forgotten when working in a camera shop. The things that were important are still important.

Coming out inspired, all guns blazing, I planned to add the panasonic 42.5 and 12mm f1.2's and Olympus 300 F4 (with the 75mm making the "perfect" 4 until a "superior" 14-20mm comes along making 5) and a new Canon Pro 1000 printer , but the pricing put me back on my haunches ($8500 au). Instead I added the excellent and more practical 40-150 f2.8 and Pen F and learned to re appreciate my other gear (and my own philosophy!). I also stuck with my Pixma 9000 mk2, determined to use it until it dies naturally.

The new gear took a bit of getting used to, but now I am hooked.

This year gone was the year of maturity in the brands that matter most to me. The XT2/10, A7 mk2 series and Pen F/EM1 mk2 have all reached levels not hoped for even a year or two ago and have shown in even greater contrast how slowly the big SLR brands are adapting. Finally, SLR's really hold no lure (Nikons sales figures and staff redundancy plans are a worrying sign for the SLR reliant brands).

I would have loved to travel more, but twice in a year will have to do. I can control however how much I get around my own beautiful home state.

Bags.

I have discovered a couple of bags that I like.

Temba Switch (7, 8 or 10?), ZLYC and the Crumpler Flock of Horror. The Timbuk2 bags always call, but too many design choices. Some non-camera bags also started to work for me. A Tokyo Porter, Filson field bag and a leather satchel all came right. What I purchased though was a Domke F802 (review coming). The first bag I have purchased with practicality only in mind (yeah, sure).

Always, the one that got away. The Wotan Safari.

Processing.

I tried DXO, Pro-1 and Dark table. Went back to the one that works for me, Lightroom, but discovered some new tricks in the process. I now keep my files as RAW not DNG though, just in case I change later.


on recurring themes

We all have things we are drawn to. Don't fight it, it is natural and a great tool to help build a portfolio. Why try to fill up your image bank with things that interest other people and not yourself. You know what things they are, they come naturally, easily and fill you with satisfaction.

Me, I likes me shiny things,

some well lit architecture, not necessarily classical, but eye catching,

working details within the bigger picture,

finding abstracts and "distilling" images not seen initially,

busy streets full of people, just being people,

 and boiling skies.

Follow your heart, apply your head and trust your gut.

On flashing or not.

Some flash tuition from an old photographer but a flash newbie, or telling old dogs how to suck eggs.

The other day I did a little photo job. The usual stuff. An awards ceremony with after ceremony group and small group shots. The usual thing. Problem was it was a gloomy, overcast day, raining then not, then raining again (10 in the morning looked like 10 minutes to sunset in winter). We did the group shots and some family images outside between rain bouts and the resulting images looked flat. The only brand I know if that can pull off good results in poor weather (still with mixed success) is Fuji in their jpeg settings, as long as you set the right settings and don't over blow it. 

What to do in the future?

I know the answer. It's the same monster I have successfully avoided for 30 years. Flash.

Last year I bought a couple of Yongnuo 560 III/IV units and the remote controller with the intention of having a safety net "portable studio" at the ready and I must admit they have collected dust since arriving. I am not one for instructions (theirs are fine by the way), so after a bit of bumbling around, mostly good exposures resulted, that were put down more to good luck than good management and packed the lot away for huh, a rainy day!

You see my main problem was how I interpreted the flash guns working method. The 560's are called manual flash units. Now when I first played with flash units, they came in three flavours.  Manual that meant the flash had to be told what to do (complicated maths on the fly involving guide numbers, distance, aperture, ISO, moons' revolutions and tax file numbers).  Automatic, where the flash fired off to suit itself and the camera took what it got, often fooled by reflective surfaces and sometimes hard to set for fill flash- so I thought. Through The Lens (TTL), which was the holy grail. TTL means that the flash is (more or less) controlled directly by the cameras' light meter, with full exposure integration the aim. Many fiddled with this anyway, as the perfect fill ratio is subjective. My bias had been naturally to use, but often hate TTL as I tried to get a set of Canon TTL units to bend to my will. Tough to do and frustrating with little useful info around on Canon. Nikon has lots of support and information such as the books by Joe McNally but Canon, precious little. I sold the lot and gave up on flash. The problem was control. The flash units seemed to fight me at every turn. Nikon and Olympus users claim more control, by placing some manual control in the hands of the user and away from the flash units. 

I know there are work arounds, levels of satisfaction and hidden jewels of info out there, but I did not have enough need for flash to bother. I even built up a library of flash and LED light technique books, without much desire to master them.

Back to the Yong Nuo units. Turns out modern Manual actually means Automatic exposure. The flash unit will expose correctly with or without you based on a sensor in it's front housing (makes sense really as they have one there, all red and shiny). The amount of flash can be reduced, but they will expose well it seems no matter what you do (ironically, reassuringly like Canon). Playing with an OMD and the 560 mk lV, I tried Aperture priority, then Shutter priority and a little frustrated by the control options for exposure comp, flash exp comp and other settings, tried simple manual exposure.

Everything just clicked in to place;

Set ISO according to conditions (as low as possible)

Set shutter speed from 1/30th up to 1/250th synch range depending on subject movement and ambient light.

Set aperture to balance or not. Under exposing a little will allow the flash to "pop" the subject out a little. Use an ND filter to reduce exposure values if you want a wide aperture in daylight.

The flash head is lifted into it's 60 degree bounce angle with the diffuser (not reflector) used to bounce some flash forward. I found the reflector often creates a small hot spot, where the diffuser does not. I usually have the flash on 1/8-1/32 as the amount will only effect it's range and recharge time. For close portraits, 1/8 or 1/32 gives instant recharge with standard batteries.

Result?


The left hand image is the straight exposure and the middle is after a little post. I opened the shadows a little more, reduced the highlights and increased the overall exposure. No time for a no-flash example as my muse was not amused, but experience has told me that images taken in front of this window in full sun are almost always going to loose either the highlights or the shadows. The last image would have been a silhouette or blown background image in mixed afternoon side light. I'm was really pleased how natural this looked after a little bit of post.

Is it repeatable? 

Almost always. If the flash is bounced this way or even used directly in strong light, and the overall exposure is about -0.5 to -1.5 then you get a very flexible file with a little more brilliance than normal (note the eyes). In strong light the results are less obvious to the eye (ideal), but are substantial none the less. Any error is usually in the background exposure as the flash is consistent, just the balance changes, within fixable tolerances.

If the ambient exposure is too dark and there is nothing to bounce flash off of, allowing you to to use a good shutter speed and aperture combination, the result is a darker background, high ISO* or possible flash "ghosting" from a slow shutter speed, your choice. This is often the case when flash is used on a TTL camera unless the minimum shutter speed is fixed.

I love it. This is the sort of simple control I relied on when I first learned flash on a film camera, the sort that disappeared into electronic mumbo jumbo in the TTL, control freak, digital era. With the added bonus of instant digital review and "what you see is what you get" previewing from the OMD, you have a very comfortable, controllable and pleasing setup. I have even ordered a whole lot of cheap modifiers to see if I can get even more control and to allow good results from the second, off camera unit. The whole kit when complete will set me back about $350 all up. The rule for modifiers is "the bigger the light source-relative to the subject, the softer the shadows cast", so a decent soft box reasonably close softens or removes shadows and creates natural looking light.

Any complaints?

The flash is a bit heavy on the little camera (no one's fault) and the diffuser is hard to get out of the flash head without a key or a coin, but other than those first world issues, no problems at all.

*If ISO 3200 is used and the exposure is deliberately over exposed a bit, noise will be well controlled.

On turning 50

Turned 50 today.

Didn't feel any different when I had a close call last year. Many people say they do, some may actually feel it. I just lost a week and had to recover over a month or two, with the major strain placed on my family and friends, but turning 50 has put an actual (artificial) marker on the process of earning wisdom. Everyone likes to think they are on the right side of half way, but 50 is realistically more than half way for anyone. My wife's family are notoriously long lived, the women of the family usually reaching the mid '90's or even a ton. My lot rarely make 80.

Do I feel different? Maybe a little more aware of time and how much is left.

*

Notes to younger self;

Avoid the things you really don't want to do, unless they must to be done for the welfare of others.

Complete tasks by following natural paths of inspiration (Wu Wei). Find flow.

Don't worry, as it wastes valuable time and resources.

Don't waste time.

Make the best choices you can, to avoid re doing things. Work out the end point and go straight there, avoiding miss steps.

Take more photos, travel more, see more. Buy (and obsess about) less gear.

Let go of regrets (see above).

See the good in things and people instead of ugliness/opposition/unhappiness/ignorance/fear.

On our obsession with better

Many years ago, long before digital photography was even a serious possibility, I (and everyone else) used film. I had a routine of buying 2 rolls of film each week, exposing them as able and either processing them myself in my darkroom or waiting (impatiently) for the post to deliver my mounted slides. Sometimes I would even get a roll of lab printed colour or mono film done, but usually not. I was obsessed by quality, always testing and trying new lenses, film and processes. I was a rarity. In those days people were usually obsessed with their subject matter, or nothing at all.

One of my early photographic mentors, Mr Peter Motton was an artist first, winning several international print salons (more than some countries on his own), but he was also a refined technician. His work was distinctive and importantly, repeatable. What I should have learned was to put my artistry first, grounded by good technique. I thought I did, but actually I just became focussed on the technique at the expense of the art.

The thing I was missing was the emphasis on the word quality. It is not the quantity of the quality, but the quality of the quality that matters.

This I am re discovering as I write it. The real beginning to the post starts now.

Whilst cleaning up, making some room and reorganising for the new year, I decided to move my Camera and Darkroom magazines to the garage. This is a wrench. C and D (and later Darkroom and Creative Camera Techniques where we first learned about Bokeh) formed the bedrock of a staple of magazines that were religiously acquired on a monthly or bi monthly basis. C & D stood out in both content and presentation.

An assortment of C & D mags with one open to one of my favourite articles about David Wells and travelling journalism using Tri-X and a simple 4 prime lens kit. A little aside. the price ticket for Birchalls belongs to Australia's longest contin…

An assortment of C & D mags with one open to one of my favourite articles about David Wells and travelling journalism using Tri-X and a simple 4 prime lens kit. A little aside. the price ticket for Birchalls belongs to Australia's longest continuously running book sellers, closing next month after 170+ years. 

Wistfully I perused a couple of issues, reminded of feelings long forgotten, stirrings of things neglected. Then something struck me. A realisation that I was often unsatisfied with the lack of technical articles available at the time, hungrily waiting for the next, rare morsel. Where were all of the test charts, comparisons, analytics? After flipping through half a dozen or so I only found a few truly technical articles (one each on resolution measuring, lens choices, enlarger head light source differences and Pyro developing/printing). How did  the art form continue on such meagre pickings, or for that matter the world continue to spin? The fact is, these were enough as technical considerations were only a small part of the whole.

A rare camera tech article about some of the better glass around at the time. Even though the topic could be fairly sterile, the delivery is gentle and conversational. There were more often darkroom technical articles as darkroom work was/is mostly …

A rare camera tech article about some of the better glass around at the time. Even though the topic could be fairly sterile, the delivery is gentle and conversational. There were more often darkroom technical articles as darkroom work was/is mostly technical, but pure camera or lens articles were thinner on the ground. I savoured each.

For me back then, hard technical information was thin on the ground. The focus was much more on content, much less on how to, more about who, why and when.

I was clearly ahead of my time (sarcastic emphasis), for the age of analysis is upon us! I now feel normal, surrounded by many like me. Comparing, rating, discarding...going...slowly..numb.

What a time waster.

*

Ironically digital did a few things for me that have settled me down and made me more productive despite myself.

Measuring "quality" is now much easier so it has become just a thing that is done during the process. I advocate eye ball measuring, not micro analysis, as an image should be viewed with all criteria present, not just the tunnel vision of technical perfection. The variables available in analogue photography were often harder to control than digital. Getting a firm conclusion when testing was difficult and often frustrating. Actually measuring the results in a meaningful way was even tougher, allowing the photographer to simply take an image at face value. One of the articles I found penned by A D Coleman went into great detail on the subject of "line pair per millimetre" (LPM) measuring, but mostly pointing out how hard it is and how pointless

I am more productive simply because I can have my cake and eat it. Lots of useless "test" images, but always plenty of virtual film at the ready for actual image making. It's made me a better photographer by allowing me to be wasteful.

Limitations placed on us by digital have forced an acceptance. Digital anything is never good enough. The digital era uses it's lack of a tactile and empathic nature as an excuse to sell dreams of the future, to both cover up it's big fail of connecting with the user and to fuel it's necessary desire to keep the advancement ball rolling. Nothing feels like a long term investment, like it is real and loveable and without a catch. This applies to hardware, software and image files. We all know nothing lasts forever, but in the analogue days, you controlled the life span of things, these days that is out of our hands. Every bit of gear I have at the moment (except lenses?) may have a life span of five years or less and it is pretty much not up to me. The whole 4/3 format came and went in 10 years and Sony SLR's lasted about the same. The magazine image above shows a lens "favourites" article. Every lens is still usable on a modern camera in some way, can we say the same in 20 years or so?

Why do I like Olympus? Apart from the lenses and image quality, it's because they came the closest to the "keeper" camera, with their modest little OMD, unlike all of the other brands I had regular access to, that I felt walked a delicate line between "same as last time" and "inevitably improvable". Sony is the worst culprit, actually replacing expensive camera models only a year after release. I went through five Canon SLR's in the same length of time that the EM5's have lasted and they have launched 2-4 models in each price bracket during it's life, Sony even more. It's not just retro looks, it is a feeling of semi permanence that's hard to put a finger on, I actually want to wear them out, they have character, they are loveable and the Pen F has that same feel.

I am printing more. This is my tactile connection. A print made in a darkroom is a form of magic, but a colour print from a large roll printer has the same dynamic as a digital one. Is this why I have embraced digital colour printing, but have not found my feet with black and white? maybe mono prints are lacking the darkroom mojo that made them special to me, the feeling that anything is possible and every mis step could reveal a wonderful secret (Peter used to use paper developer on his film to create refined and super sharp grain, a secret he guarded for years and never revealed how he discovered it). Digital black and white still feels like just tones on paper, it does not have that chemical mystery.

Finally of course blogging etc. Sharing my thoughts and images helps me to work towards a goal and makes me careful to aim for quality in presentation. After all, the whole world could be watching!?!

*

Memories and experience are valuable tools, but are also a curse if they stop you growing and you let them fuel regrets. My personal focus this year is to embrace my past to form a stronger foundation for the future. It is my legacy, for better or worse, part of my creation story. The things I feel I am missing are hidden there, I have felt it often, but not chased the scent. they are not the next camera or software programme, but the next thing discovered with what I have. 

A magazine gifted to me in hospital had more of an lasting effect than months of searching the internet. Many of my most regularly accessed memories are from articles read 20 years ago in those periodicals. There must be something in that. Information is information, but maybe it is the process of reading something permanent, gentle and quiet or just actually owning it, or maybe care taken by the author and the anticipation forced on us by the monthly release schedule?

Will I use the many film cameras I have lying around (most loaded)? Probably not, as the process, especially without a darkroom, leaves me cold these days (The OMD/Pen cameras produce images similar to Fuji Velvia slides, or Kodachrome if desired, without their ISO or exposure accuracy limitations and can do a good job of Tri X, XP 2 and FP4 also so creatively I am covered). Film feels thin where I live, expensive, unsupported and time sensitive. Maybe if I lived in a big city or still had a darkroom there would be some future for me in analogue, but not as things stand now. A bit like flies in summer, there are also negatives to remember while reminiscing the good. Regardless, good memories from the film era are worth holding on to. 

Your tools will be different, but use them all and travel well.


On The three (Four) C's

In a previous thoughts post, I touched on my take of the steps that I feel are part of the image making process and that are also part of the development of style. I dubbed them the three C's. I would like to have another look and expand on my thoughts regarding them (and add a "C").  

No single step is capable of creating a truly outstanding image, they are all needed. Like an engine, even the smallest, most boring part is important.

1) Concept.

Concept may be strongly defined or not but either way there must be a concept on some level, consciously or unconsciously. Without it there is no process. If the image is personal, the intent may simply be to search for a good enough subject to fit with a style or loose idea. If the photograph is for another then communication is vital so the image maker can create what the image receiver wants.

Either way, the concept sets up the direction and intent, creating requirements and setting limits for the following steps. 

As an example, a street shooter may be hunting a specific subject or with a preferred style in mind, without much control of what may present itself. 

OMD 17mm at F1.8. An attempt to convey the preconceived idea of Tokyo's compressed humanity. Largely false as it turns out.

OMD 17mm at F1.8. An attempt to convey the preconceived idea of Tokyo's compressed humanity. Largely false as it turns out.

2) Composition.

Composition is the applied technical element. Many good ideas have remained unfulfilled due to poor application, but good technical skills do not make up for a poor concept.

Once the concept is formed, the photographer must make framing, perspective and depth of field choices, applying their knowledge of the strengths and weaknesses of their equipment and processes. This can be achieved by a practiced shooter in a fraction of a second or may be a slow and deliberate process as needed.

OMD 25mm f4

OMD 25mm f4

3) Connection.

Probably the most important step and culmination of the previous two steps, taking them from purely practical to emotionally stimulating content. Simply put, if you do not make a connection with your image, neither will the intended viewer. Communication to your subject or yourself is the key component. Don't be shy, address the needs of the image or go home.

It may be perfect timing, a combination of composition/light/focus/colour that intrigues us or simply an extraordinary subject. Regardless, connection must be made on an emotional level or the image will not last past it's initial viewing. 

A portrait of a work colleague the moment they responded to a friendly gibe. The previous half  dozen images looked contrived and stiff. OMD 45mm F2

A portrait of a work colleague the moment they responded to a friendly gibe. The previous half  dozen images looked contrived and stiff. OMD 45mm F2

4) Completion

This is the final part of the process and it should be the driving force for all of the previous steps. Presentation is all important and can make or break an image.

Good presentation must walk a fine line between enough to catch and hold the eye, but not too much. Avoid over working and spoiling the image and always remember less is more.

Often an image revisited at a later date will reveal over processing done in the excitement of the moment. Some photographers advocate waiting for a long while between shooting and processing.

Photographing with the intent to print or post is a very important part of my own personal process and has changed the way I view my images and my work flow. It's funny how you can shoot all day, but the second you decide to commit an image to paper, the process takes on a completely different feeling. 

The final destination of your images should have a major bearing on the way (and the why) you make them.

OMD 45mm f2. The final Silver FX print edit with burned in borders.

OMD 45mm f2. The final Silver FX print edit with burned in borders.

This is my own take on the process. Many others have put forward their own versions or ideas and none are the one true path. Use what ever thinking process suits your style, but the above is my check list and has helped when the process is a not coming naturally.

On the pointlessness of lens tests

Recently, on the excellent onlinephotographer.typepad.com blog, Mike Johnson summed up something I have been skirting around for awhile now. Simply put, when it comes to lens design needs and expectations, we are there. He (,I and others) actually lament the lost days of actual rendering characteristic variables and a more relevant pecking order. All of these lenses were graded by eye. Funny thing that, using your eyes to look at actual images, who knew. Even testing lenses came down to printing visible "line pairs" of information on paper and studying them.

The lens makers lot is a tough one. On one hand they will have a pre determined path laid down for them. Criteria that will set minimum and maximum requirements and limitations such as the widest f stop, size/weight/price limits, image quality expectations and sometimes deeper requirements such as special attention paid to it's intended role (close focus, smooth bokeh being common ones at the moment). Once the parameters have been set, the designer must push and pull the laws of physics where possible to get the desired lens. Many of these physical limits are set in stone, but modern science is always offering up solutions to some problems such as better glass or more exotic replacements. 

Lens carefully designed, lens ever more carefully made and then released into the wild.

Then it starts. Some lenses cannot even get to their release date before the critics effectively kill them off. Funny thing is though people still buy them, even those who read these negative reviews and they find that the lens is actually capable of great, even spectacular results (Fuji 18mm f2, Olympus 17mm f1.8, Canon 28mm f1.8, Fuji 23 f2, Fuji 16-50 kit......). This can really be a case of ignorance is bliss.

If your maximum quality requirement is a large, fine art grade print, then a well used kit lens on a medium to low resolution camera can provide, but that will seldom satisfy the pixel peeping and hair splitting crowd in the reviewasphere. We are effectively talking about two ways of measuring lenses. The mathematical way and the practical/realistic way and the math is winning at the moment.

Looking at the futility of the testing exercise; If the difference between two lenses is measured on a micro scale and the tester has picked settings to "even the field", usually medium settings (not the best for the specific sensor/lens combination) and has ignored the huge variety of post processing options available, then the test is flawed. A lens resolution test (if it is that important to you) should be measured in two criteria. (1) What is the best it can possibly produce in real world situations and (2) how consistently does it do it, I.E. when "stressed", does the lens still perform.

A real bug bear of mine is the often unintentional misinterpretation of the provided data. Some tests will show you the top part of a graph, demonstrating what looks to be a large difference between the good and the not so good. If I show you only the top 20% of a graph (numbers such as 1750 vs 1890 measured from 0-2000), the differences between two candidates may look pretty horrifying, but if you see the whole graph from top to bottom, the differences are put into much better perspective.

Some of the test bench reviewers will, to their credit, point out that the measured differences will seldom be visible to the eye and are never relevant without direct comparison. They may also point out that these conditions are "ideal".  

Another inconsistency is in the differences inherent in the camera's sensors, both in how they measure and in their native resolution. When I was working in a camera shop, a customer felt he needed some "visual" proof in the form of graphs etc when deciding between two lenses, a known, premium wide angle and it's cheaper and more practical sibling. Against my better judgement, I showed him a site that had pretty clear graphs showing the centre and edge performance of two wide angle lenses. The differences looked to be huge (top 10% of the graph syndrome), but then, as the customer dove head first into the world of lens bisection, he was dismayed to find a cheap camera from another brand with a kit lens showing higher figures than his expensive full frame SLR and even more expensive wide angle lens on the same site! Be careful what you look for.

In the end we (....wait for it), shot some test images of the building across the road from the shop (a bank!) with both lenses and looked at them on screen. The test data was pretty much on the money, but meant nothing compared to actually seeing the images. The customer decided to take the "lesser" lens as the difference did not seem that great in real life, especially when he was shown that even mild post processing closed the difference significantly.

The third short coming of some testing sites is that they seem to be unable to find a lens that fully satisfies. Obsessing over colour fringing, edge softness, subjectively poor Bokeh etc., they cannot settle the readers nerves with their base line negativity and often completely overlook a whole swathe of other characteristics the lens may offer.

The final issue that I find is the inconsistent nature of different testing procedures and results. Sometimes, but not always you will find contradicting results on different sites. I am guilty of looking most at the sites that tell me what I want to hear and avoiding the ones I don't!

Image Resource has an excellent "handkerchief" graph that looks to defy sensor resolution as it shows real results of blurring, not mathematical measures of resolution and has often come very close to what my own eyes see with the same lens, except with long telephoto lenses that often look better to the eye than the testing would suggest.


Frustrating huh?

Frustrating huh?

A test bench blitz and quick walk around the block taking "real life", but ordinary images,  matched with (far too) close scrutiny and test bench comparisons, is not fair on any lens, but what is the point of reviews if they do not find (ever decreasing) differences. The only fair measure is to own and use a lens over a period of time and use it to take the special images you are looking for and a few, more realistic and practical reviewers have switched to the extended field test with no charts and tables model which is closer to the true way of testing.

If it becomes less about the lens and more about the pictures it takes, then there is no issue.

 Why do they even try?

Lens tests are not useless, but they must be taken in context. The numbers, carefully measured are an indication of some characteristics the lens shows, but this is similar to asking the salesman what the top speed of a car is, with no interest shown in other features.

Recently I wanted to show how good/bad the Olympus kit 14-42 was with some comparison images (vs 12-40 and 17mm prime). I had to stress the lens so much to find a noticeable difference at normal viewing/printing sizes, that it became pointless and impractical.

A couple of things have become evident lately.

The first is that the average lens is so good, that better lenses are having to grow ever bigger and more expensive in order to matter. As an example of this look at the recent "improved" offerings from Canon (35 f1.4, all their zooms with f2.8 apertures), They are all sporting an increase in bulk, price and filter size.

The second is, how many pro photographers are using "lesser" lenses happily. 

If I told you this image was taken with a cheap kit lens or a premium fast prime, would it change your reaction to it?

If I told you this image was taken with a cheap kit lens or a premium fast prime, would it change your reaction to it?

There are a LOT of things that make up a lenses personality. Some can be measured, but many not. Most can be fixed if flawed (CA, sharpness) and some have no right or wrong (bokeh, vignetting). It is only by switching off the annoying little voice in our heads and actually using our gear that we will find out if it works for us or not.

Every lens will have some strengths and weaknesses. It is actually more fulfilling to find the hidden excellence in an average lens than to find the flaw in an expensive super lens.

A lens should only be discarded if it;

It is too difficult to use, making the process harder, not easier (Panasonic 20mm AF/MF pain, Fuji 60MM macro for focus speed issues).

It is actually poor quality when viewed at a normal viewing distance and on the medium it is intended, which is rare these days, but not impossible, especially if you are reacting to a character in the rendering and not an actual design fault.

It is just the wrong lens for the purpose intended (why did you buy it?!). Lens speed, focal length and close focus are often sighted by dissatisfied users, but none are a surprise.

As an aside, lenses take better photos when you like them, true story.

On using non camera bags

I have a problem.

I love buying camera bags.

I am not alone.

There is no cure.

Some could define a pro photographer as one who has "x" number of cameras, or makes a certain amount of money or simply calls themselves a pro. I think another gauge could be their history with the never perfect, but eminently purchasable camera bag. Some people buy one and use it forever...weird huh!? 

Myself? Shamefully too many to count. Some stayed longer than others, but many were bought and shelved almost immediately, until a lucky friend claimed them or they were sold off heavily discounted.

The advent of mirrorless cameras has created a new thinking for many, especially with serious "life style limited photographers", not the least is in bag choice and design. Even the camera bag makers is starting to change, often mimicking regular bag designs, but why ignore those regular bag alternatives?

Buy a bag, but don't look at just camera bags.

Why?

Because they have some real advantages.

1) They don't look like a camera bag. One of the realities of camera bags is, the manufacturer cannot help but put their name on their product somewhere. Thieves word wide can often identify a bag from any of the major bag makers, and many of the newer brands give away their intent simply by design. Of the bags I own, the name logo is either as low profile as I can fine or removed if practical. Occasionally a bag is devoid of overt signage, but they can be hard to find (some olive Domke bags have matching olive name patches rather than contrasting ones, their black ballistic bags are patched in grey, Filson bags, Think Tank and Lowe Pro, Pro Messengers are also good).

2) Choice. Camera bags by definition tend to start from the same place, assuming that the bag has to fit set SLR dimensions, often making the bag "boxy", especially when over padded. I have been shopping lately and many bags are coming up short in the front to back depth dimension or the picture shows a squat little box that will not hug the hip and stay out of other peoples way. In my experience, over padding achieves little unless you fall over on top of the bag, putting all of your weight directly on your gear and even then there is no guarantee you will not have some casualties. Domke have made a name for themselves with effectively unpadded bags, even their dividers are sparse, but they work fine. Mine are padded to a lesser extent in the bottom with a rolled up scarf or bit of cut foam, but nothing else. 

3) Better general usability. if you have switched to mirrorless lately, you have no doubt discovered the huge size benefits that these CSC's offer, but what about the empty space in your bag? Unused compartments in a regular bag are not the most versatile. They are usually a tube shape, limited in height and length and overall size. No Camera bags are designed with non photographic use as a priority, but non photo bags can often be converted to camera bags for a light SLR or mirrorless kit fairly easily and can even supply some fixes not thought of before. Photo back packs are especially guilty as they are usually very photo gear centric and more important things like survival and comfort are secondary. Most look to be for expeditions where a porter will carry the essentials of life while the image maker worries about the gear alone. From what I have seen/read, most find this impractical and use a normal pack with smaller bags inside it, exterior bags attached to the outside, a waist belt or their camera simply worn on the outside. I use a Lowe Pro Inverse 100, with the attached belt strap removed (un picked), allowing me to slip my actual hikers back pack belt strap through it, also with the option of using the supplied shoulder strap when travelling light. The belt strap makes the bag unusable with a serious back pack as they both share the same waist line!

4) Price. All things photographic have a photo gear price hike, that has been around since the dawn of the medium. A glorified kitty litter tray ($3) turned into a darkroom chemical tray ($30), or a windscreen sunlight protector ($10) turned into a reflector/diffuser ($40-150) and a cheap neoprene drink bottle holder ($5) becomes a bespoke lens bag ($30). Bags are certainly no exception. Well made bags are going to be expensive in any form, so an extra 10-50% for a function specific bag is acceptable (Filson photo specific bags are actually no more expensive than their regular bags, feature for feature), but cheaper bags can be up to 200% dearer than another, non photography ones. Bags that may very well be more attractive, better made, more practical, less obvious, more comfortable and often bigger.

5) They can look smarter. Top end camera bags are getting ever more attractive, but a truly dressy event bag for semi formal occasions is either impossible to find in a form that suits, extremely expensive for little actual protective benefit or is far too nice to use normally, meaning you have to purchase an expensive bag just for those one or twice a year events.

6) Fit and feel. They often avoid the stiffness associated with many camera bags, usually due to over padding. I love a bag that hugs the hip like an old friend. One brand that failed here for me was ONA that I feel are over priced compared to American (Filson, Domke), Australian (Crumpler) or English (Billingham) made bags and felt too rigid and crowded due to over padding.

How do you choose a non camera bag for your gear?

The bag must be big enough to easily hold both your gear and perform any other intended tasks, also it must allow for any padding you may want to add. For example, when travelling now, I like to have at least one large compartment that can hold a large book or similar while shopping. There is nothing worse than trying to take images with a plastic shopping bag in one hand.

Padded inserts are available quite cheaply ($10-30) from Amazon and ebay or you may even be able to repurpose inserts from an old camera bag. Be sparing. You only need enough to separate items. Protection can also be supplied by clothing or other items (an ever useful scarf for instance), small bags or even internal partitions. I have found that front to back depth is rarely an issue for mirrorless kits, only big SLR's sitting face down cause problems with bag depth.

The correct look is obviously important and is part of the beauty of using non camera bags. Choosing a bag to match a purpose or look you are comfortable with is much easier when you don't limit yourself to just camera bags. Want a nice leather satchel or a very plain, low profile canvas sack? Buy them and make them work.


Some (roughly shot) examples above.

The leather satchel is ideal for a dressy occasion. It is elegant, slim lined and capable of taking a 2 camera/2 lens kit without looking over stuffed. The green Tokyo Porter bag (short listed for the next trip) is actually bigger in total volume than a Domke F2 bag. It holds a thick A4 folder, rain coat and short umbrella, large lap top and a camera kit (it actually holds the whole kit in the front pocket, leaving the entire, larger rear pocket for other stuff). When empty it lays flat and it is rubber lined for some weather proofing. The third image shows one of the internal dividers in the smaller front pocket easily holding my 75mm lens with hood on. Next image shows an assortment of dividers and inserts (the orange one is re purposed from an older bag). Domke are especially good with dividers as their own bags are the least conventional "photo bag" designs around. The next image shows a couple of the little weather proof cloth/corduroy bags my wife made for me years ago and the last image shows the Filson non-camera field bag with an insert.

For some ideas and inspiration, check out the Japan Camera Hunter "In your Bag" posts. It is amazing how often the well loved and used gear is carried in a bag unsuited at first glance.

If you can find a dedicated camera bag that suits, please go ahead and grab it, but please don't discount other options. I have a disgraceful collection myself with a mix of genuine and "pressed into service" options, each with a role or mood to fill.

I may buy more and find some excuse to keep them. Thats ok, I know there are white coated lab techs out there somewhere working on a cure.

I can wait.

Shop a bit while I wait.


On the practical application of bokeh

Ever since Mike Johnston and John Kennerdell first broached and defined, in western terms the subject of Boke Aji (flavour of blur or the simplified term Bokeh*), the photographic world has adopted it hungrily in both terminology and action. Many misconceptions are found when any new idea is posed and Bokeh is no exception. The most recent definition looks to be lots of smooth creamy blur and shallow depth of field with special attention paid to "blur discs" or circular highlights of out of focus. When designers work towards a lens, they take into account a lot of factors and in the current climate, Bokeh is definitely one of them, but maybe, like a lot of things that become trends, it's pundits are becoming too focussed on only one feature offered. 

*(Boe as in bone - keh as in kestral)

What is Bokeh?

Bokeh is the rendering of those parts of the image that are out of focus, both on their smoothness or "shape" and in the manner that they drop off from the field of best focus, this includes all images with more, or less depth of field.

Every lens has different Bokeh characteristics, most even change their character as their aperture or focussing distance change. Even a wide angle lens, used at a small or medium aperture must display a Bokeh "flavour" as no image, unless of a completely flat plane can avoid some decay of sharp focus, so the term and it's real application apply to all images to some degree or another. One of the great early Bokeh kings was a semi wide angle lens that displayed it's best look at medium apertures and at medium focussing distances, not the current trend at all. 

In days of yore, photographers could often identify the lens used to take an image by these characteristics and how they balanced with contrast and sharpness, even if they had no idea what name this would be given in the future.

Here I will try to give some practical examples of Bokeh as used in the field and will avoid the "wide open only" trend.

The image above was shot with a relatively long lens (120mm-240mm on full frame) at f4.5. The lens used has shown tendencies to create nervous looking "ringlet" Bokeh with background highlights that I find less attractive, but at closer distances and with less bright highlights it renders smooth and pleasant blur. The second flower was blurred enough to reduce distraction, but is cohesive enough to compliment the primary flower. A wider aperture would have possibly made the focussed plant jump off the page a bit more, but the context and support of the rear flower would have lessened, especially the soft detail of the bright leaf in the background may have become just a blob.

Here is example of that same lens showing signs of Bokeh "nervousness". Note the flowers in the background and the not too flat looking focus plane. 150mm f2.8.

Here is example of that same lens showing signs of Bokeh "nervousness". Note the flowers in the background and the not too flat looking focus plane. 150mm f2.8.

This image shows the 17mm Olympus lenses' useful ability to render a very cohesive background even when used wide open. Micro 43 generally gives more depth of field than crop or full frame cameras, as it uses shorter focal length lenses to achieve equivalent magnifications, so the 17mm has the DOF of a 17mm, while used as a 35mm full frame equivalent. An ideal characteristic for a semi wide angle lens is to assist, rather than fight this feature (surely the designers intention). Notice the mans' Kimono is razor sharp, but the out of focus elements of the image do not draw attention overtly to this first, rather your eye is drawn to the woman with glasses. If the drop off was more aggressive, then the image would simply be a sharp back and mushy surroundings. This image was taken late in the afternoon on a rainy day, so the ability to use a wide aperture without having to achieve pin point focus accuracy is a real benefit and I find sometimes quite creative. When using the Panasonic 20mm f1.7 for example, I experienced a strong feeling of "snappy" contrast and sharpness, a nearly "2D cut out" effect against a smooth background, but no room for focus error, a shame as the lens is poor in both AF and MF application. I have also found that the clarity feature, applied by the brush in Lightroom can enhance the illusion of sharpness naturally and gently.

More example above. The first two images were again taken at f1.8 in almost darkness.

12-40mm at 40mm f4.

12-40mm at 40mm f4.

Not a compelling image, but for an example, sufficient (unless you are offended by the blatant labelling of women). This is the other side of the coin. The 12-40 f2.8 has very "modern" or portrait friendly Blurring. It gives a sharp focus point with excellent colour and contrast and very quickly rolls off into buttery smooth Bokeh. I have found this less satisfactory though for street grabs. Even at f2.8 to f4 I struggle to get a cohesive and subtle drop off, it tends to be in or out with not much in between. A great portrait and landscape lens, but too finicky for street.
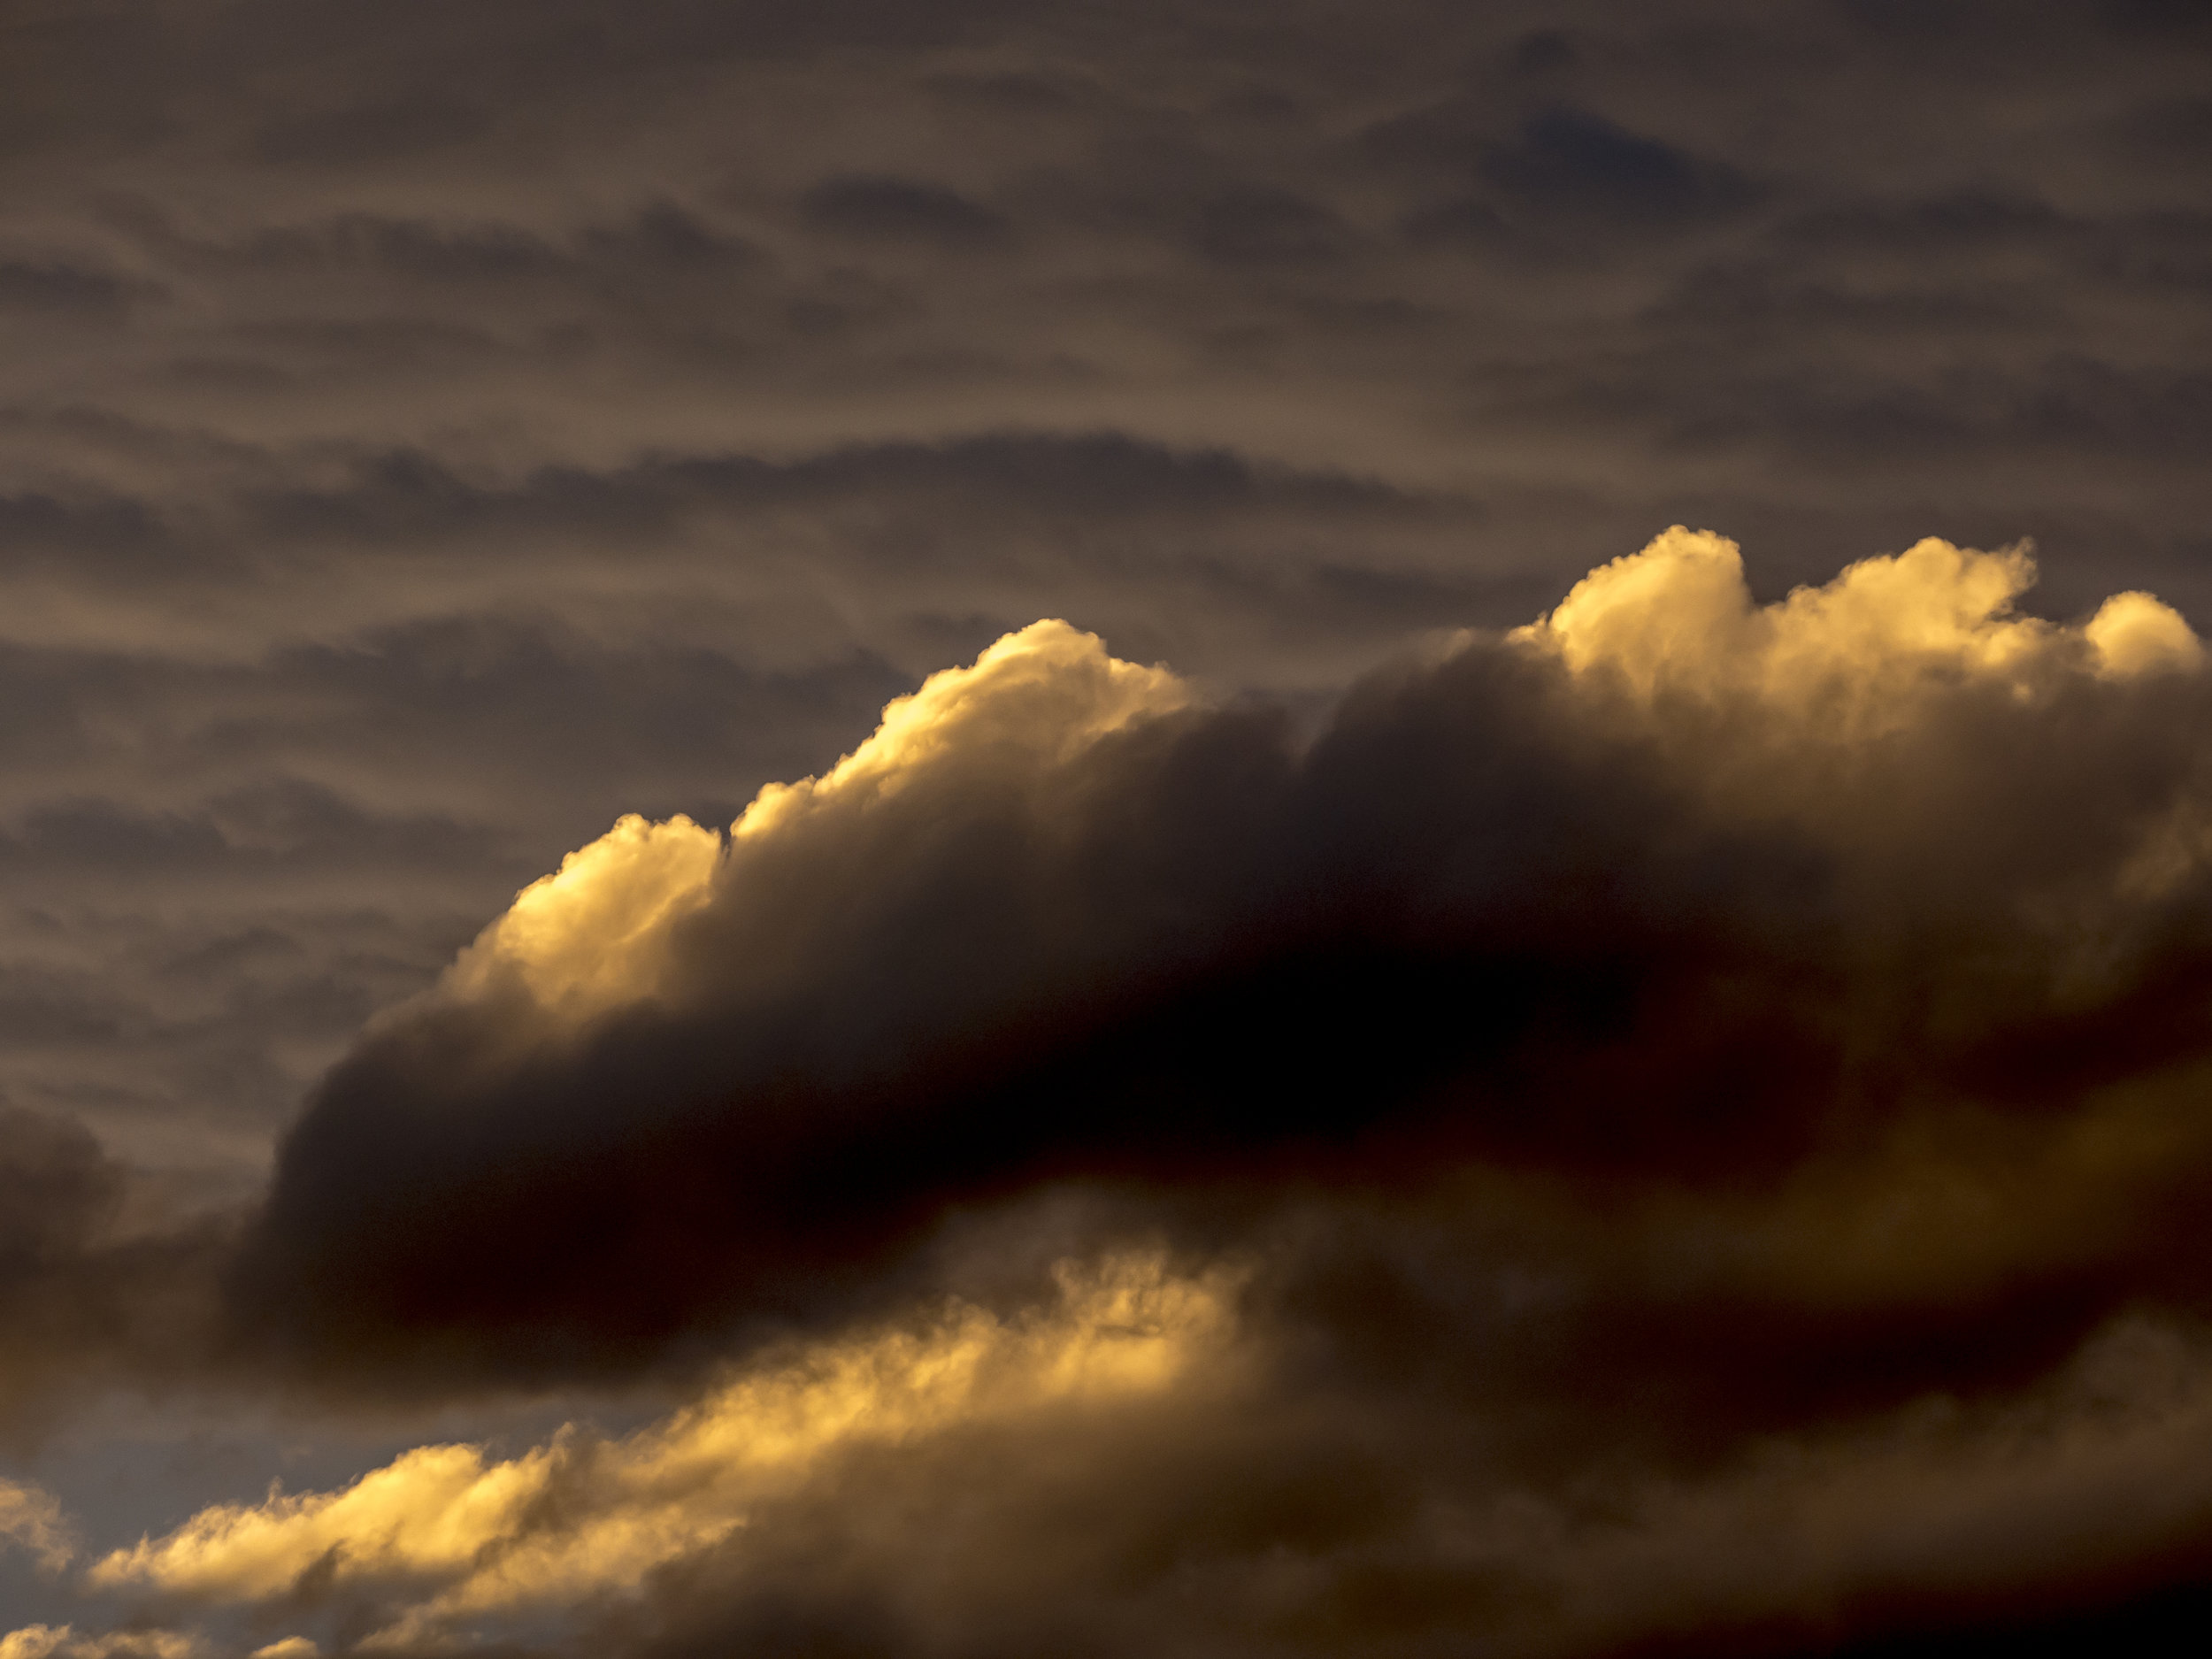
This set shows the benefit if the 12-40's delicious "portrait" style Bokeh. All shot at 40mm f2.8, drifting through the focus range until a harmonious balance was achieved.

Another lens that looks to excel in the Bokeh department, even though it is more challenging to produce it, is the 75-300. The colour and smoothness of this lens still surprises me and the Bokeh is an added bonus.

The first image shows the wire fence, Bokeh torture test and the last was literally saved from deletion by the Bokeh it shows. As I tend to use the lens for details and close ups, it's Bokeh comes up often. This is one of those lenses that I've noticed make me use the Bokeh creatively, where others, on a more subconscious level make me think in more limited way. 

Bokeh is real, but it is also subjective. The common trend at the moment is in response to the generally more comfortable smoothness some lenses produce easily and dismiss the lenses with less "perfect" characteristics, but that it is only one way Bokeh can be perceived and used creatively. You can rarely remove an element of Bokeh from your images completely, so you would be better off to learn it's best uses, lens by lens.

On too many cameras and not enough photos.

This is a bit of therapy for me and possibly prevention for others. Below I will list the cameras I have owned (not the lenses, but assume each camera was well supported), how long I had them and how much they were used and some random thoughts. It is a sad tale of excess, waste and lack of focus. There is no guarantee I will get the order right, but it has been a long time.

First the manual focus period from about 1980 to 1995.

Canon T80. The first and worst Canon AF SLR with the giant focus motor in the lens. Surprisingly I kept going with photography. Started using colour slide film. I still miss the rhythm of buying a couple of process paid rolls, using them and waiting for the little green or yellow boxes to appear in the post. 

Canon T90. Much better camera in every respect, except no mirror lock up.

Canon AE1. Did not last long, but I got a couple of good lenses from the kit.

Canon F1n. Beautifully built and came with a job lot of premium glass, motor drive etc. Suffered from a sticky shutter that developed right in the middle of a newspaper temping gig!

Canon T90 x2. One had a hidden fault from a crack in the inner body. I used to gaffer tape the bodies to protect the shiny surfaces.

Olympus OM 4 ti x2 and OM 1. My first foray with Olympus. Loved the cameras and the lenses especially (28 f2, 50 & 90mm macro f2's, 180 f2.8). I made the wrong choice in going with Canon alone, but I had a big telephoto for the Canon and one of the Olympus lenses got damaged in a fall. Even this early I felt Olympus had something about them.

Olympus Pen F. The original half frame. Swapped with a friend for a week until he got the jitters and asked for it back.

Canon F1 (old). My favourite at the time. The silky smooth shutter and mirror lock gave me good results in high res work and no batteries required. During this period I used a spot meter or guessed exposures a lot. Very pro.

Canon F1 (old) x2. One cost me $300 to remove a loose screw (the cameras, not mine), which was $50 more than the camera cost me, but otherwise they were great. Mostly shooting low ISO black and white (Agfa Pan 25 and Rodinal 1:200) at this time.

Switch to AF. This period went from the end of MF to digital except for a breif foray into medium format. Roughly from 1995 to 2006 and included two stints in camera stores.

Canon Eos 50 x2. These felt and looked great and were well featured.

Nikon 28ti. Wish I had kept this one.

Canon Eos 30. This was a very slight upgrade to the 50's and came after a good 2-3 year period.

Canon A2. The rare, non eye control version of the Eos 5. A serious pro level camera at the time and in many ways ahead of the Eos 1.

Bronica 645. Getting back to basics. I looked at a lot of medium format options, but this suited me best at the time.

Canon Eos 5. Back to SLR's because I was not taking enough photos.

A long break from photography. What gear I had was languishing in apathetic "not digital, but digital is not good enough yet anyway" land. A bad time for photography generally. I was also completely computer illiterate.

Canon Eos 10D. Bought third or fourth hand from a friend who also set me up with Lightroom 1. I was better with Lightroom than with email for a long time and kept loosing files etc, but it got better. Did not appreciate this one enough. Rumour has it, it ended its life in the back of a demolition derby car.

Canon Eos 450D. Nothing like the 10D to use, but faster and more sure footed in many ways. The files were tough and robust setting me up for future disappointment with Canon crop frame sensors/files.

Started my new job in a "digital" era camera store about 2007 to Christmas 2015.

Canon 50D. A logical upgrade from the 450D. Preferred the 450 and went back to it. The 50D came at a funny time with what many felt were too any pixels (!?!) and it needed a firmware update to fix a timing problem. The first time for me firmware came up, but not the last.

Canon 450 and 1000D. I decided to go with depth in "lesser" bodies rather than pro or semi pro bodies. Lenses on the other hand were always the best I could get.

Canon 5D mk 2. Full frame at last. The Mark 2 gave good balance to the full frame arena, but was not good enough at sport. This opened the lens range up a lot for me especially in wide angles and everything felt "right".

Canon Eos 1D Mk2 x2. I really liked these cameras, but the batteries were tired and one of the second hand bodies acted strangely. 

Olympus Pen Epl3. I won this one from Olympus. I had always been a fan and sold a lot of their SLR 4/3 cameras- more than anyone in the state it turned out.

Panasonic GF3. Just liked it and the 14mm came in the kit.

Canon 450D. Bought cheaply ex demo from work to replace the long sold ones.

Canon 550D. A clear upgrade from the 450 in handling etc, but the files tended to blow out highlights badly.

OMD EM5. My first OMD, bought the day we got them in store. I intended to go with a two brand kit. Never works.

Canon 5D2 again for a day, then the 5D3 for a weekend then...

Bought it back for another OMD (450D kit and some basic Canon gear kept also, but it did not last long).

Oh, now it gets good. Keep in mind that from my first OMD to now is only three years, but in my defence no one was getting everything right. At one time I had 4 brands and no happiness.

Panasonic GH1. Nice camera, but the OMD was more in most ways and running two M43 brands was confusing. The Panasonic interface was better, but too different.
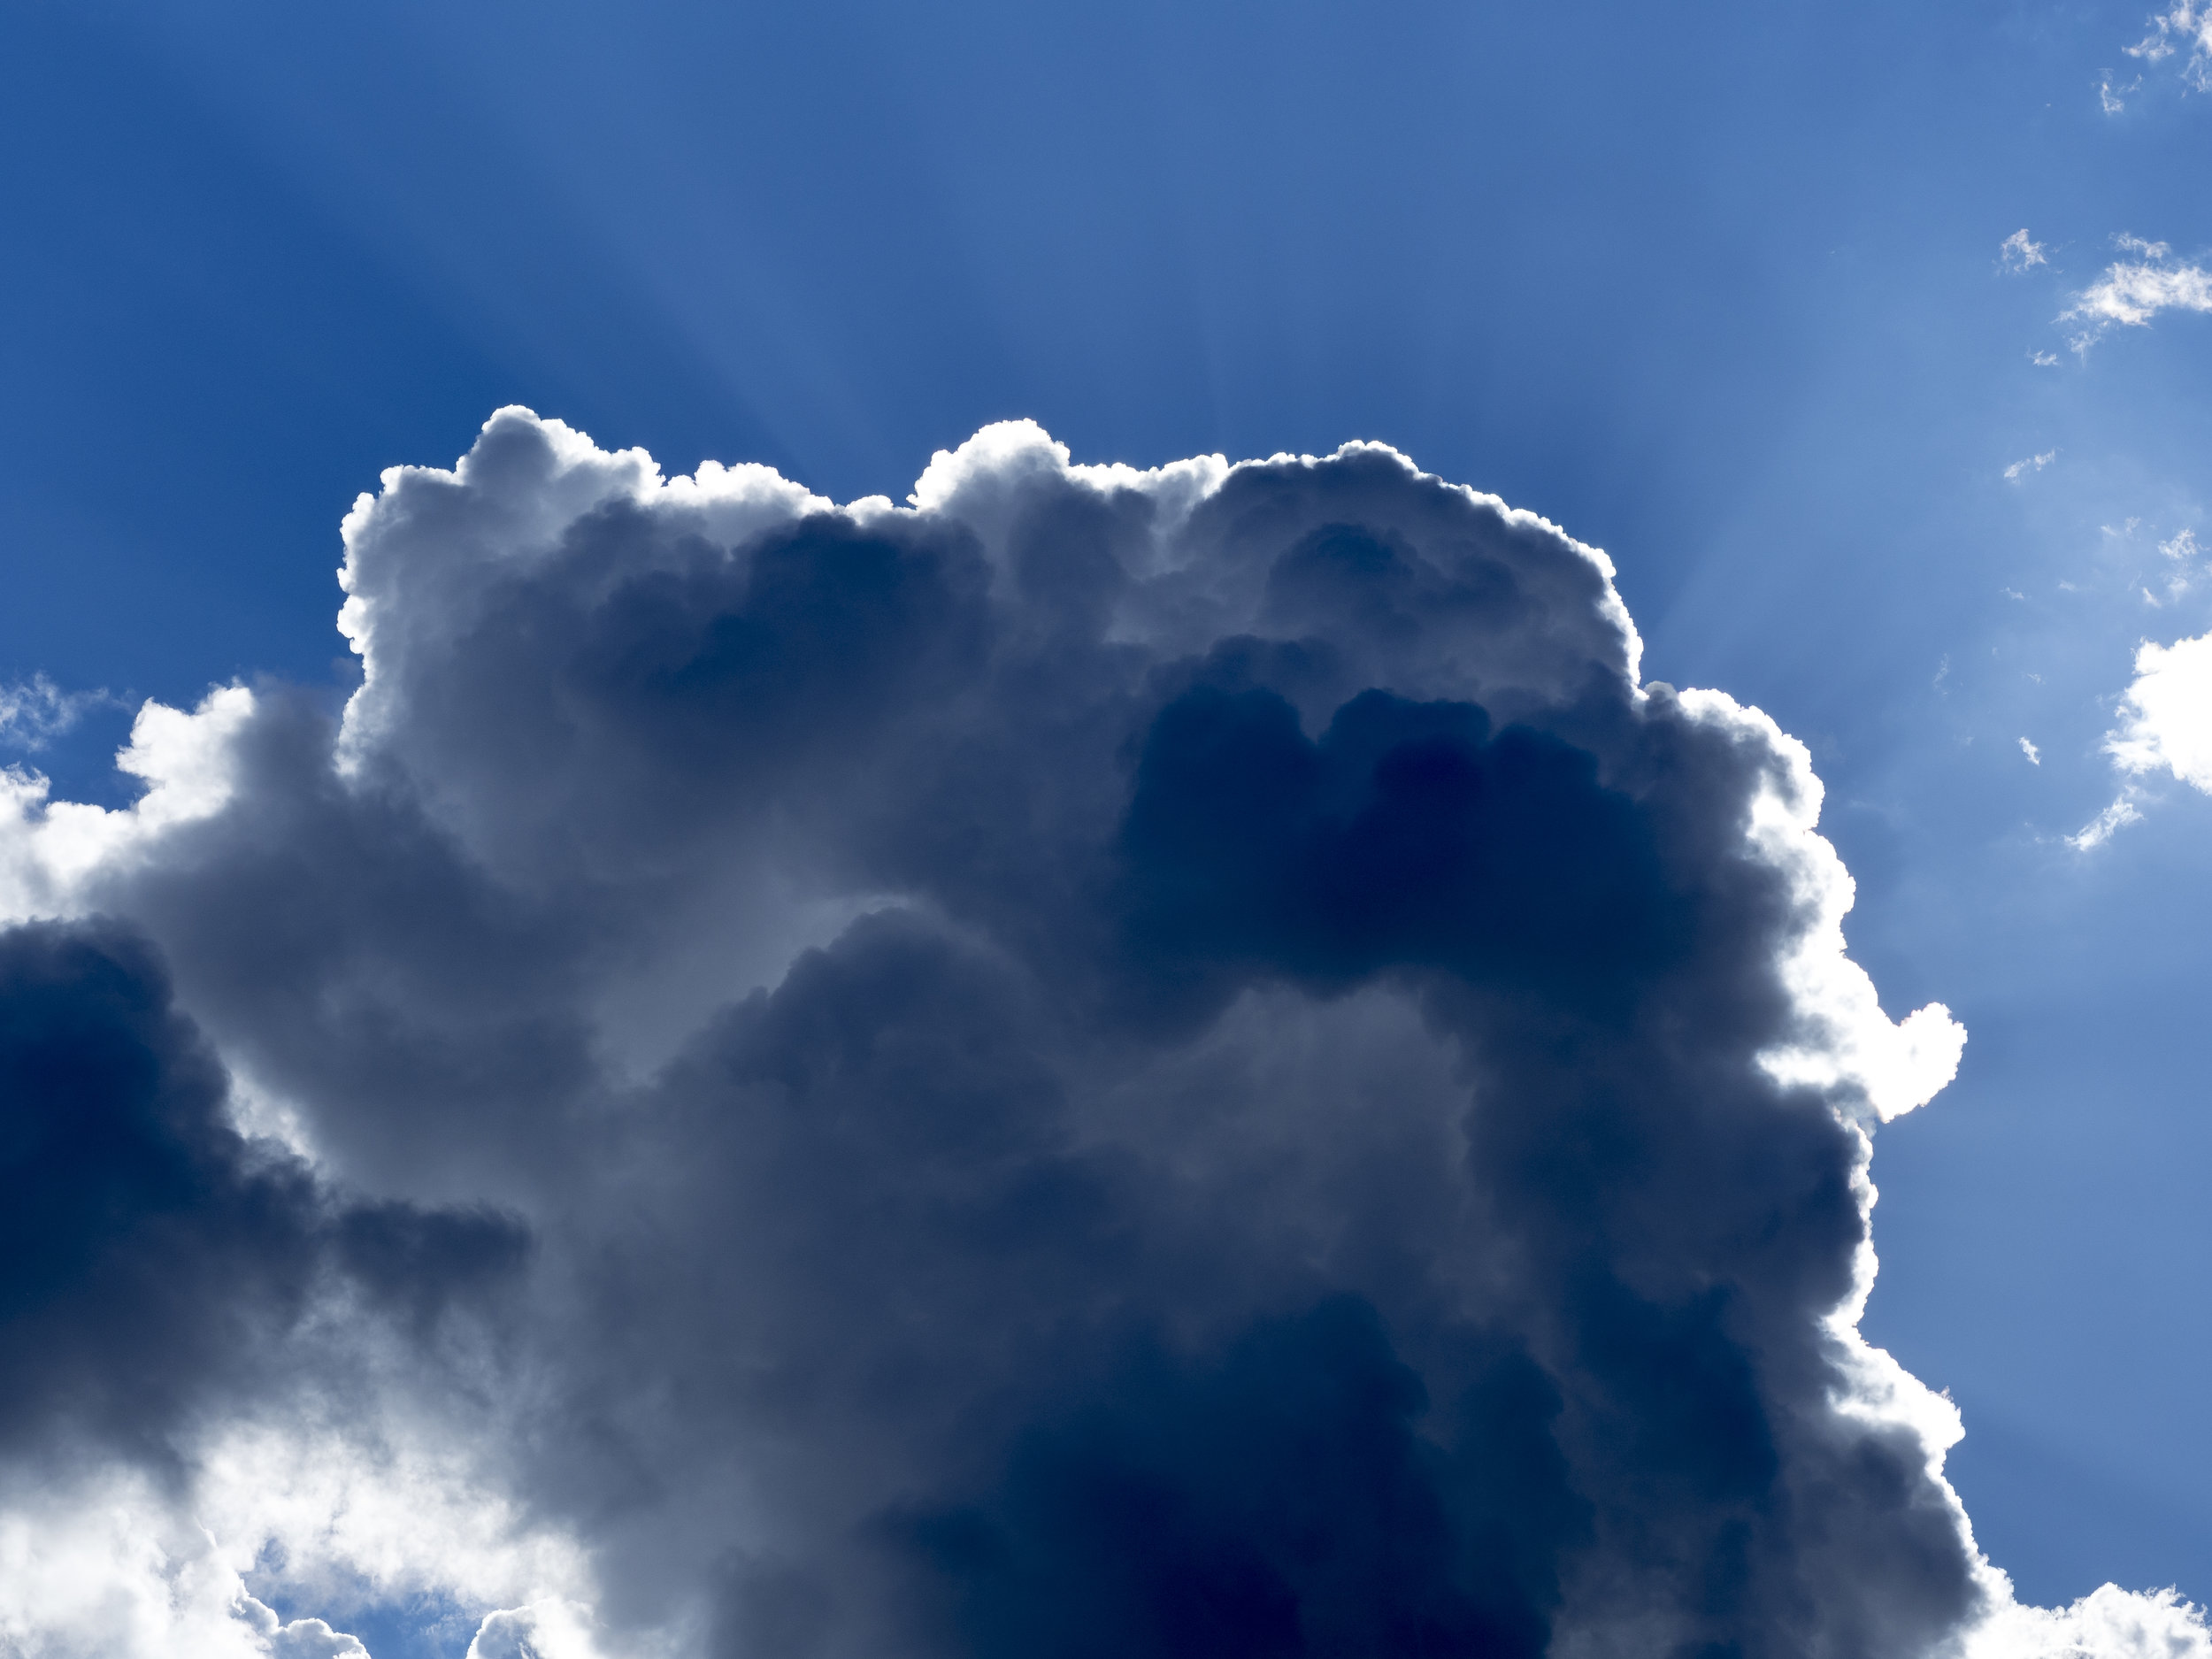
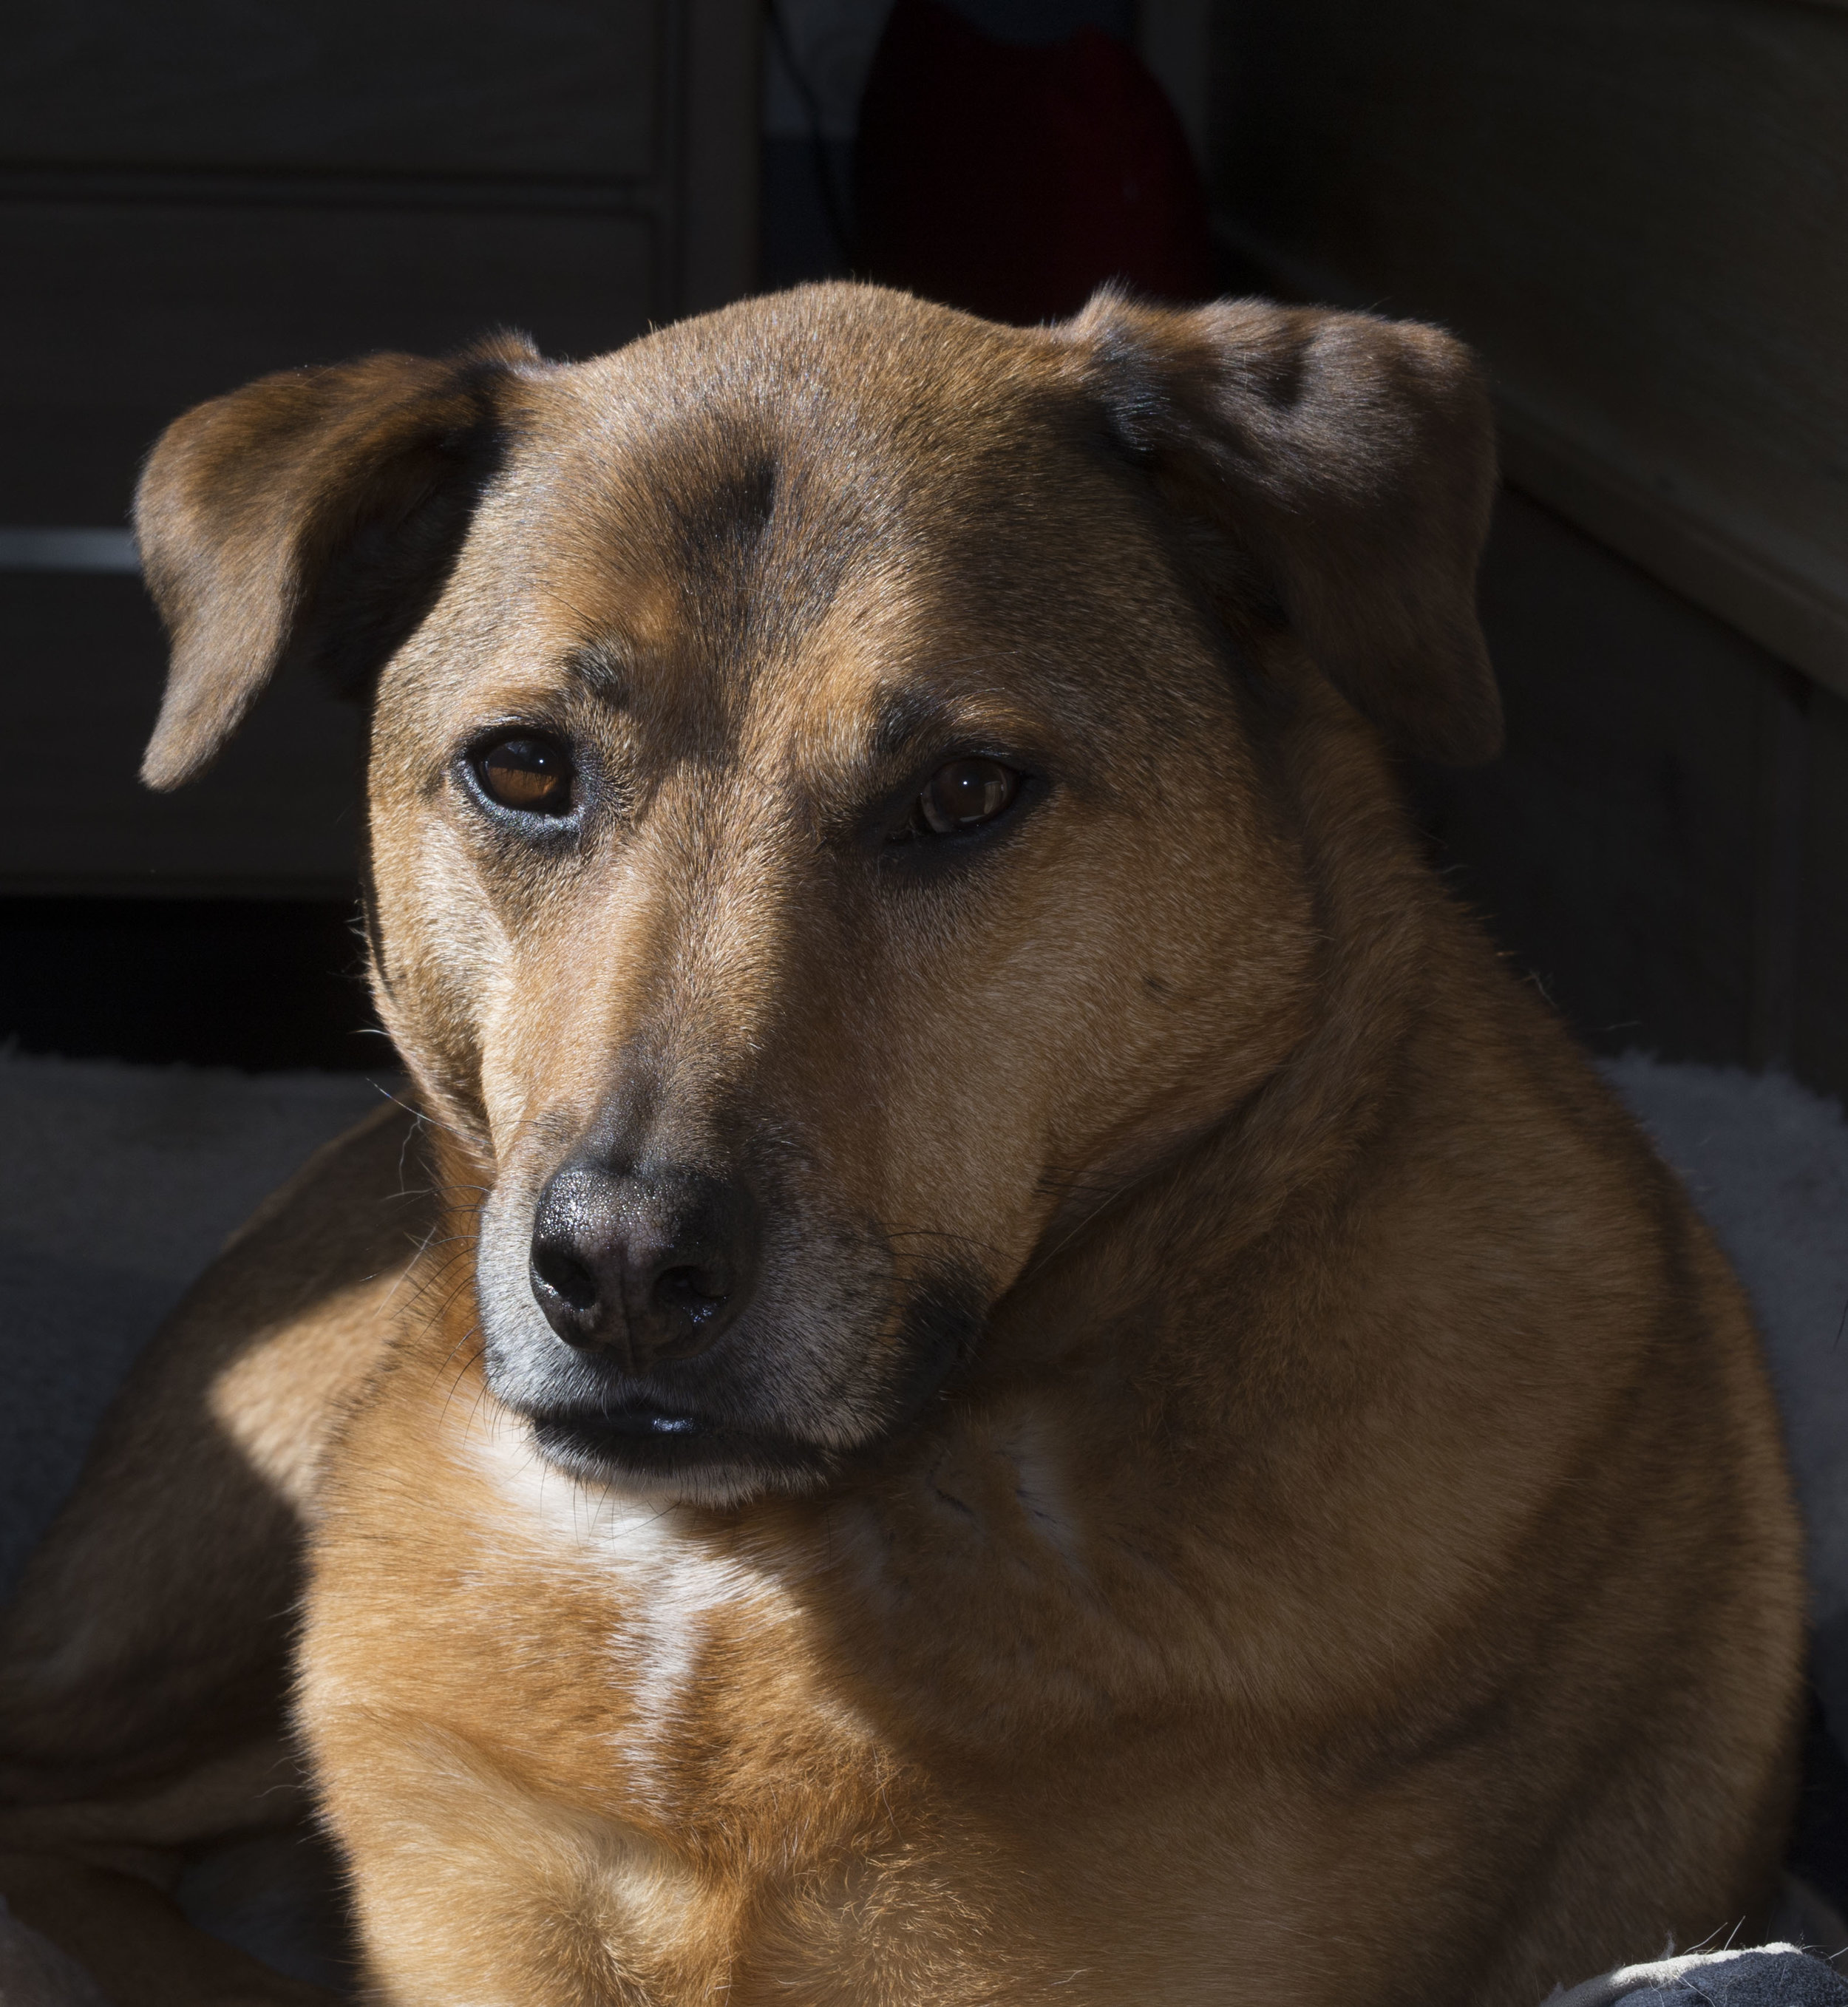
Fuji Xe-1. The year the EM5 came out, so did the Xe-1. This was a good effort from Fuji, but so much slower and more annoying than the OMD. I got a job lot of cheap primes (27/60) and made a small kit. All mirrorless brands at this point had issues in performance, lens range or relevance, but the Fuji's were determined to frustrate.  

Fuji X100 (first). Had it for a few days and returned it. More of the above, but worse.

Canon 100D. SLR jitters again. Great little camera, much underrated, but too small for long lens work. If they had just made a hollow hand grip option, but Canon surprised us enough with the camera, so no clever extras.

Fuji Xe-1. Frikkin' again. Same issues. Great images, crap performance. 

Sony Nex 7. Highest pixel count at the time. The few lenses I had and the adequate performance did not make up for the lack of soul the camera had. Black and white images were sublime and the camera showed me the phenomenon of not sharp, but lush images.

Mass clear out and a pledge to one brand. At this time I was also collecting any old film cameras that came my way, including a Pentax 67, Mamiya C330, several Pentax, Nikon, Olympus and Canon film SLR's and lenses. I also explored the "legacy lens" options for all of the above with some wins.

This is the post camera shop era. I am giving pro work a luke warm go and have not been as settled since the film era.

OMD EM5 mk1 (the newer model and 12-40 second hand from an old customer). These came in a cracking deal towards the end of the EM5's life, with the kit selling for less than the lens alone and I got it even cheaper second hand.

EPM 2. My mother in laws camera, swapped for a good compact. Makes a great street camera.

Pen F. This one has raised the bar for me and settled many of the miss givings I had about M43 and the Olympus look.

Current kit; 3x OMD EM5 mk1 (2 for street and the newer one for work), Pen F (work), EPM 2 (street), lots of film cameras including a couple of mint Eos 50/30's.

? Em1 mk2.


I doubt I could carry them all and would not want to. Too much in light of the lessons learned and often relearned? Yes, definitely, but live and move on.