The other day I posted under "thoughts", a little bit of the enormous capabilities of Adobe Lightroom as I understand them at this point. In the post I commented that I am "not an expert" and "I am always learning", but hoping that someone would gain something from my own habits and understanding. Little did I know that my own learning curve would take a spike. It goes to show, talking to other people with the same interests is always a benefit as long as you have a "growth mind set". A kind and knowledgeable readers comment (you should read the comment to as it makes some very good points) would not only teach me a trick, pointing out that some of the brush work I had done was visible (ouch) and also remind me of something I had forgotten.
I will admit, I pushed the processing of the image chosen for the example beyond my comfort zone. Doing that much brush work is probably beyond my skill at this point and I was caught out fair and square. In the past, when this much work was needed, I would either take more time, working on each area with a magnified view or re evaluate the value of the image.
Basically, when using the brush, graduated filter or any other manipulative feature in Lightroom, always make sure the playing field is in your favour. The two errors I did in my posted image were editing from the original view and NOT CLEANING MY SCREEN. If (assuming the screen is clean) you lighten the image or in some cases deliberately over do the brush work to make it more visible in relation to the rest of the image, you can always push it back later.
One of the beauties of Lightroom is that it is non destructive editing. You can push, pull, reset and start again. Nothing is actually real and final until it is exported. For example, of you are sharpening an edge or adding noise reduction selectively, you could reduce exposure to see the area darken as you work, making sure you have not missed anywhere, then double click on the exposure slider when done to reset the exposure to normal. If you click on one of the brush starting point dots, even months after your edit, the area previously worked on will show up as a red cloud. To re do the image, I (after I cleaned my screen) lightened the whole image to see it better, then re applied the brushing).
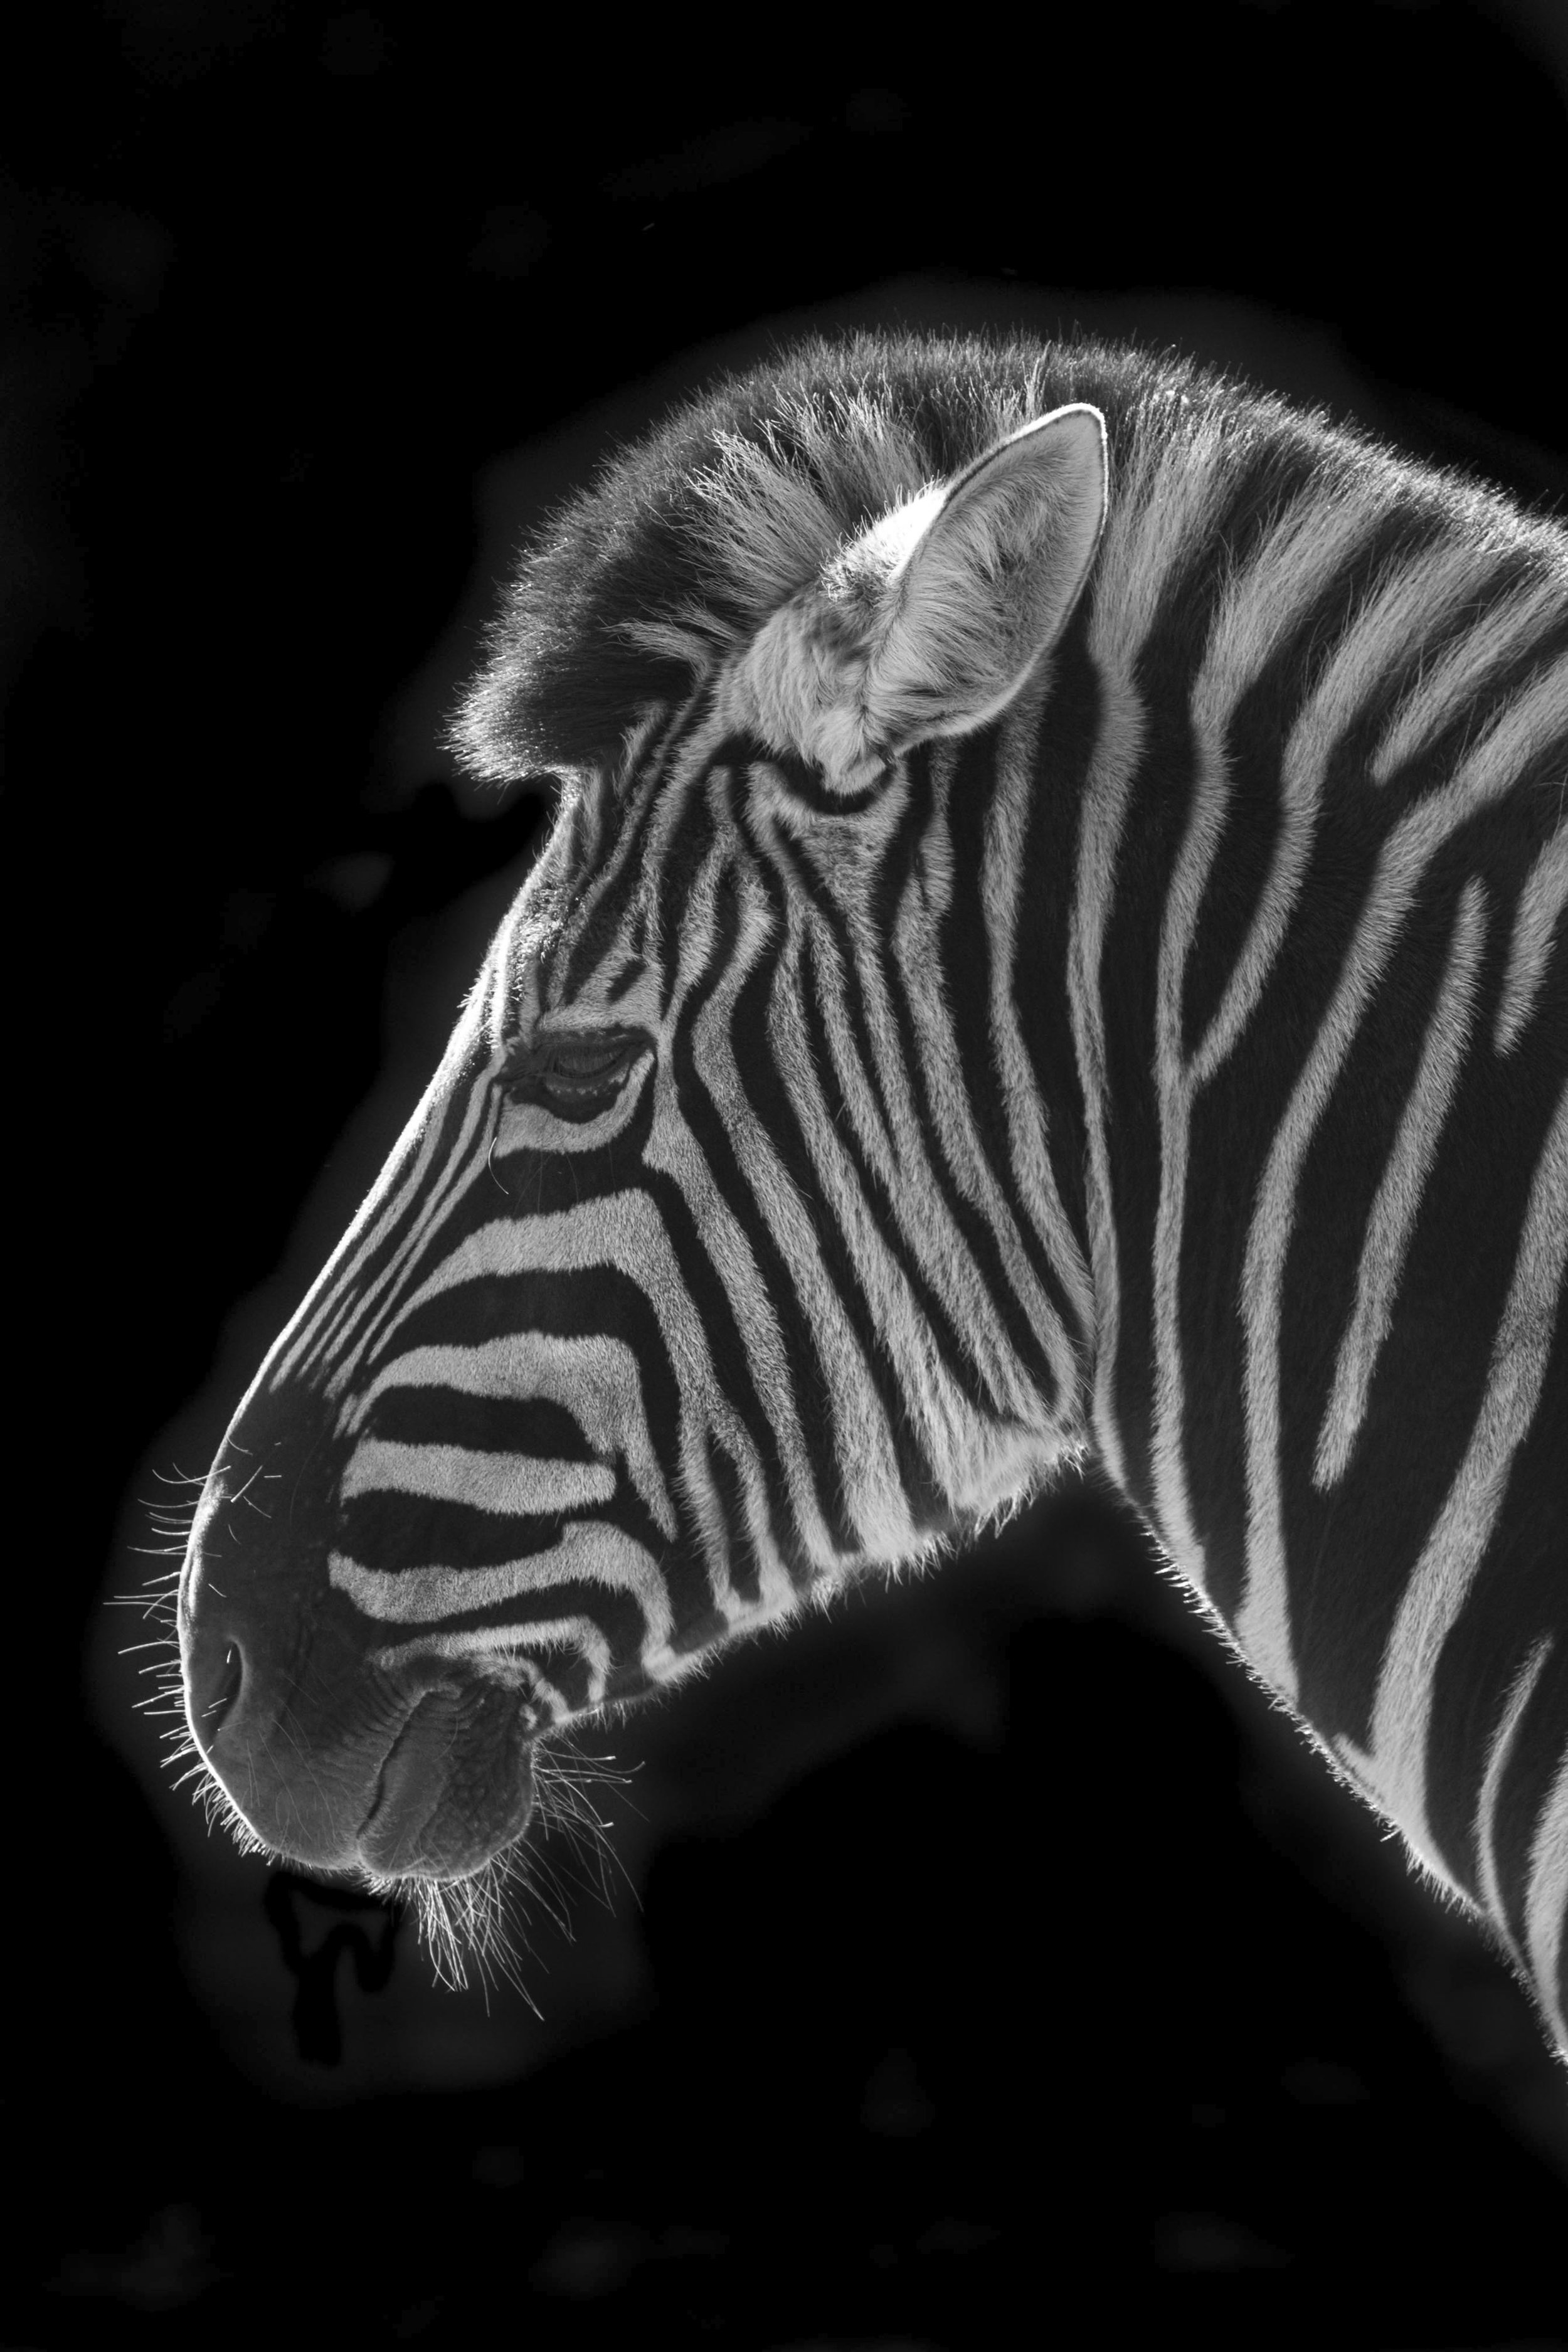
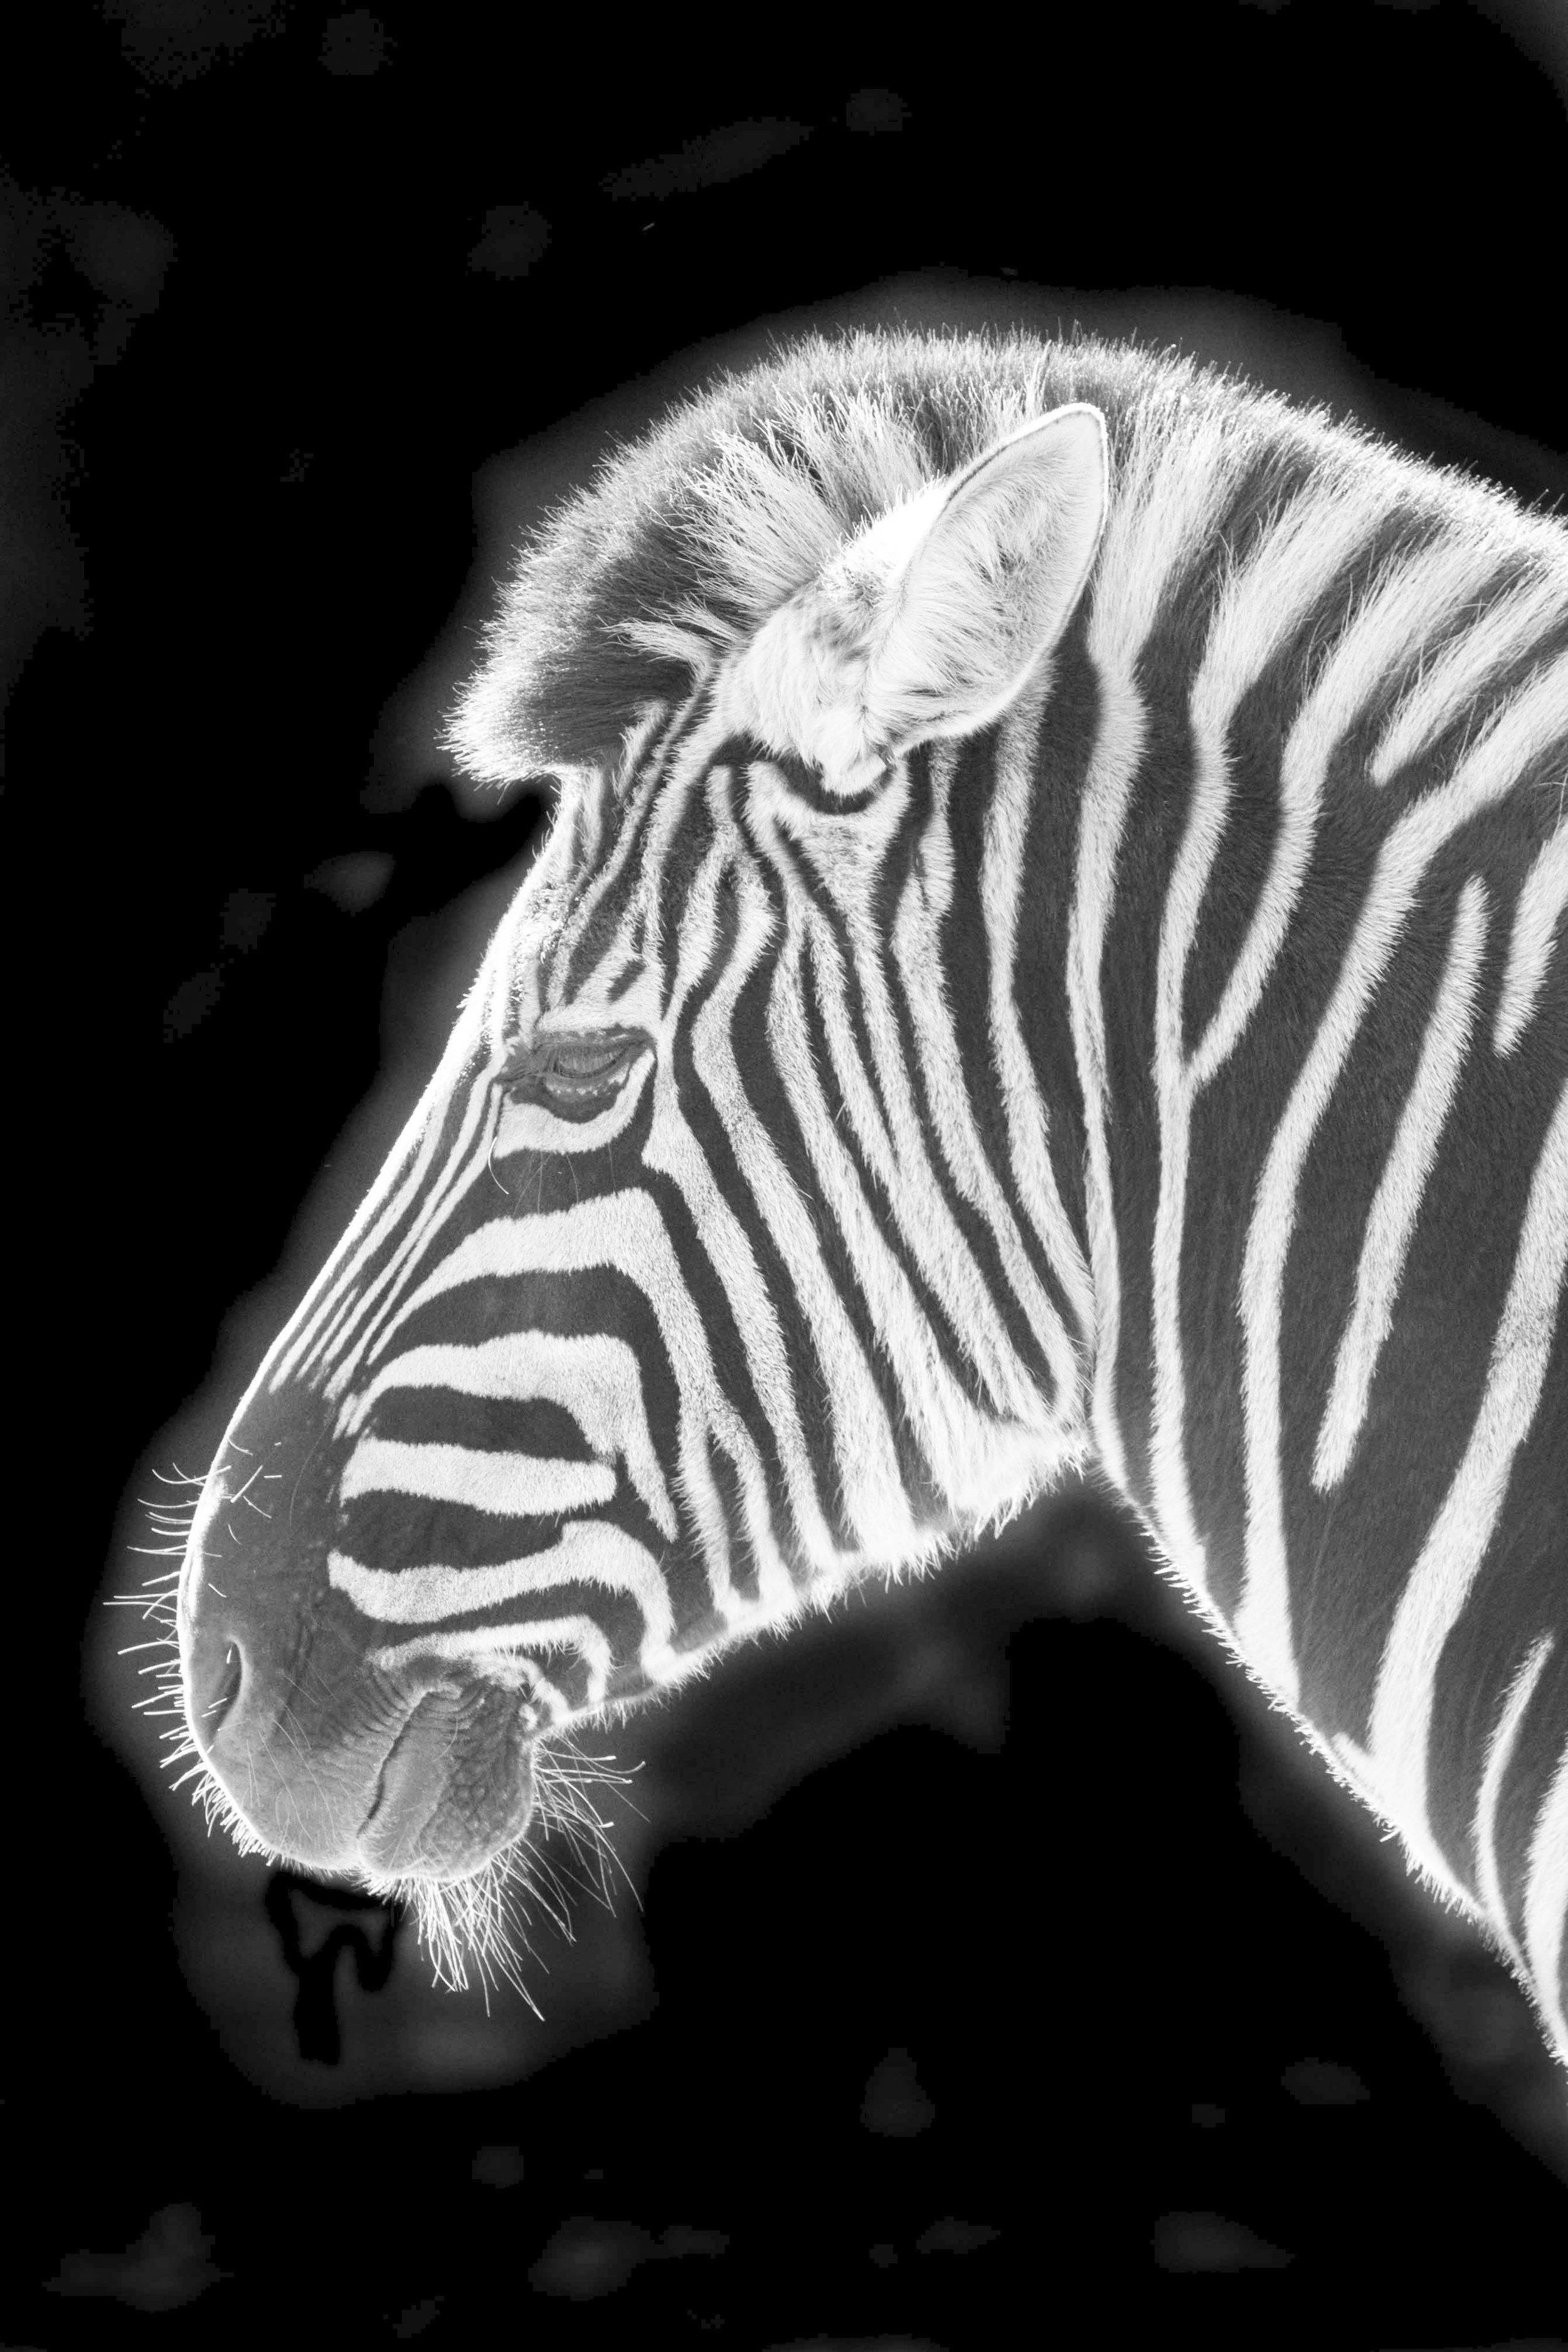
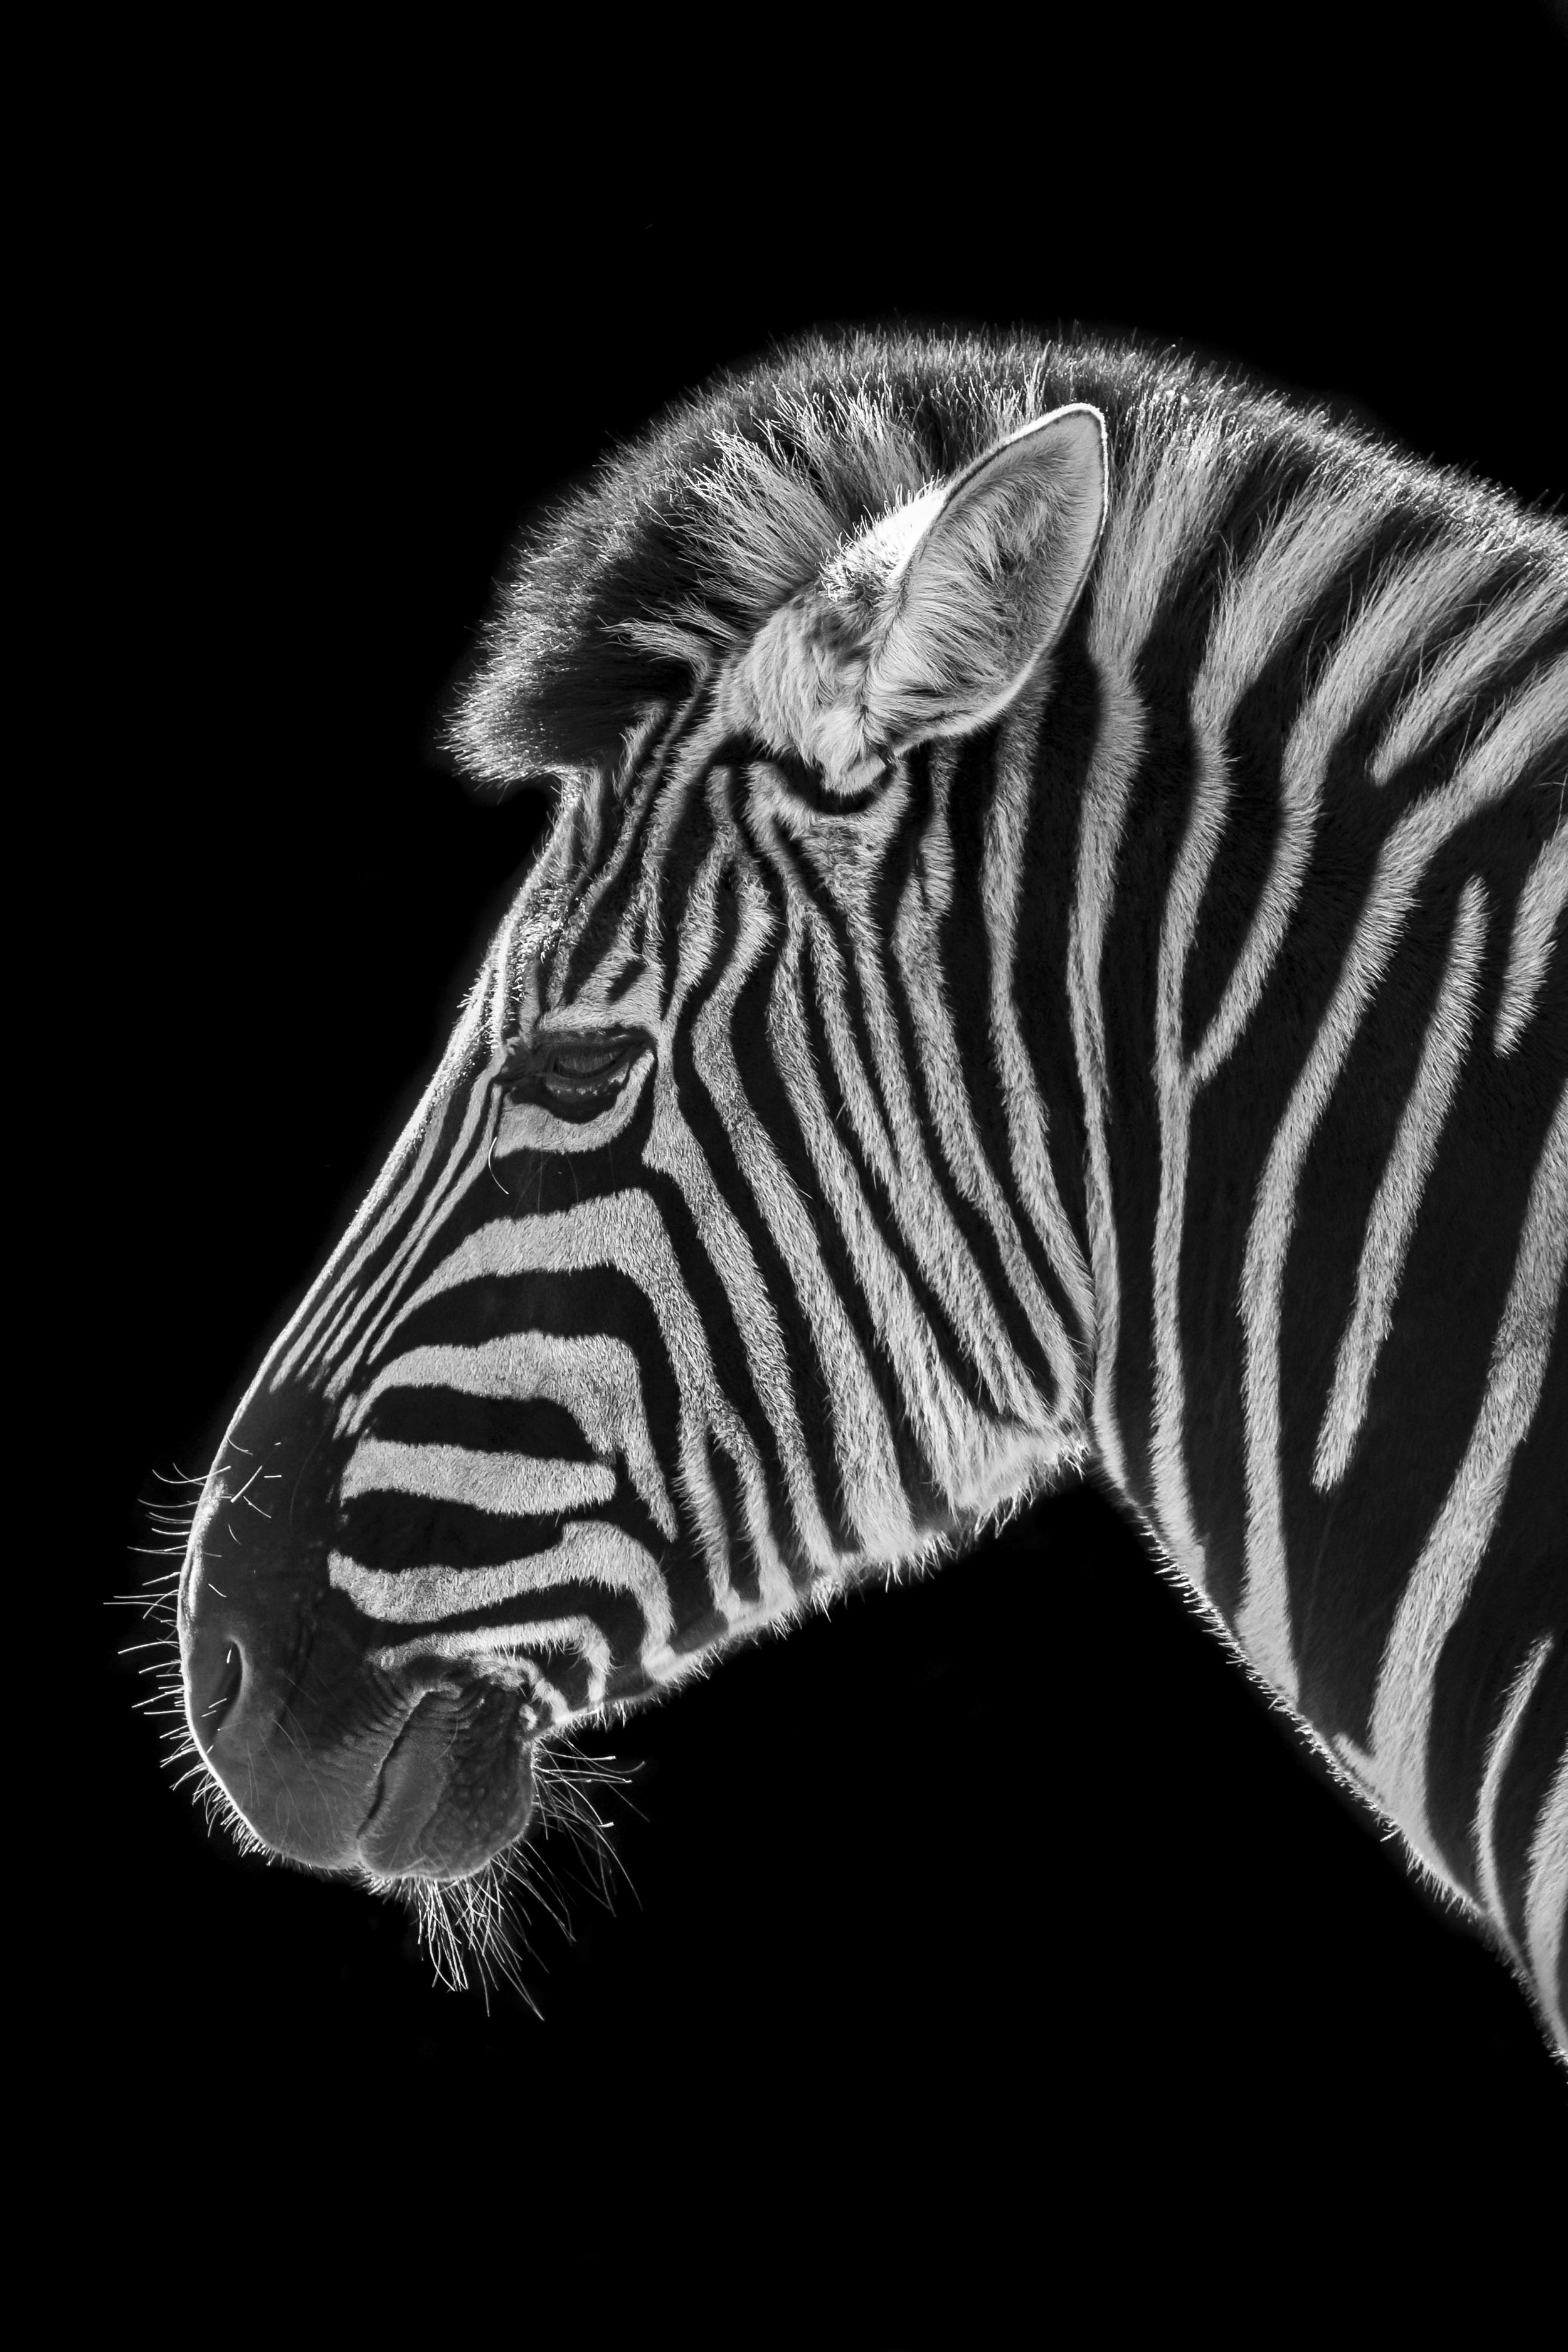
The above image on the left is an already edited mono conversion, taken at Perth Zoo a couple of years ago. As is, it is ok, but showing the clumsiness of my early brush use. The second image has been lightened (thank you Olympus Hopeful), showing the areas that have not been fully removed and areas that have heavier brush work applied. Mostly invisible, but not great. The last image has the poor areas touched up by applying -30 exposure and then a new brush edit applied around the edges and the main body of the Zebra with +35 contrast, +30 clarity, +20 sharpness and +10 dehaze. Remember, that these settings will not darken light areas, only dark areas, so they intensify the edge.
Notice the glow on the main body. There is no extra exposure added, this is all from contrast, clarity and dehaze control. Another point of note is these manipulations were done to a re imported jpeg, as the original eludes me (I will not be doing a post on organising and filing for a while!).
The trick I was reminded of, that I read once before in an interview with one of the official UN photographers, John Isaac is to use the brush on weaker settings, but with more passes. He felt that multiple passes on a gentle setting is less destructive than hitting it hard in one go.