After a little testing (not enough, but holidays have rekindled several hobbies, so time has flown), I have assembled some thoughts on B-Raw quality.
There are a lot of opinions on this (ranging from using 1080/12:1 only to nothing under 4k/Q0) and I cannot help but think that some cameras, user expectations, subjects and processing may affect this, so the only thing that matters to me is my work flow with my gear (i.e. less reading, more doing).
Few disagree that shooting 4k for 1080 output is better than 1080 straight, so this is the bench mark and adds more pixels for stabilising, cropping etc. Assume 4k from now on unless otherwise stated.
The fan favourite, Q5 when compared to 8:1 are, I feel, the key ones to compare.
On average Q5 it provides good quality with minimum waste (tops out at about 8:1 or 50-58 MB/s in 4k), but it can drop to the equivalent of 15:1 (21 MB/s, 12:1 is 34 MB/s) in a static scene like an interview. This is too low, leading to smearing and detail loss.
It is fine when there is constant movement and a busy scene, but only then. I will avoid Q5 because the benefits of sometimes lower bit rates when compared to 8:1 are outweighed by the pitfalls of very low rates in static scenes.
Using 8:1 is generally considered safe, even smart, but its Achilles heel is being limited in the upper end. In 4k it is a flat 51 MB/s, which is plenty for most subjects, but the more flexible 4k/Q3 ranges from 46 to 117 MB/s. That means at its lowest (like interviews) it roughly matches 8:1, then increases to 5 or 6:1 and even gives 3:1 a scare when pushed.
Constant bit rate is safe for a predictable low end, but sometimes too limited in the top end. You do get a clear indication of time available (see below), so depending on how you look at it, it is either your minimum with no headroom to react, or your maximum but wasteful if not needed.
I was sold on constant bit rate until I realised this.
I believe Q3 is the best all-round professional compression rate unless 8:1 is enough for known interview situations etc, even in 1080.
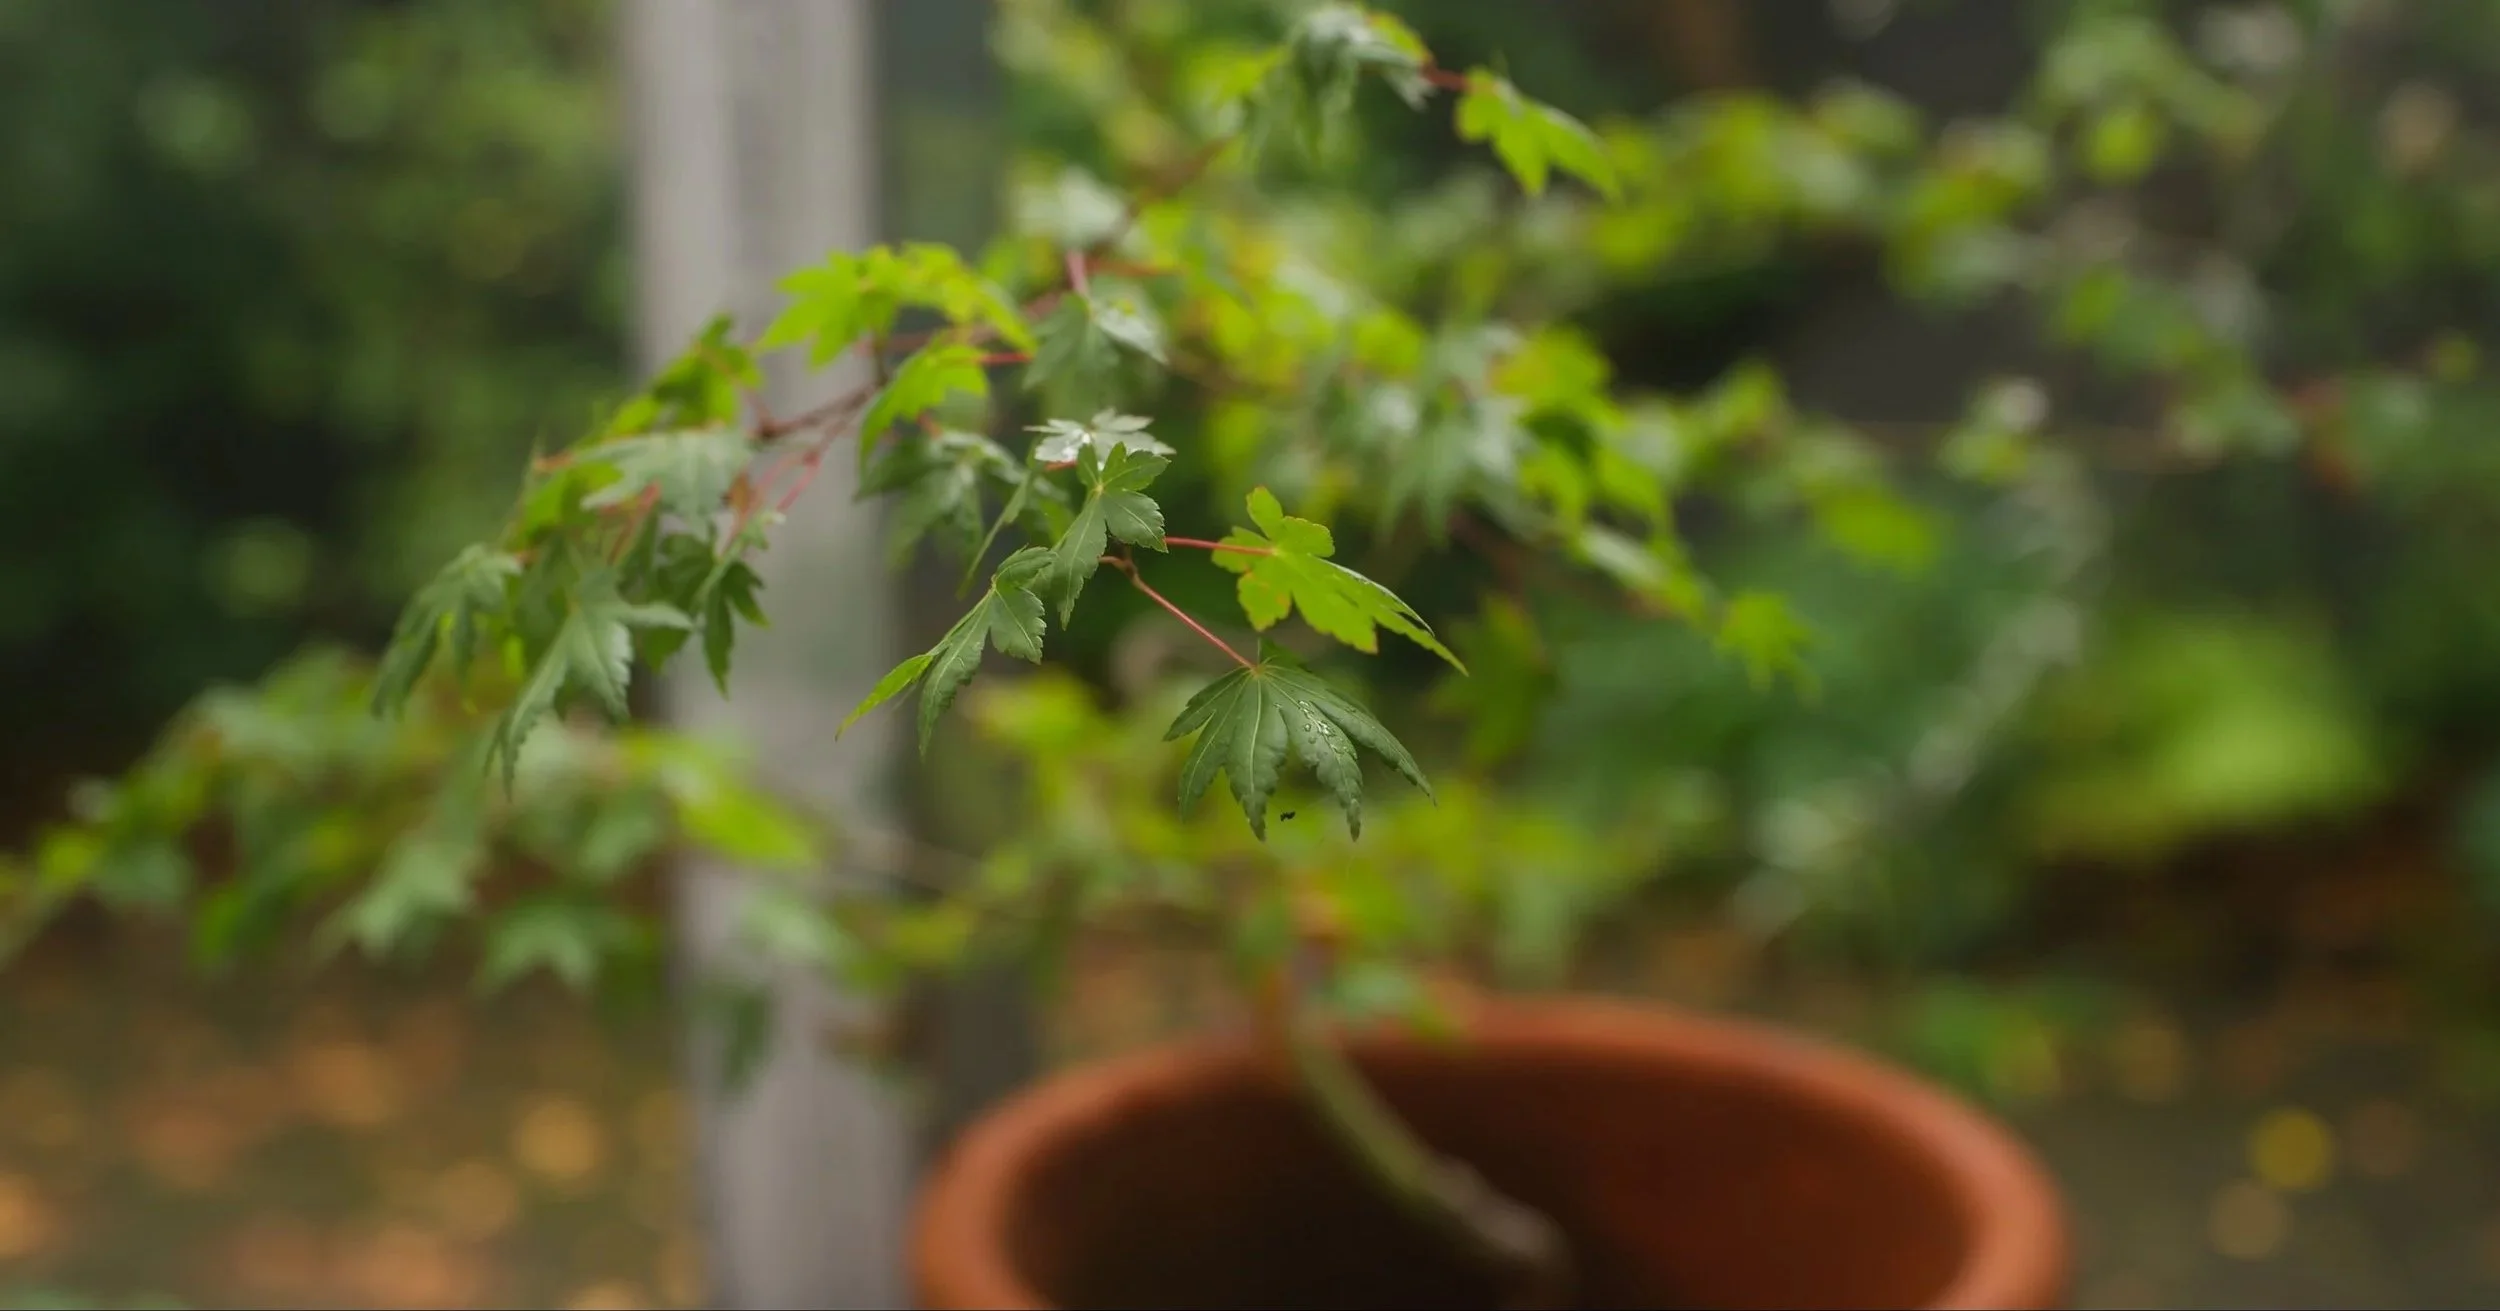
The 4k from Q3 clips make for decent stills (the spider web in the leaf is clearly visible on close inspection).
ProRes.
When I shoot 4k/ProRes/422HQ/V-Log (not even ProRes RAW) on the G9II, I am chewing up 117 MB/s, without the benefits of lower compression or a native format for processing in Resolve.
The files are fine, great even and full dynamic range is retained (DR is ruled by the sensor, colour depth by the codec), but overall it is reduced and with the high bit rate it makes ProRes HQ the least compelling option unless I choose to shoot 1080.
Dropping to 4k/ProRes/422, does bring it back to about the same as 4k/5:1 at 78 MB/s, but again, without the benefit of RAW and a slight resolution drop.
Frame rate is also a thing.
Using 50p in 8:1 or Q3 both give me 200 minutes on a 1 TB drive (the Q setting is of course only a best case indication until used), which is good, but still a drive killer. Dropping to 25p doubles that, so it looks like it is “cinematic” 25p for two static cams, the G9II (in ProRes/V-Log/1080 to an SSD) can be run at 2.2x slo-mo in Quick/Slow mode at 60p for a 25p timeline. This means pre-selecting my slo-mo scenes, but that is ok, as I will use this mostly for third cam b-roll and sparingly.
So, two cams shooting 4k for 1080 by delivery, Q3 or 8:1/25p and some 1080/ProRes/422/HQ in 25 or 25/60 slo-mo on the third cam.
Storage might be H.265 edited masters, but I am still working on this as an option.
Processing.
The DaVinci Resolve node tree* that I had built based on recommendations from experts like Cullen Kelly has had some major changes, some results based, some just for convenience and some because it just did not seem to work for me.
My “perfect” core Node tree went something like this;
CST-in (or Raw node if shot that way).
Linear-off set for master exposure and white balance (or RAW node above).
Primaries for contrast tweaking.
Colour for saturation and precise colour controls.
Effects (noise reduction, sharpening etc).
CST-out.
Problems that arose where;
The linear grade did little of value (nothing useful with RAW for me anyway and to be fair, Cullen Kelly usually uses a Log state examples). It was twitchy and hard to reconcile with my expectations and I had to change the micro panel to offset (it only has three wheels, not four like the software interface), which I regularly forgot to turn on or off and it messed other things up.
This bought up another of his excellent videos, the 3 things that waste editing time https://www.youtube.com/watch?v=2nbOcVjwYXU and yes, I felt like I was double or even triple dipping.
I found when I did not like my results, I would disable the Linear node and everything just looked better. So, regardless of the voices of my betters, I went with what worked for me.
This is my new RAW tree (saved as a power grade);
RAW node is first. RAW is recognised automatically by Resolve so no CST in is needed. Here global exposure, white balance and tint are handled. It is important not to double dip with project settings here (in colour management > DaVinci YRGB > Timeline colour space DV Intermediate/WG > output Rec 709). Cullen Kelly advises avoiding WB/Tint because he cannot carry them over to multiple camera codec node trees, but I use it as intended and adapt to my Log footage with a different tree.
Curves for controlling shadow and highlight detail and contrast. This and the Raw tab are open together, just on different nodes, so I will juggle between global exposure and curves. If you control the curve with a mid point and place a shadow and highlight pin for more local changes, you can get most things done here.
So, exposure, white balance and contrast are sorted in two nodes, the rest are creatives.
Colour node for saturation and precise colour controls using Colour Slice. Slice replaces the Curves panel.
Visuals. If I want to mess around with flare fx etc, this is the node, but it is often ignored.
Effects node (noise reduction, sharpening etc). This is applied late and activated on export as it makes my timeline laggy and opens two new windows, one for noise and one for blur/sharpening.
Film Emulation. This is new, something I discovered recently. I will be looking here at the options for a film look and highlight and shadow tinting.
CST-out. This converts DaVinci Intermediate to Rec 709 for normal use. RAW handles the in, but you still need to control the outward conversion.
This can almost all be held on one screen and one micro panel setting (except effects), so faster, cleaner and more intuitive with no messy switching between offset and Primaries. RAW= white balance and exposure > Curves = contrast balance > Slice = colour, combination is especially clean.
If I use V-Log the tree changes a little.
CST In converting V-Log to BM Intermediate/wide gamut. This is required as Log is not recognised by DaVinci automatically.
HDR Global adjustment for exposure. This is cleaner than the Primaries Offset. I usually just use the software slider for this.
Primaries. I create a Linear gamma node, then use the Gain control (manual ball for accuracy) for white balance and tint adjustment (not exposure) using the panel ball for precision, then with Pivot set to .336 (grey point) I adjust the Contrast setting. This is a single control and replaces RAW white balance and Curves version above. All explained here https://www.youtube.com/watch?v=Dnxz5R9HrVA.
Colour Slice. As above.
Effects. As above.
Film Emulation. As above.
CST Out As above.
This is not consistent with the RAW one, but it works for this. Rec 709 codecs are handled the same way, just without the CST’s. I have the colour wheel open for reference.
*In Resolve, each layer of processing is separated into nodes to aide in clean application of each and in the right order. Once a nde tree is established, individual nodes can be de-activated, replaced or even moved as the user wishes, but it is no small thing to say, a simple, clean and stable node tree (saved as a power grade) makes processing infinitely simpler. There are a lot of choices so you will need to find your own path (even the experts differ), but the excellent Cullen Kelly, Write and Direct and Darren Mostyn sites are a good place to start.